


 本文介绍如何在Android应用中实现SoundPool音频播放器,包括创建SoundPool对象、加载音频文件、播放音频及释放资源等步骤,并通过JUnit进行单元测试。
创建Soundpool
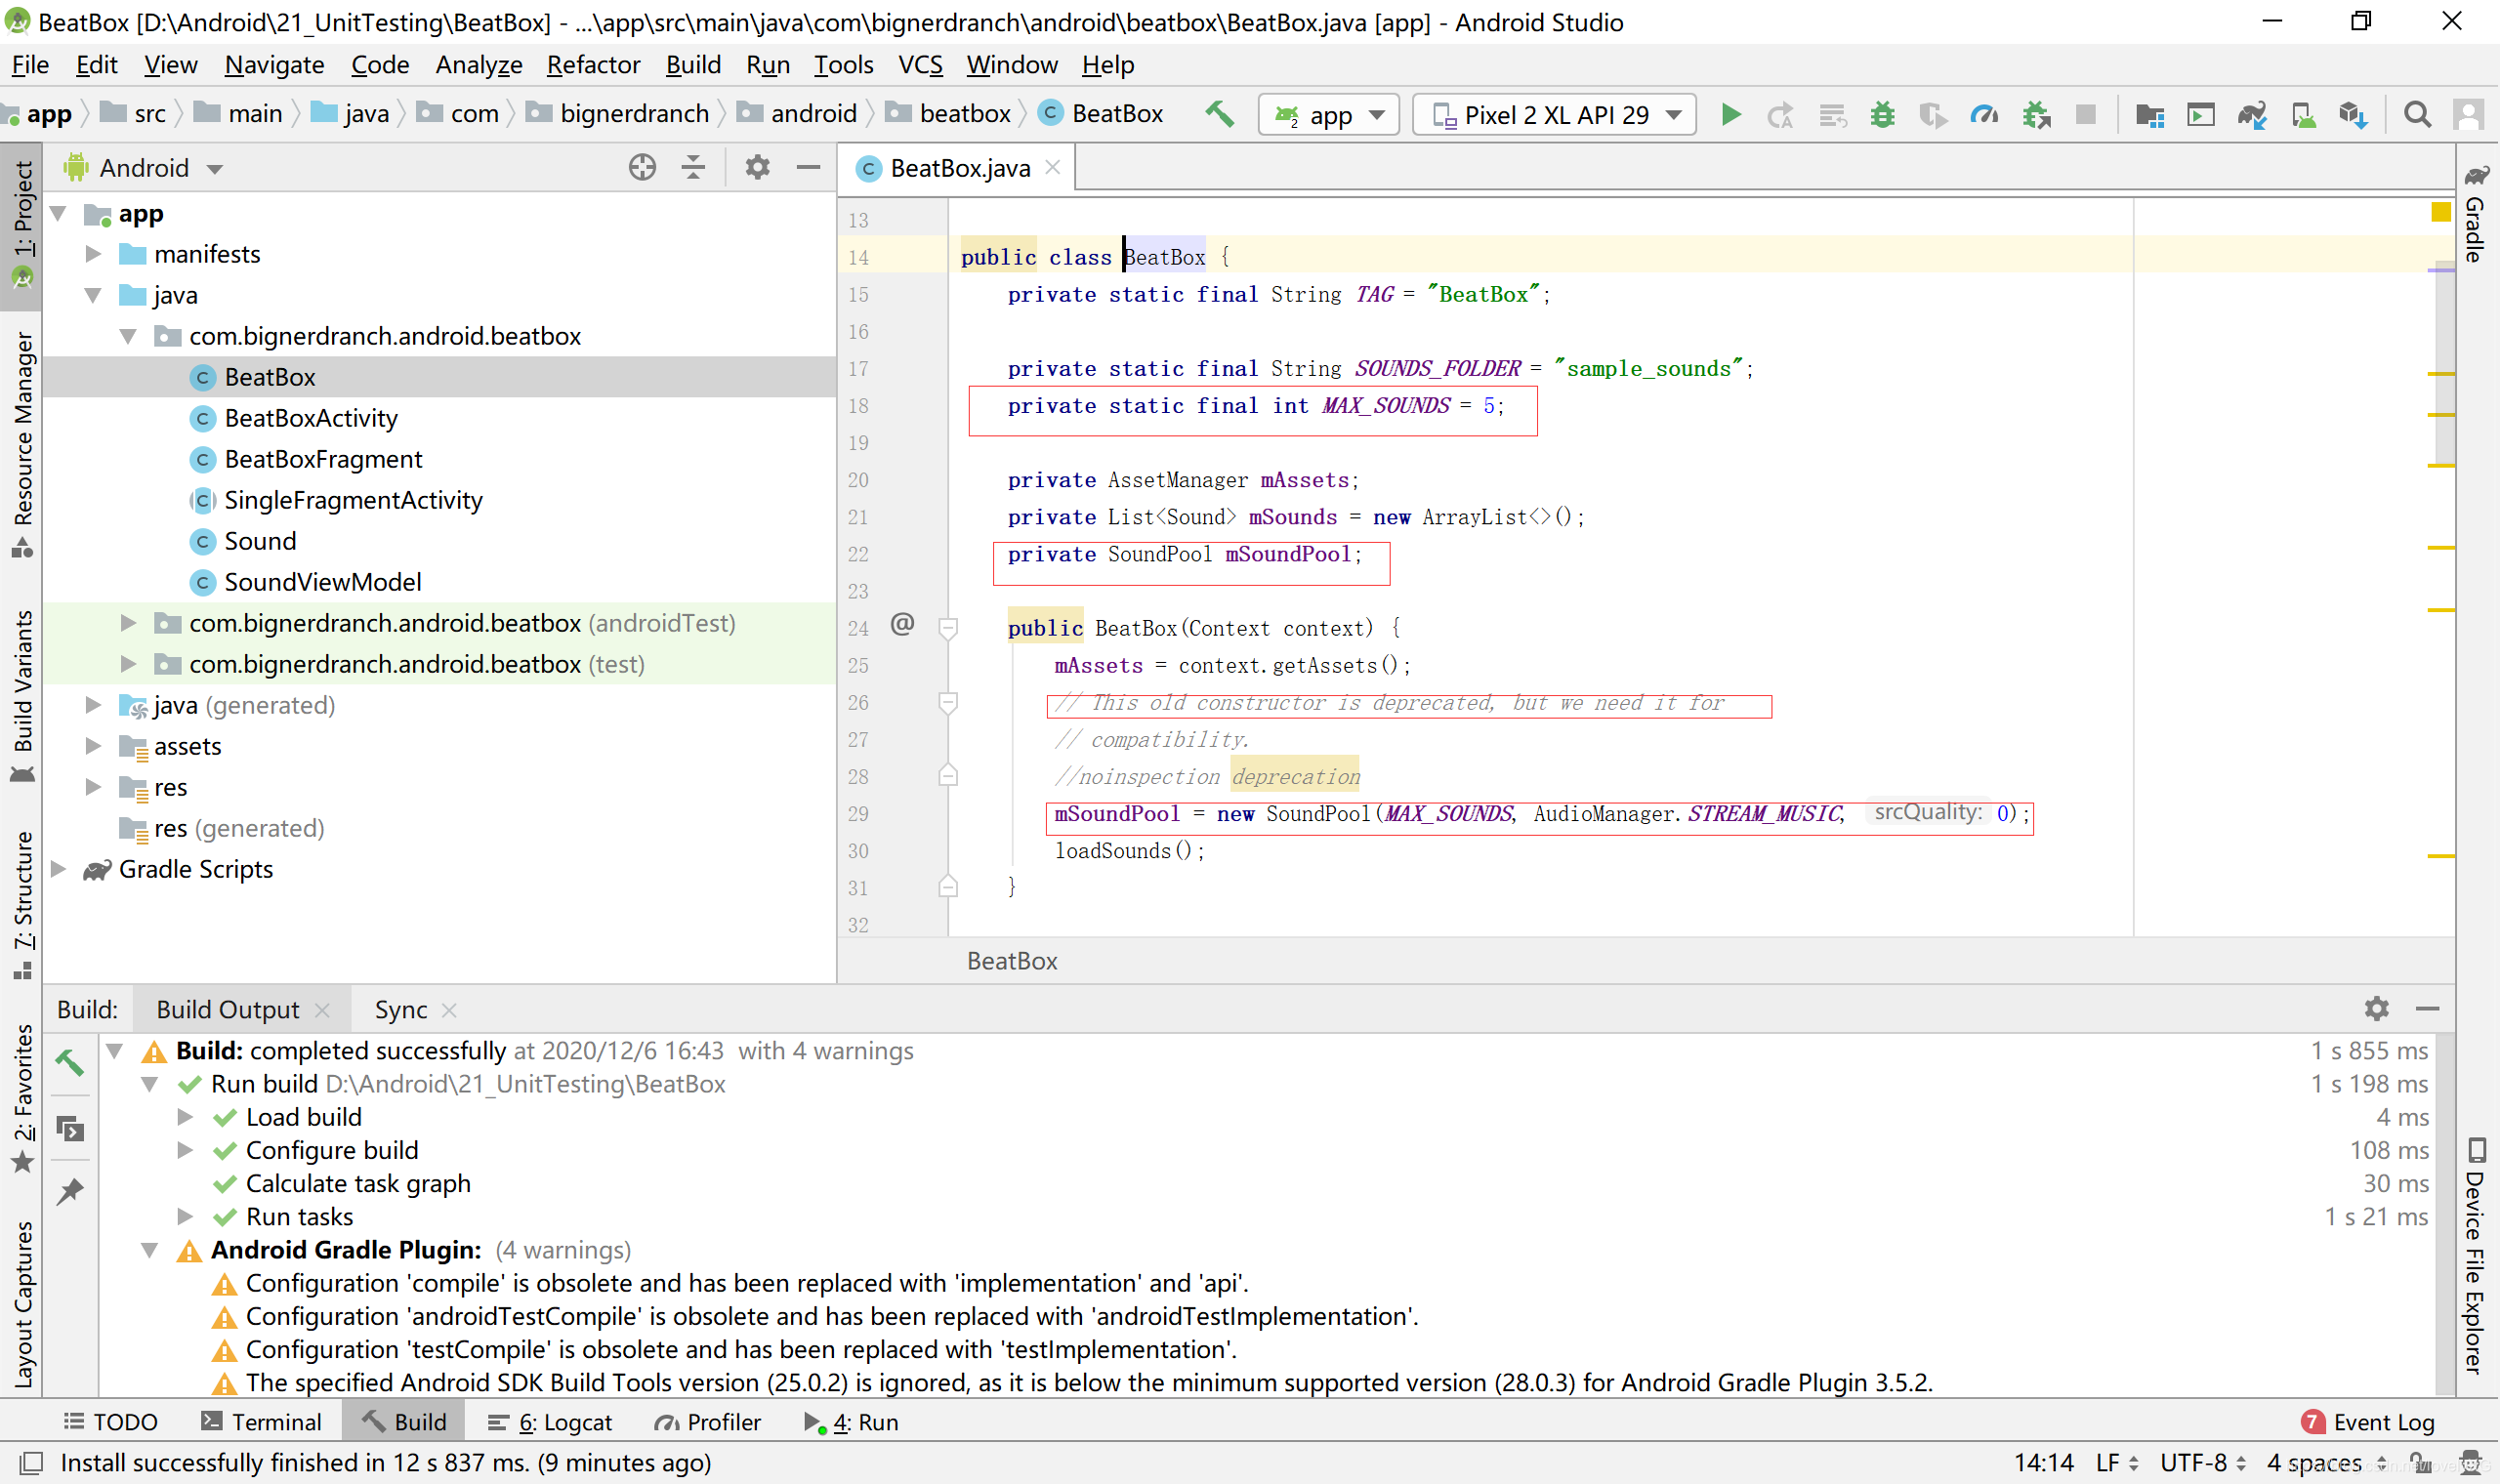
1.首先实现音频播放功能,这需要创建一个SoundPool对象,代码如下所示
public class BeatBox {
private static final String TAG = "BeatBox";
private static final String SOUNDS_FOLDER ="sample_sounds";
private static final int MAX_SOUNDS = 5;
private AssetManager mAssets;
private List<Sound> mSounds= new ArrayList<>();
private SoundPool mSoundPool;
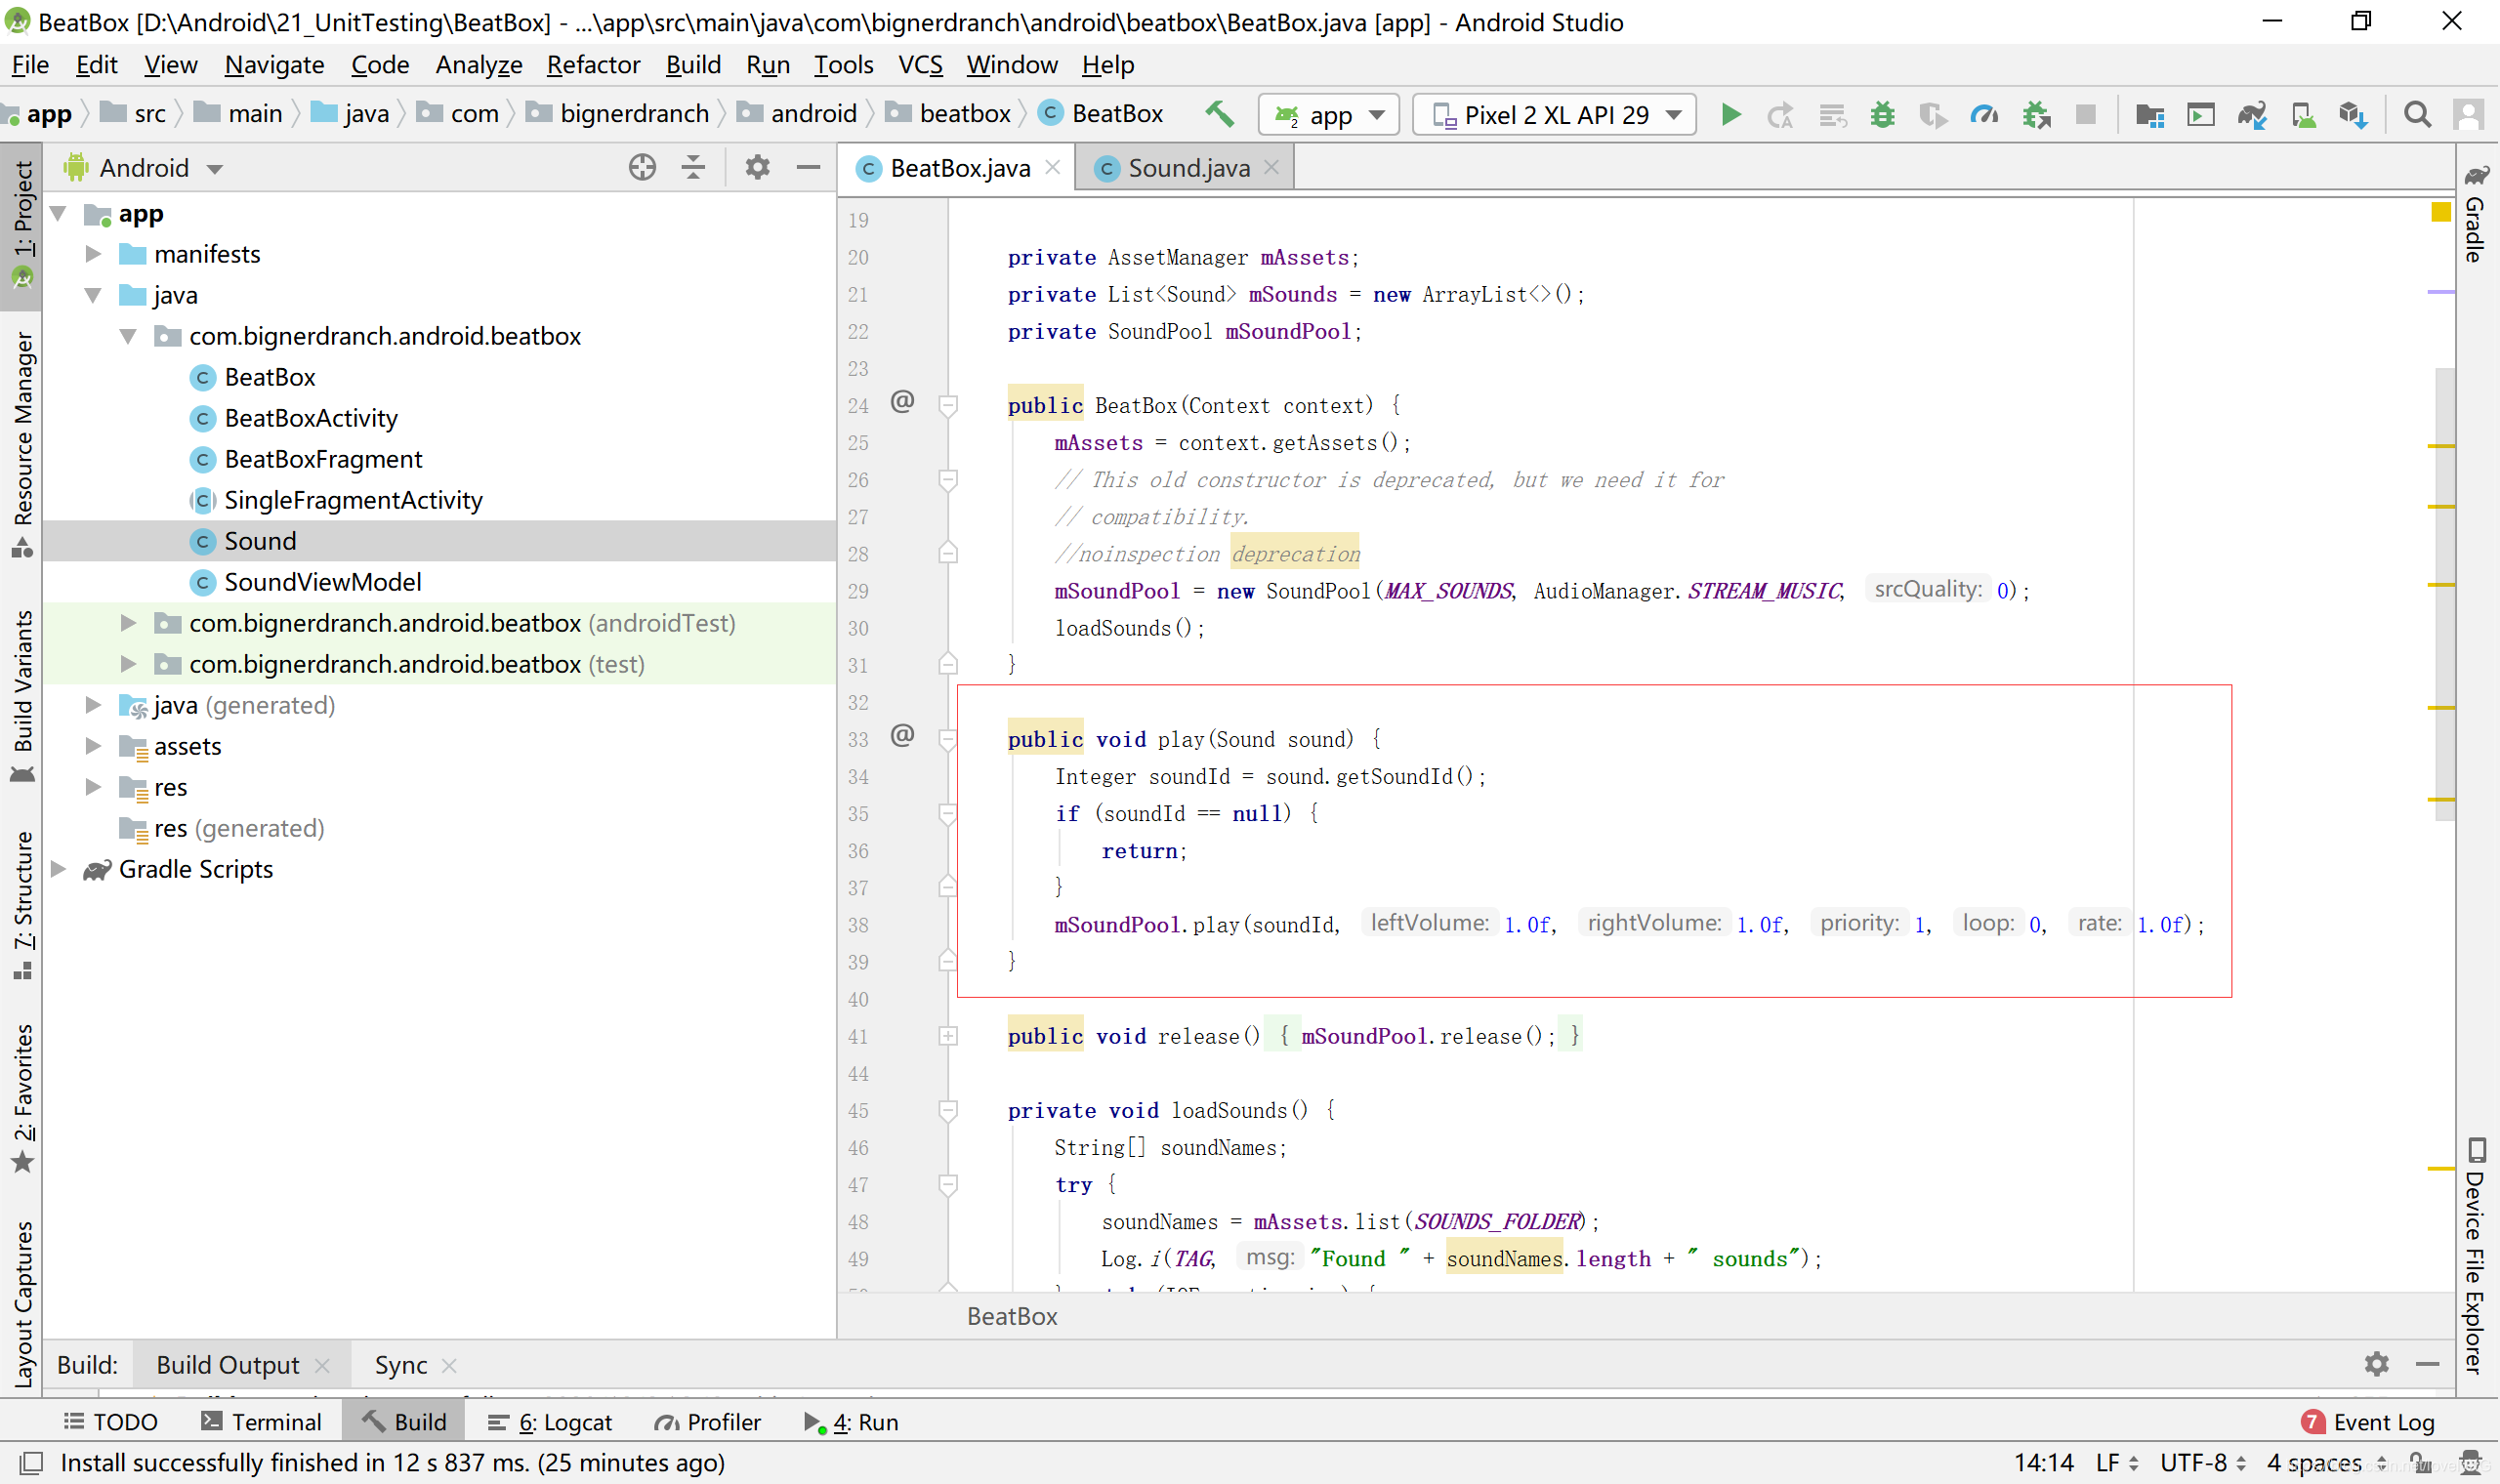
public BeatBox(Context context) {
mAssets = context.getAssets();
// This old constructor is deprecated, but we need it for compatibility. mSoundPool = new SoundPool(MAX_SOUNDS, AudioManager.STREAM_MUSIC,0);loadSounds();
}
}
 加载音频文件
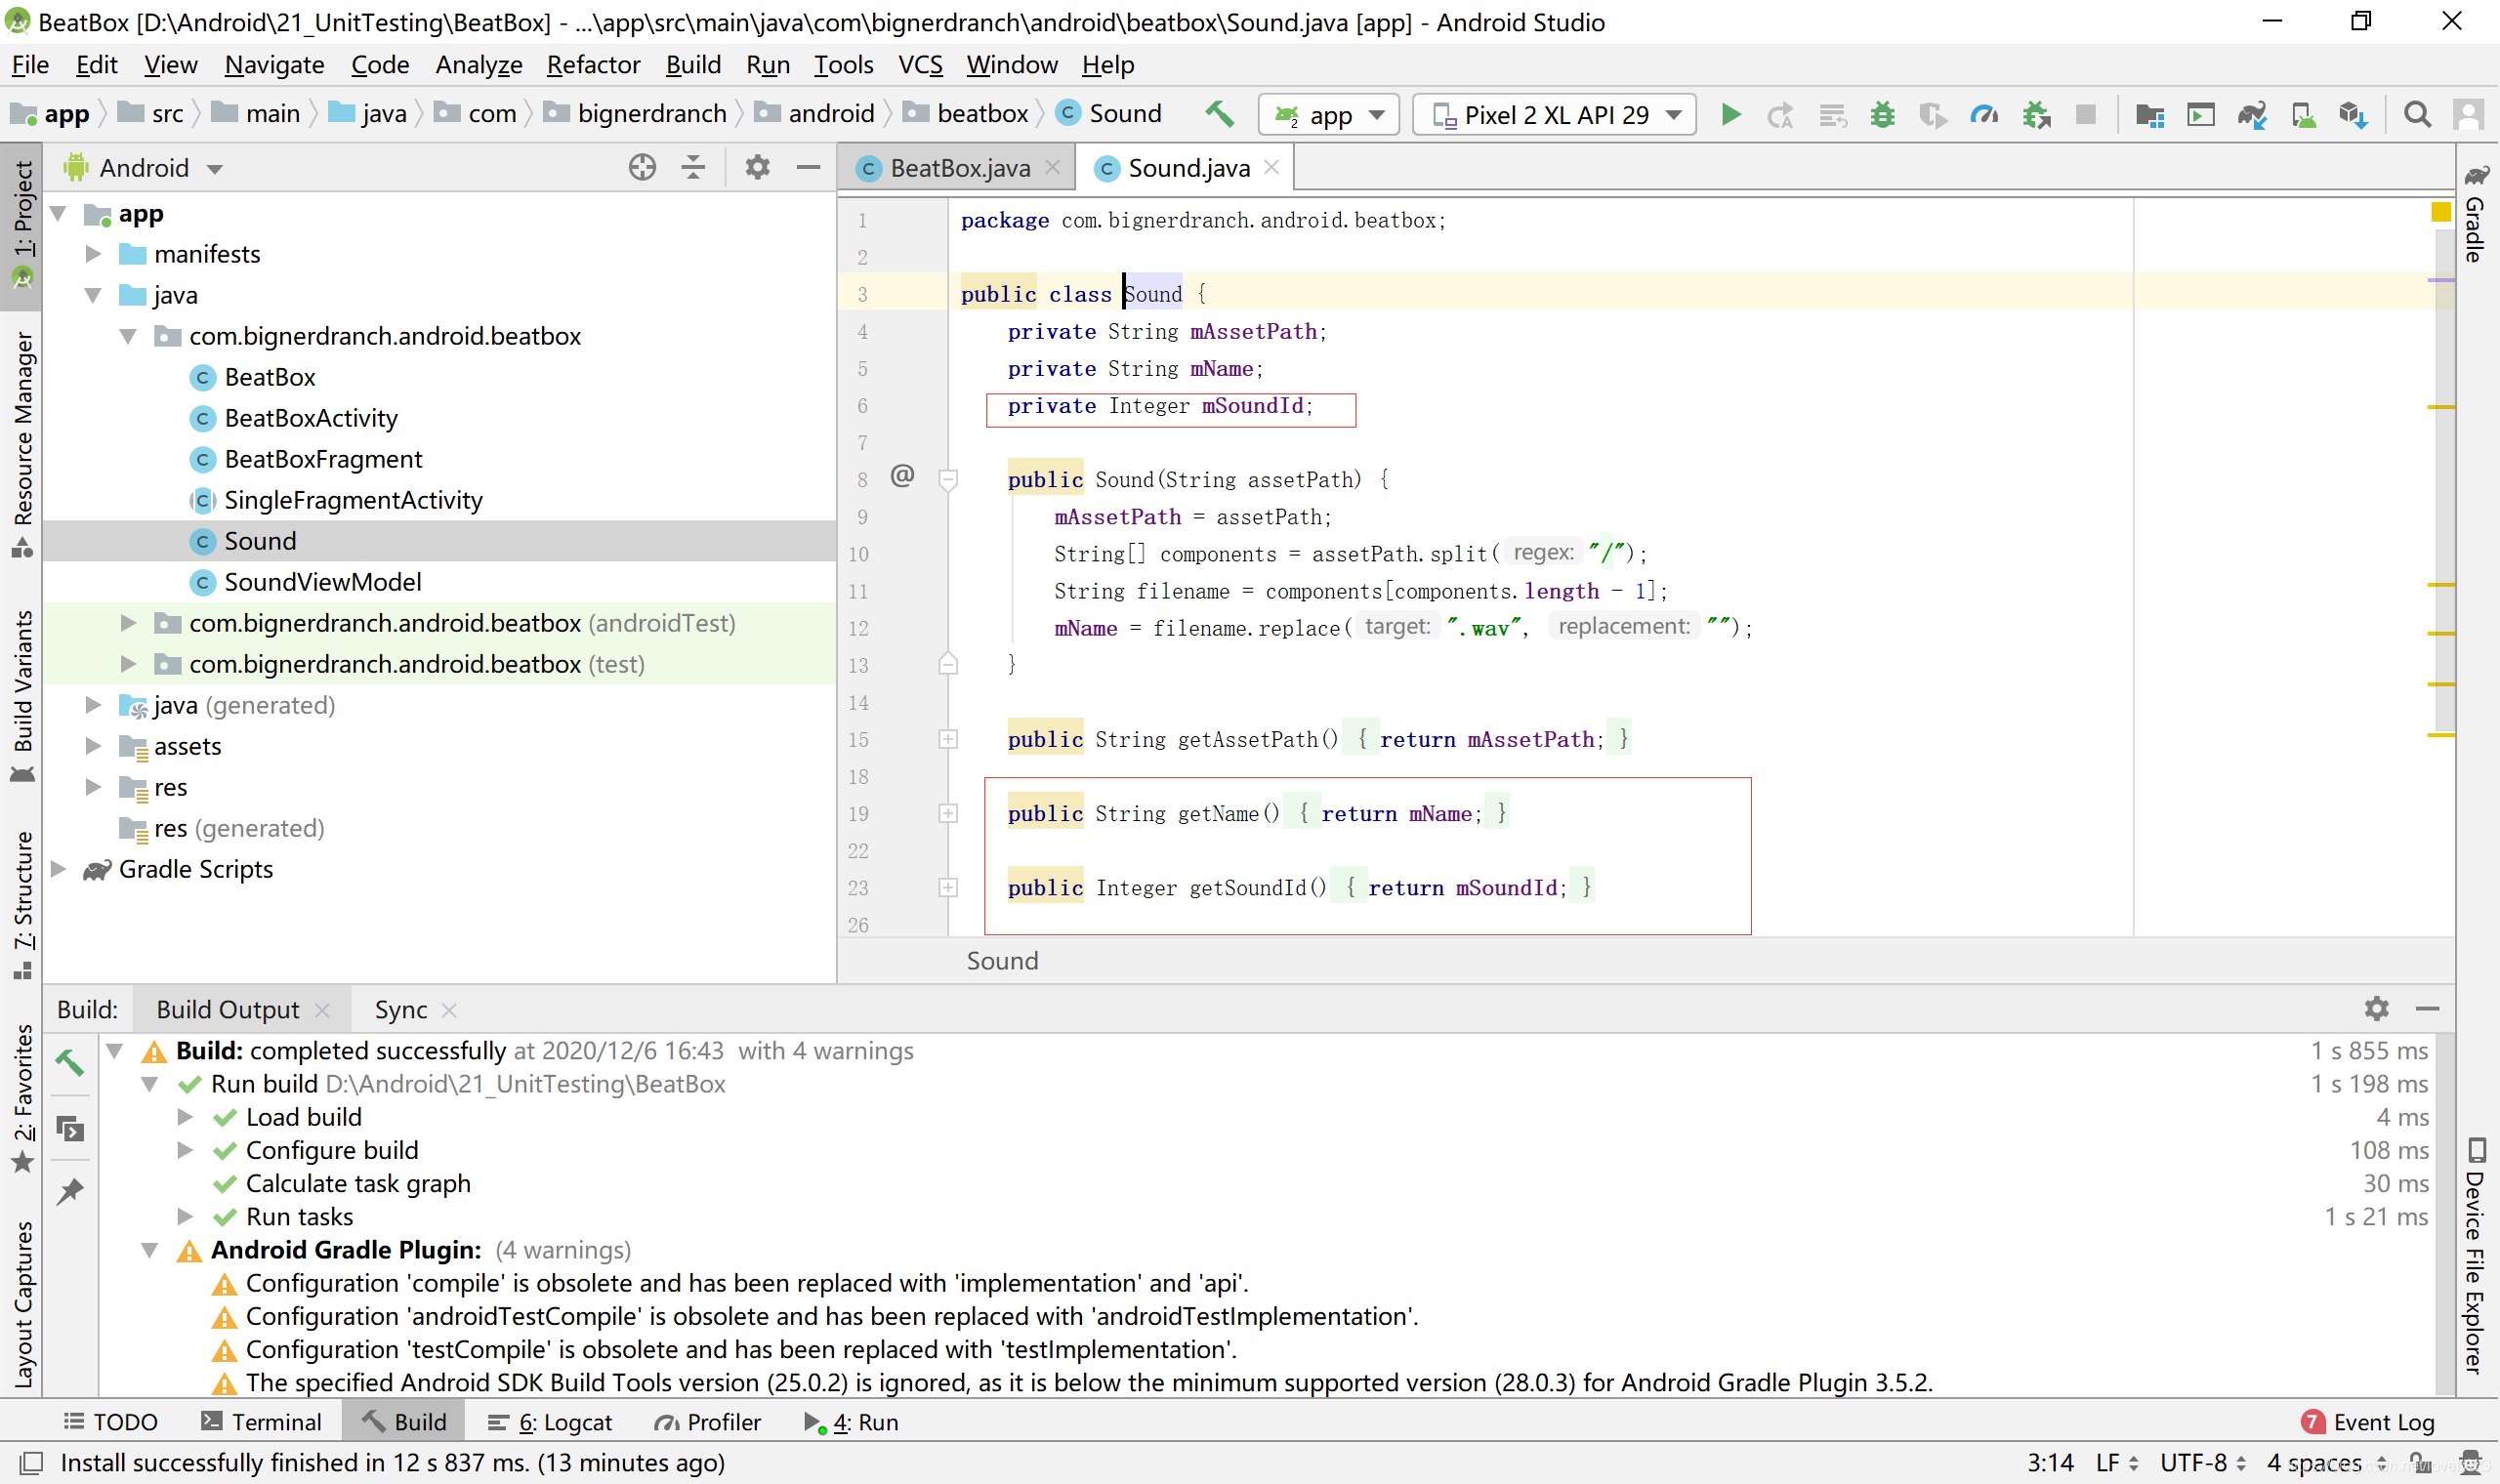
2.在Sound类中添加mSoundId实例变量,并添加相应的getter方法和setter方法管理这些ID
public class Sound {
private String mAssetPath;
private String mName;
··.
private Integer mSoundId;
public String getName(){
return mName;
}
public Integer getSoundId(){
return mSoundId;
}
public void setSoundId(Integer soundId) {
mSoundId = soundId;
}
}
 3.加载音频(BeatBox.java)
private void loadSounds(){
}
private void load(Sound sound) throws IOException{
AssetFileDescriptor afd = mAssets.openFd(sound.getAssetPath());int soundId= mSoundPool.load(afd,1);
sound.setSoundId(soundId);
}
public list<Sound> getSounds(){
return mSounds;
}
}
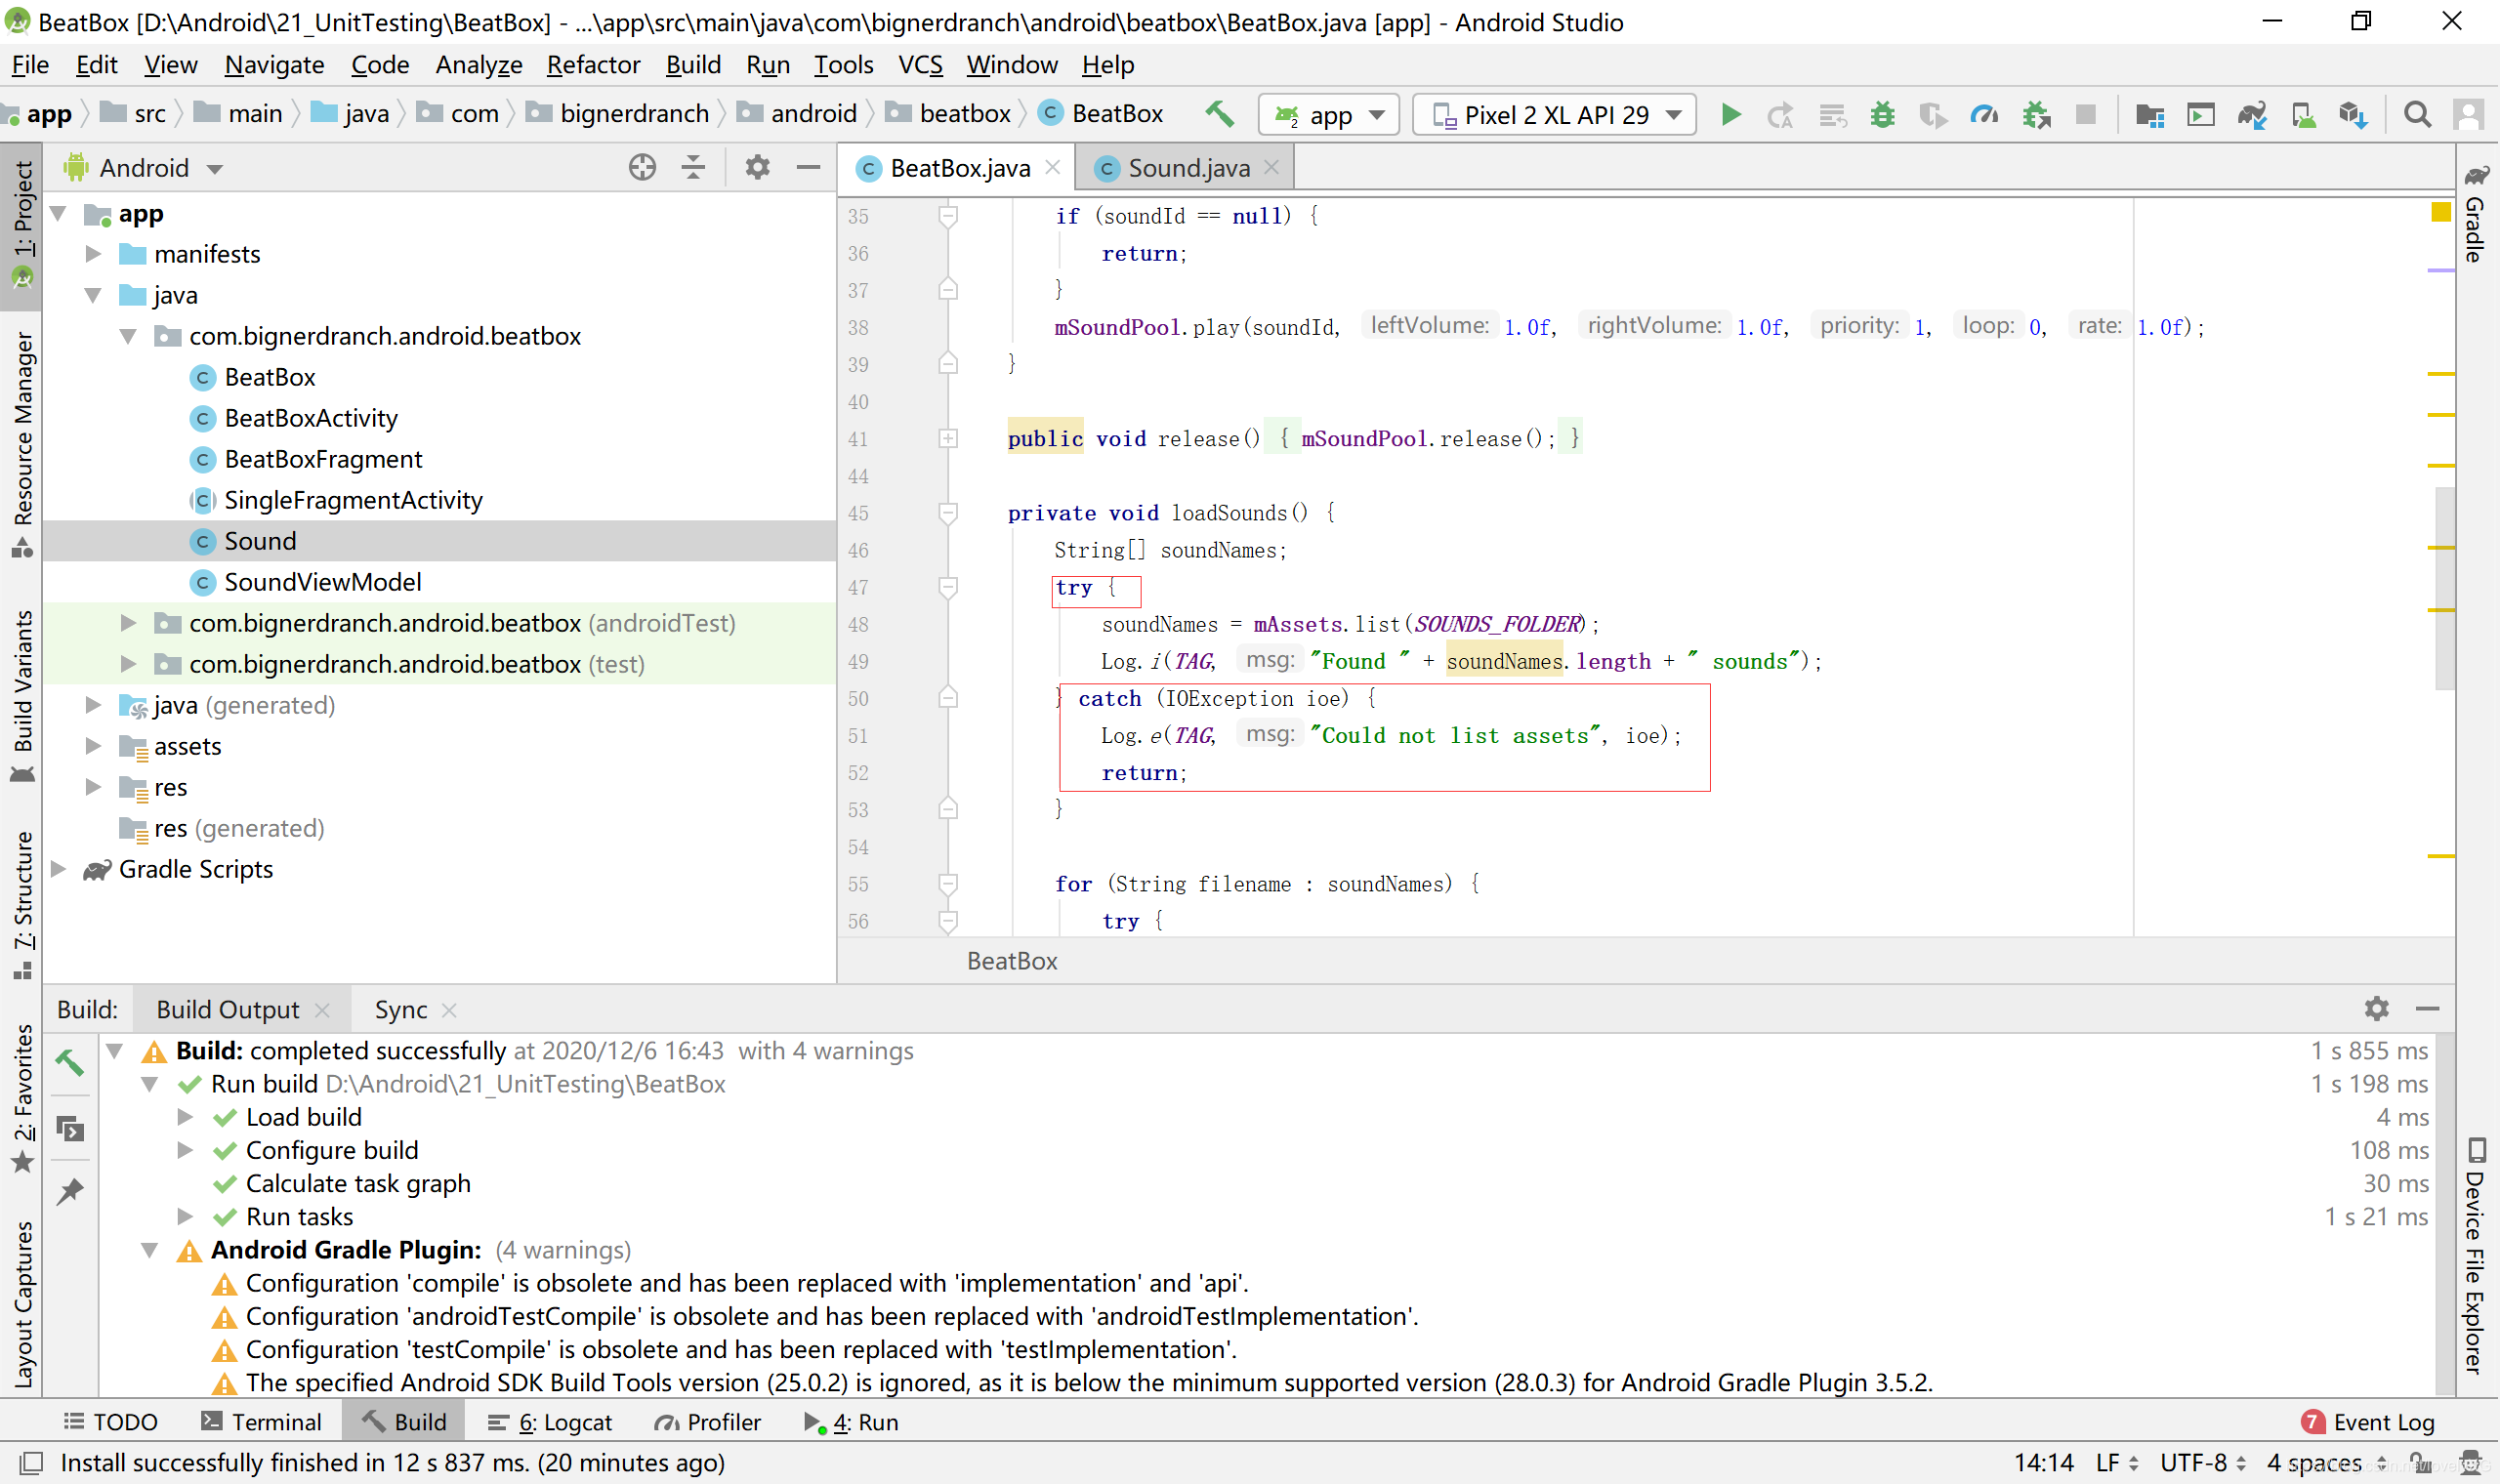
 4.载入全部音频文件(BeatBoxjava)
private void loadSounds(){
for (String filename: soundNames){
try {
String assetPath = SOUNDS FOLDER +"/"+ filename;
Sound sound = new Sound(assetPath);
load(sound);
mSounds.add(sound);
} catch (IOException ioe){
Log.e(TAG, "Could not load sound "+ filename, ioe);
}
}
}
 播放音频
播放音频
5.播放音频(BeatBoxjava)
public BeatBox(Context context){
mAssets = context.getAssets();
// This old constructor is deprecated but needed for compatibility mSoundPool= new SoundPool(MAX_SOUNDS,AudioManager.STREAM_MUSIC, 0);loadSounds();
}
public void play(Sound sound) {
Integer soundId = sound.getSoundId();
if (soundId == null){
return;
}
mSoundPool.play(soundId, 1.0f, 1.0f, 1, 0, 1.0f);
private void loadSounds() {
 添加测试依赖
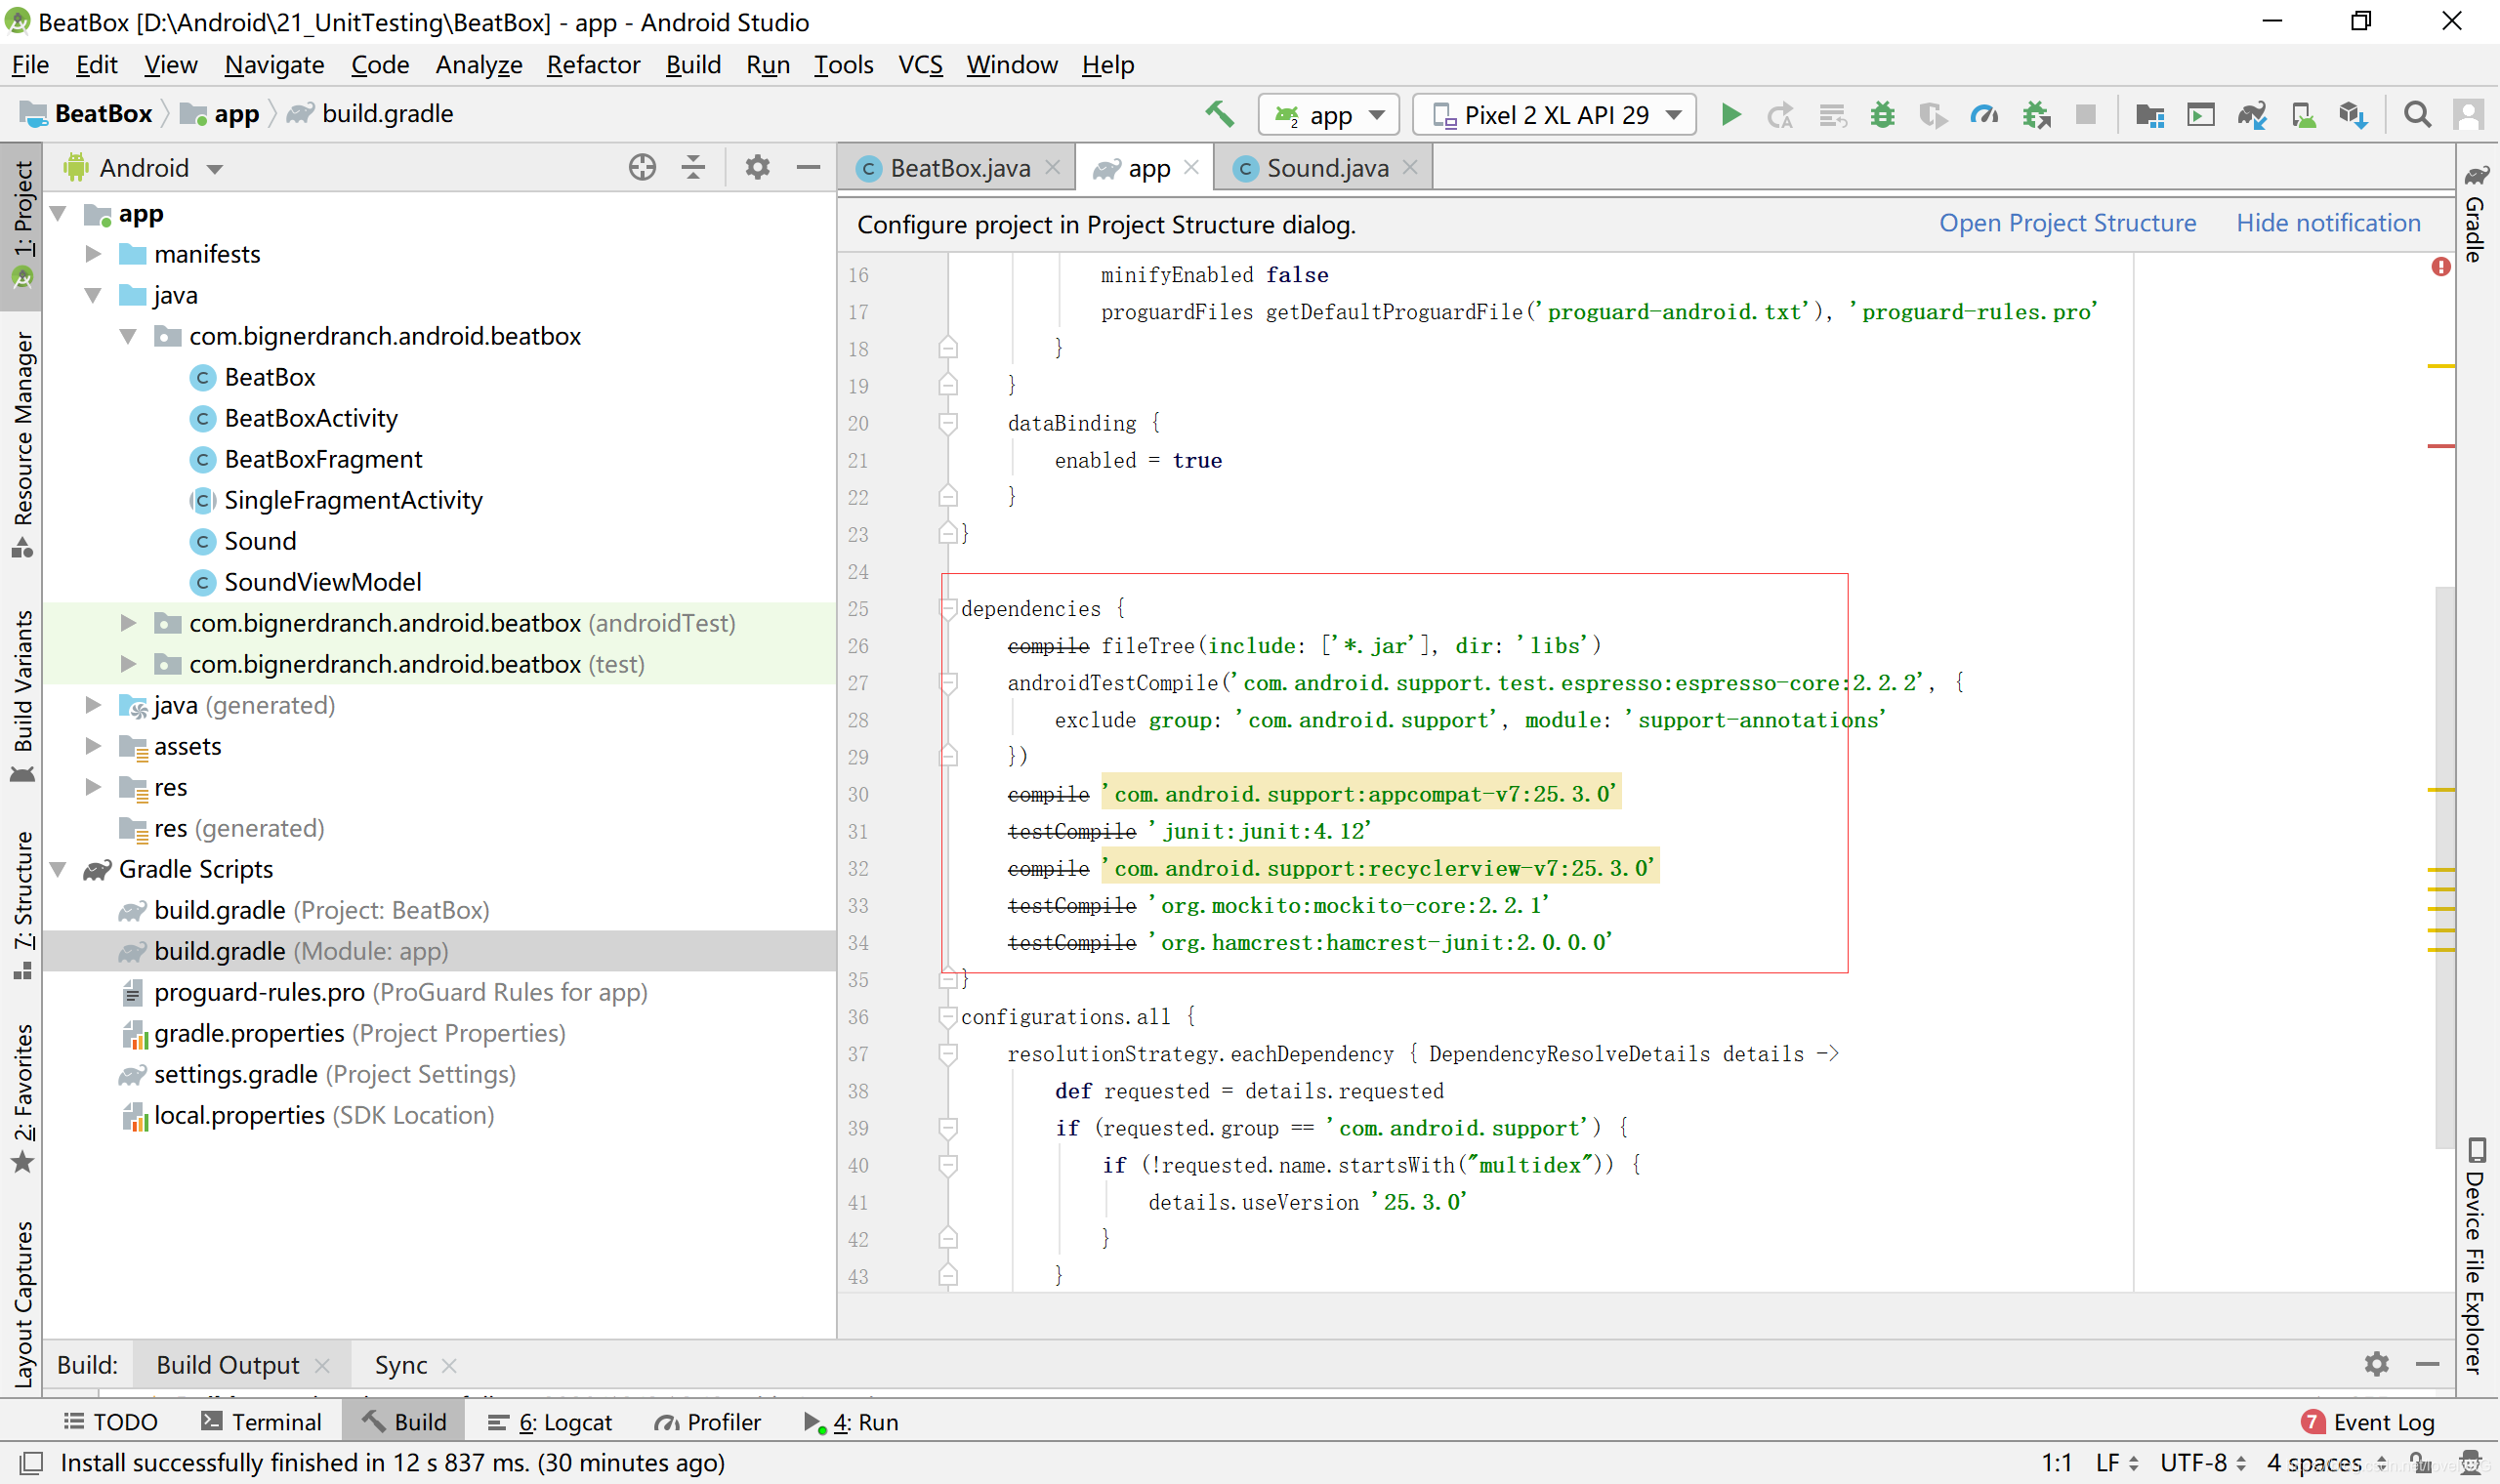
6.打开build.gradle文件,把依赖项作用范围从compile改为testCompile,代码如下所示
dependencies {
compile fileTree(include:['*.jar'],dir: 'libs'}
androidTestCompile('com.android.support.test.espresso:espresso-core:2.2.2',{
exclude group:'com.android.support', module: 'support-annotations'
}}
compile 'com.android.support:appcompat-v7:24.2.0'
testCompile’junit:junit:4.12'
compile'com.android.support:recyclerview-v7:24.2.0
compile testCompile 'org.mockito:mockito-core:2.2.1'
compile testCompile 'org.hamcrest:hamcrest-junit:2.0.6.0'
}
 创建测试类
创建测试类
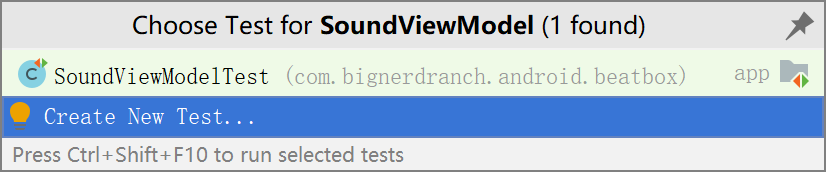
7.创建一个用作JUnit测试的测试类。打开SoundViewModel.java文件,使用Command+Shifi+T(Ctrl+Shift+T)组合键。Android Studio尝试寻找这个类关联的测试类。如果找不到,它就会提示新建,如图所示
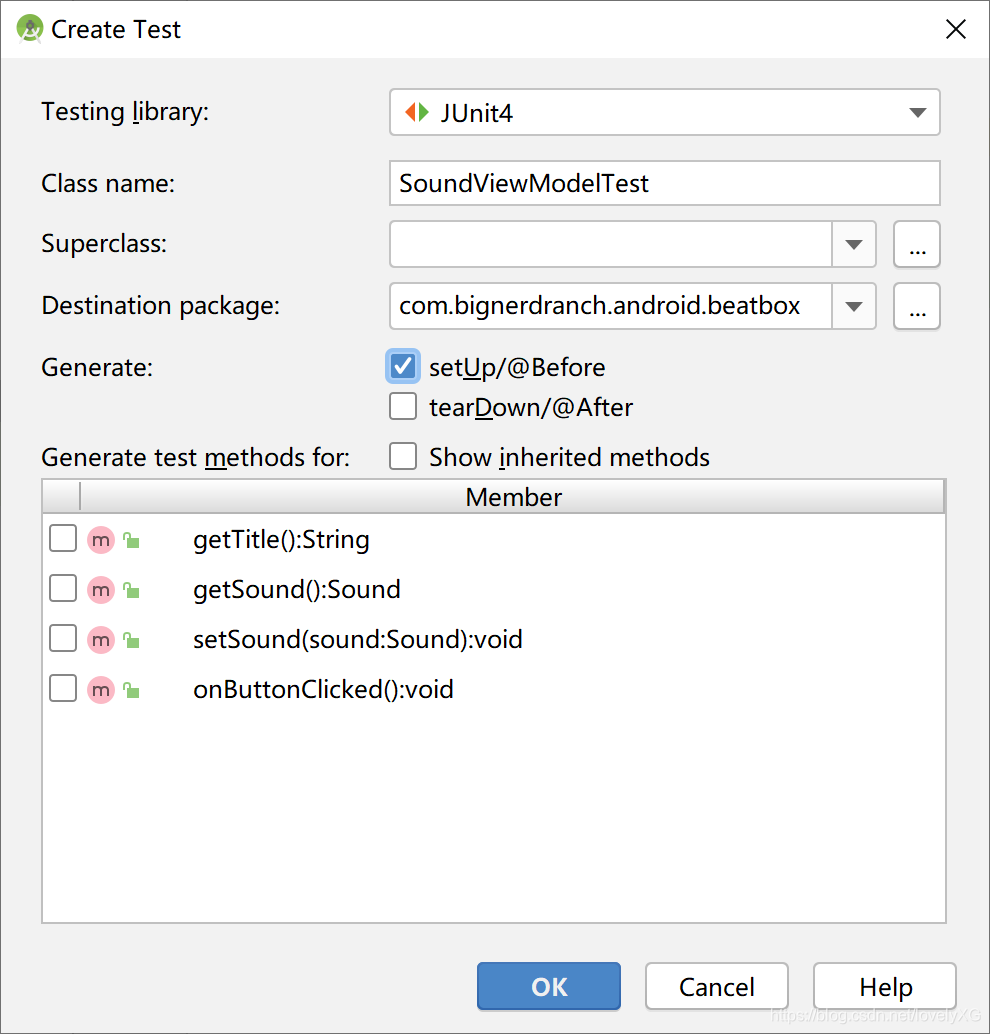
 8.选择Create New Test…创建一个新测试类。测试库选择JUnit4,勾选setUp/@Before,其他保持默认设置,如图所示
 实现测试类
实现测试类
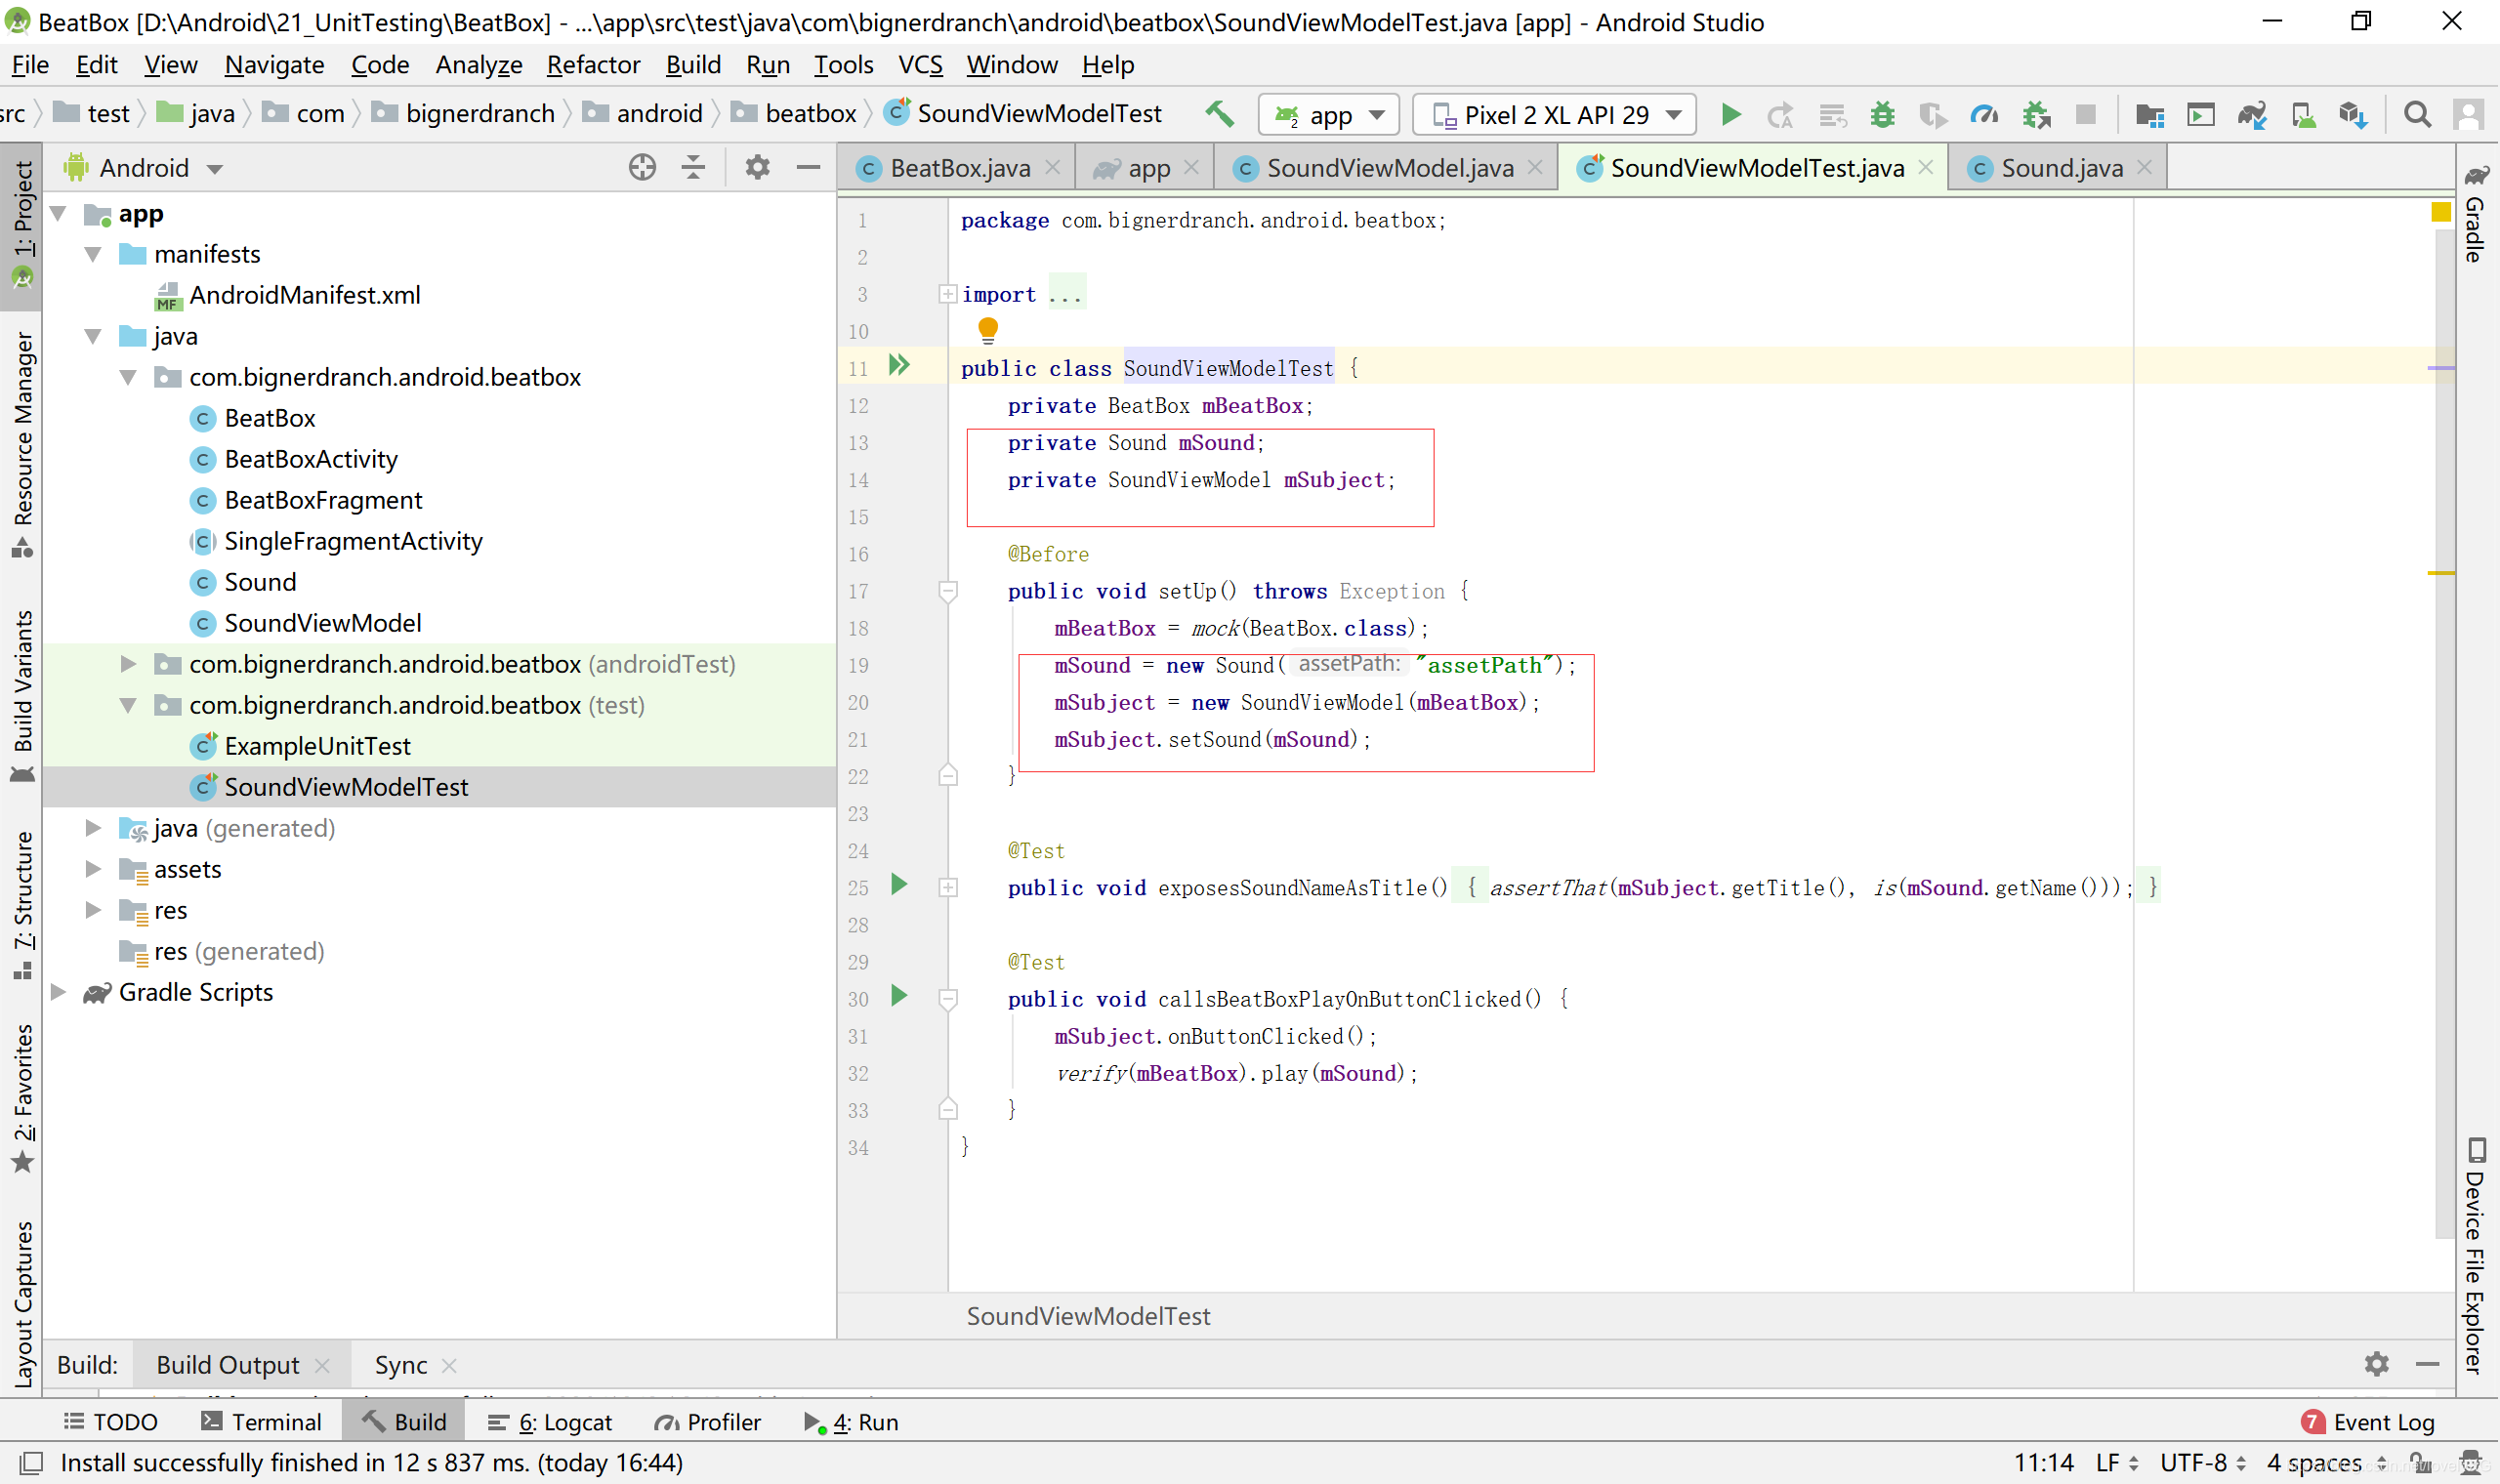
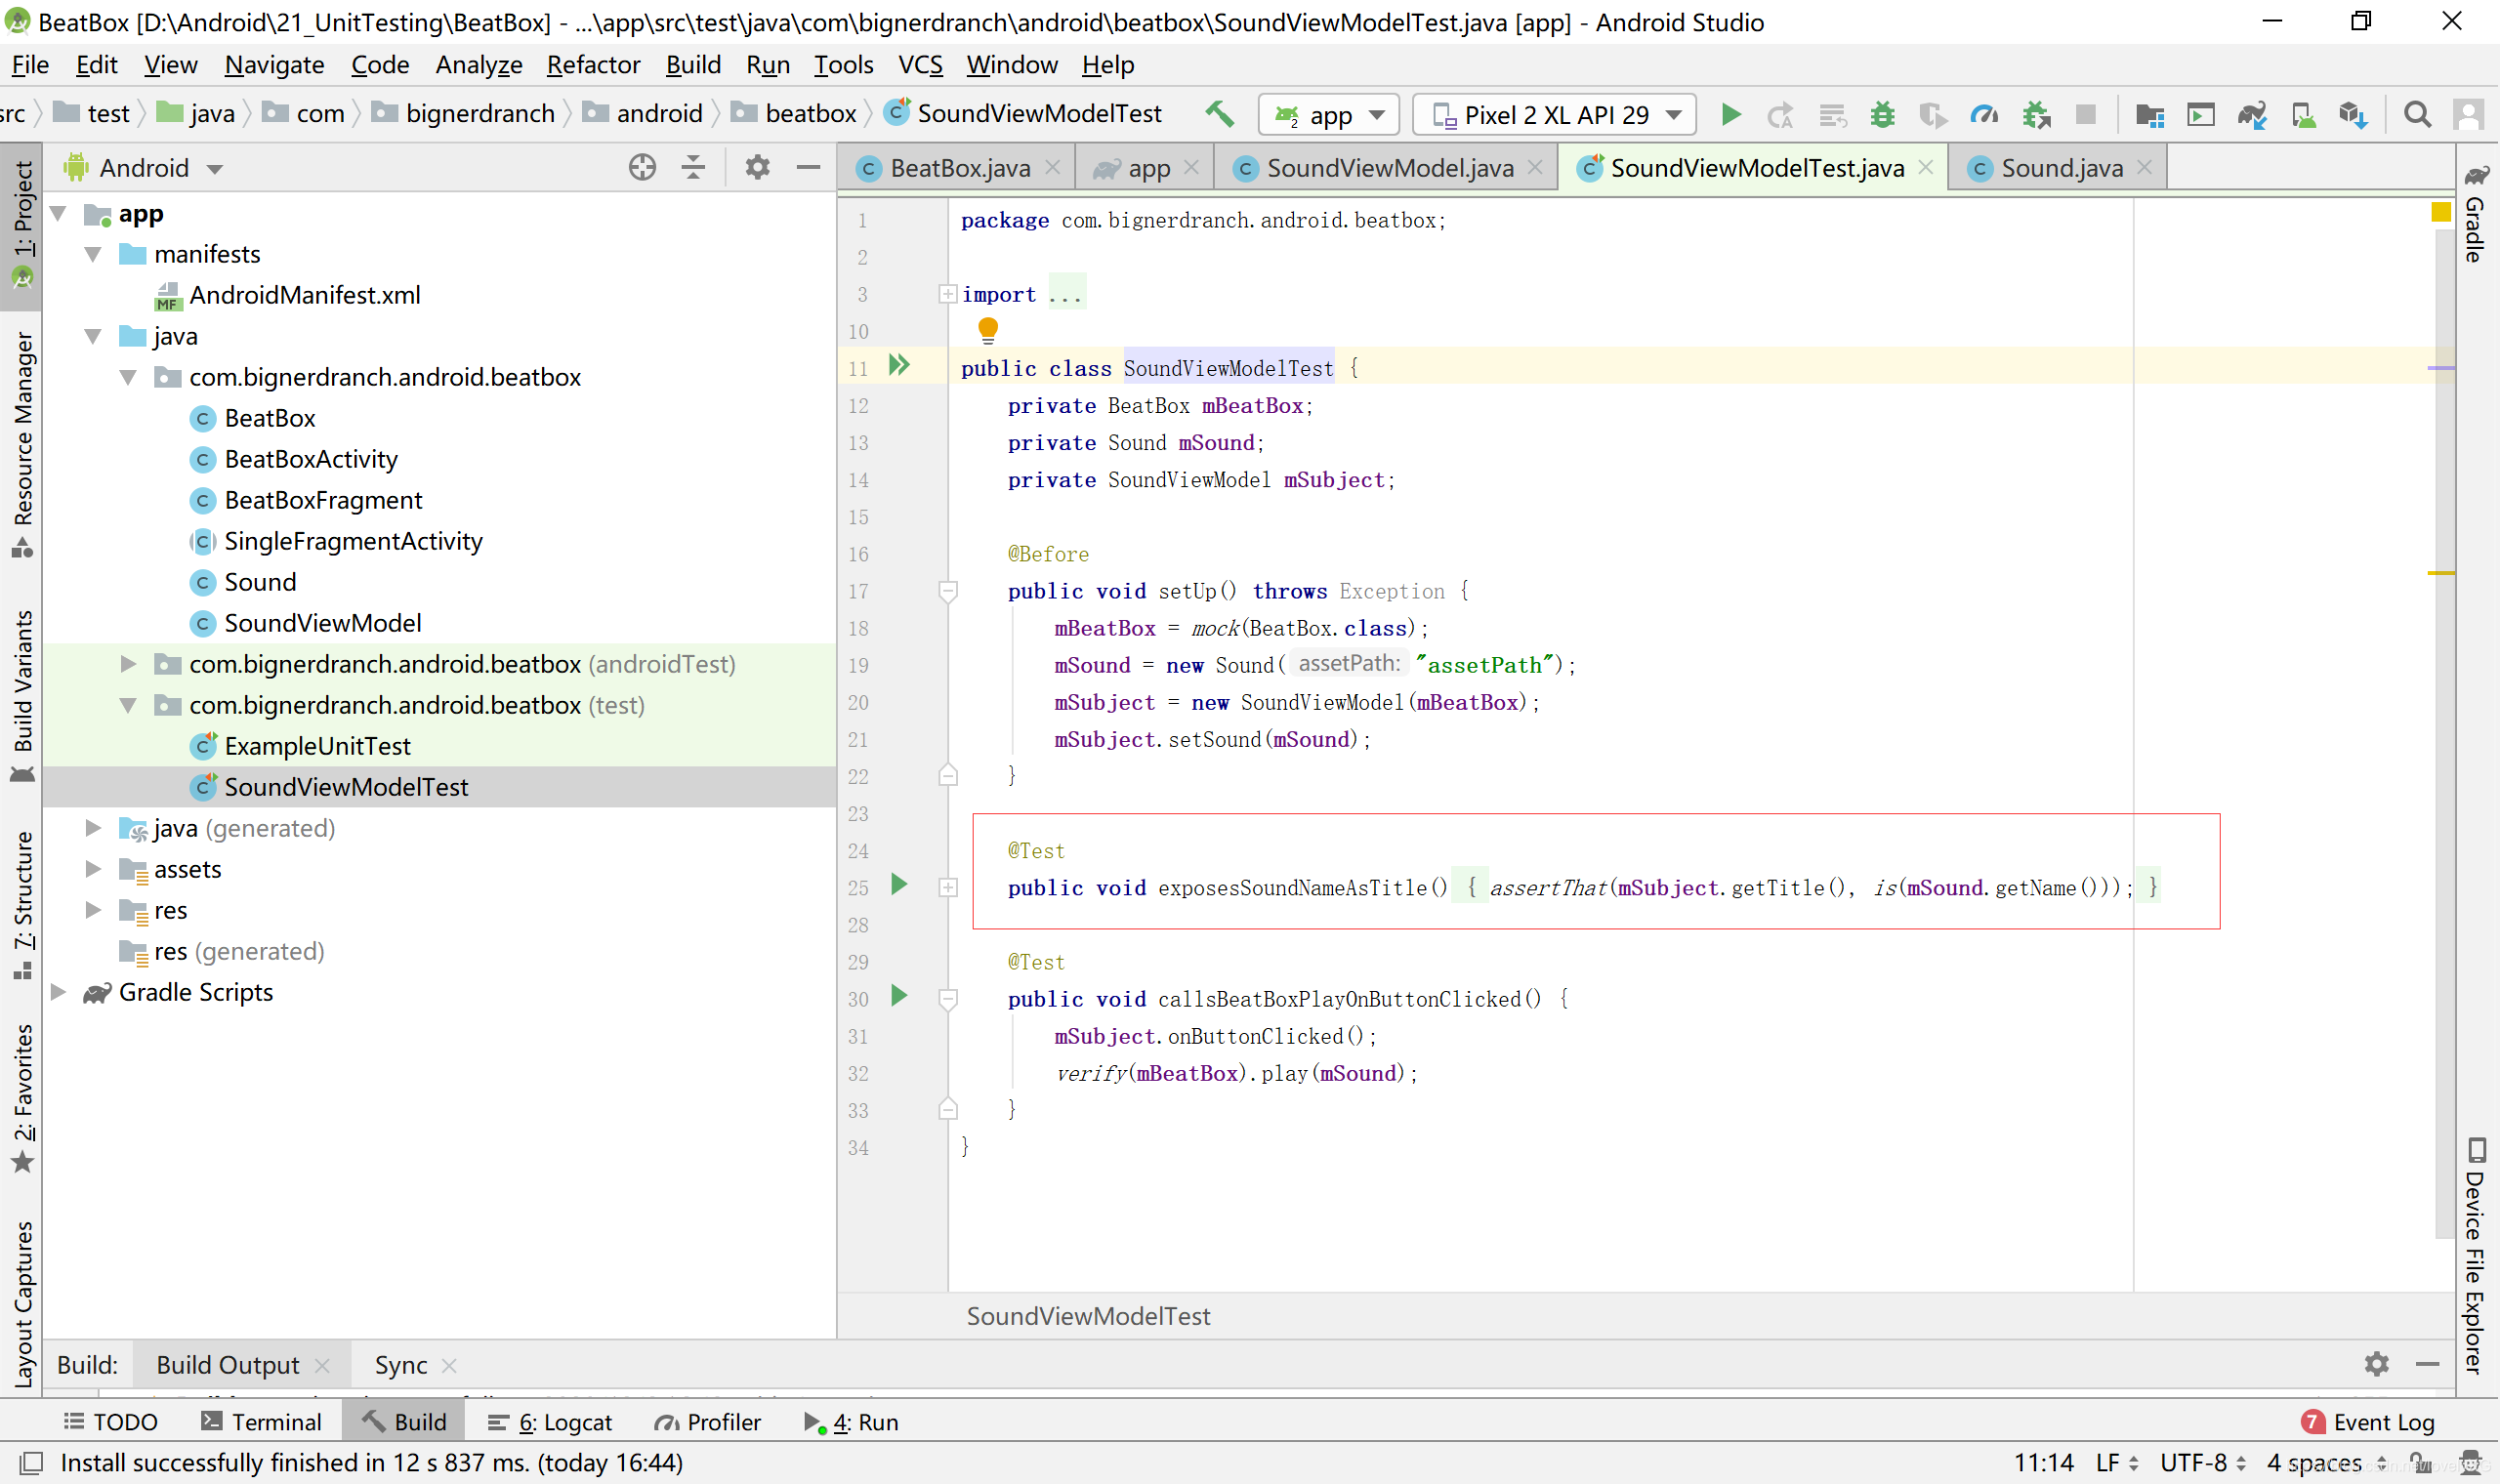
9.空测试类(SoundViewModelTest.java)
public class SoundViewModelTest {
@Before
public void setUp() throws Exception {
}
}
 使用虚拟依赖项
10.创建虚拟BeatBox对象(SoundViewModelTest.java)
public class SoundViewModelTest {
private BeatBox mBeatBox;
@Before
public void setUp() throws Exception {
mBeatBox = mock(BeatBox.class);
}
}
 11.创建SoundViewModel测试对象(SoundViewModelTest.java)
public class SoundViewModelTest {
private BeatBox mBeatBox;
private Sound mSound;
private SoundViewModel mSubject;
@Before
public void setUp() throws Exception{
mBeatBox = mock(BeatBox.class);
mSound = new Sound("assetPath");
mSubject = new SoundViewModel(mBeatBox);
mSubject.setSound(mSound);
}
}
 编写测试方法
12.测试标题属性(SoundViewModelTest.java)
@Before
public voidsetUp()throws Exception {
mBeatBox = mock(BeatBox.class);
mSound = new Sound("assetPath");
mSubject = new SoundViewModel(mBeatBox);
mSubject.setSound(mSound);
}
@Test
public void exposesSoundNameAsTitle(){
assertThat(mSubject.getTitle(),is(mSound.getName()));
}
 测试对象交互
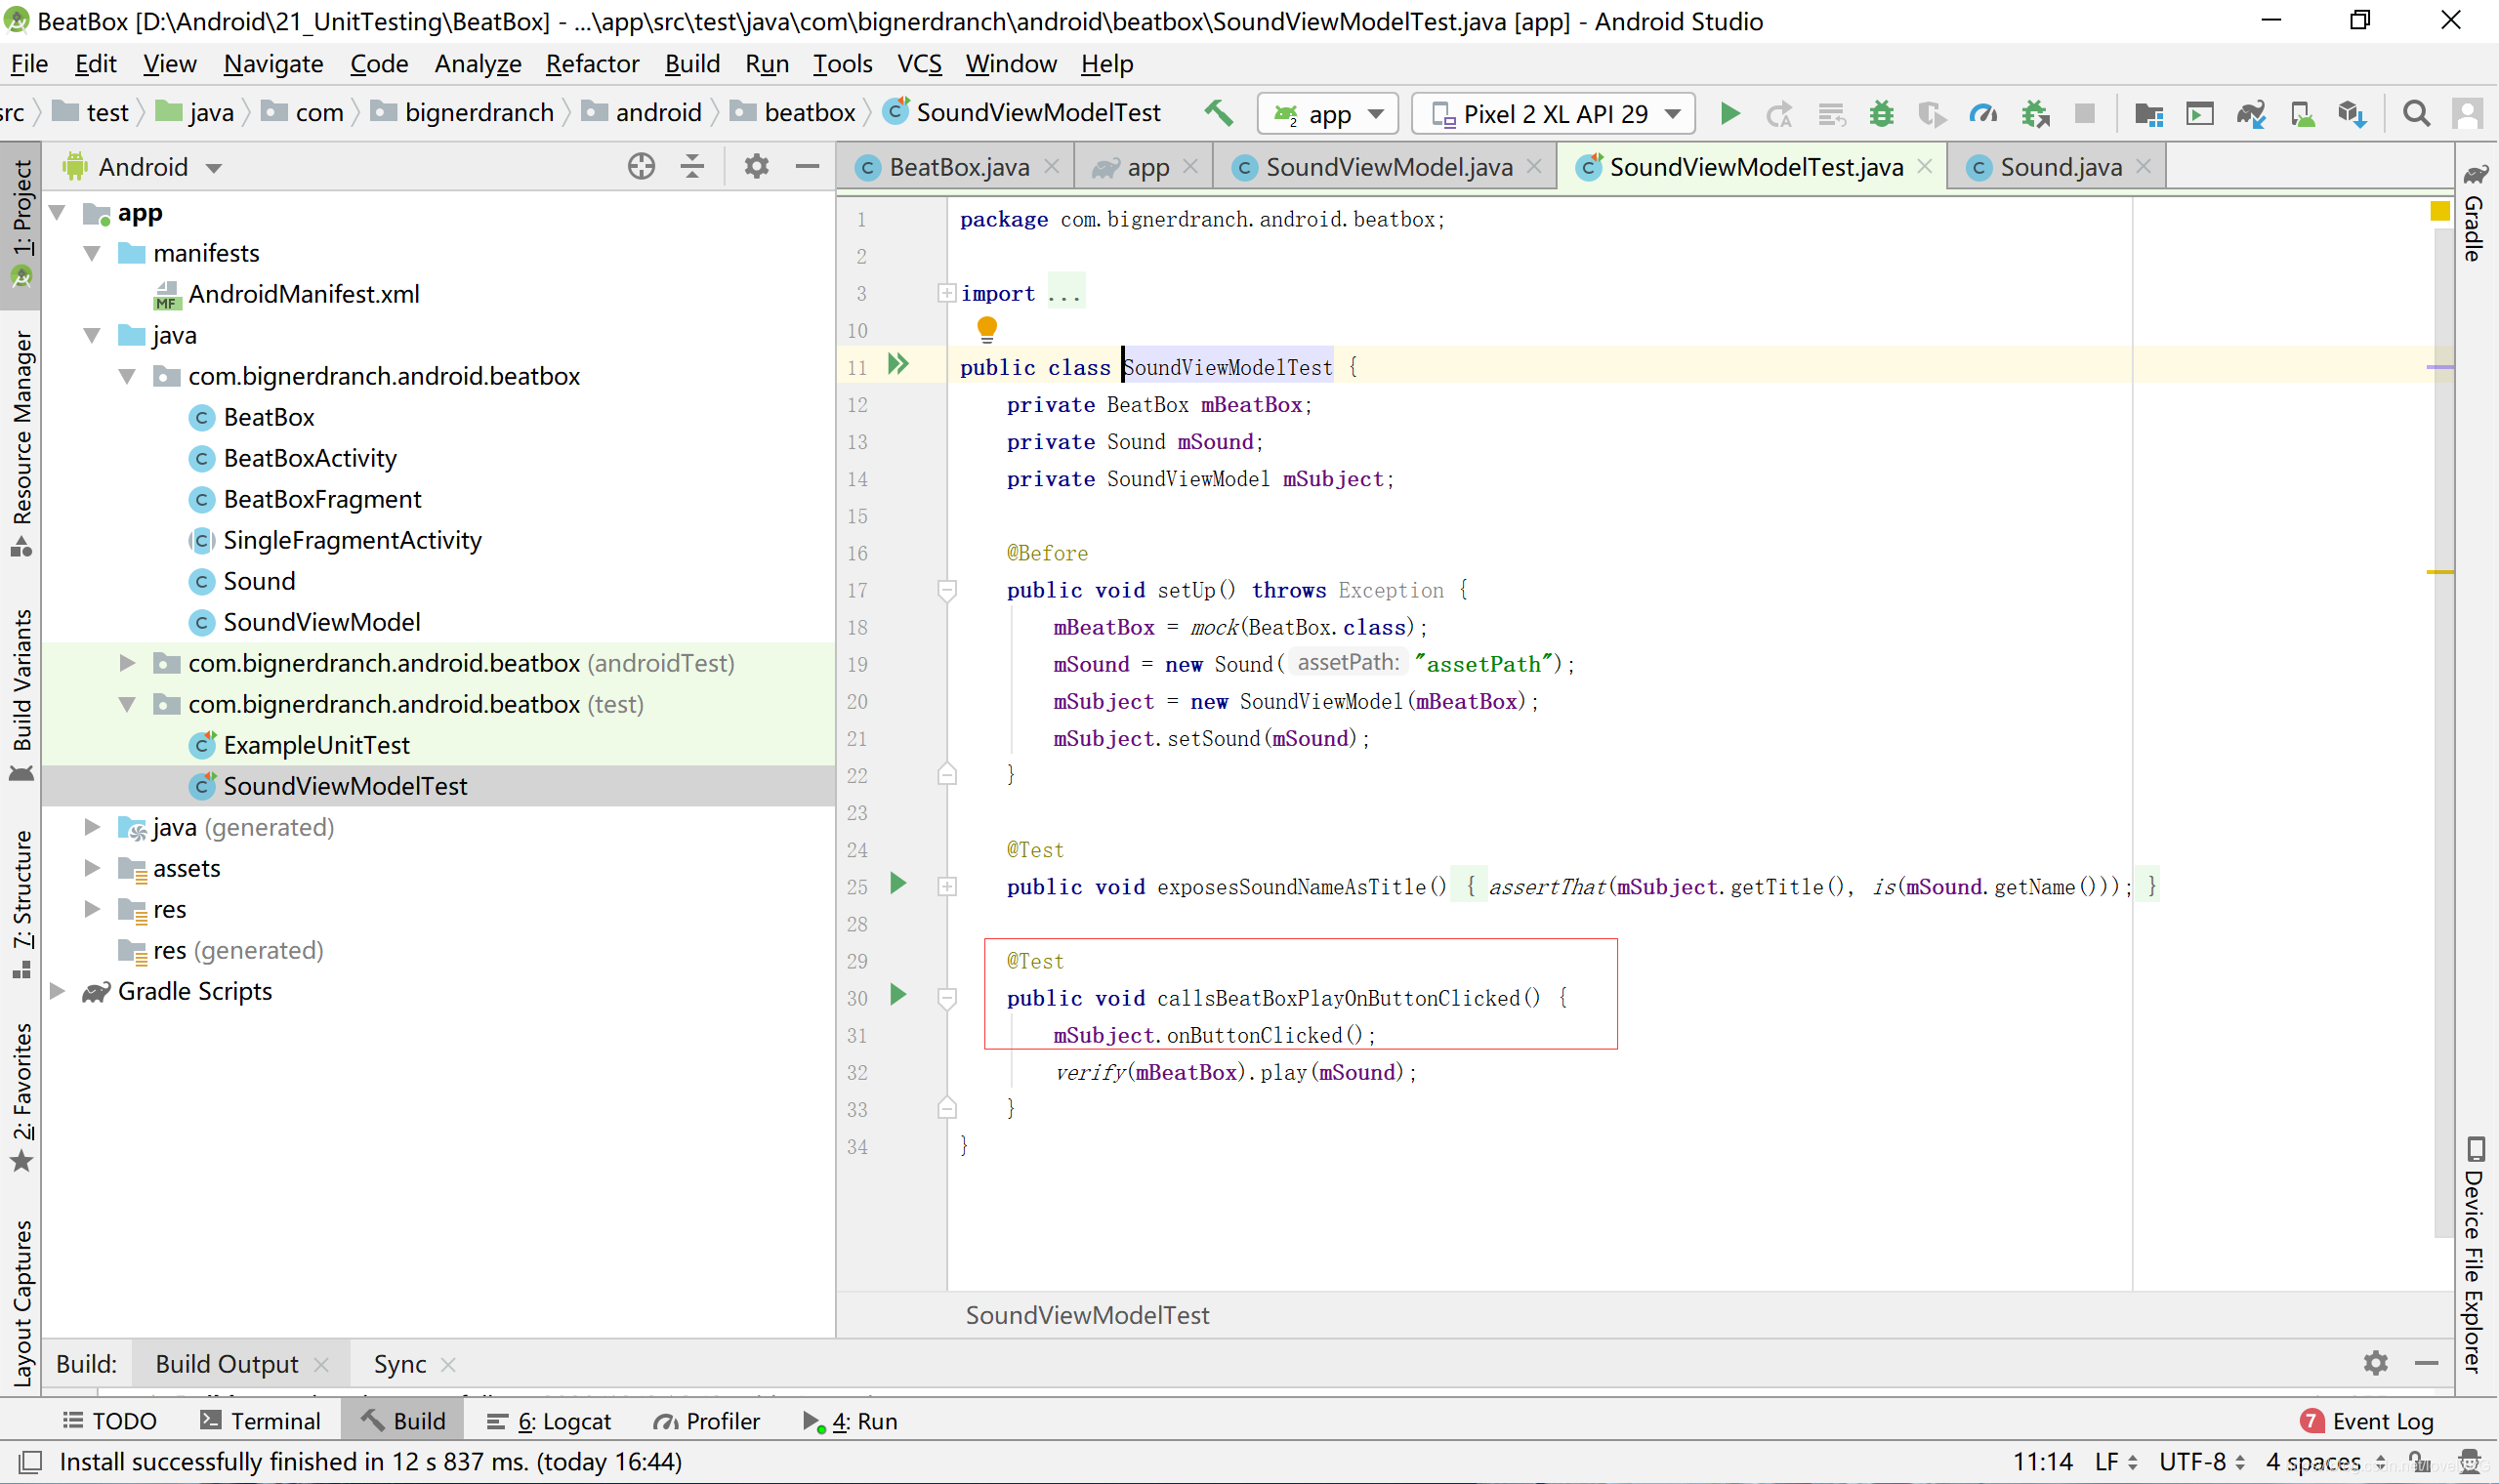
13.测试onButtonClicked()方法(SoundViewModelTest.java)
@Test
public void exposesSoundNameAsTitle(){
assertThat(mSubject.getTitle(),is(mSound.getName()));
}
@Test
public void callsBeatBoxPlayOnButtonClicked(){
mSubject.onButtonClicked();
}
}
 14.创建onButtonClicked()方法(SoundViewModel.java)
public void setSound(Sound sound) {
mSound = sound;
notifyChange();
}
public void onButtonClicked(){
}
}
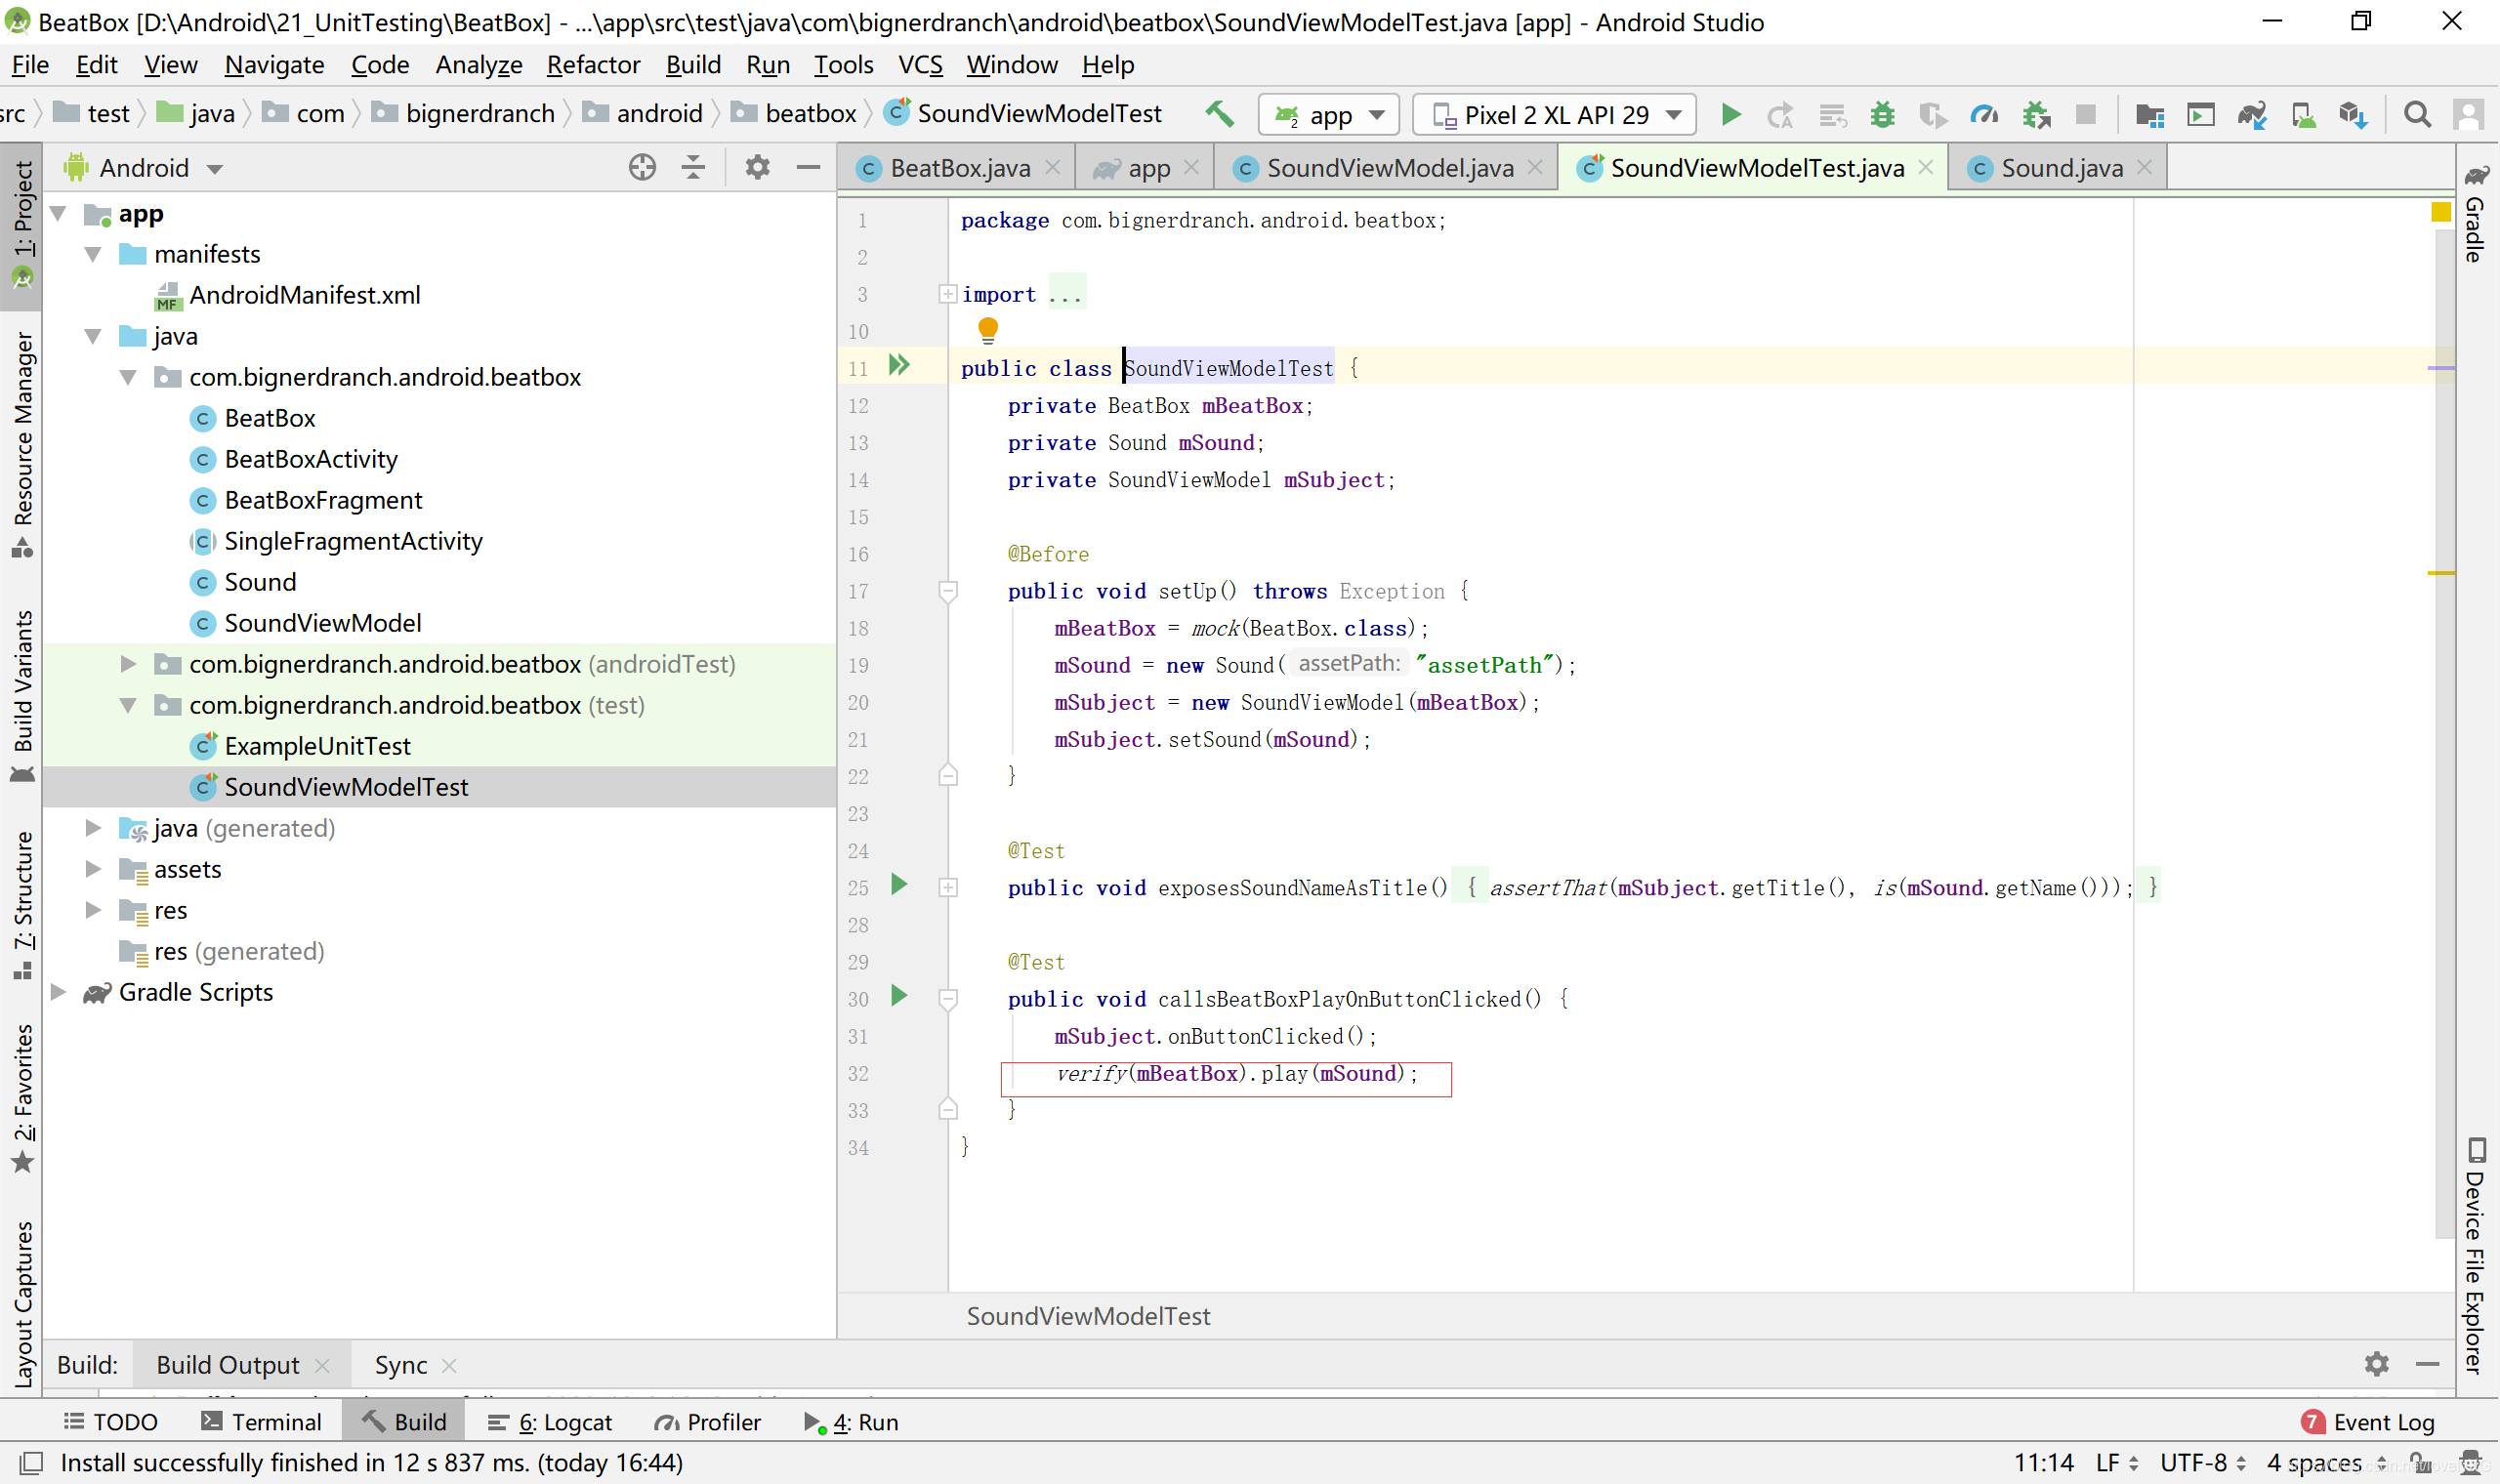
 15.调用verify(Object)方法,确认onButtonClicked()方法调用了BeatBox.play(Sound)方法,代码如下
assertThat(mSubject.getTitle(),is(mSound.getName()));
}
@Test
public void callsBeatBoxPlayOnButtonClicked(){
mSubject.onButtonClicked();
verify(mBeatBox).play(mSound);
}
}
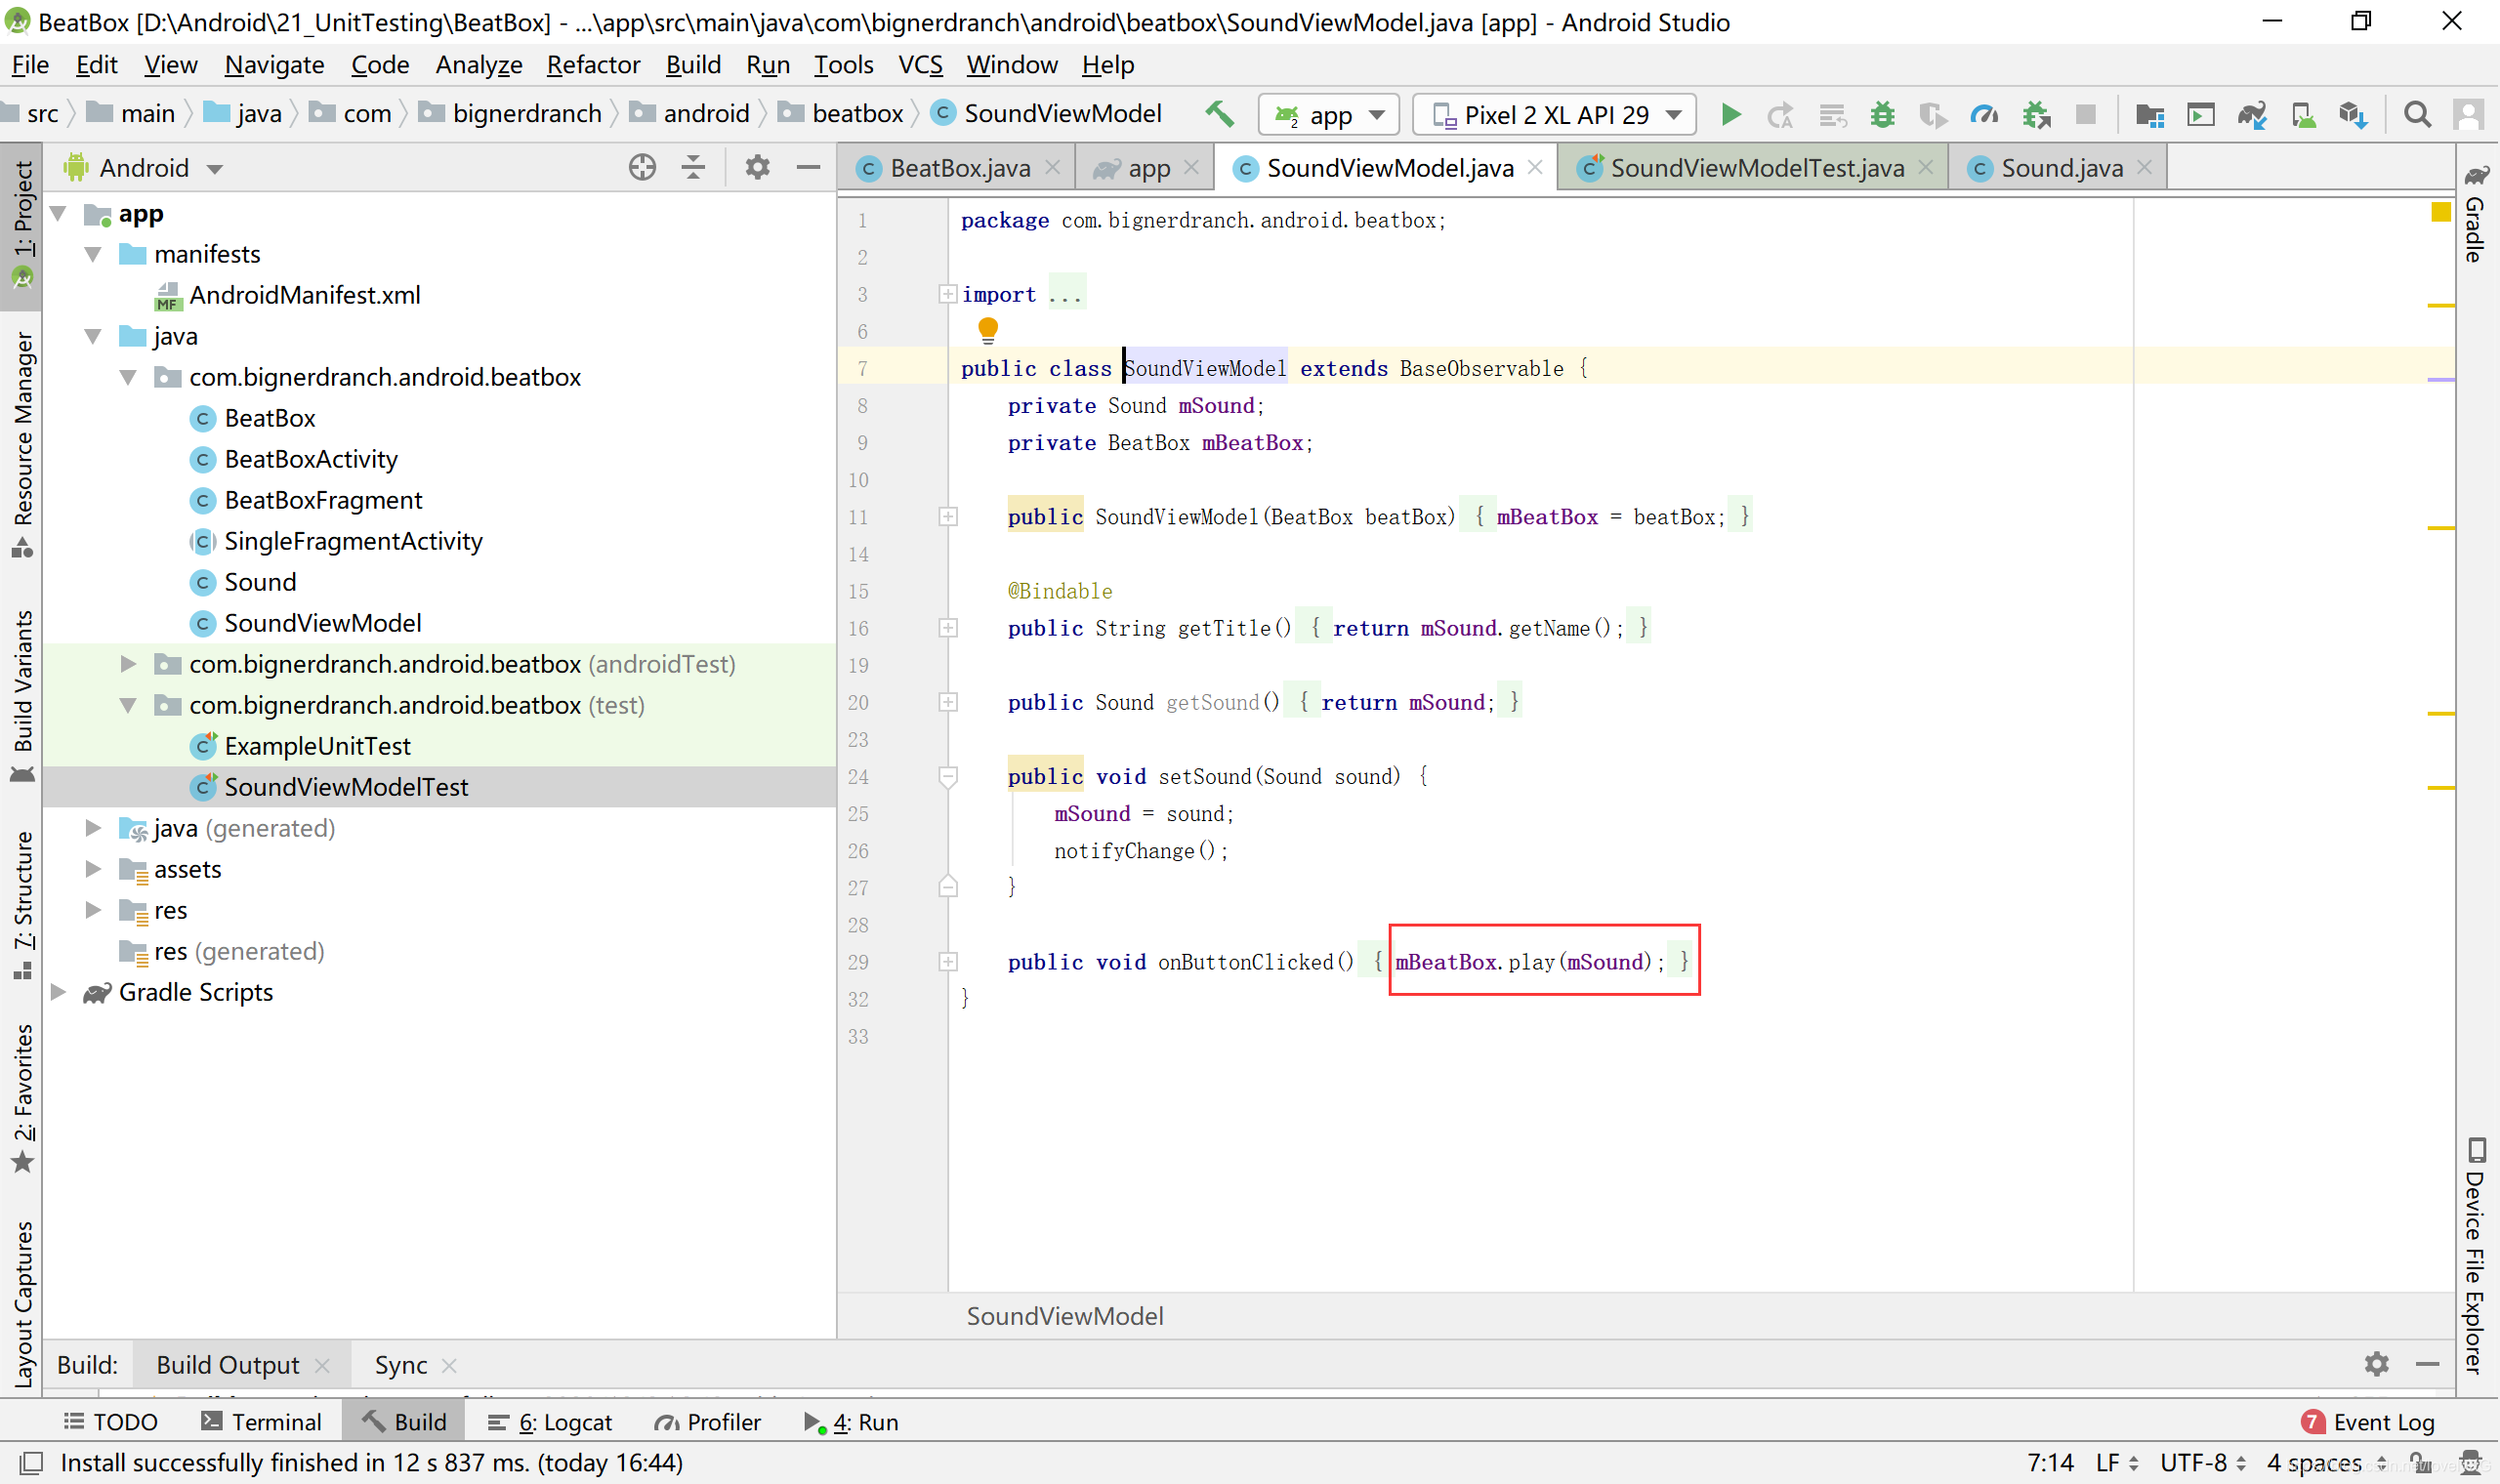
 16.实现onButtonClicked()方法(SoundViewModel.java)
public void setSound(Sound sound){
mSound = sound;
notifyChange();
}
public void onButtonClicked(){
mBeatBox.play(mSound);
}
}
 数据绑定回调
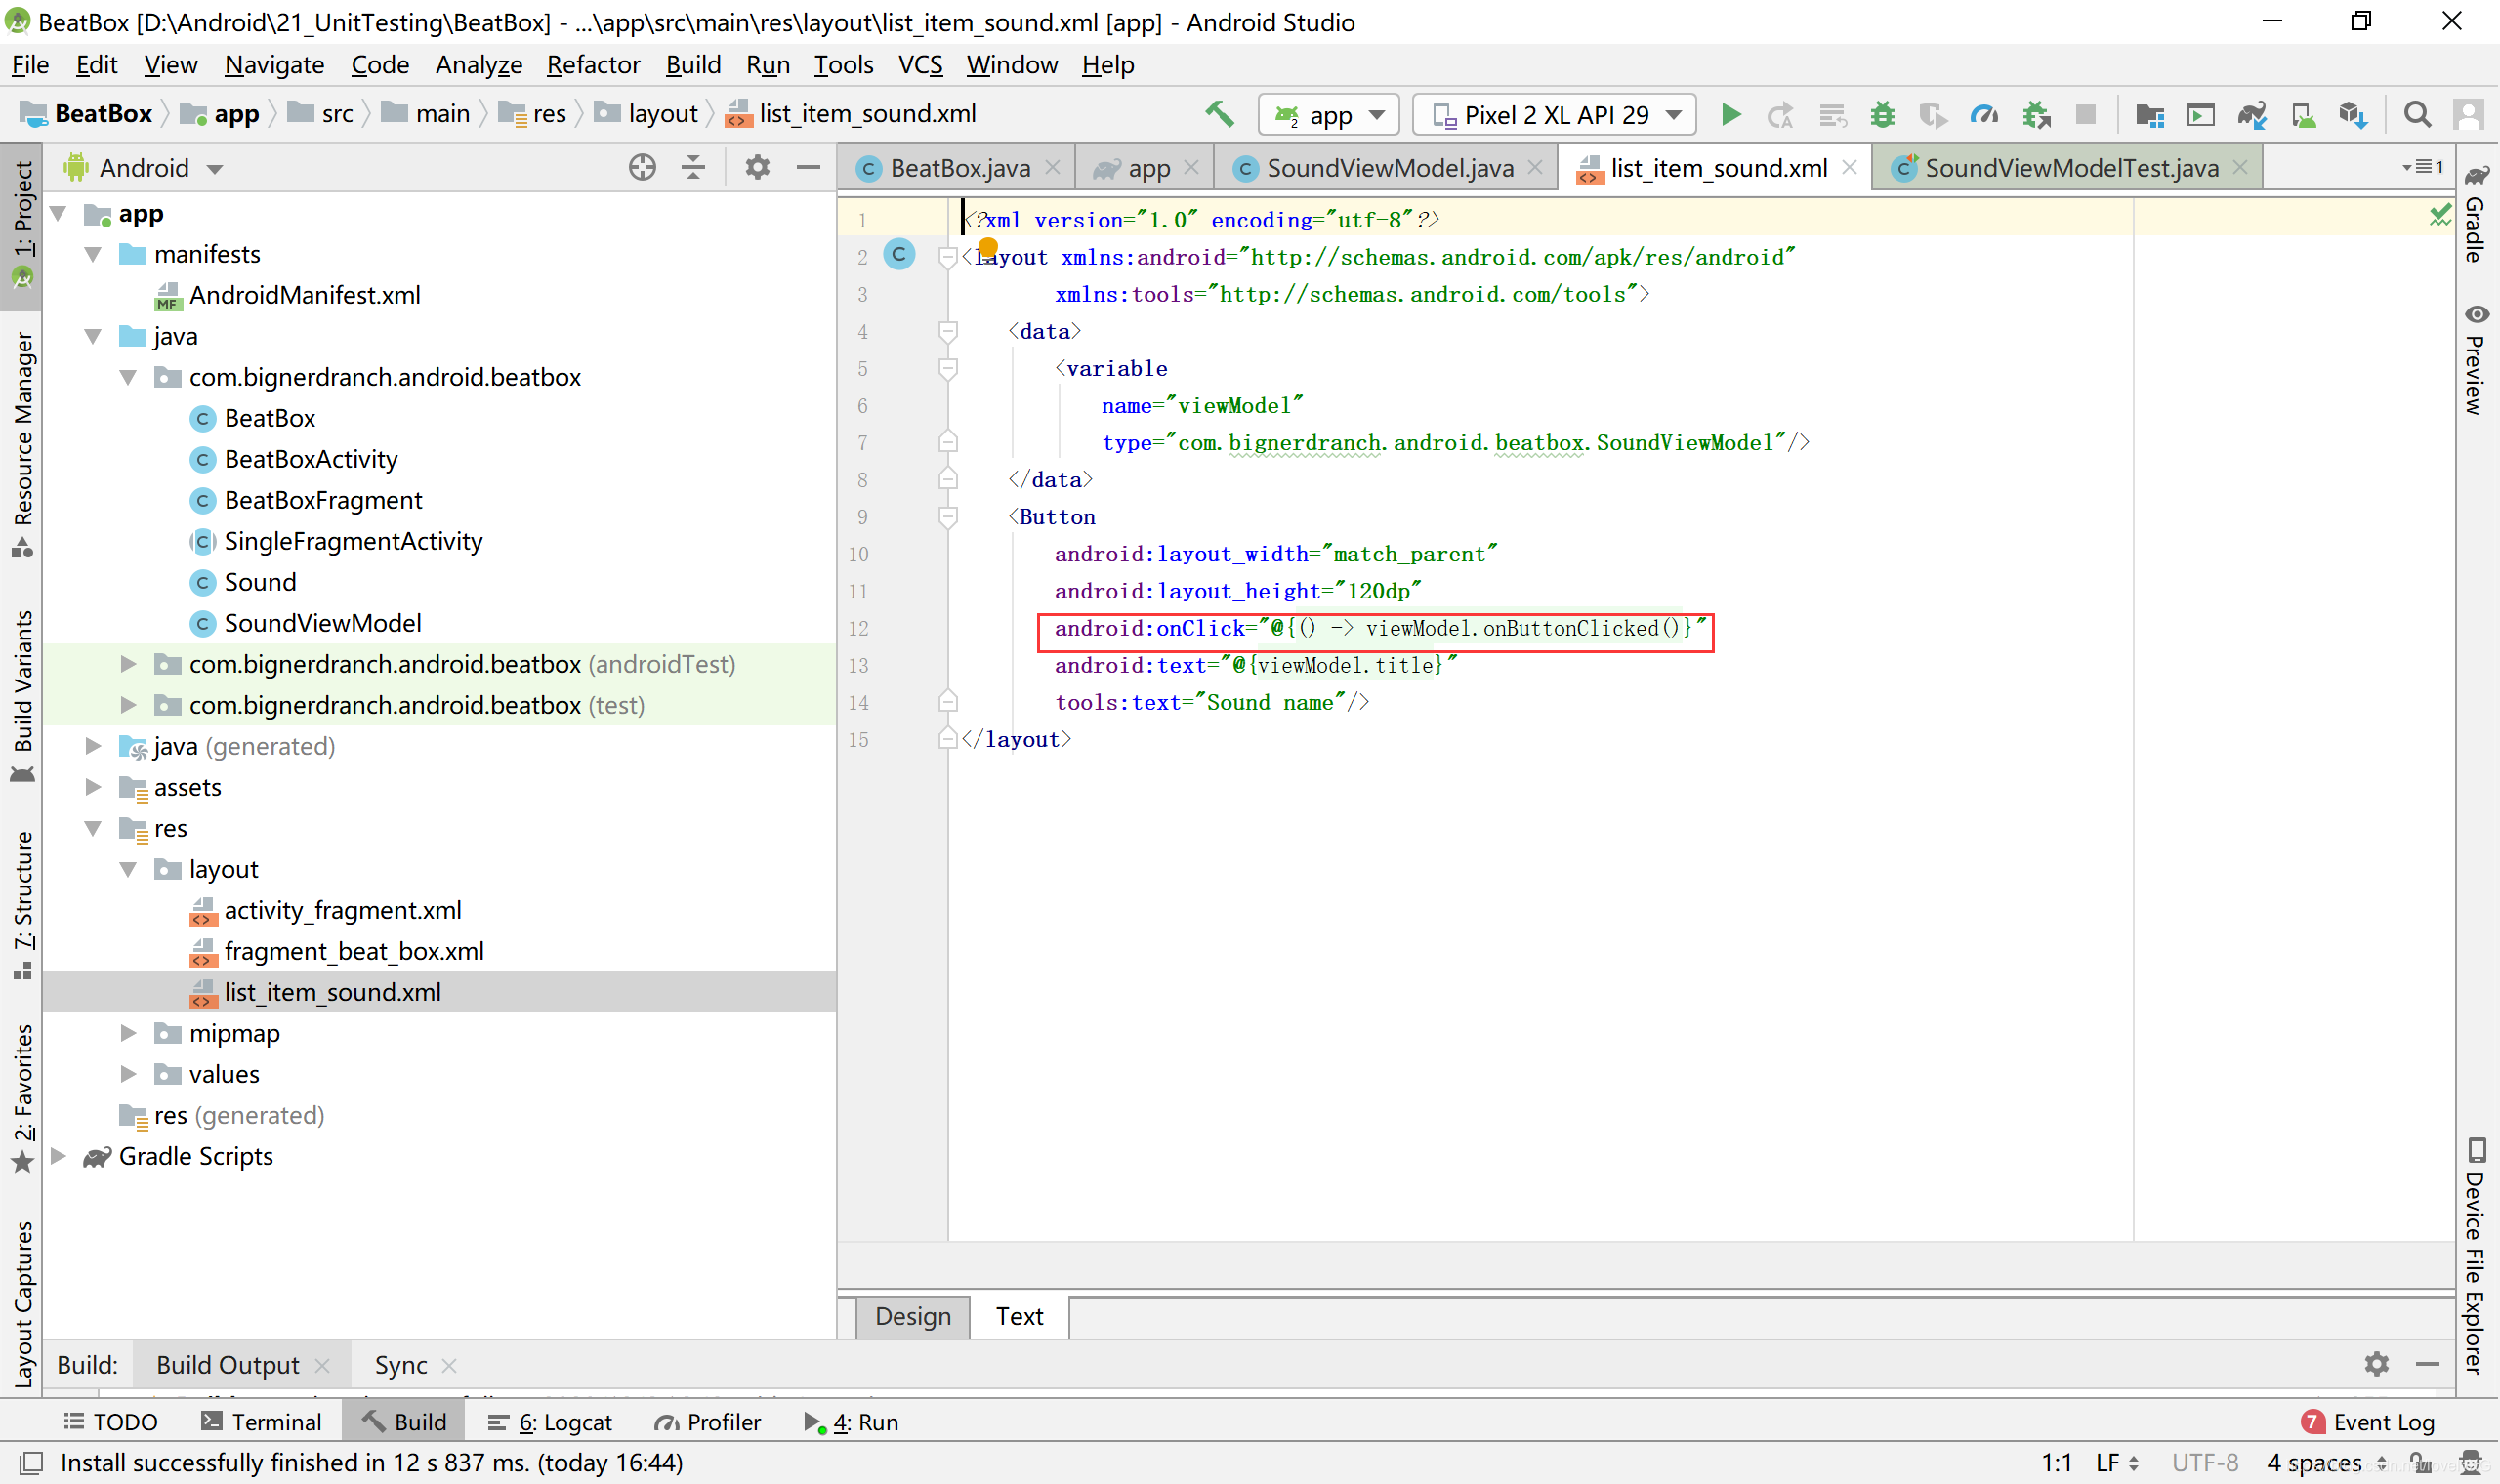
17.按钮要响应事件还差最后一步:关联按钮对象和onButtonClicked()方法。和前面使用数据绑定关联数据和UI一样,你也可以使用lambda表达式,让数据绑定帮忙关联按钮和点击监听器,代码如下所示,在布局文件里,添加数据绑定lambda表达式,让按钮对象和onButtonClicked()方法关联起来
<Button
android:layout_width="match_parent"
android:layout_height="120dp"
android:onClick="@f()-> viewModel.onButtonClicked()J"
android:text="@fviewModel.title)"
tools:text="Sound name"/>
 释放音频
释放音频
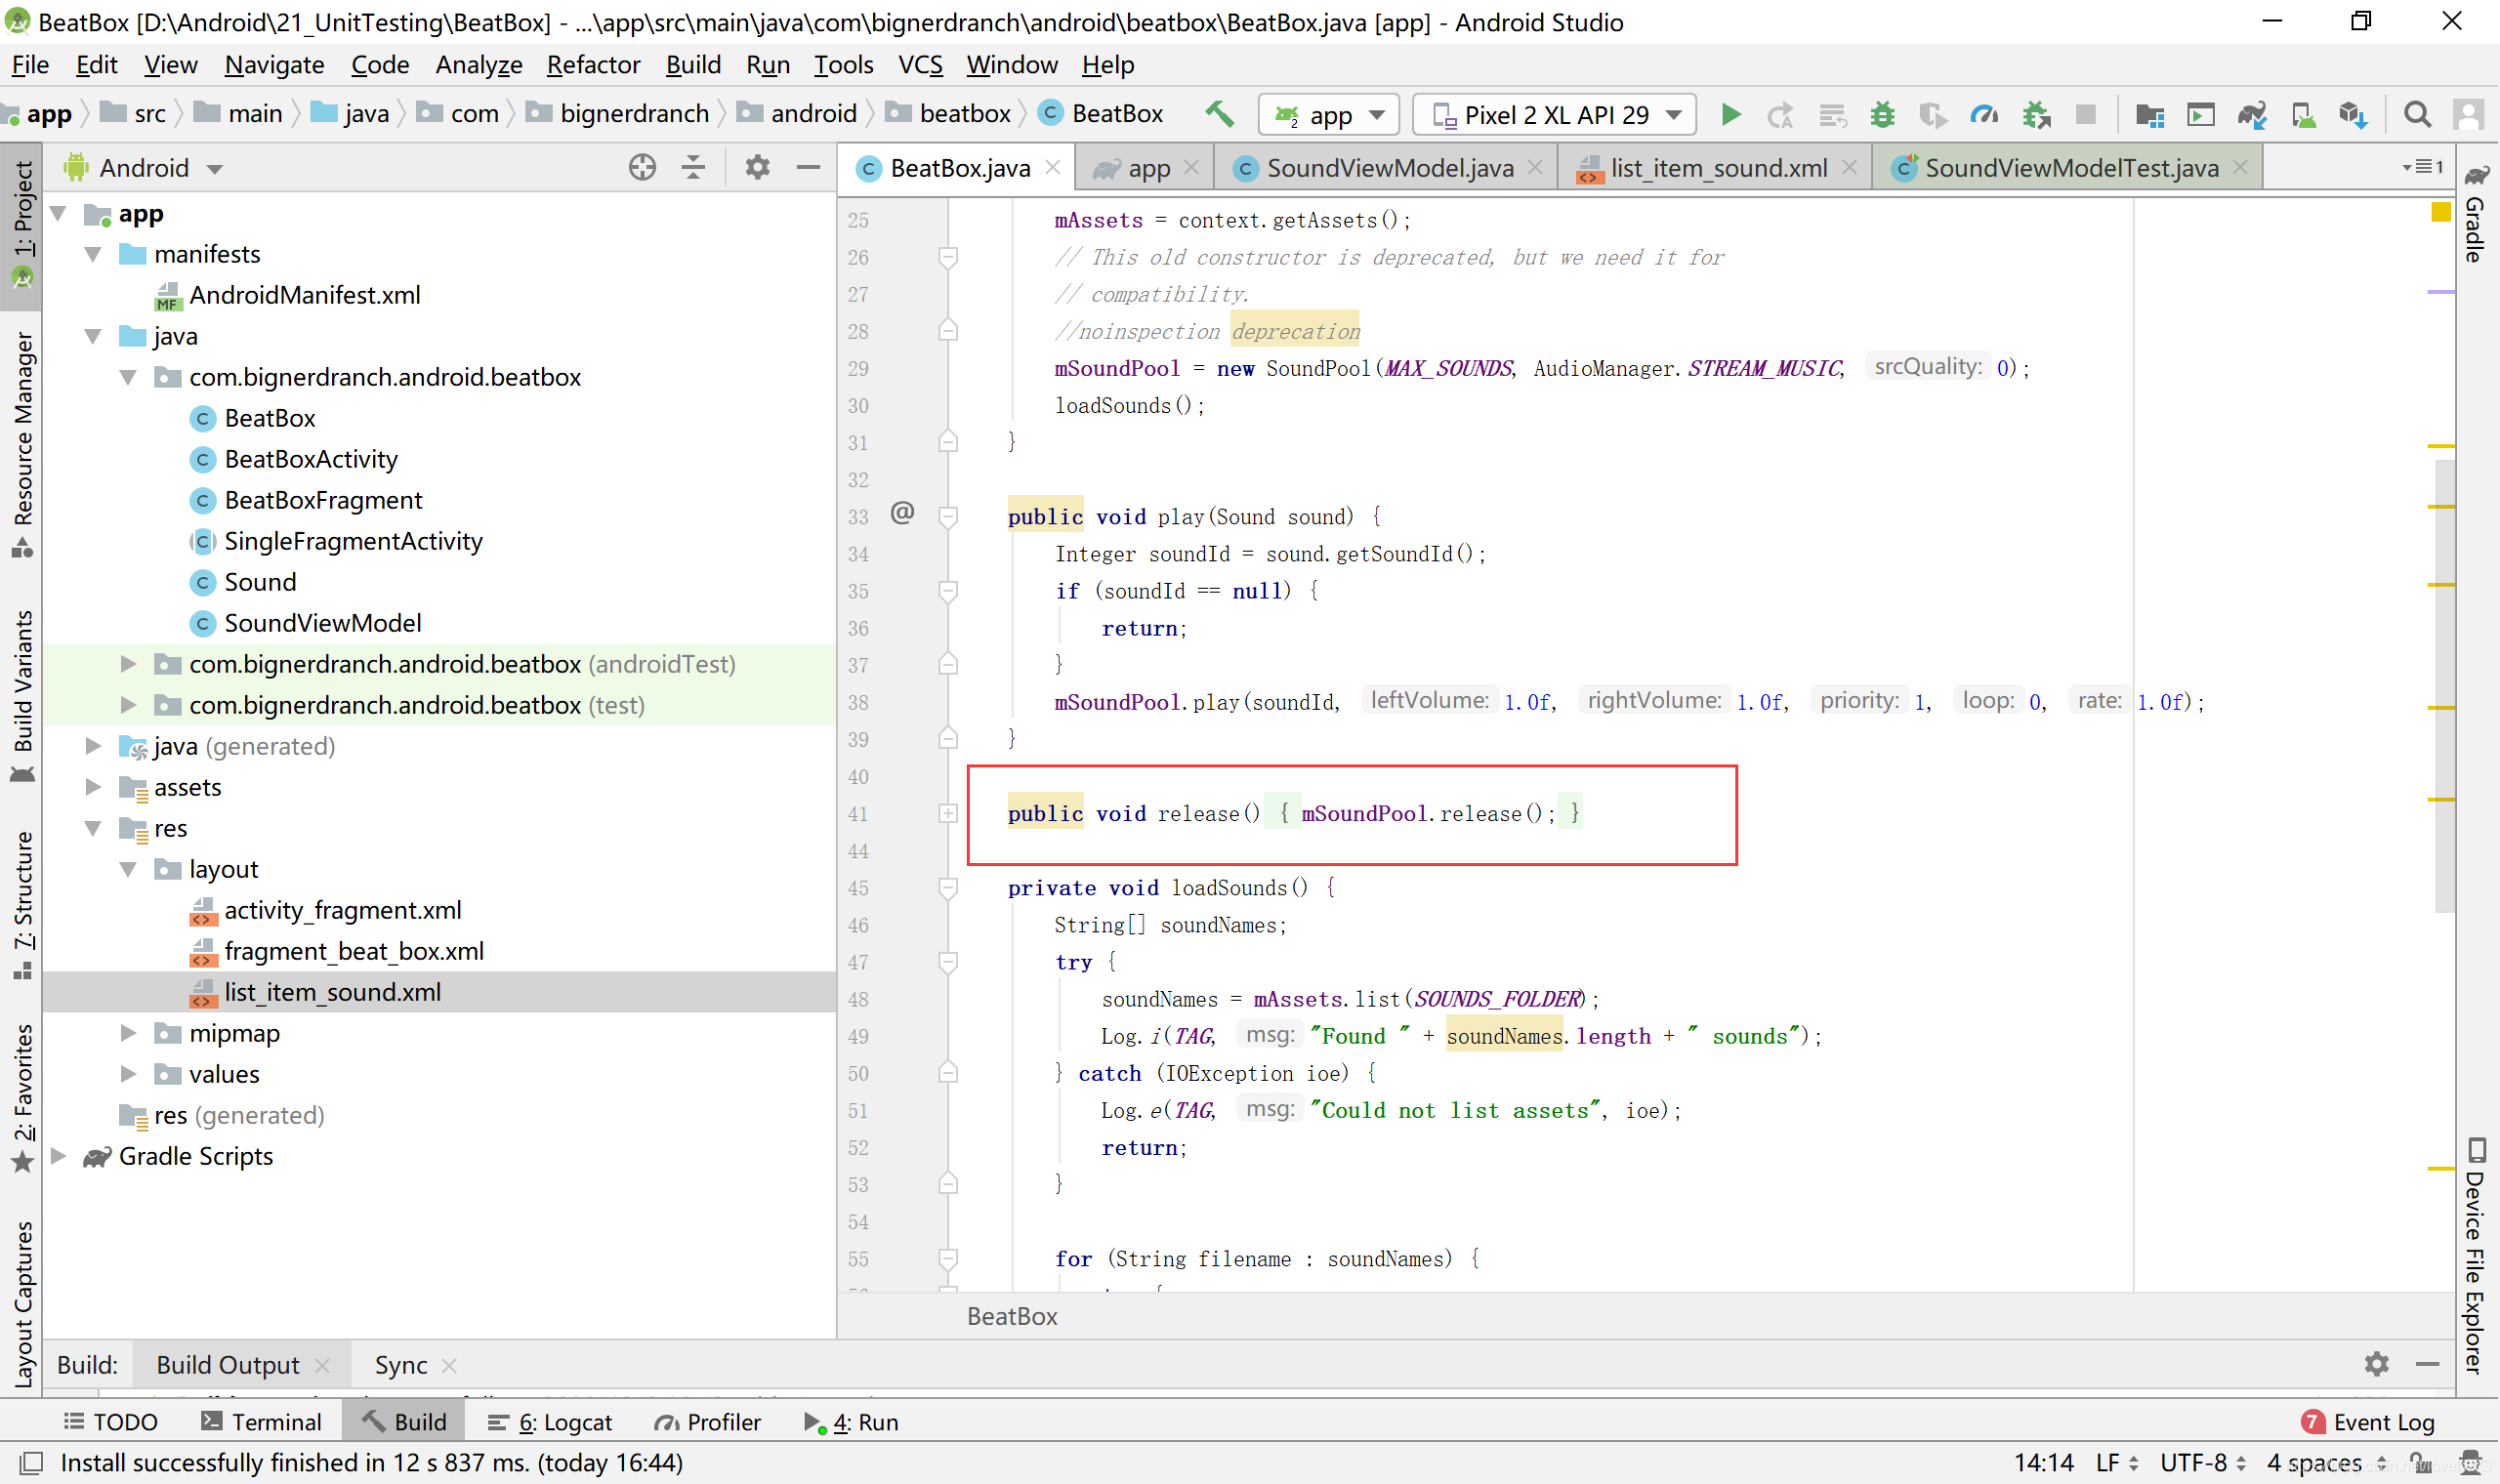
18.BeatBox应用可用了,应调用SoundPool.release()方法释放SoundPool,添加BeatBox.release()清理方法
public class BeatBox{
public void play(Sound sound){
}
public void release(){
nSoundPool.release(); 21
}
}
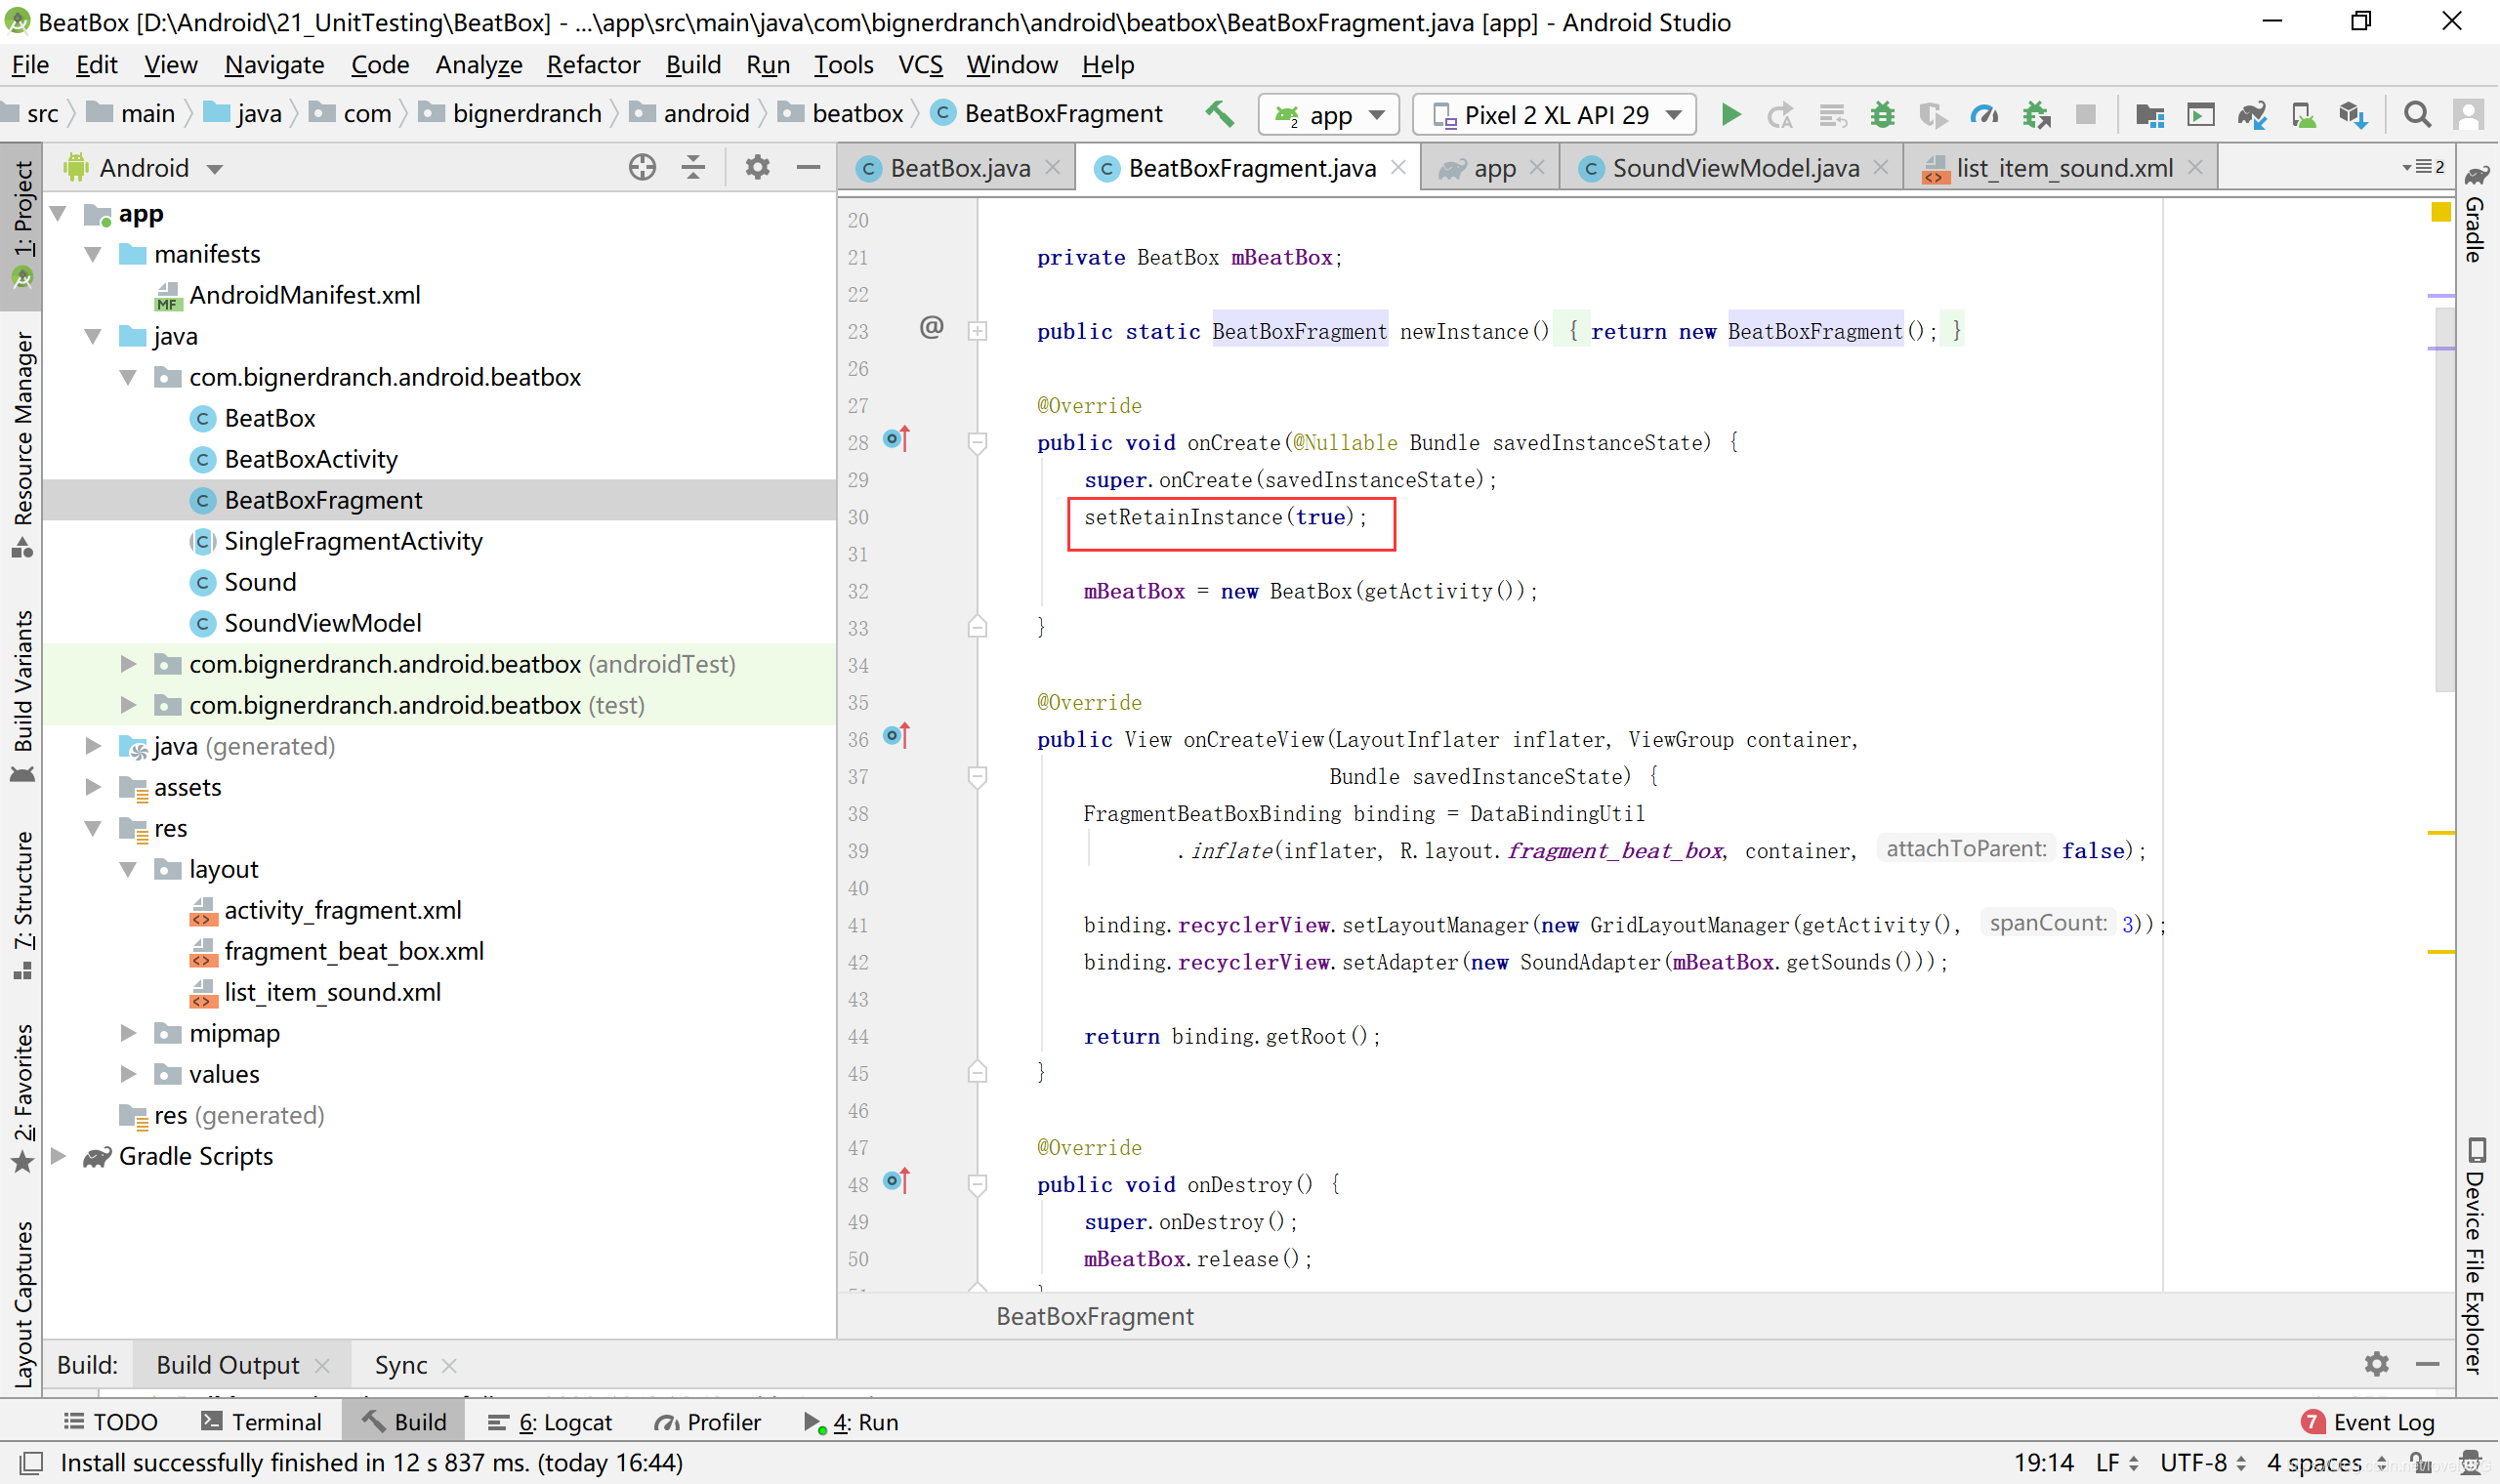
 同样,在BeatBoxFragment中,也完成释放
public class BeatBoxFragment extends Fragment{
@Override
public View onCreateView(LayoutInflater inflater, ViewGroup container,
Bundle savedInstanceState){
}
6Override
public void onDestroy(){
super,onDestroy();
mBeatBox.release();
}
}
 设备旋转和对象保存
19.保留fragment,调用setRetainInstance(true)(BeatBoxFragment.java)
public static BeatBoxFragment newInstance(){
return new BeatBoxFragment();
}
@Override
public void onCreate(Bundle savedInstanceState){
super.onCreate(savedInstanceState);
setRetainInstance(true);
mBeatBox = new BeatBox(getActivity());
}
aOverride
public View onCreateView(LayoutInflater inflater, ViewGroup container, Bundle savedInstanceState){
 20.准备就绪,实机演示 ,运行结果:
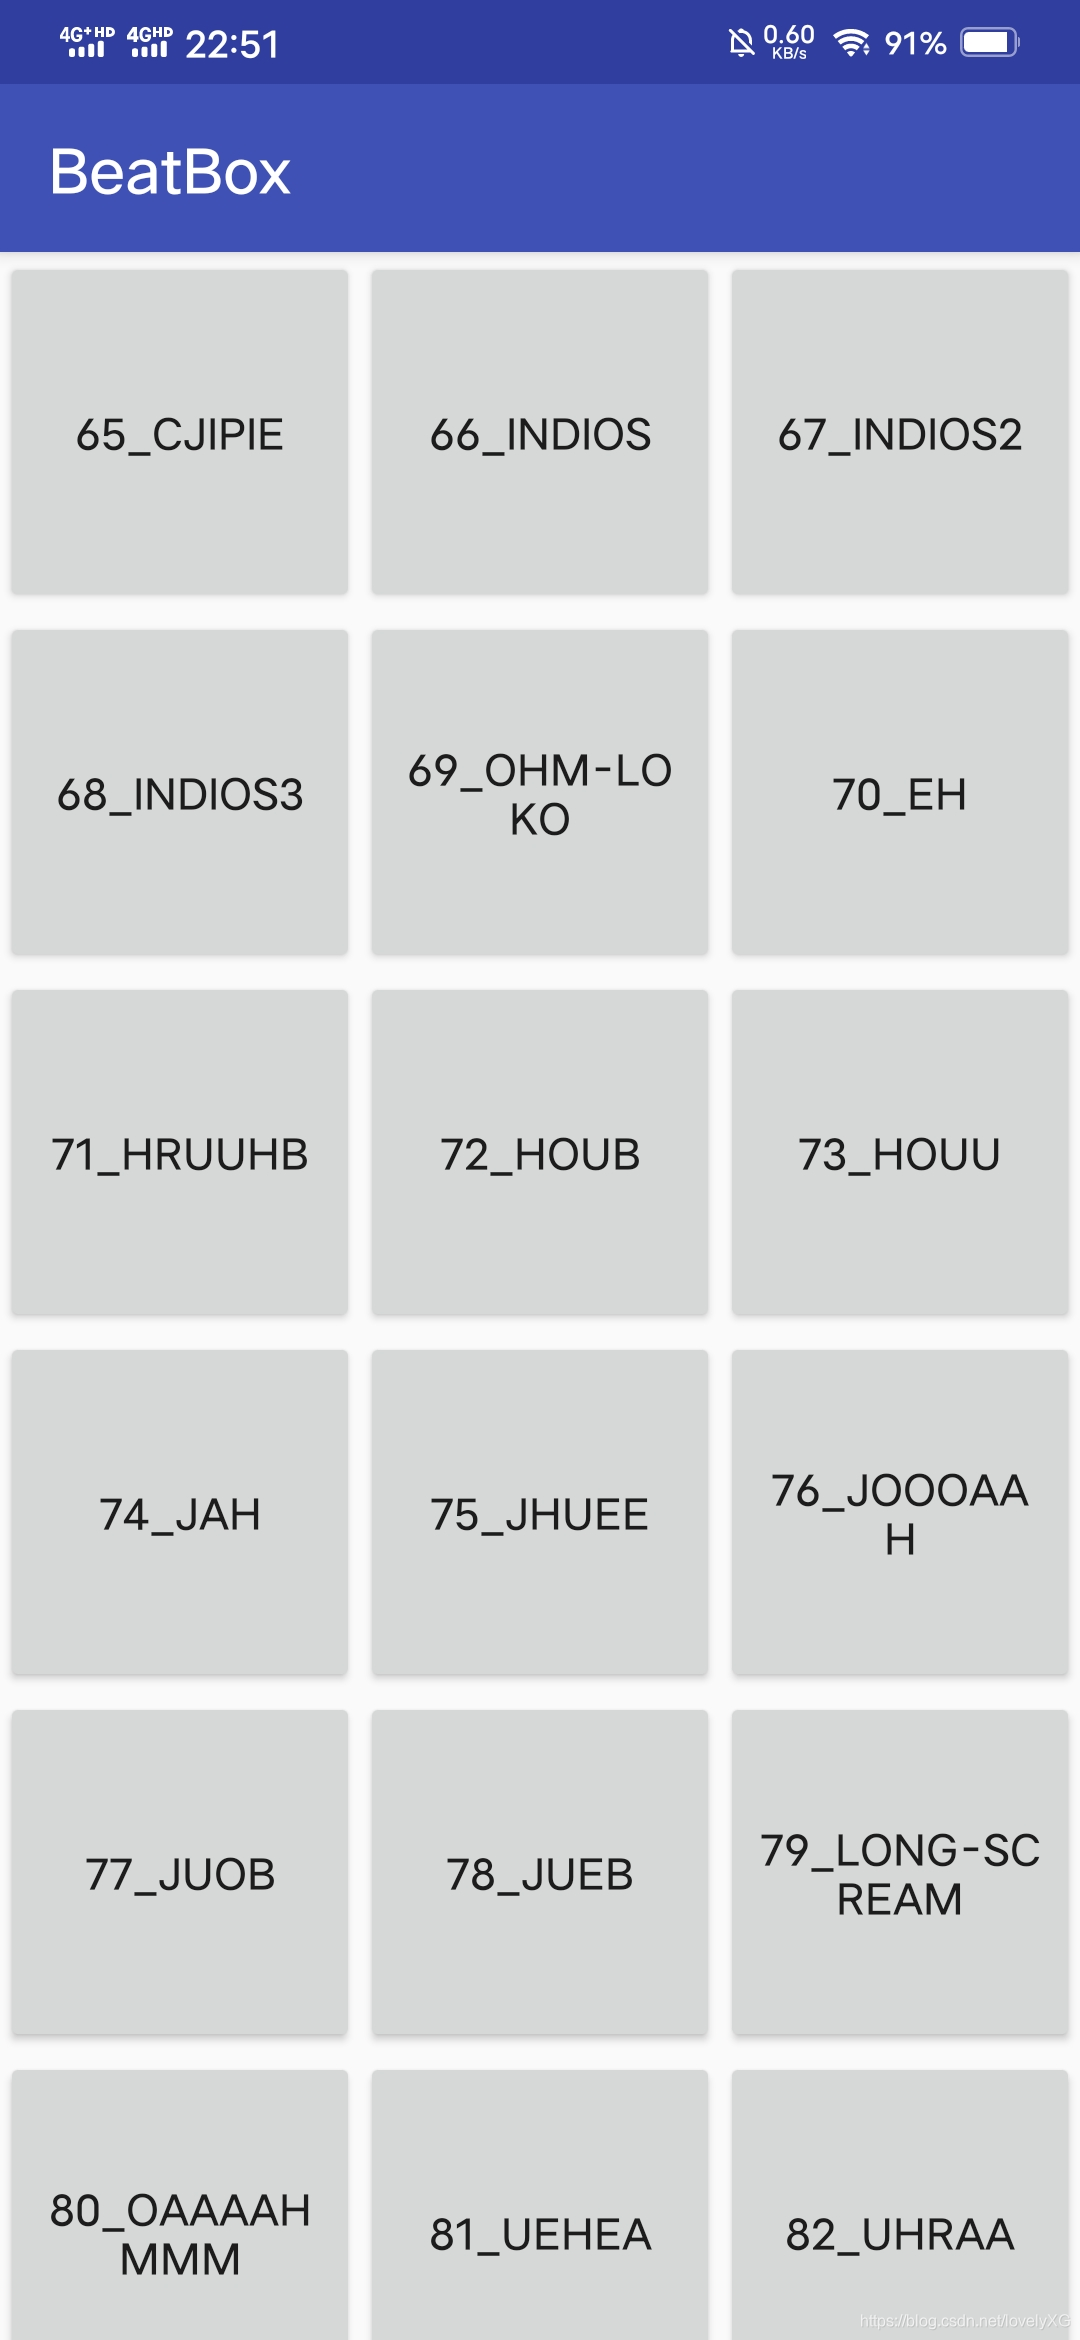
点击即可播放多种吓人音频,强烈建议半夜播放


 545
545

 被折叠的 条评论
为什么被折叠?
被折叠的 条评论
为什么被折叠?
 到【灌水乐园】发言


