


 H2是一款开源轻量级Java数据库,支持标准SQL和JDBC API,具备高速度、多版本并发、强安全性等特性。它既可作为嵌入式数据库使用,也支持客户端-服务器模式,并提供内存数据库选项,适用于开发和测试环境。
H2 is an open-source lightweight Java database. It can be embedded in Java applications or run in the client-server mode. H2 database can be configured to run as in-memory database, which means that data will not persist on the disk. Because of embedded database it is not used for production development, but mostly used for development and testing we will look closely at the various features of H2 and its commands, one of the best open-source, multi-model, next generation SQL product.
Features of H2 Database
The main features of H2 Database are as follows −
-
It is an extremely fast database engine.
-
H2 is open source and written in Java.
-
It supports standard SQL and JDBC API. It can use PostgreSQL ODBC driver too.
-
It has embedded and Server mode.
-
H2 supports clustering and multi-version concurrency.
-
It has strong security features.
Additional Features
Following are some additional features of H2 Database −
-
H2 is a disk-based or in-memory databases and tables, read-only database support, temporary tables.
-
H2 provides transaction support (read committed), 2-phase-commit multiple connections, table level locking.
-
H2 is a cost-based optimizer, using a genetic algorithm for complex queries, zeroadministration.
-
H2 contains scrollable and updatable result set support, large result set, external result sorting, functions can return a result set.
-
H2 supports encrypted database (AES), SHA-256 password encryption, encryption functions, and SSL.
Components in H2 Database
In order to use H2 Database, you need to have the following components −
- A web browser
- A H2 console server
下载:https://www.h2database.com/html/download.html
【安装】
Step 2: Install H2 Database
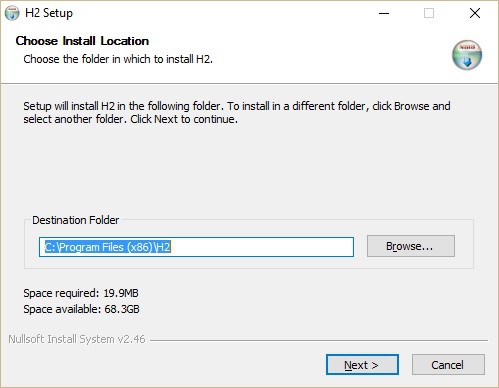
As seen in the above screenshot, by default it will take C:\ProgramFiles (x86)\H2 as the destination folder. Click next to proceed to the next step. The following screen pops up.
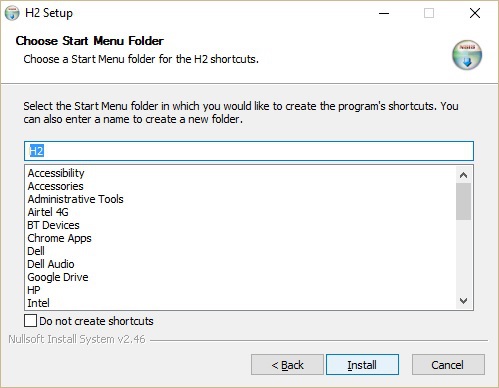
In the above screenshot, click the Install button to start the installation process. After installation, we get the following screenshot.
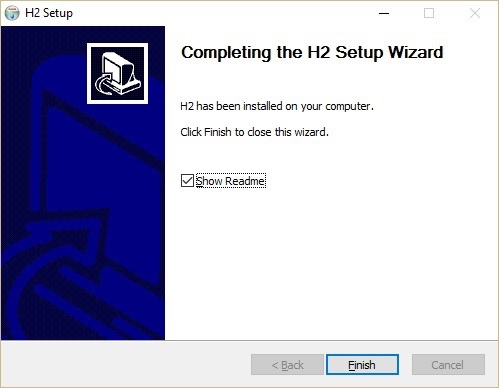
Click Finish to complete the installation process.
Step 3: Verify H2 Database Installation
After installation, let us verify the database installation in the system. Click Windows → type H2 Console → Click H2 console icon. Connect to the URL http://localhost:8082. At the time of connecting, the H2 database will ask for database registration as shown in the following screenshot.
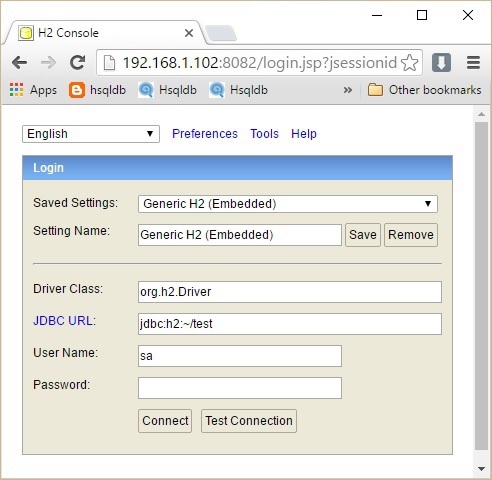
Fill all the details in the above dialog box such as Saved Settings, Settings Name, Driver Class, JDBC URL, User Name, and Password. In the JDBC URL, specify the database is located and the database name. User Name and Password are the fields for user name and password of the database. Click Connect.
The Database welcome page pops up as shown in the following screenshot.
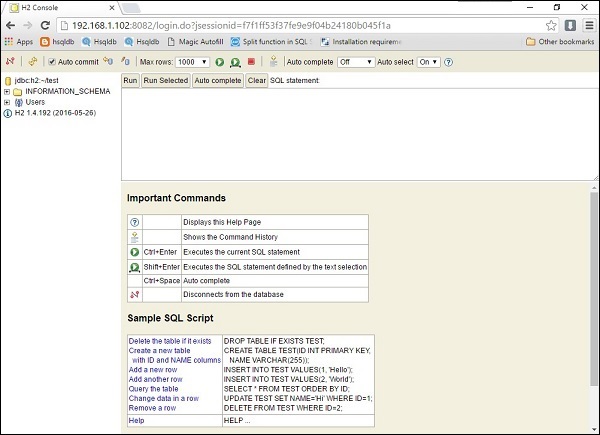
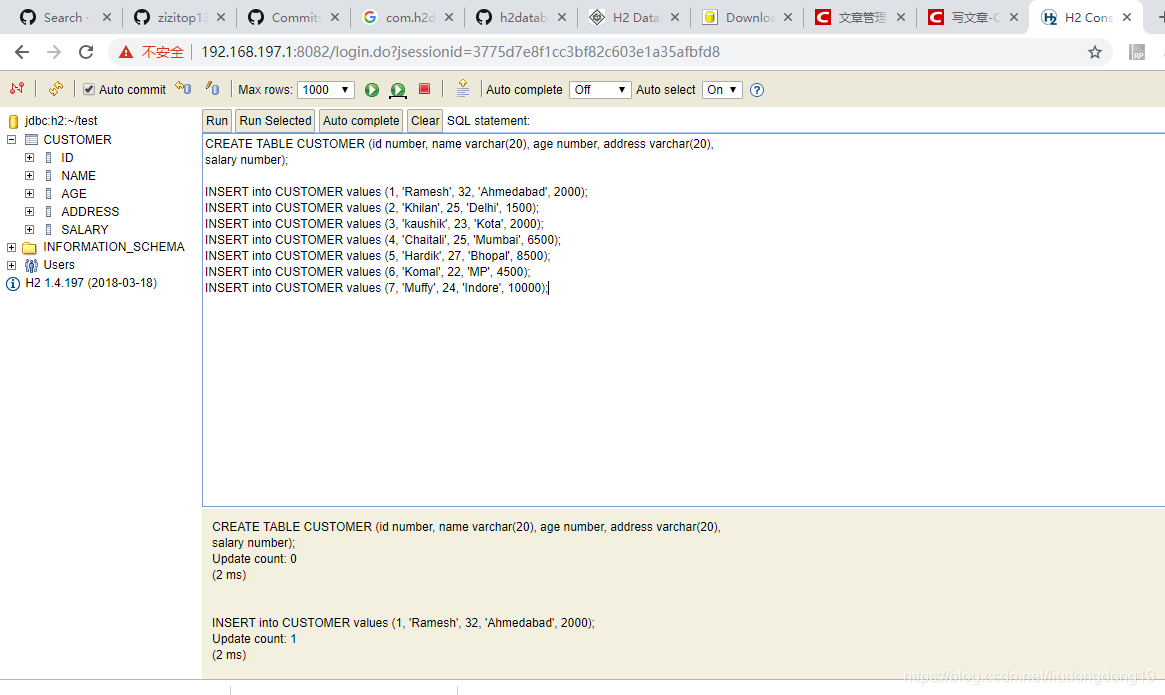
CREATE TABLE CUSTOMER (id number, name varchar(20), age number, address varchar(20),
salary number);

INSERT into CUSTOMER values (1, 'Ramesh', 32, 'Ahmedabad', 2000);
INSERT into CUSTOMER values (2, 'Khilan', 25, 'Delhi', 1500);
INSERT into CUSTOMER values (3, 'kaushik', 23, 'Kota', 2000);
INSERT into CUSTOMER values (4, 'Chaitali', 25, 'Mumbai', 6500);
INSERT into CUSTOMER values (5, 'Hardik', 27, 'Bhopal', 8500);
INSERT into CUSTOMER values (6, 'Komal', 22, 'MP', 4500);
INSERT into CUSTOMER values (7, 'Muffy', 24, 'Indore', 10000);


UPDATE CUSTOMERS SET ADDRESS = 'Pune' WHERE ID = 6;
具体执行sql 语言格式见:
https://www.tutorialspoint.com/h2_database/h2_database_quick_guide.htm
spring boot 导入依赖:
<dependency>
<groupId>com.h2database</groupId>
<artifactId>h2</artifactId>
<scope>runtime</scope>
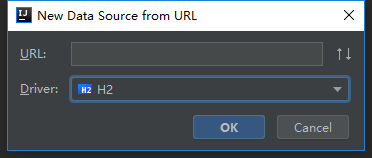
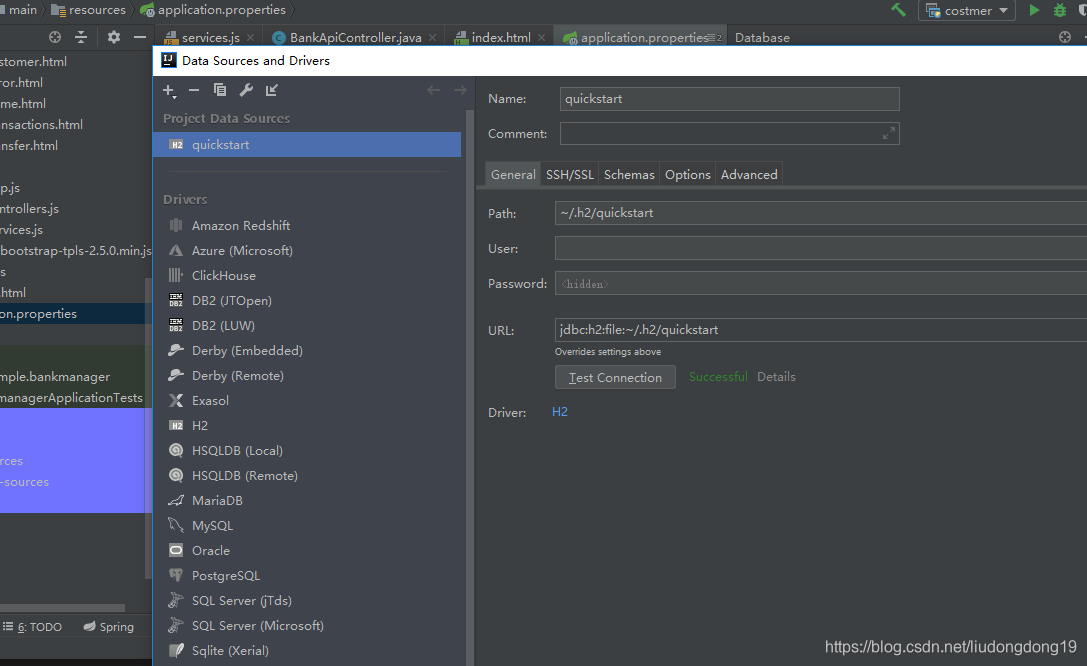
</dependency>【idea连接】


 1万+
1万+

 被折叠的 条评论
为什么被折叠?
被折叠的 条评论
为什么被折叠?
 到【灌水乐园】发言


