


 本文基于Nvidia显卡驱动、cuda和cudnn已安装配置好的基础,详细介绍了caffe的安装过程,包括安装相关依赖包、修改配置文件、编译、安装python接口等,还解决了安装过程中可能出现的错误。最后利用MNIST数据集对caffe进行了测试,涵盖下载、转换格式、训练网络和测试模型等步骤。
基于Nvidia显卡驱动&cuda&cudnn均已安装配置好的基础上
1、安装caffe
a、 安装相关依赖包
sudo apt-get install libprotobuf-dev libleveldb-dev libsnappy-dev libopencv-dev libhdf5-serial-dev protobuf-compiler
sudo apt-get install --no-install-recommends libboost-all-dev
sudo apt-get install libopenblas-dev liblapack-dev libatlas-base-dev
sudo apt-get install libgflags-dev libgoogle-glog-dev liblmdb-dev
sudo apt-get install git cmake build-essential
b、在我们要安装的路径下 clone ,一般默认会安装在home文件加下,文件夹名称为caffe。
git clone https://github.com/BVLC/caffe.git
进入 caffe ,将 Makefile.config.example 文件复制一份并更名为 Makefile.config ,也可以在 caffe 目录下直接调用以下命令完成复制操作 :
cd caffe
sudo cp Makefile.config.example Makefile.config
复制一份的原因是编译 caffe 时需要的是 Makefile.config 文件,而Makefile.config.example 只是caffe 给出的配置文件例子,不能用来编译 caffe。
然后修改 Makefile.config 文件,在 caffe 目录下打开该文件:
sudo gedit Makefile.config
修改 Makefile.config 文件内容:
(1)应用 cudnn
将
#USE_CUDNN := 1
修改成:
USE_CUDNN := 1
(2)使用python来编写layer
将
#WITH_PYTHON_LAYER := 1
修改为
WITH_PYTHON_LAYER := 1
(3)修改 python 路径(重要)
#Whatever else you find you need goes here. 下面的

INCLUDE_DIRS:= $(PYTHON_INCLUDE) /usr/local/include
LIBRARY_DIRS:= $(PYTHON_LIB) /usr/local/lib /usr/lib

修改为:
INCLUDE_DIRS := $(PYTHON_INCLUDE) /usr/include/hdf5/serial \
            /usr/local/include
LIBRARY_DIRS := $(PYTHON_LIB) /usr/lib/x86_64-linux-gnu/hdf5/serial \
            /usr/local/lib /usr/lib
注:如果使用的是CUDA版本是8.0,从CUDA 8.0开始compute capability 2.0和2.1被弃用了,所以可以将-gencode arch=compute_20,code=sm_20 和-gencode arch=compute_20,code=sm_21这两行删除。如下
# For CUDA < 6.0, comment the *_50 lines for compatibility.
CUDA_ARCH := -gencode arch=compute_30,code=sm_30 \
        -gencode arch=compute_35,code=sm_35 \
        -gencode arch=compute_50,code=sm_50 \
        -gencode arch=compute_50,code=compute_50
然后修改 caffe 目录下的 Makefile 文件:
将:
NVCCFLAGS +=-ccbin=$(CXX) -Xcompiler-fPIC $(COMMON_FLAGS)
替换为:
NVCCFLAGS += -D_FORCE_INLINES -ccbin=$(CXX) -Xcompiler -fPIC $(COMMON_FLAGS)

将:
LIBRARIES += glog gflags protobuf boost_system boost_filesystem m hdf5_hl hdf5
改为:
LIBRARIES += glog gflags protobuf boost_system boost_filesystem m hdf5_serial_hl hdf5_serial
c、接下来开始编译,如果前面的配置或安装出错,那么编译就会出现各种各样的问题,所以前面的步骤一定要细心。
make all -j8 #-j8根据自己电脑配置决定
make test -j8
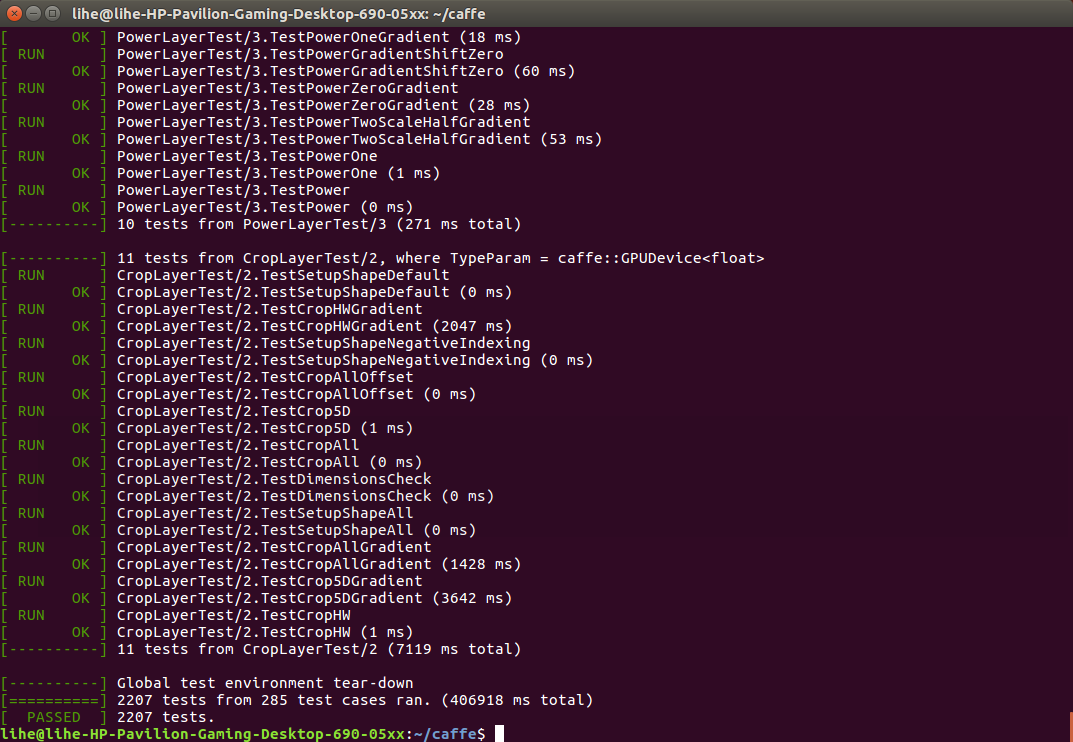
sudo make runtest -j8 #测试
当输入sudo make runtest -j8进行测试时可能报错,如下

解决方法
解决办法是将一些文件复制到/usr/local/lib文件夹下:(#注意自己CUDA的版本号!)
sudo cp /usr/local/cuda-10.0/lib64/libcudart.so.10.0 /usr/local/lib/libcudart.so.10.0
sudo ldconfig
如果仍然有错误,继续将提示到的文件拷贝到/usr/local/lib,然后运行sudo ldconfig,直至无报错为止。

如果运行之后出现如图所示结果,说明caffe配置成功。
d、安装python接口
首先回到caffe的根目录,然后执行安装代码:
cd ~/caffe
sudo apt-get install gfortran
cd ./python
for req in $(cat requirements.txt); do pip install $req; done
如果无错误,下述×××××××××之间的可忽略
×××××××××××××××××××××××××××××××××××××××××××××××××××××××××××××××××××××××××××××××××××
安装过程中有错误

更新setuptools和pip(手欠更新了pip)
pip install --upgrade setuptools
python -m pip install --upgrade pip
执行for req in $(cat requirements.txt); do pip install $req; done,出现新的错误:pip Import Error:cannot import name main解决方案:
sudo gedit /usr/bin/pip
将原来的
from pip import main
if __name__ == '__main__':
    sys.exit(main())
改成:
from pip import __main__
if __name__ == '__main__':
    sys.exit(__main__._main())
安装完成以后,再次执行for req in $(cat requirements.txt); do pip install $req; done提示错误

所以进入root用户安装
sudo su
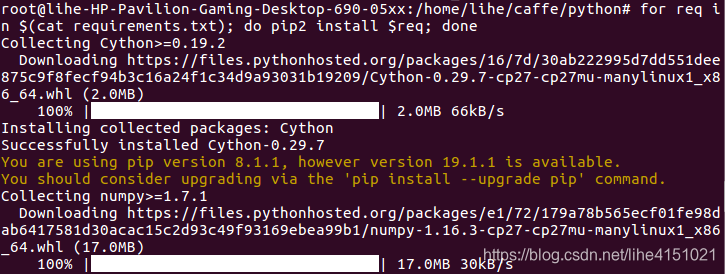
for req in $(cat requirements.txt); do pip install $req; done
又报如下错误:

是由于多个版本pip共存导致,于是直接使用pip2进行安装无错误出现
×××××××××××××××××××××××××××××××××××××××××××××××××××××××××××××××××××××××××××××××××××
安装完成以后,再次回到caffe根目录我们可以执行:
cd ..
sudo pip2 install -r python/requirements.txt//如果未出现上述问题,用pip
编译python接口:
make pycaffe
报如下错误

解决方法,如数下述命令然后重新编译:
sudo apt-get install python-numpy
配置环境变量,以便python调用:
sudo gedit ~/.bashrc
将export PYTHONPATH=/home/lihe/caffe/python:$PYTHONPATH添加到文件中,加粗部分换为自己的用户名即可。
然后更新文件
source ~/.bashrc #更新文件
编译 pycaffe 成功后,验证一下是否可以在 python 中导入 caffe 包,首先进入 python 环境:
python
然后导入caffe
import caffe
若不报错则表示 caffe 的 python 接口已正确编译

2、MNIST数据集测试
配置caffe完成后,我们可以利用MNIST数据集对caffe进行测试,过程如下:
1).将终端定位到Caffe根目录
cd ~/caffe
2).下载MNIST数据库并解压缩
./data/mnist/get_mnist.sh
3).将其转换成lmdb数据库格式
./examples/mnist/create_mnist.sh
4).训练网络
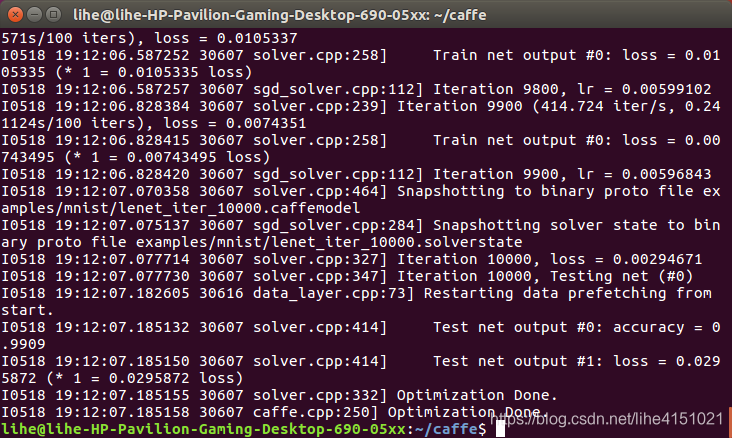
./examples/mnist/train_lenet.sh
训练的时候可以看到损失与精度数值,如下图所示:
5).利用训练好的模型进行测试
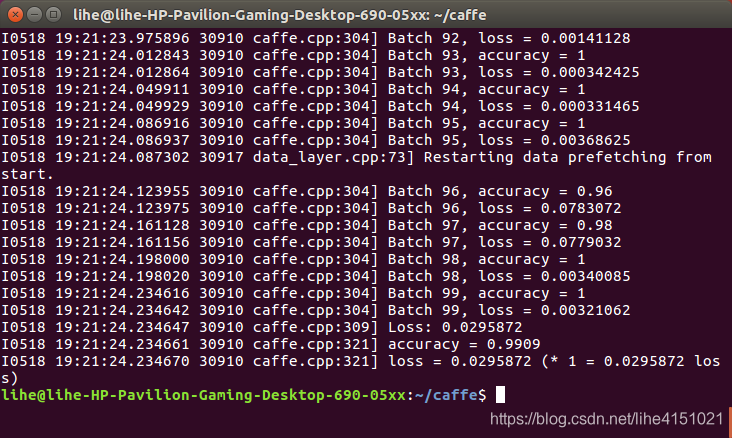
./build/tools/caffe.bin test -model examples/mnist/lenet_train_test.prototxt -weights examples/mnist/lenet_iter_10000.caffemodel -iterations 100
测试结果如下所示:


 873
873

 被折叠的 条评论
为什么被折叠?
被折叠的 条评论
为什么被折叠?
 到【灌水乐园】发言


