[root@lnmp ~]# ll libiconv-1.14.tar.gz php-5.3.27.tar.gz
-rw-r--r--. 1 root root  4984397 Aug  4 03:16 libiconv-1.14.tar.gz
-rw-r--r--. 1 root root 15008639 Aug  4 00:29 php-5.3.27.tar.gz
[root@lnmp ~]# yum install zlib gcc-c++ libjpeg freetype \
libpng gd  zlib-devel libxml2-devel libjpeg-devel freetype-devel \
libpng-devel gd-devel curl-devel libxslt-devel openssl-devel -y
[root@lnmp ~]# tar xf libiconv-1.14.tar.gz
[root@lnmp ~]# cd libiconv-1.14
[root@lnmp libiconv-1.14]# ./configure --prefix=/usr/local/libiconv-1.14
[root@lnmp libiconv-1.14]# make && make install
[root@lnmp ~]# tar xf php-5.3.27.tar.gz
[root@lnmp ~]# cd php-5.3.27
[root@lnmp php-5.3.27]# ./configure --prefix=/usr/local/php \
--with-mysql=mysqlnd  --with-iconv-dir=/usr/local/libiconv \
--with-freetype-dir  --with-jpeg-dir --with-png-dir --with-zlib \
--with-libxml-dir=/usr  --enable-xml --disable-rpath --enable-safe-mode \
--enable-bcmath  --enable-shmop --enable-sysvsem --enable-inline-optimization  \
--with-curl --with-curlwrappers --enable-mbregex --enable-fpm  \
--enable-mbstring  --with-gd --enable-gd-native-ttf --with-openssl  \
--enable-pcntl --enable-sockets --with-xmlrpc --enable-zip  --enable-soap \
--enable-short-tags --enable-zend-multibyte  --enable-static --with-xsl \
--with-fpm-user=nginx --with-fpm-group=nginx  --enable-ftp
[root@lnmp php-5.3.27]# make && make install
[root@lnmp php-5.3.27]# ln -s /usr/local/php/ /application/php
[root@nginx php-5.3.27]# \cp php.ini-production /application/php/lib/php.ini
[root@nginx php-5.3.27]# cd /application/php/
[root@nginx ~]# egrep -v "^$|^;" /application/php/etc/php-fpm.conf|cat -n
     1  [global]
     2  pid = /app/logs/php-fpm.pid
     3  error_log = /app/logs/php-fpm.log
     4   log_level = error
     5
     6  rlimit_files = 32768
     7
     8  events.mechanism = epoll
     9  [www]
    10  user = nginx
    11  group = nginx
    12  listen = 127.0.0.1:9000
    13  listen.owner = nginx
    14  listen.group = nginx
    15  pm = dynamic
    16  pm.max_children = 1024
    17  pm.start_servers = 16
    18  pm.min_spare_servers = 5
    19  pm.max_spare_servers = 20
    20  pm.process_idle_timeout = 15s;
    21  pm.max_requests = 2048
    22  slowlog = /app/logs/$pool.log.slow
    23  request_slowlog_timeout = 10
    24  php_admin_value[sendmail_path] = /usr/sbin/sendmail -t -i -f 1093626742@qq.com
[root@lnmp php]# mkdir /app/logs/ -p
[root@lnmp php]# cp sbin/php-fpm /usr/local/sbin/
[root@lnmp php]# php-fpm -t
[06-Aug-2018 11:22:37] NOTICE: configuration file /usr/local/php/etc/php-fpm.conf test is successful

[root@lnmp php]# php-fpm
[root@lnmp php]# netstat -lntup|grep php
tcp        0      0 127.0.0.1:9000              0.0.0.0:*                   LISTEN      6625/php-fpm
[root@lnmp php]# vim /application/nginx/conf/nginx.conf
 10     server {
 11         listen       80;
 12         server_name  www.liang.com;
 13             root   html/www;
 14             index  index.php index.html index.htm;
 15         location ~ \.php$ {
 16             root           html/www;
 17             fastcgi_pass   127.0.0.1:9000;
 18             fastcgi_index  index.php;
 19             fastcgi_param  SCRIPT_FILENAME  /scripts$fastcgi_script_name;
 20             include        fastcgi.conf;
 21                }
 22         }
[root@lnmp php]# nginx -t
nginx: the configuration file /usr/local/nginx-1.6.2/conf/nginx.conf syntax is ok
nginx: configuration file /usr/local/nginx-1.6.2/conf/nginx.conf test is successful
[root@lnmp php]# nginx -s reload
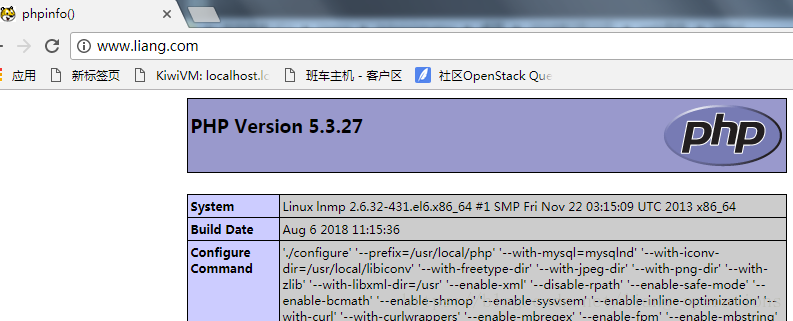
[root@lnmp php]# cat /application/nginx/html/www/index.php
<?php
        phpinfo();
?>
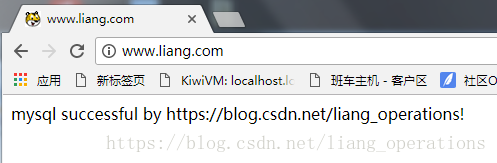
[root@lnmp php]# cat /application/nginx/html/www/index.php
<?php
        //$link_id=mysql_connect('主机名','用户','密码');
        $link_id=mysql_connect('localhost','root','000000') or mysql_error();

        if($link_id){
                echo "mysql successful by https://blog.youkuaiyun.com/liang_operations!";
        }else{
                echo mysql_error();
        }
?>


 3094
3094

 被折叠的 条评论
为什么被折叠?
被折叠的 条评论
为什么被折叠?
 到【灌水乐园】发言


