


序言
最近在用 arduino uno 开发智能小车,红外线无线操作的时候碰到了一些问题,参照网上的教程基本都是老掉牙的很丑代码或者方案...
好好好,既然没有现成的,那就自己参考官方案例琢磨,通过本文记录一下,也希望能对更多人有所帮助。
前期准备
arduino 开发板 x 1
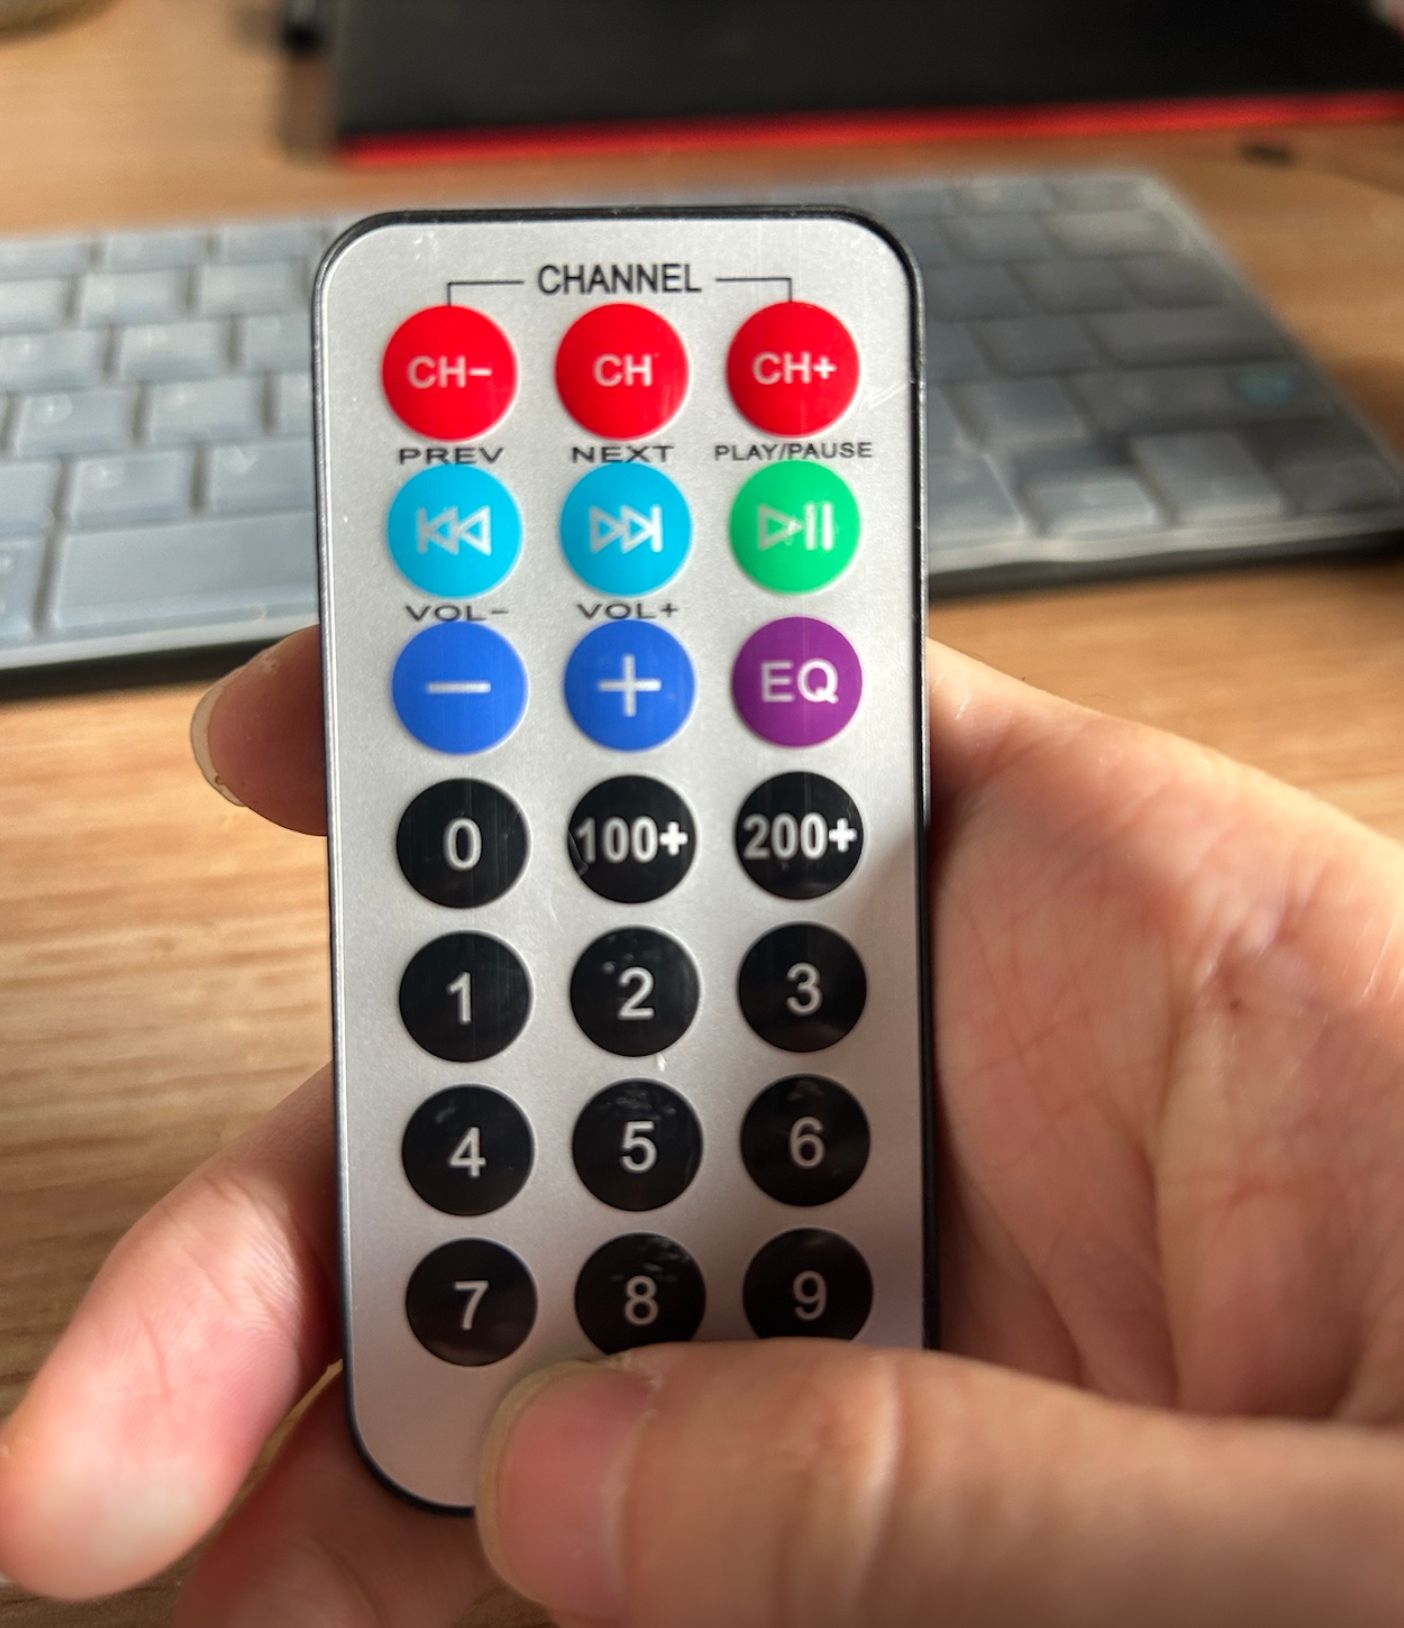
红外线遥控器 x 1
Ky-022 红外线接收模块 x 1
杜邦线若干
环境配置
这个项目我是基于 platformIO + vscode 的形式开发,更符合时代的进步(arduino-ide是什么玩意儿...界面看吐了都)
我愿称这个搭配为最强生产力,至少对于做前端的我来说很好上手。
1. 安装 IRremote 依赖
这个库主要是来负责接收红外线信号,使用起来也是相当的方便。首先去到 platformIO 的首页,进入 library 找到这个库下载就行。
 最低0.47元/天 解锁文章


 3384
3384

 被折叠的 条评论
为什么被折叠?
被折叠的 条评论
为什么被折叠?
 到【灌水乐园】发言


