


版本信息
MongoDB 安装包: mongodb-windows-x86_64-8.0.4-signed.msi
MongoDB 压缩包: mongodb-windows-x86_64-8.0.4.zip
Robo 3T: robo3t-1.4.4-windows-x86_64-e6ac9ec5.exe
以下分别介绍 msi 和 zip 两种方法安装 MongoDB,二选一即可
安装 MongoDB(msi)
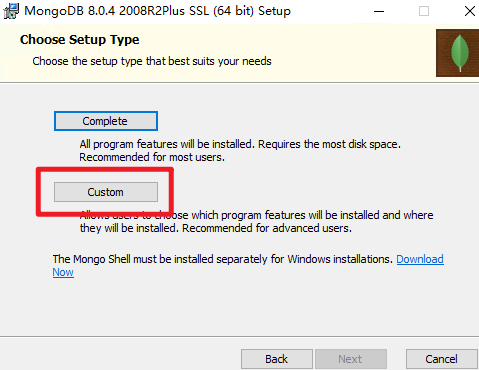
双击 MongoDB 安装包,下一步下一步,直到如下界面,选择 Custom
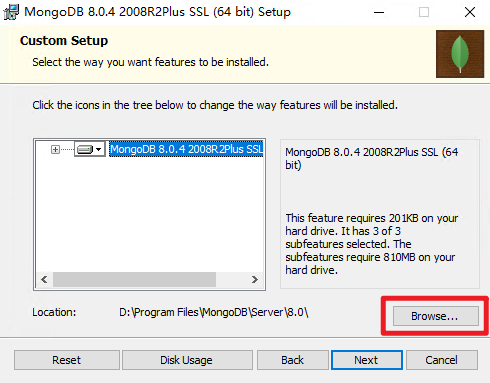
可以选择一个自定义的路径,安装数据库程序
点击 +号 展开选项
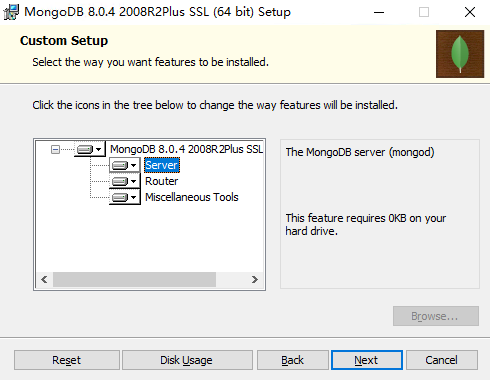
解释:
Server(服务器)这是 MongoDB 的核心服务端组件,负责存储和管理数据库
Router(路由器)用于分片集群中的路由功能,管理和分发客户端的请求到正确的分片
Miscellaneous Tools(其他工具)这些是辅助工具,用于开发、运维和调试 MongoDB
安装选择的建议:
Server:这是核心,几乎所有 MongoDB 安装都需要它
Router:仅在使用分片集群时安装,如果不需要分片功能,可以忽略
Miscellaneous Tools:开发和运维强烈建议安装,尤其是 mongosh 和导入导出工具
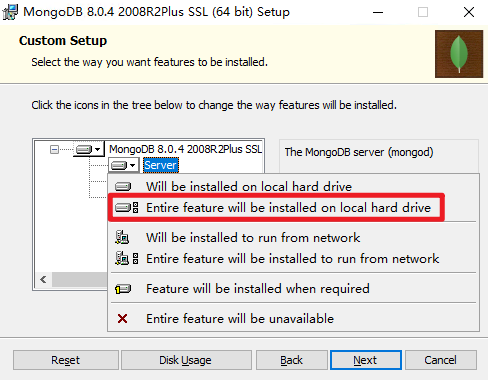
Server 和 Miscellaneous Tools 选择 Entire feature will be installed on local hard drive
Router 选择 Entire feature will be unavailable
日志和数据最好不要放到系统盘,否则可能占用过多系统盘空间
记得保证 Data Directory 和 Log Directory 指定的这两个文件夹已创建
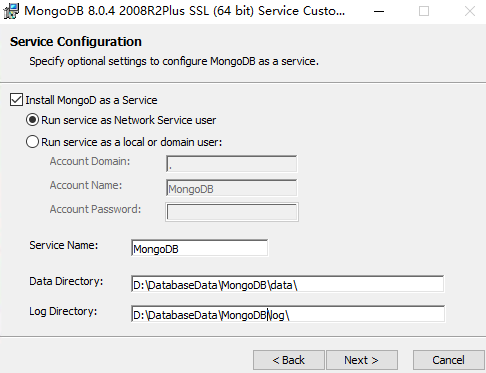
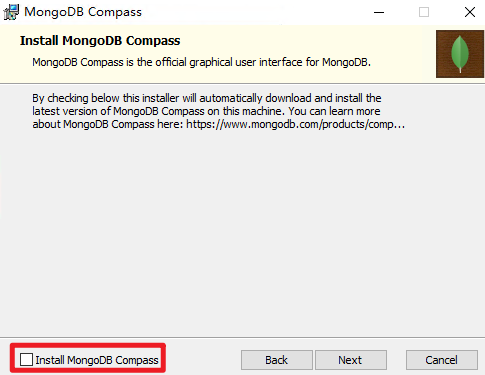
无需安装 MongoDB Compass,因为我们安装 Robo 3T
后面全部按“下一步”或按“确定”,直至安装完毕,如果提示需要重启系统则确认重启即可
安装 MongoDB(zip)
解压安装文件到指定目录,例如 D:\Database\mongodb-8.0.4
创建数据和日志目录,例如 D:\Database\mongodb\data 和 D:\Database\mongodb\log
创建配置文件,例如在 D:\Database\mongodb-8.0.4\bin 下创建 mongod.cfg 文件,内容如下:
systemLog:
    destination: file
    path: D:\Database\mongodb\log\mongod.log
storage:
    dbPath: D:\Database\mongodb\data
net:
    bindIp: 127.0.0.1
    port: 27017
安装数据库程序为 Windows 服务
D:\Database\mongodb-8.0.4\bin\mongod.exe --config D:\Database\mongodb-8.0.4\bin\mongod.cfg --install启动服务
命令形式:
Start-Service MongoDB
// 或者
net start MongoDB
或者 Win + R 打开“运行”窗口,运行 services.msc 从而打开“服务”窗口,找到 MongoDB 服务,右键运行
安装 Robo 3T
基本上就是下一步下一步安装,只是安装路径可以自定义一下,过程不再赘述
运行 Robo 3T
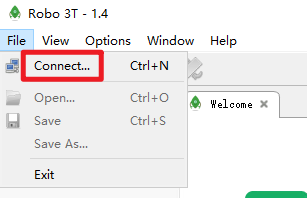
打开 MongoDB Connections 窗口并创建一个新的连接
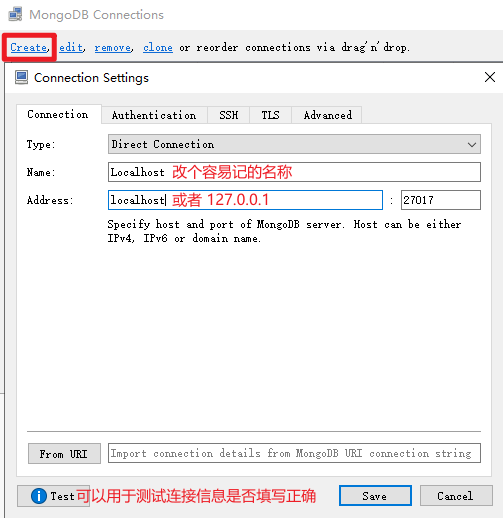
点击 Save 并连接后,可查看和操作数据库
添加一个新的数据库用户
MongoDB 默认无用户,连接不需用户名密码
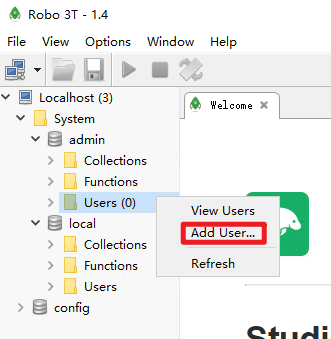
如下图所示,可以添加一个权限最大的超级管理员
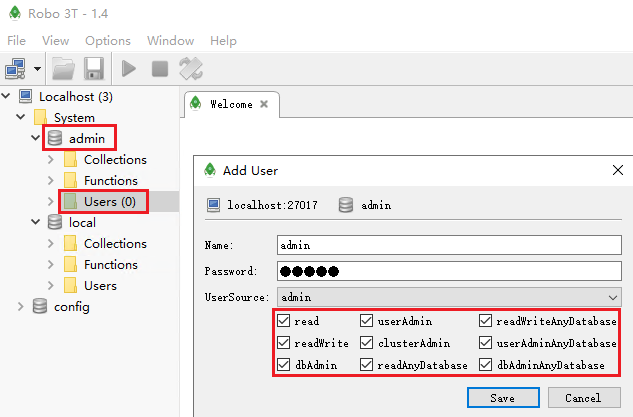
如上图设置后,默认还是无需用户名密码登录的,还需要如下设置:
1. 如果 MongoDB 服务在运行中,先停止
Stop-Service MongoDB
// 或者
net stop MongoDB
或者到“服务”窗口右键停止 MongoDB 服务
2. 修改 mongod.cfg 并保存
systemLog:
    destination: file
    path: D:\Database\mongodb\log\mongod.log
storage:
    dbPath: D:\Database\mongodb\data
net:
    bindIp: 127.0.0.1
    port: 27017

# 添加下述配置
security:
    authorization: "enabled"
3. 重启 MongoDB 服务(略)
4. 用 Robo 3T 重新连接数据库
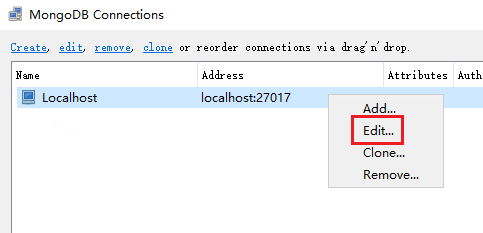
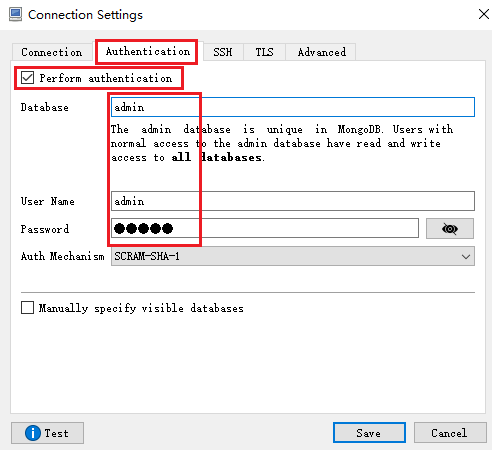
输入密码后并保存后,即可用刚刚创建的超级管理员身份登录数据库


 1338
1338

 被折叠的 条评论
为什么被折叠?
被折叠的 条评论
为什么被折叠?
 到【灌水乐园】发言


