


 本文介绍了如何在Vue.js项目中安装和使用vue-router。首先,通过npm安装vue-router并执行npm audit fix修复潜在问题。接着,在Main.js中引入和配置vue-router,然后创建组件Main.vue和Content.vue。在router/index.js中定义路由。最后,运行npm run dev启动应用。项目目录结构清晰,便于理解和实践。
1.安装vue-router
项目目录中执行npm install vue-router --save-dev
npm audit fix(修复缺陷)
2.编写Main.js
// The Vue build version to load with the `import` command
// (runtime-only or standalone) has been set in webpack.base.conf with an alias.
import Vue from 'vue'
import App from './App'
// 自动扫描里面的路由配置
import router from './router'

Vue.config.productionTip = false;


/* eslint-disable no-new */
new Vue({
  el: '#app',
  // 配置路由
  router,
  components: { App },
  template: '<App/>'
});
3.创建components/Main.vue及components/Content.vue
<template>
    <h1>首页</h1>
</template>

<script>
    export default {
        name: "Main"
    }
</script>

<style scoped>

</style>
<template>
    <h1>内容页</h1>
</template>

<script>
    export default {
        name: "Content"
    }
</script>

<style scoped>

</style>
4.创建vue主配置router/index.js
import Vue from 'vue'
import VueRouter from 'vue-router'
import Content from "../components/Content";
import Main from "../components/Main";

// 需要显示声明使用
Vue.use(VueRouter);

export default new VueRouter({
  routes: [
    {
      // 路由路径
      path: '/content',
      name: 'content',
      // 跳转的组件
      component: Content
    },
    {
      path: '/main',
      name: 'main',
      component: Main
    }
  ]
})
5.npm run dev启动程序

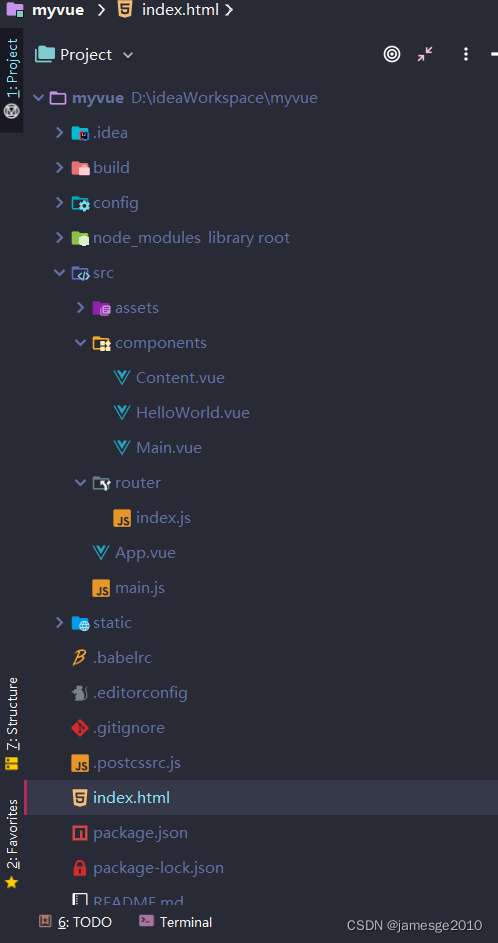
附项目目录结构:


 708
708

 被折叠的 条评论
为什么被折叠?
被折叠的 条评论
为什么被折叠?
 到【灌水乐园】发言


