


 本文深入探讨JavaScript中的Call与Apply方法的区别及其使用场景,并详细解析原型链的概念、实现方式及其操作技巧。通过具体实例展示了如何利用Call与Apply进行对象属性继承,以及如何通过原型链实现复杂的数据结构。
前端—JavaScript基础3
call&apply
//call apply
function Cat(name,color){
	this.name = name;
	this.color = color;
}
var cat = new Cat();
var o = {};
//Cat.call(o,"大白","white");
Cat.apply(o,["大白","white"]);
console.log(o.name);
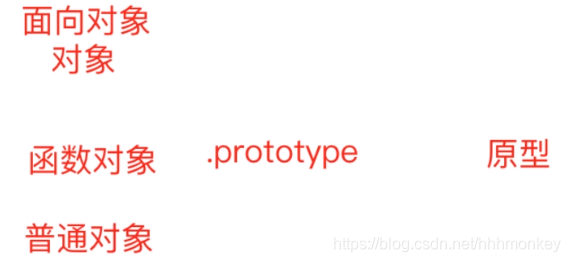
原型链
function People(){
	this.name = "小王";
	this.sayName = function(){
		console.log(this.name);
	};
}
People.prototype.walk = "walk";
var p1 = new People();
var p2 = new People();
p1.name = "p1";
p2.name = "p2";
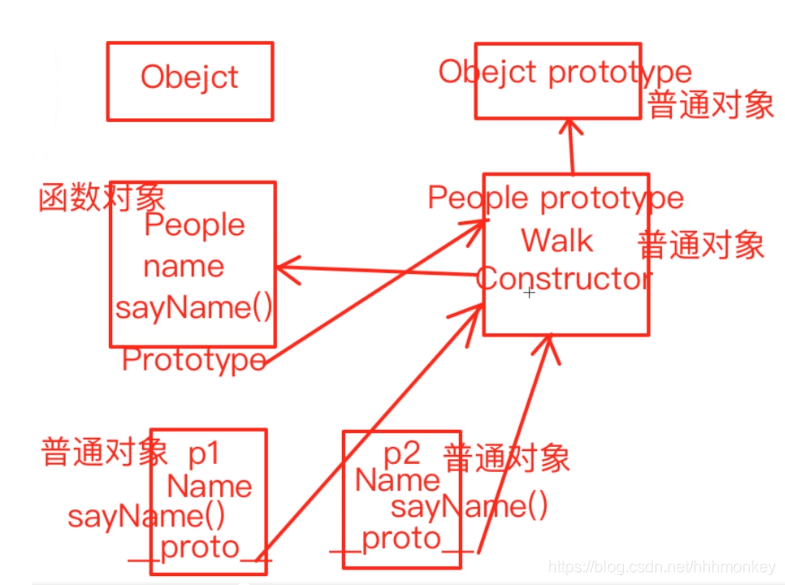
原型链操作
//修改原型
function Animal(){
	this.type= "动物";
}
function Cat(name,color){
	this.name = name;
	this.color = color;
}
Cat.prototype = new Animal();
var a = new Cat("小黑","black");
console.log(a._proto_);  //new Animal()
a._proto_.type = "大动物";
console.log(Cat.prototype);


//另一种情况
function Animal(){
	this.type= "动物";
}
Animal.prototype.type2 = "动物2";
function Cat(name,color){
	this.name = name;
	this.color = color;
}
Cat.prototype = new Animal();
var a = new Cat("小黑","black");
console.log(a._proto_._proto_);  //
a._proto_._proto_type = "大动物2";
console.log(Cat.prototype._proto_);


//复杂原型链
function F1(){
	this.name1 = "f1";
}
F1.prototype.name = "first";
function F2(){
	this.name2 = "f2";
}
function F3(){
	this.name3 = "f3";
}
F2.prototype = new F1();
F3.prototype = new F2();
var ff = new F3();
console.log(ff.name2);
ff._proto_._proto_._proto_.name = "secend";
console.log(F1.prototype);

delete ff._proto_._proto_._proto_.name
console.log(F1.prototype);
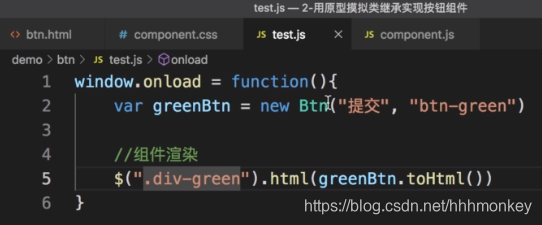
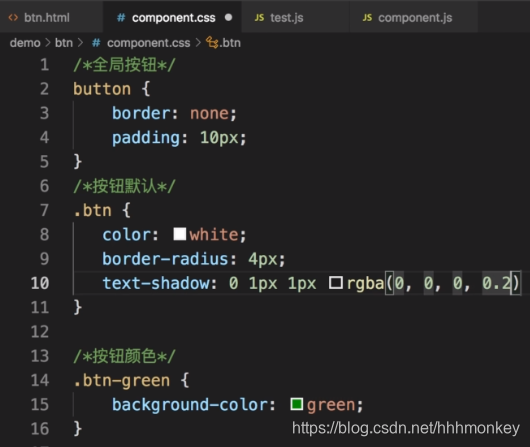
例子:按钮组件封装:(类似于Bootstrsp里的按钮组件封装)


 被折叠的 条评论
为什么被折叠?
被折叠的 条评论
为什么被折叠?
 到【灌水乐园】发言


