


 本文介绍了如何在Spring Boot项目中集成Swagger,包括添加pom依赖,配置Swagger类,以及展示Swagger-ui。在遇到swagger-ui无法显示时,排查了可能的原因,如确认依赖已添加,解决版本不匹配问题,并提供了Spring Boot 2.7.0适配的解决方案。
添加pom 依赖
		<dependency>
            <groupId>io.springfox</groupId>
            <artifactId>springfox-swagger2</artifactId>
            <version>2.7.0</version>
        </dependency>
        <dependency>
            <groupId>io.springfox</groupId>
            <artifactId>springfox-swagger-ui</artifactId>
            <version>2.7.0</version>
        </dependency>
添加Swagger 配置类
@Configuration
@EnableSwagger2
public class SwaggerConfig {
    @Bean
    public Docket productApi() {
        return new Docket(DocumentationType.SWAGGER_2)
                .apiInfo(apiInfo())
                .select()
                .apis(RequestHandlerSelectors.withMethodAnnotation(ApiOperation.class))  //添加ApiOperiation注解的被扫描
                .paths(PathSelectors.any())
                .build();

    }

    private ApiInfo apiInfo() {
        return new ApiInfoBuilder().title("swagger和springBoot整合").description("swagger的API文档")
                .version("1.0").build();
    }

}
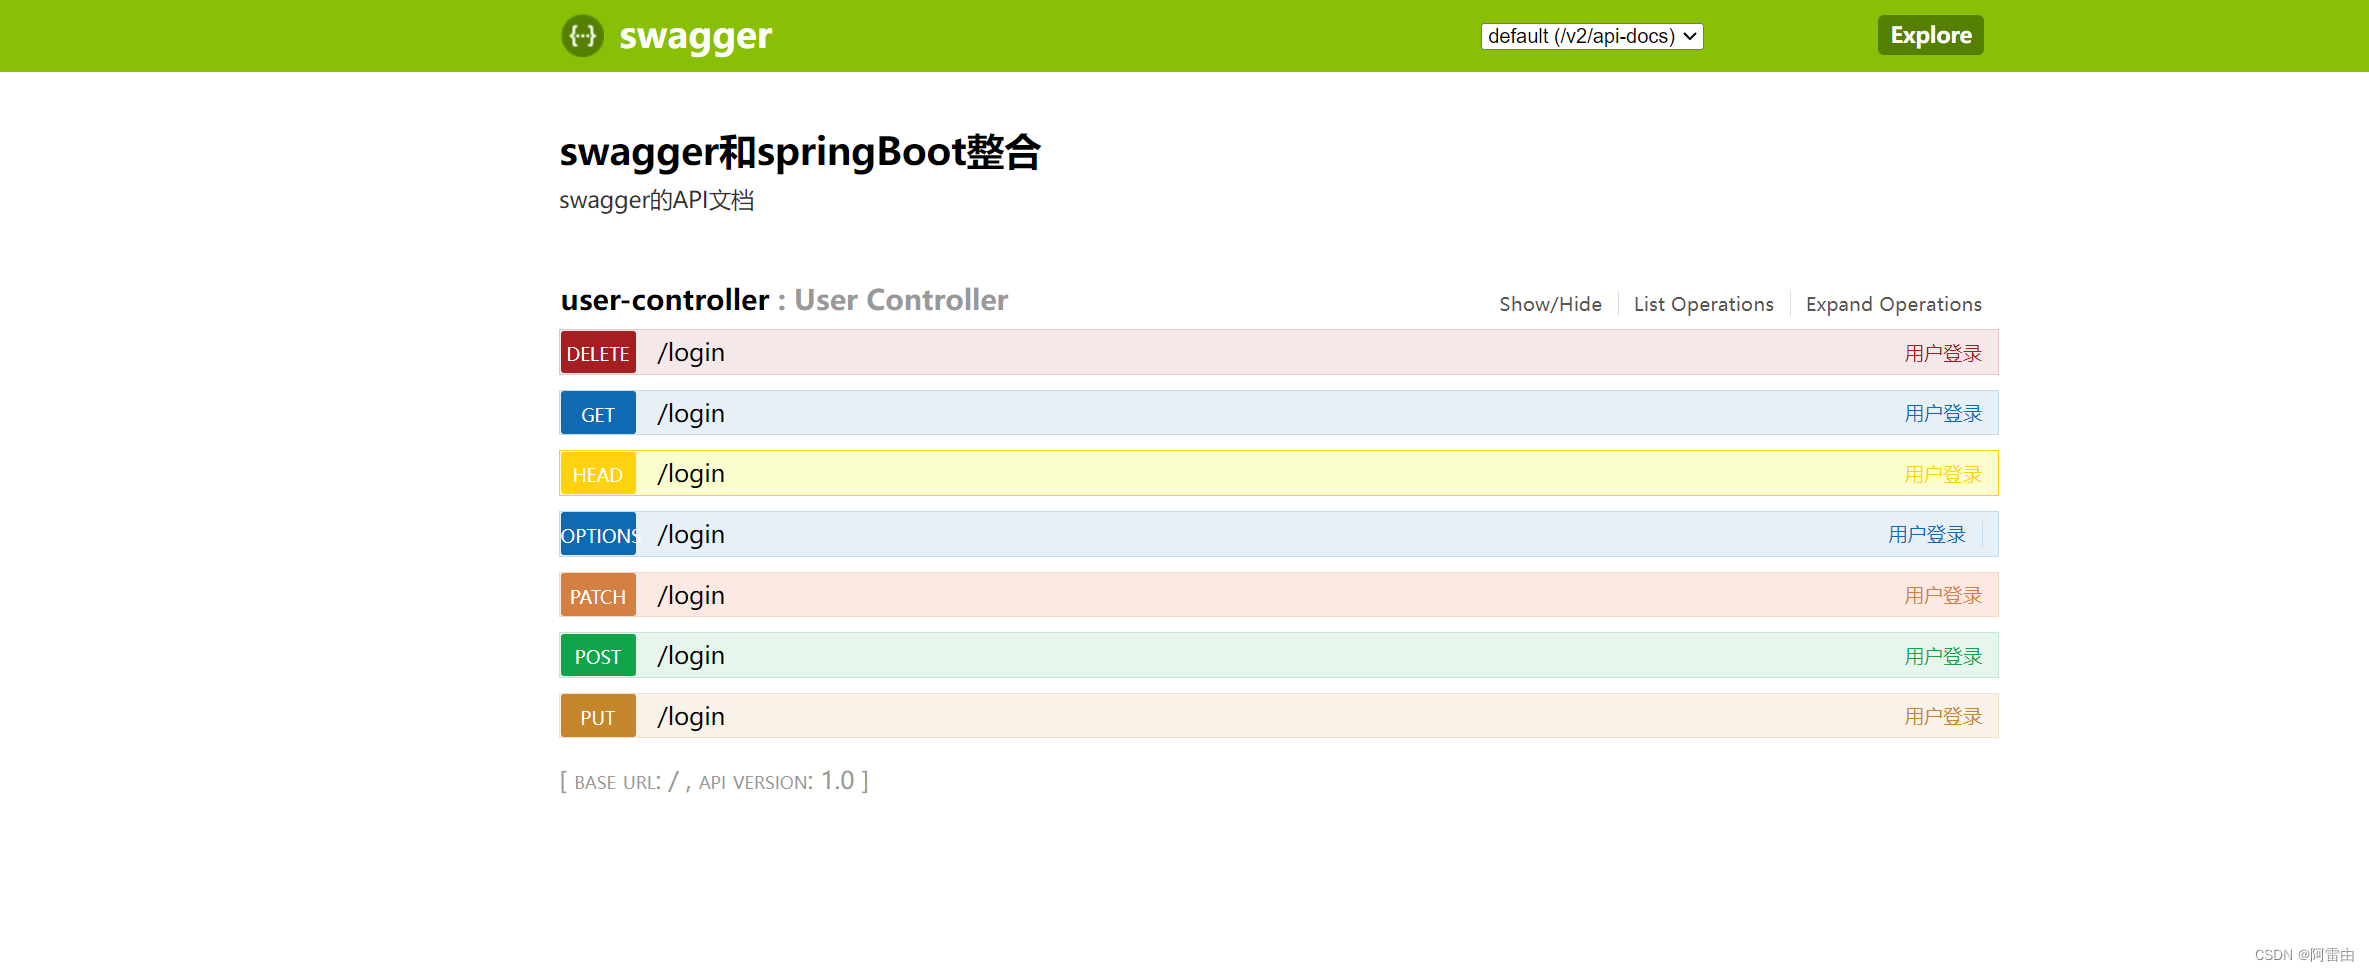
swagger-ui 展示
访问 http://localhost:8080/swagger-ui.html 即可看到对应的UI 界面
swagger-ui 如果无法显示,排错如下
- 找不到swagger-ui 界面,但是
http://localhost:8080/v2/api-docs访问正常【确认swagger 的两个jar 包是否都添加到了pom 文件中】 - 依赖于spring boot 版本不匹配【我这里springboot 版本:2.5.5,配swagger:2.7.0 正好展示,如果spring boot :2.6.7 则显示失败,报错如下,直接降低spring boot 版本即可】
org.springframework.context.ApplicationContextException: Failed to start bean 'documentationPluginsBootstrapper'; nested exception is java.lang.NullPointerException
	at org.springframework.context.support.DefaultLifecycleProcessor.doStart(DefaultLifecycleProcessor.java:181) ~[spring-context-5.3.19.jar:5.3.19]
	at org.springframework.context.support.DefaultLifecycleProcessor.access$200(DefaultLifecycleProcessor.java:54) ~[spring-context-5.3.19.jar:5.3.19]
	at org.springframework.context.support.DefaultLifecycleProcessor$LifecycleGroup.start(DefaultLifecycleProcessor.java:356) ~[spring-context-5.3.19.jar:5.3.19]
	at java.base/java.lang.Iterable.forEach(Iterable.java:75) ~[na:na]
	at org.springframework.context.support.DefaultLifecycleProcessor.startBeans(DefaultLifecycleProcessor.java:155) ~[spring-context-5.3.19.jar:5.3.19]
	at org.springframework.context.support.DefaultLifecycleProcessor.onRefresh(DefaultLifecycleProcessor.java:123) ~[spring-context-5.3.19.jar:5.3.19]
	at org.springframework.context.support.AbstractApplicationContext.finishRefresh(AbstractApplicationContext.java:935) ~[spring-context-5.3.19.jar:5.3.19]
	at org.springframework.context.support.AbstractApplicationContext.refresh(AbstractApplicationContext.java:586) ~[spring-context-5.3.19.jar:5.3.19]
	at org.springframework.boot.web.servlet.context.ServletWebServerApplicationContext.refresh(ServletWebServerApplicationContext.java:145) ~[spring-boot-2.6.7.jar:2.6.7]
	at org.springframework.boot.SpringApplication.refresh(SpringApplication.java:740) ~[spring-boot-2.6.7.jar:2.6.7]
	at org.springframework.boot.SpringApplication.refreshContext(SpringApplication.java:415) ~[spring-boot-2.6.7.jar:2.6.7]
	at org.springframework.boot.SpringApplication.run(SpringApplication.java:303) ~[spring-boot-2.6.7.jar:2.6.7]
	at org.springframework.boot.SpringApplication.run(SpringApplication.java:1312) ~[spring-boot-2.6.7.jar:2.6.7]
	at org.springframework.boot.SpringApplication.run(SpringApplication.java:1301) ~[spring-boot-2.6.7.jar:2.6.7]
```
新增内容如下:
最新版springboot 2.7.0 可以和下面两个文件搭配使用
【但是需要将@EnableSwagger2 放到springboot 启动类,另外还需要添加下面的配置文件到application.yml 中】
mvc:
    pathmatch:
      matching-strategy: ant_path_matcher
		<dependency>
            <groupId>io.springfox</groupId>
            <artifactId>springfox-swagger2</artifactId>
            <version>2.7.0</version>
        </dependency>
        <dependency>
            <groupId>io.springfox</groupId>
            <artifactId>springfox-swagger-ui</artifactId>
            <version>2.7.0</version>
        </dependency>```


 4万+
4万+

 被折叠的 条评论
为什么被折叠?
被折叠的 条评论
为什么被折叠?
 到【灌水乐园】发言


