


Logstash 安装及日志采集
需求分析
通过 FileBeats 采集日志,采集后的日志输出到 Logstash,Logstash 处理过滤后(将每条日志解析成字段)将数据输出到 Elasticserch
安装配置
下载安装包
Download Elastic Stack Logstash 7.6.1
上传并解压
# 解压
unzip logstash-7.6.1.zip
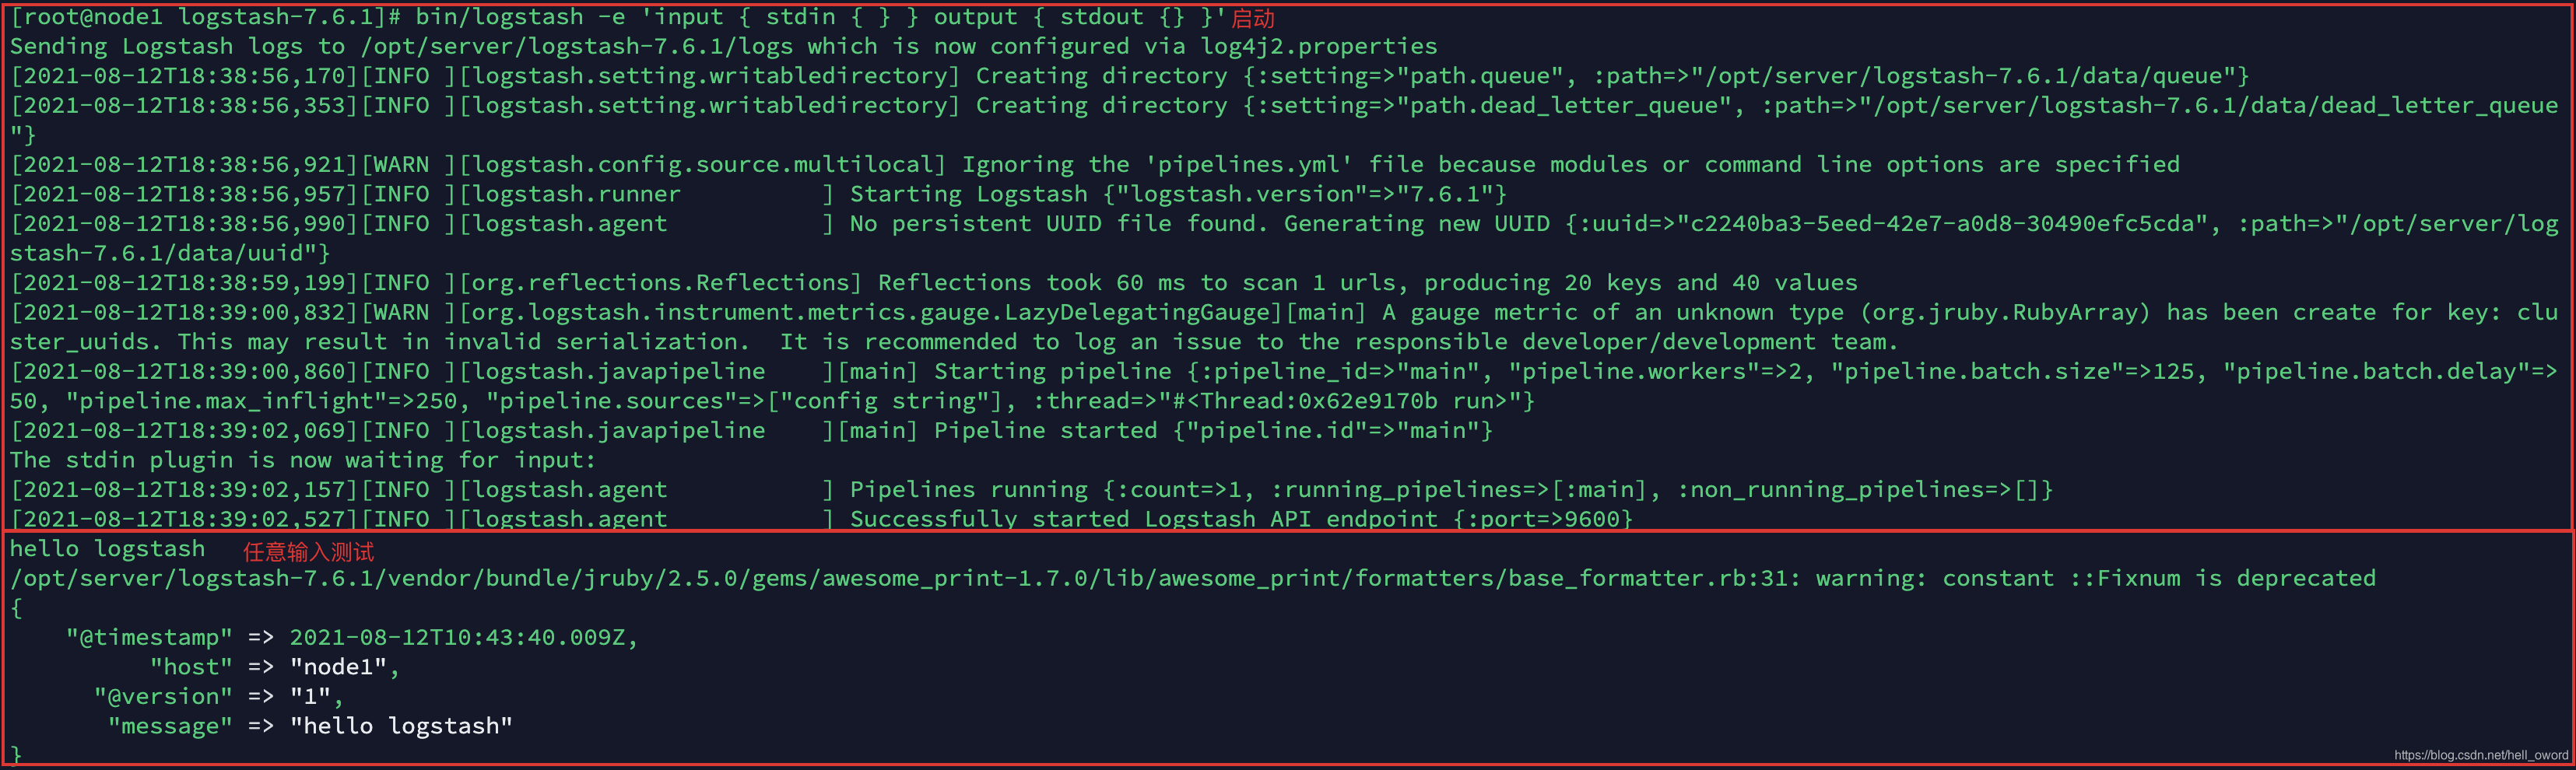
启动测试
cd /opt/server/logstash-7.6.1
# 启动
bin/logstash -e 'input { stdin { } } output { stdout {} }'
FileBeat 采集日志到 Logstash
日志结构

| 字段名 | 说明 |
|---|---|
| client IP | 浏览器端IP |
| timestamp | 请求的时间戳 |
| method | 请求方式(GET/POST) |
| uri | 请求的链接地址 |
| status | 服务器端响应状态 |
| length | 响应的数据长度 |
| reference | 从哪个URL跳转而来 |
| browser | 浏览器 |
准备测试数据
235.9.200.242 - - [15/Apr/2015:00:27:19 +0849] "POST /itcast.cn/bigdata.html 200 45 "www.baidu.com" "Mozilla/5.0 (Windows NT 5.1) AppleWebKit/537.36 (KHTML, like Gecko) Chrome/53.0.2785.104 Safari/537.36 Core/1.53.4549.400 QQBrowser/9.7.12900 144.180.122.249
准备配置文件
cd /opt/server/filebeat-7.6.1-linux-x86_64
vim filebeat-logstash.yml
filebeat.inputs:
- type: log
  enabled: true
  paths:
    - /opt/server/web-log/access.*
  multiline.pattern: '^\d+\.\d+\.\d+\.\d+ '
  multiline.negate: true
  multiline.match: after

output.logstash:
  enabled: true
  hosts: ["node1:5044"]
启动 FileBeat
cd /opt/server/filebeat-7.6.1-linux-x86_64
# 启动
./filebeat -e -c filebeat-logstash.yml
Logstash 接收数据并打印
执行说明
启动 FileBeat ,紧接着启动 Logstash,向 FileBeat 采集的日志文件中加入一条数据,测试 Logstash 是否能接收到数据并打印在控制台
准备配置文件
cd /opt/server/logstash-7.6.1/config
vim filebeat-print.conf
input {


  beats {


    port => 5044
  }
}

output {


  stdout {


    codec => rubydebug
  }
}
测试 Logstash 配置是否正确
cd /opt/server/logstash-7.6.1
# 执行
bin/logstash -f config/filebeat-print.conf --config.test_and_exit

启动 Logstash
bin/logstash -f config/filebeat-print.conf --config.reload.automatic
 最低0.47元/天 解锁文章


 663
663

 被折叠的 条评论
为什么被折叠?
被折叠的 条评论
为什么被折叠?
 到【灌水乐园】发言


