 Java Servlet实现文件上传教程


 本文介绍了如何使用Java Servlet进行文件上传,包括上传步骤:设置POST请求的表单,添加`multipart/form-data`的enctype属性,使用`<input type="file">`标签。还提到了在Spring MVC配置中添加文件解析器的需求,以及文件上传在注册、实名认证等场景的应用。
controller类
package com.hp.work.controller;

import com.hp.work.pojo.User;
import org.springframework.stereotype.Controller;
import org.springframework.web.bind.annotation.RequestMapping;
import org.springframework.web.multipart.MultipartFile;

import javax.servlet.http.HttpServletRequest;
import java.io.File;
import java.io.IOException;

@Controller
public class FileController {
    @RequestMapping("mian")
    public String goMain(HttpServletRequest request){
        //获取部署项目的根目录
        String realPath = request.getRealPath("/");
        System.out.println("realPath = " + realPath);
        return "main2";
    }

    //注册页面
    @RequestMapping("/go")
    public String goReg(){
        return "register";
    }

    /**
     *
     * @param name  账号
     * @param passWord  密码
     * @param file  文件对象 MultipartFile类型
     * @return
     */
    @RequestMapping("/register")
    public String doReg(String name, String passWord, MultipartFile file,HttpServletRequest request){
        System.out.println("name = " + name);
        System.out.println("password = " + passWord);
        System.out.println("file = " + file);
        //获取文件名
        String filename = file.getOriginalFilename();
        //1.获取到项目的根路径
        String realPath = request.getRealPath("/");
        //2.在根目录创建一个文件夹专门存放上传的图片或者文件
        //创建文件夹对象
        String dirName="upload";
        //文件路径
        File dirFile = new File(realPath+"/"+dirName );
        //如果不存在则创建
        if (!dirFile.exists()){
            dirFile.mkdir();
        }
        //创建图片/文件对象
        File jpgFile = new File(dirFile + "/" + filename);
        //上传文件
        try {
            file.transferTo(jpgFile);

        } catch (IOException e) {
            e.printStackTrace();
        }
        User user = new User() ;
        user.setUserName(name);
        user.setUserPassword(passWord);
        user.setFilePath(dirFile + "/" + filename);
        request.getSession().setAttribute("user",user);
        return "main2";
    }


}
user类
package com.hp.work.pojo;

public class User {
    private String userName;
    private String userPassword;
    private String filePath;

    @Override
    public String toString() {
        return "User{" +
                "userName='" + userName + '\'' +
                ", userPassword='" + userPassword + '\'' +
                ", filePath='" + filePath + '\'' +
                '}';
    }

    public String getUserName() {
        return userName;
    }

    public void setUserName(String userName) {
        this.userName = userName;
    }

    public String getUserPassword() {
        return userPassword;
    }

    public void setUserPassword(String userPassword) {
        this.userPassword = userPassword;
    }

    public String getFilePath() {
        return filePath;
    }

    public void setFilePath(String filePath) {
        this.filePath = filePath;
    }
}
springmvc-servlet配置
文件上传
将本地文件上传到服务器,当前我们的项目是部署在tomcat。tomcat安装在我们本机,那么我们本机就可以看成tomcat服务器
使用场景
注册的时候需要头像、实名认证上传身份证等
上传步骤
一、文件上传表单三要素:
1.表单必须是post请求
2.form表单添加enctype属性为“multipart/form-data”
3.表单控件使用<input type="file" name=""/>
二、文件上传依赖
commons-fileupload.jar
三、在mvc核心配置中添加文件解析器
<?xml version="1.0" encoding="UTF-8"?>
<beans xmlns="http://www.springframework.org/schema/beans"
       xmlns:xsi="http://www.w3.org/2001/XMLSchema-instance"
       xmlns:context="http://www.springframework.org/schema/context"
       xmlns:mvc="http://www.springframework.org/schema/mvc"
       xsi:schemaLocation="http://www.springframework.org/schema/beans http://www.springframework.org/schema/beans/spring-beans.xsd http://www.springframework.org/schema/context https://www.springframework.org/schema/context/spring-context.xsd http://www.springframework.org/schema/mvc https://www.springframework.org/schema/mvc/spring-mvc.xsd">
    <!-- 组件扫描器:mvc中仅仅扫描controller层,不能扫多了 -->
    <context:component-scan base-package="com.hp.work.controller"/>
    <context:component-scan base-package="com.hp.work.exception"/>

    <!-- 开启注解驱动 -->
    <mvc:annotation-driven/>
    <!-- 视图解析器 -->
    <bean class="org.springframework.web.servlet.view.InternalResourceViewResolver">
        <!-- 前缀 -->
        <property name="prefix" value="/WEB-INF/"/>
        <!-- 后缀 -->
        <property name="suffix" value=".jsp"/>
    </bean>

    <!-- 文件解析器 -->
    <!-- 必须是id="multipartResolver"
            因为 DispatcherServlet里边有一个multipartResolver声明对象
    -->
    <bean class="org.springframework.web.multipart.commons.CommonsMultipartResolver" id="multipartResolver">
        <property name="defaultEncoding" value="utf-8"/>
        <property name="maxInMemorySize" value="10240000"/>
    </bean>
</beans>
JSP(webapp\WEB-INF)
<%--
Created by IntelliJ IDEA.
User: ziWei
Date: 2022/8/26
Time: 15:03
To change this template use File | Settings | File Templates.
--%>
<%@ page contentType="text/html;charset=UTF-8" language="java" %>
<html>
<head>
<title>Title</title>
</head>
<body>
<%--
src、href、action这些后边跟的都是请求路径
--%>
<%-- <img src="upload/tu.jpg"> --%>
<%--<img src="upload/tu.jpg" height="300" width="420" />--%>
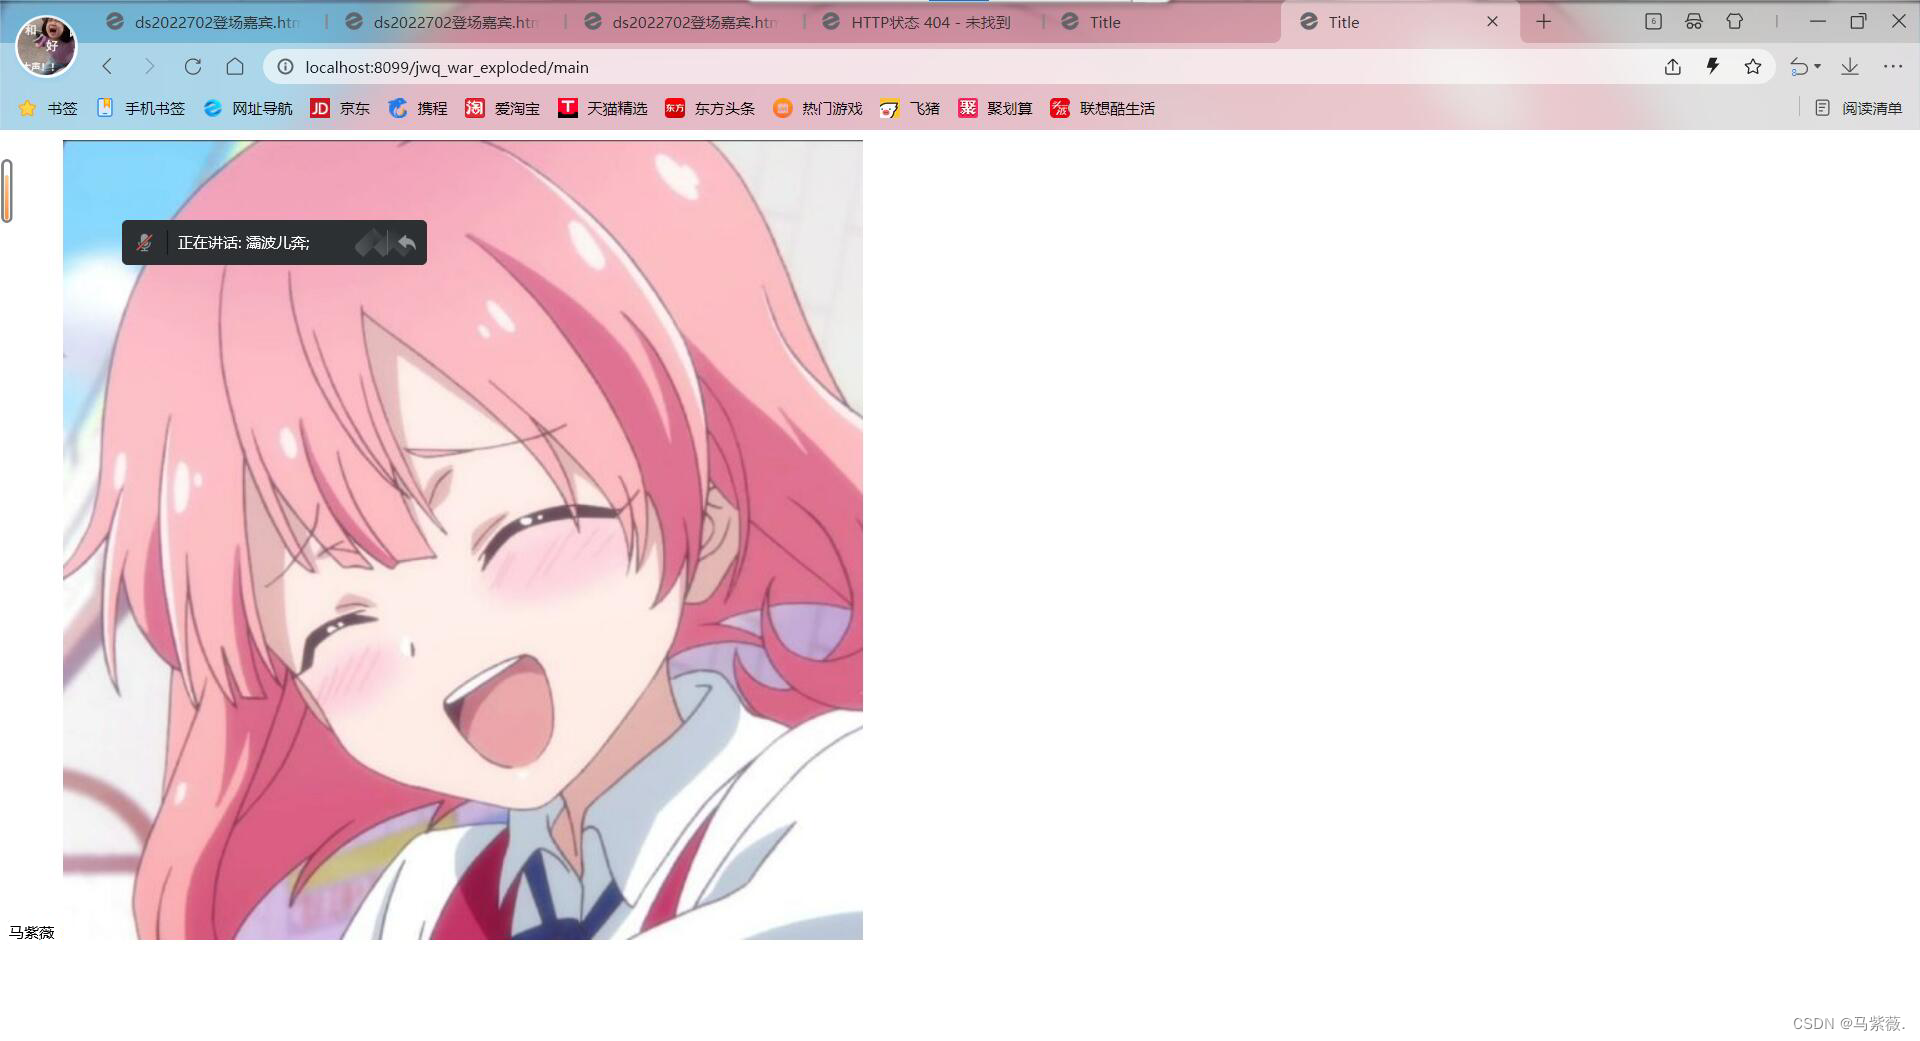
欢迎你${user.userName}
<img src="${user.filePath}" height="300" width="420">
</body>
</html>
<%--
  Created by IntelliJ IDEA.
  User: ziWei
  Date: 2022/8/26
  Time: 15:04
  To change this template use File | Settings | File Templates.
--%>
<%@ page contentType="text/html;charset=UTF-8" language="java" %>
<html>
<head>
    <title>Title</title>
</head>
<body>
<form action="register" method="post" enctype="multipart/form-data" >
    用户: <input type="text" name="name"><br>
    密码: <input type="text" name="passWord"><br>
    证件: <input type="file" name="file"><br>
    <input type="submit" value="提交">
</form>
</body>
</html>
运行结果示例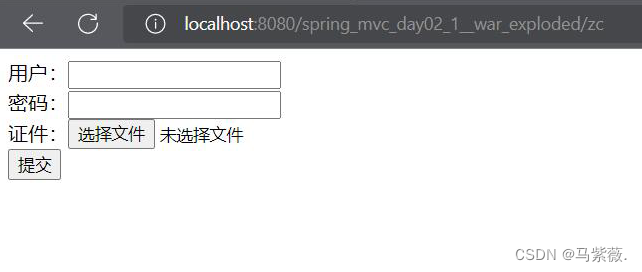


 1486
1486

 被折叠的 条评论
为什么被折叠?
被折叠的 条评论
为什么被折叠?
 到【灌水乐园】发言


