


 本文指导在GoogleColab中通过JupyterNotebook安装并配置OpenInterpreter,演示了API使用和数据分析过程,附有官方文档链接。
前提
建议在云端环境运行open-interpreter,这样更加安全,本教程也会使用云端。jupyter notebook更简单、方便。
- opnai 的api-key
- Google Colab
- 会使用jupyter notebook
开始
安装
!pip install open-interpreter
设置
import interpreter

# Paste your OpenAI API key below.
interpreter.api_base = " "
interpreter.api_key = "sk-your-api-key"
interpreter.auto_run = True因为在虚拟环境中,可以让其自动运行
interpreter.model = "gpt-3.5-turbo"可以选择模型
运行
创建一个新单元格
interpreter.chat("Please print hello world.")
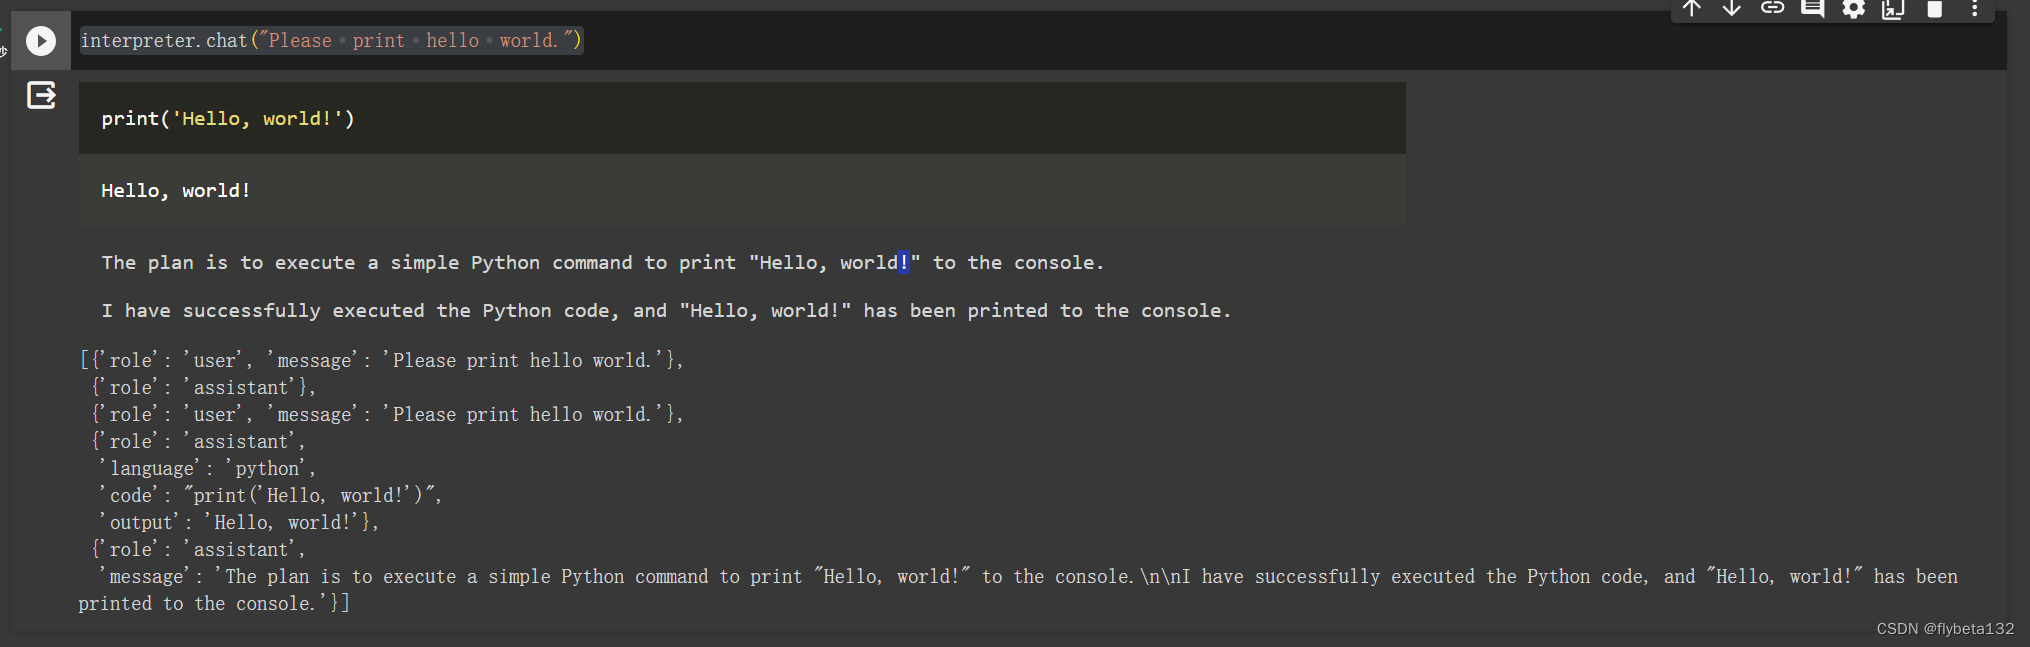
如果需要继续对话,继续使用
interpreter.chat("Please print hello world.")
重新开始一段对话
interpreter.reset()
更多请见官方文档。
demo
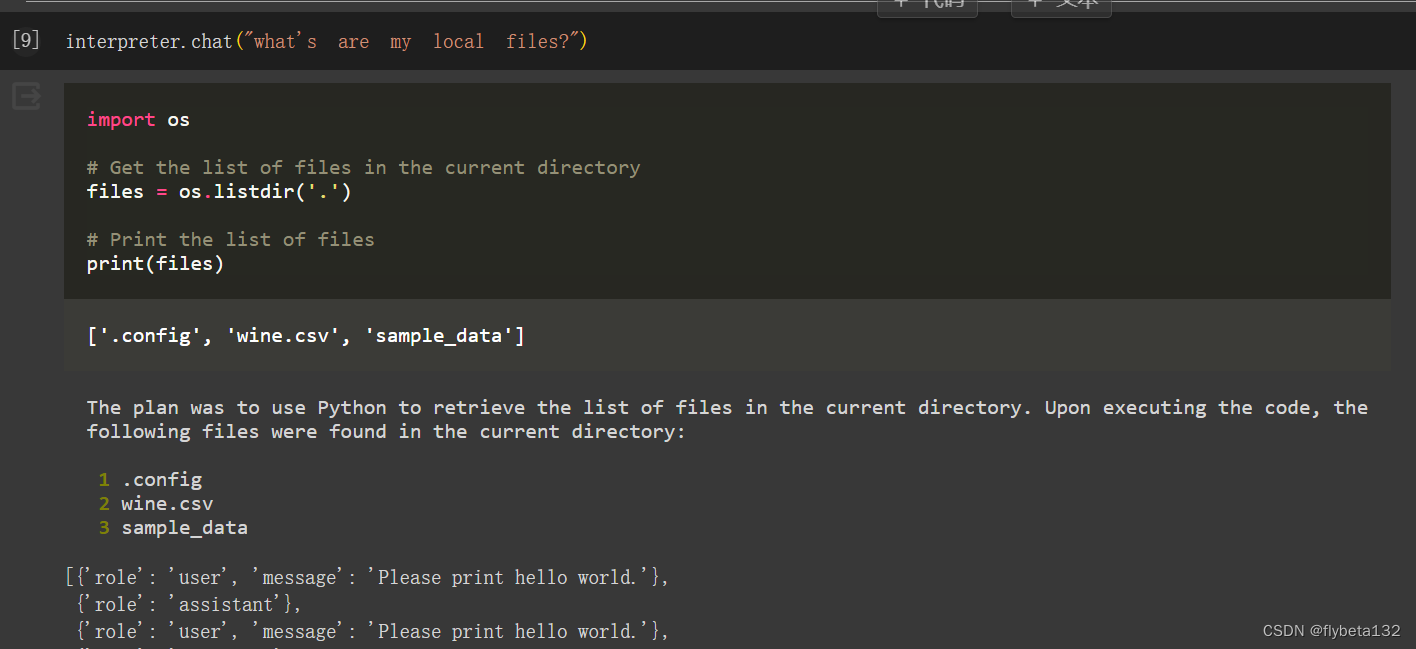
进行数据分析
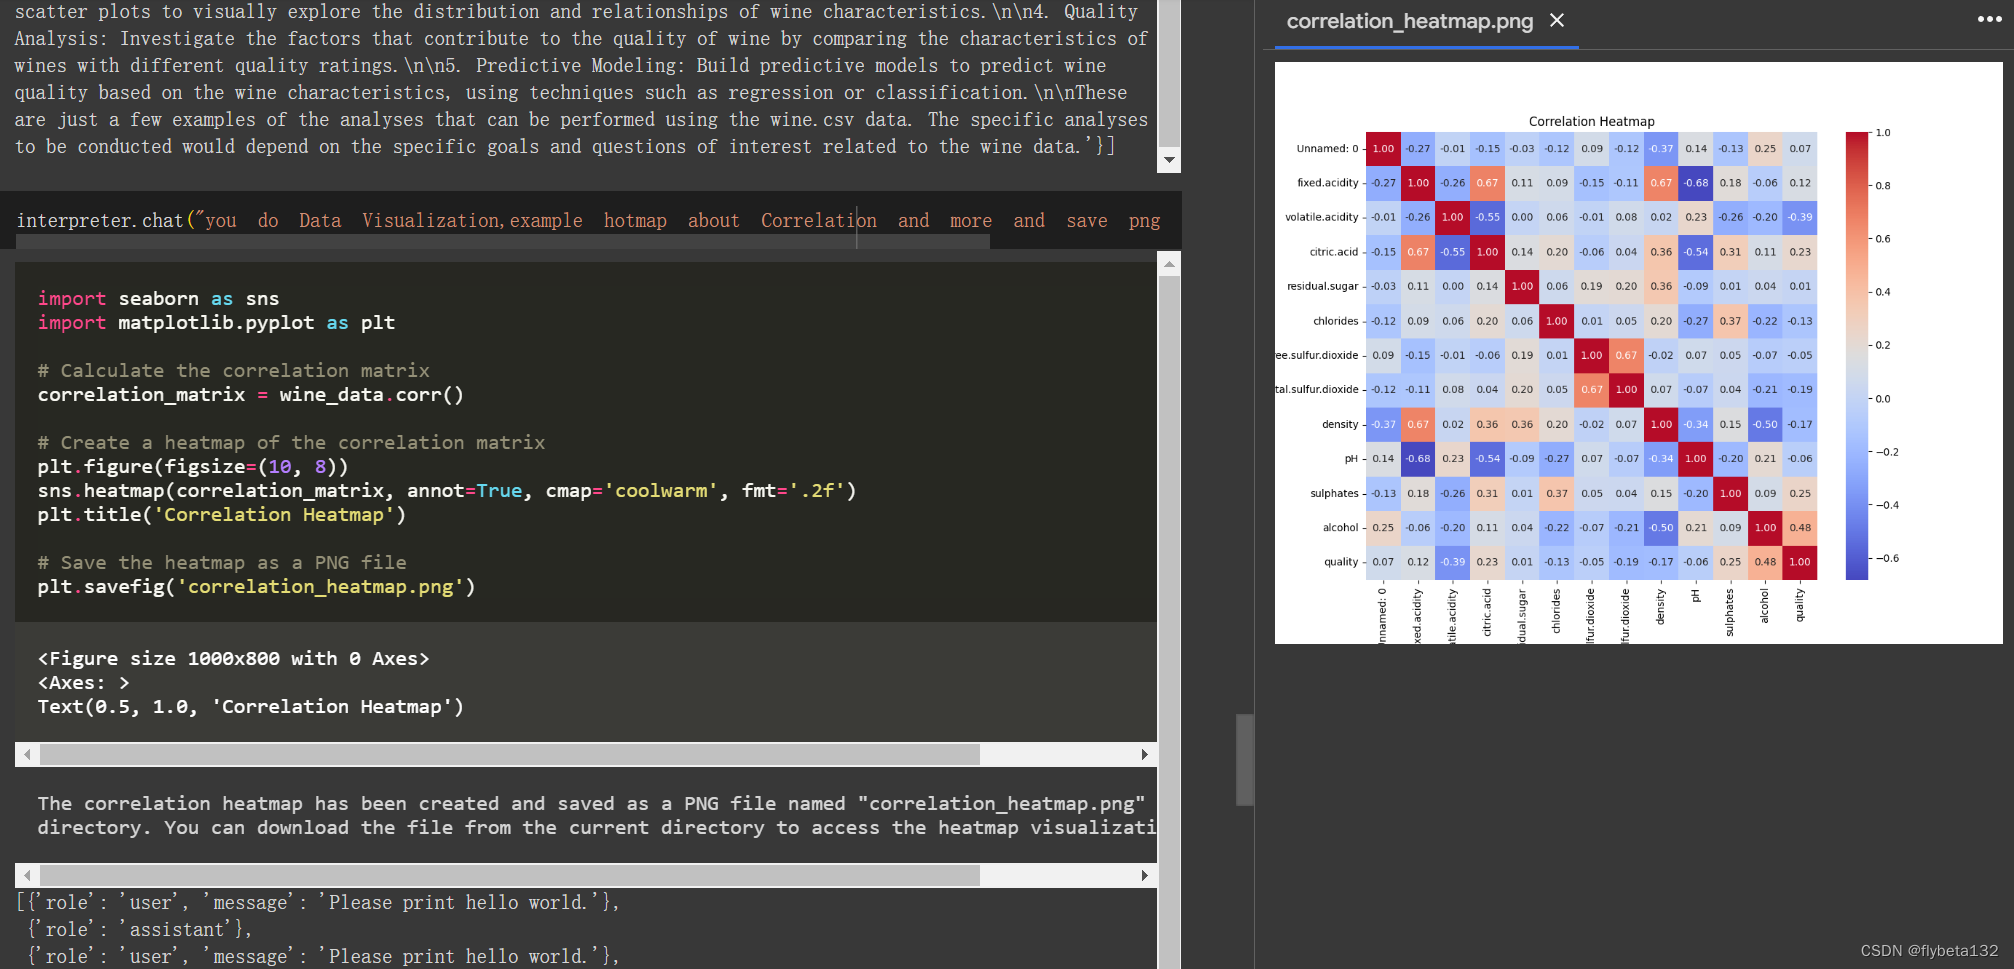
更多展示:
官方Colab
参考:
官方github文档


 2856
2856

 被折叠的 条评论
为什么被折叠?
被折叠的 条评论
为什么被折叠?
 到【灌水乐园】发言


