


 博客主要演示了使用QtGraphicalEffects类,通过遮罩方式实现特定效果。包含目标图像层、遮罩层,还介绍了使用遮罩的方法,并给出了完整的qml源码。
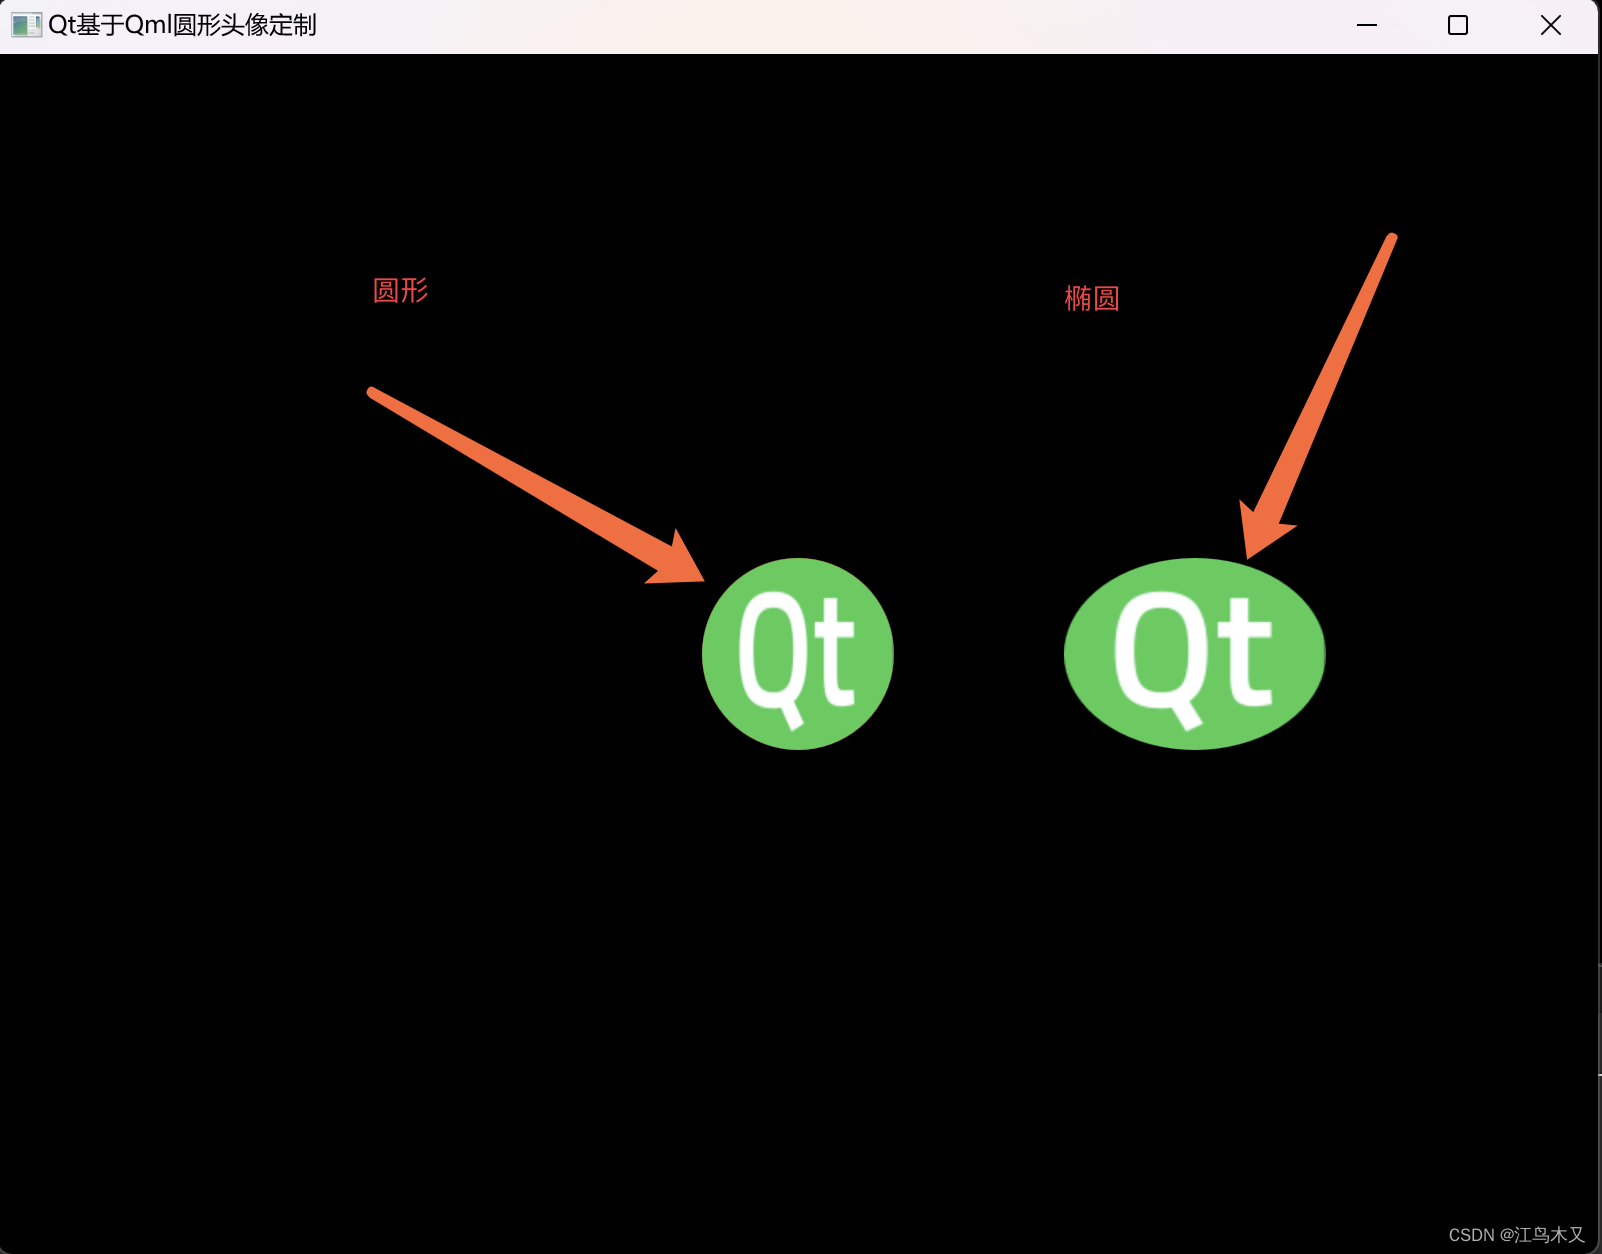
演示效果
主要用要QtGraphicalEffects类,通过遮罩方式来实现
1.目标图像层
//目标图像
    Image {
        id: sourceimage
        source: "qrc:/qt.png"
        sourceSize: Qt.size(parent.width, parent.height)
        fillMode: Image.PreserveAspectCrop
        smooth: true
        visible: false //默认不可见
    }
2.遮罩层
//遮罩层
    Rectangle {
        id: mask
        width: parent.width
        height: parent.height
        radius: width/2
        color:"red"
        visible: true //默认不可见
    }
3.使用遮罩
//透明遮罩-圆形
    OpacityMask {
        anchors.fill: mask //遮罩填充范围
        source: sourceimage //填充源
        maskSource: mask //遮罩源
    }
完整实现qml源码
import QtQuick 2.0
import QtGraphicalEffects 1.0

Item {
    width: 96
    height: 96
    anchors.centerIn: parent
    //目标图像
    Image {
        id: sourceimage
        source: "qrc:/qt.png"
        sourceSize: Qt.size(parent.width, parent.height)
        fillMode: Image.PreserveAspectCrop
        smooth: true
        visible: false //默认不可见
    }
    Image {
        id: sourceimage1
        anchors.left: sourceimage.right
        anchors.leftMargin: 50
        source: "qrc:/qt.png"
        sourceSize: Qt.size(parent.width, parent.height)
        fillMode: Image.PreserveAspectCrop
        smooth: true
        visible: false //默认不可见
    }
    //遮罩层
    Rectangle {
        id: mask
        width: parent.width
        height: parent.height
        radius: width/2
        color:"red"
        visible: true //默认不可见

    }
    //透明遮罩-圆形
    OpacityMask {
        anchors.fill: mask //遮罩填充范围
        source: sourceimage //填充源
        maskSource: mask //遮罩源
    }
    //透明遮罩-椭圆
    OpacityMask {
        anchors.fill: sourceimage1 //遮罩填充范围
        source: sourceimage1 //填充源
        maskSource: mask //遮罩源
    }
}


 2509
2509

 被折叠的 条评论
为什么被折叠?
被折叠的 条评论
为什么被折叠?
 到【灌水乐园】发言


