


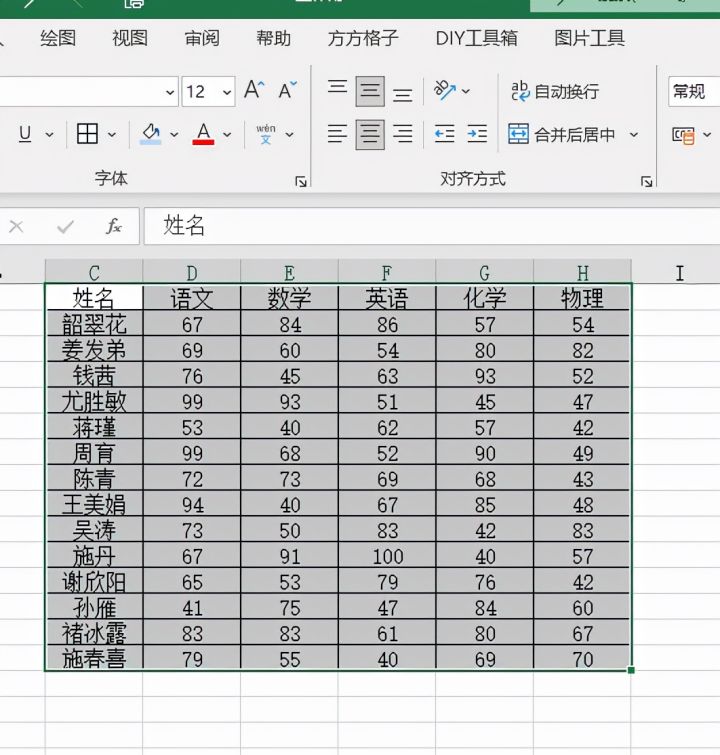
1.首先我们选中要截取图片的单元格区域
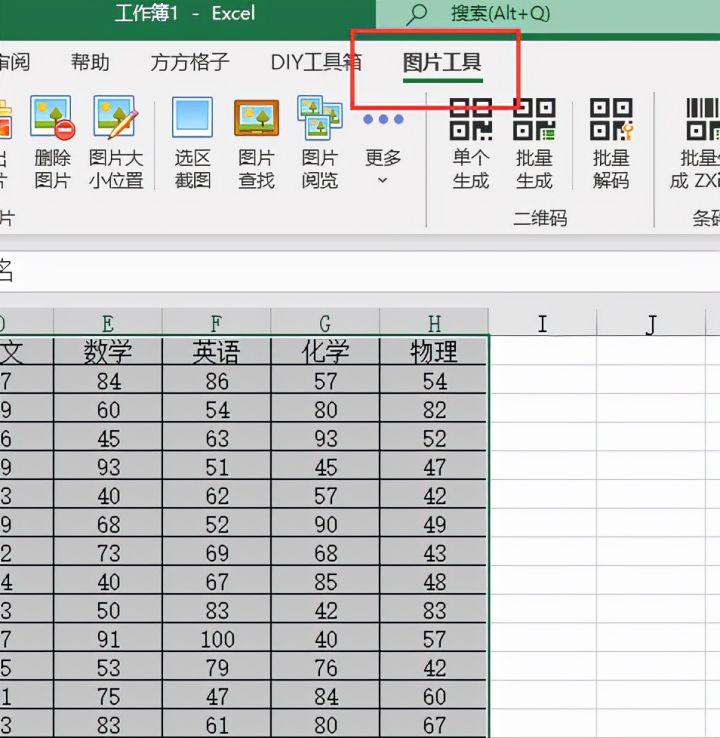
2.接着我们鼠标点击【图片工具】选项
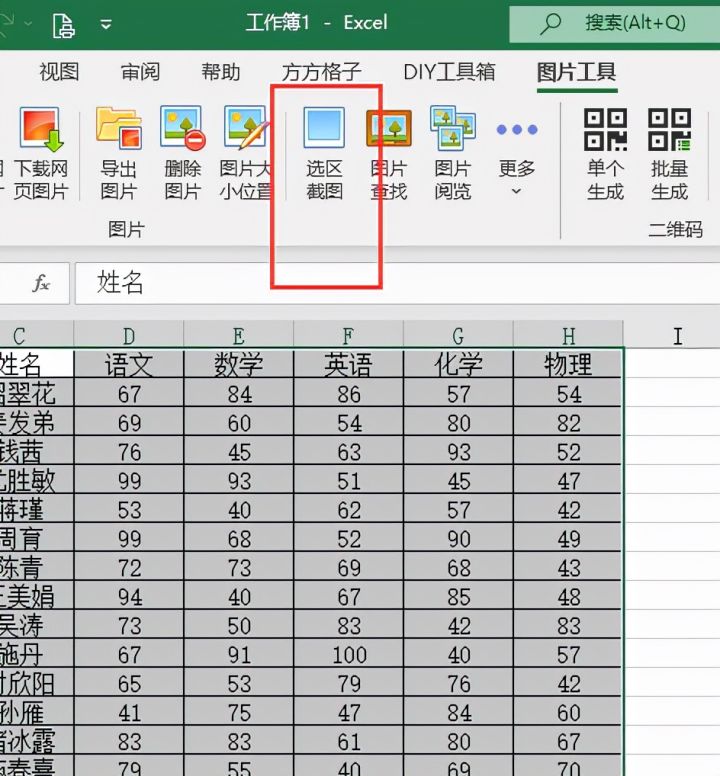
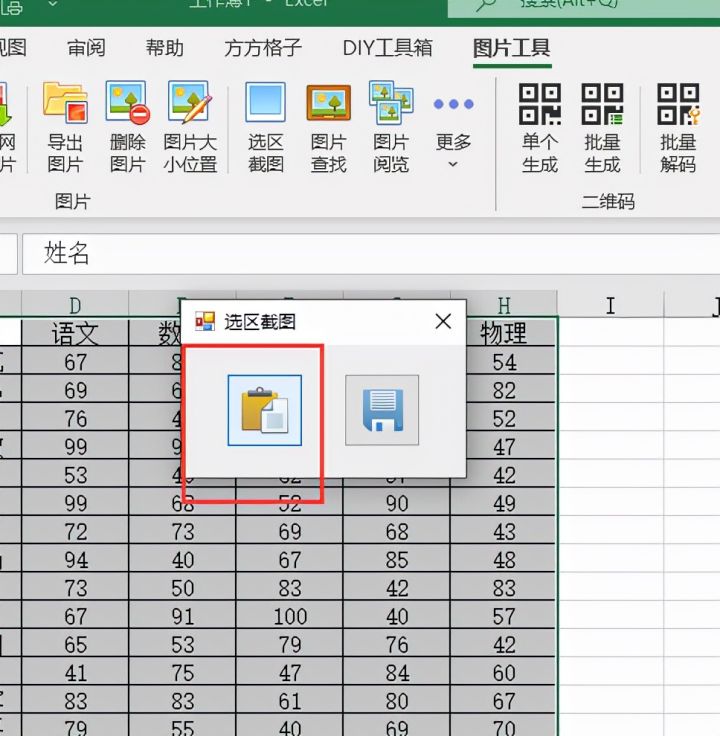
3.选择【选区截图】
4.鼠标点击如下图选项
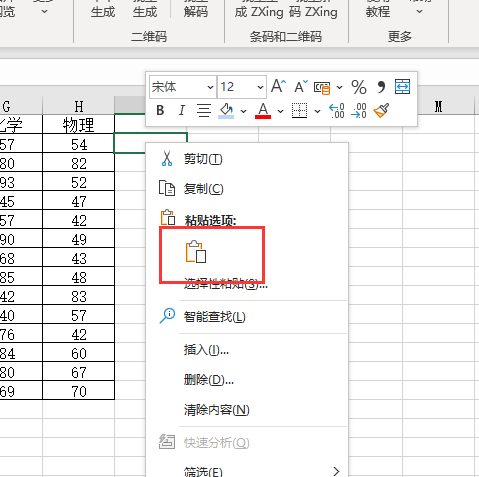
5.最后我们点击粘贴即可完成
6.完成效果如下图
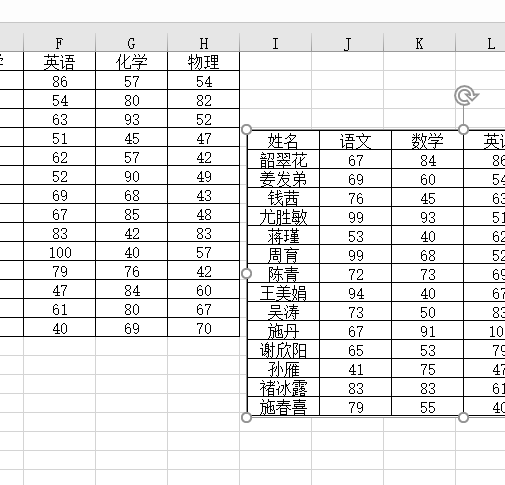
 本文详细指导如何通过简单的操作在Excel中选取特定区域并截图,包括使用图片工具、选区截图选项,最终实现图片粘贴。适合快速记录工作中的数据可视化内容。
1.首先我们选中要截取图片的单元格区域
2.接着我们鼠标点击【图片工具】选项
3.选择【选区截图】
4.鼠标点击如下图选项
5.最后我们点击粘贴即可完成
6.完成效果如下图
 7202
7202

 被折叠的 条评论
为什么被折叠?
被折叠的 条评论
为什么被折叠?
 到【灌水乐园】发言


