


Vite基本知识
1.概念
- Vite也是前端的构建工具
- 相较于webpack,Vite采用了不同的运行方式:
- 开发时,并不对代码打包,而是直接采用**ESM(ES模块)**的方式来运行项目
- 在项目部署时,再对项目进行打包
在项目部署时候,也可以不打包。但不会这样子设计,是因为不打包,那很多文件都没有被压缩、被合并等等,会增加很多http请求,对性能不好。而在开发阶段,这些是无所谓的。
- 除了速度外,Vite使用起来也更加方便(开箱即用,都配置好了)
- 本质上 Vite 和 Webpack 是打包工具,只是 Webpack 比较底层,需要自己手动去配置。
ESM模块化规范 必须通过 url 加载页面(即需要通过服务器运行,打开以file协议开头的地址是不行的)
2.基本搭建
2.1 手动搭建
2.1.1 搭建步骤
新建vite-demo1文件夹。
npm init -y
npm install vite -D
新建index.html和index.js:
//index.js
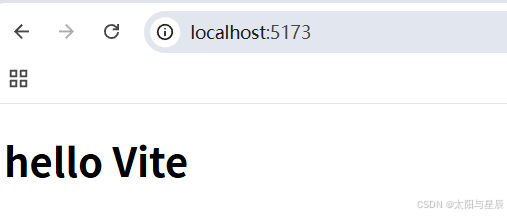
document.body.insertAdjacentHTML("beforeend", "<h1>hello Vite</h1>");
//index.html
<!DOCTYPE html>
<html lang="en">
  <head>
    <meta charset="UTF-8" />
    <meta name="viewport" content="width=device-width, initial-scale=1.0" />
    <title>Document</title>
    <script src="./index.js"></script>
  </head>
  <body></body>
</html>
执行运行命令npx vite(启动开发服务器,不会打包):

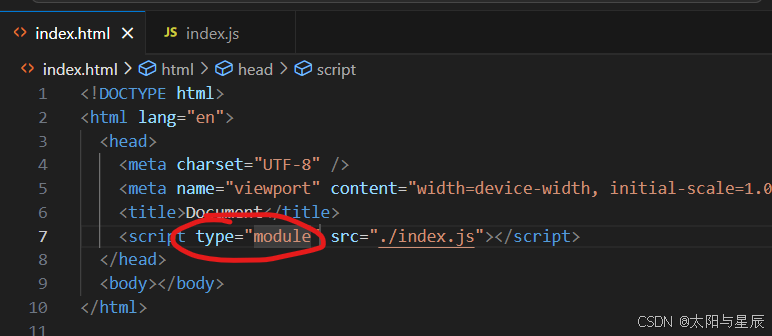
这是因为vite在开发模式下是基于esm模块化规范的。我们需要加上给脚本加上type:module:
重新npx vite(启动开发服务器,不会打包):
下面调整一下代码结构:
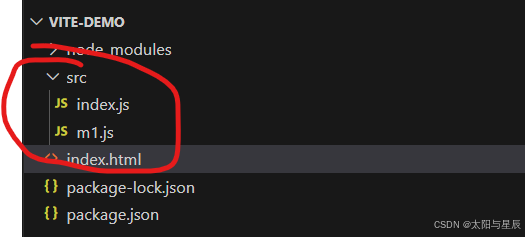
//src/m1.js
export default {
setH2() {
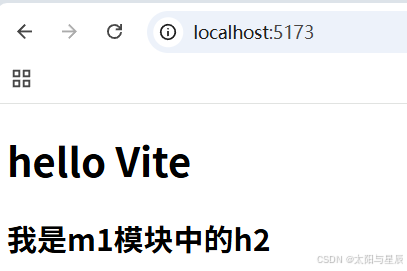
document.body.insertAdjacentHTML("beforeend", "<h2>我是m1模块中的h2</h2>");
},
};
//src/index.js
import m1 from "./m1";
document.body.insertAdjacentHTML("beforeend", "<h1>hello Vite</h1>");
m1.setH2();
<!DOCTYPE html>
<html lang="en">
  <head>
    <meta charset="UTF-8" />
    <meta name="viewport" content="width=device-width, initial-scale=1.0" />
    <title>Document</title>
    <script type="module" src="./src/index.js"></script>
  </head>
  <body></body>
</html>
执行npx vite:
查看一下浏览器控制面板的网络:
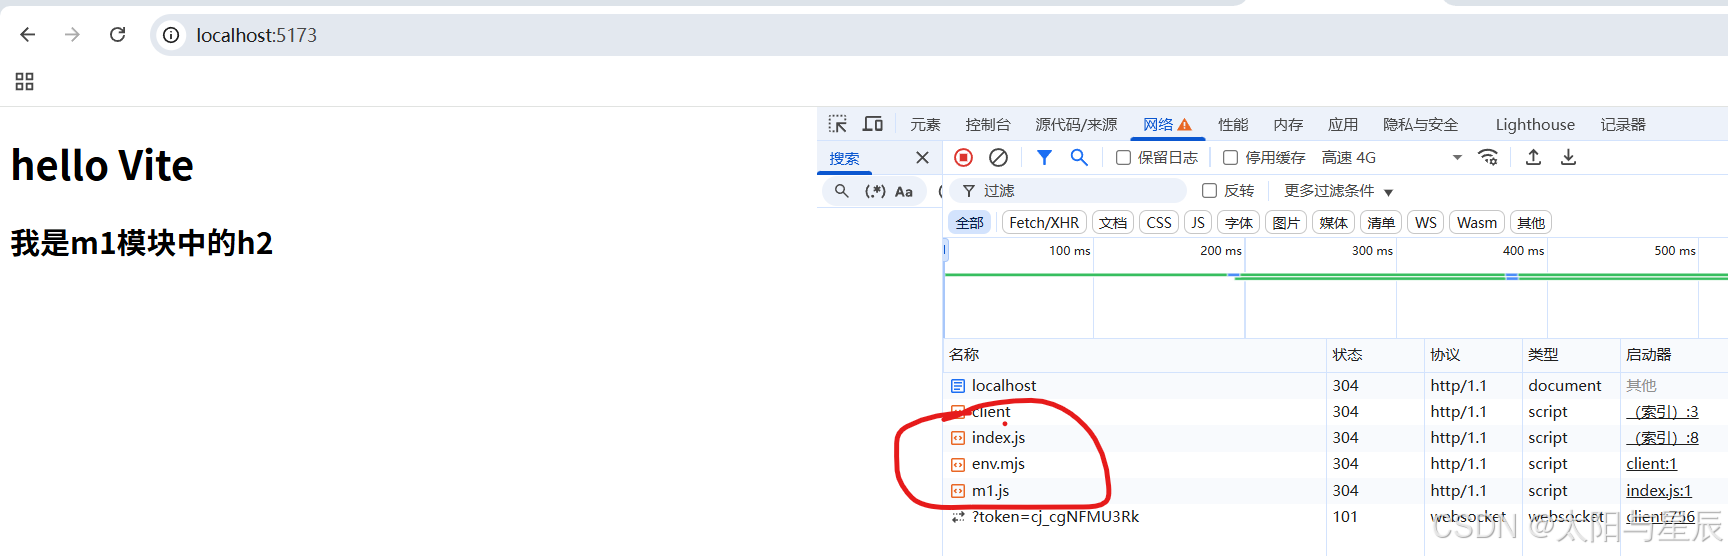
这里的网络请求有好几个,说明文件没合并,这刚好印证了npx vite是不经过打包过程的。说明我们现在预览的是开发环境下的界面。
如果我们想要预览生产环境下的界面,就需要用npx vite preview:

在执行npx vite preview命令之前需要提前打包项目npx vite build:
然后npx vite preview,并且打开浏览器控制面板中的网络面板:
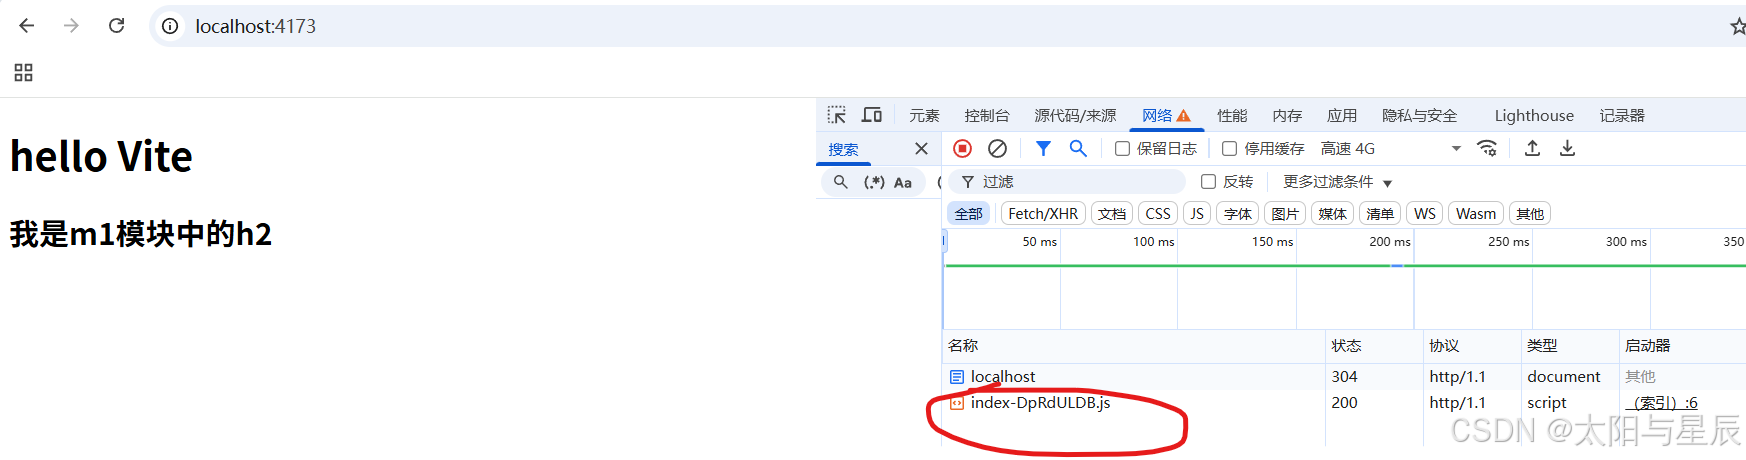
这是打包后的项目的预览结果。
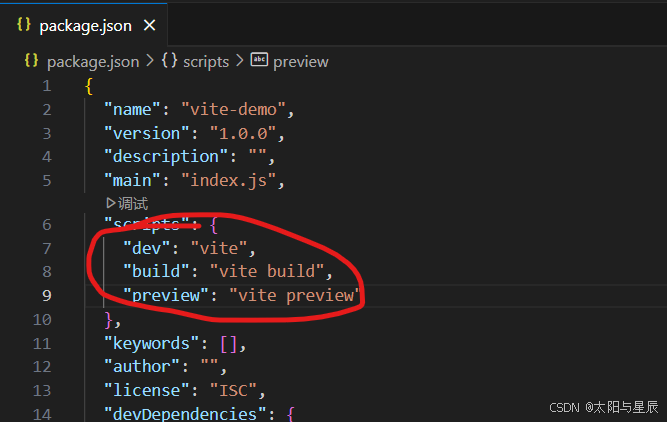
然后我们整合一下命令脚本:
2.1.2 总结
- 安装开发依赖 Vite yarn add -D vite
- Vite 的源码目录默认就是项目根目录
- 在页面中引入 js 文件的时候要指定 type=“module”
- 修改路径直接在 script 标签中修改 src 属性正确即可(webpack需要配置)
- 开发命令:
- vite 启动开发服务器
- vite build 打包代码
- vite preview 预览打包后代码
2.2 快速搭建
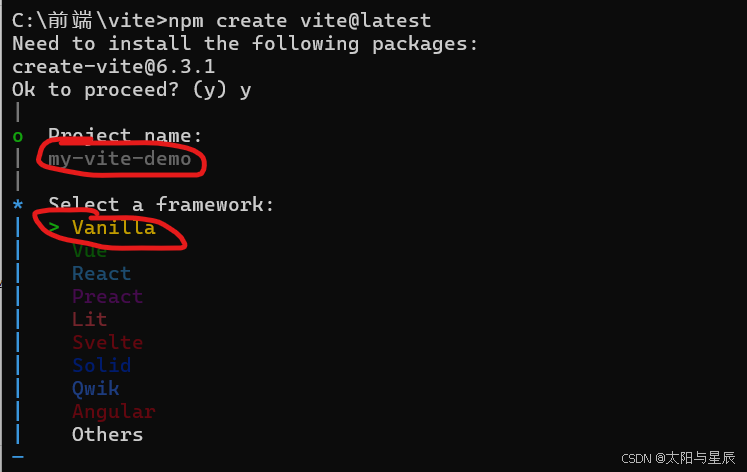
使用命令构建项目:
npm create vite@latest
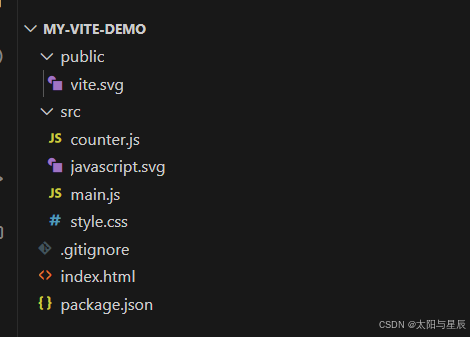
Vanilla表示原生JS开发项目。选择Vanilla:
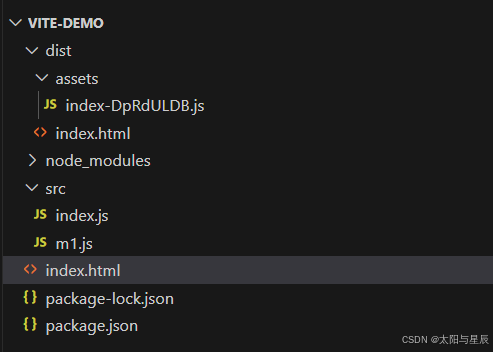
会生成以下目录
其中命令脚本是默认整合好了的:
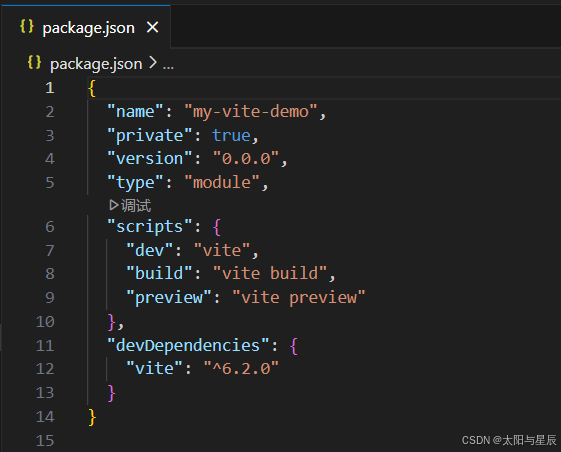
执行npm install安装依赖之后就可以开发项目了。
3.基本配置示例
基于上面的初始目录结构,重新整合目录结构,删除不些暂时不用的文件:

//src/styles/index.css
h1 {
  background-color: #bfa;
}
//src/index.js
import "./styles/index.css";

document.body.insertAdjacentHTML("beforeend", "<h1>你好Vite</h1>");
document.body.onclick = () => {
  alert("哈哈哈");
};
//index.html
<!DOCTYPE html>
<html lang="en">
  <head>
    <meta charset="UTF-8" />
    <link rel="icon" type="image/svg+xml" href="/vite.svg" />
    <meta name="viewport" content="width=device-width, initial-scale=1.0" />
    <title>Vite App</title>
  </head>
  <body>
    <div id="app"></div>
    <script type="module" src="./src/index.js"></script>
  </body>
</html>
执行npm run dev:

执行npm run build进行打包:
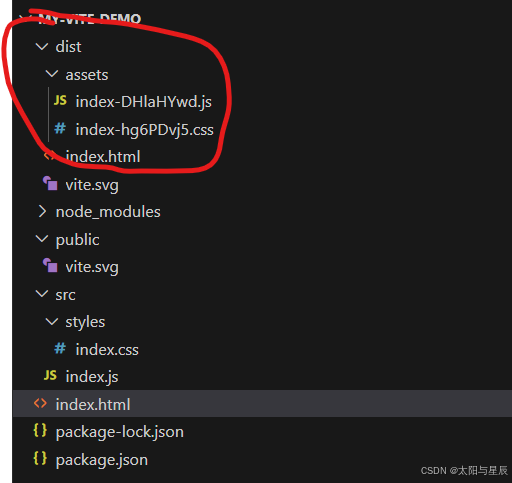
查看打开的js文件:
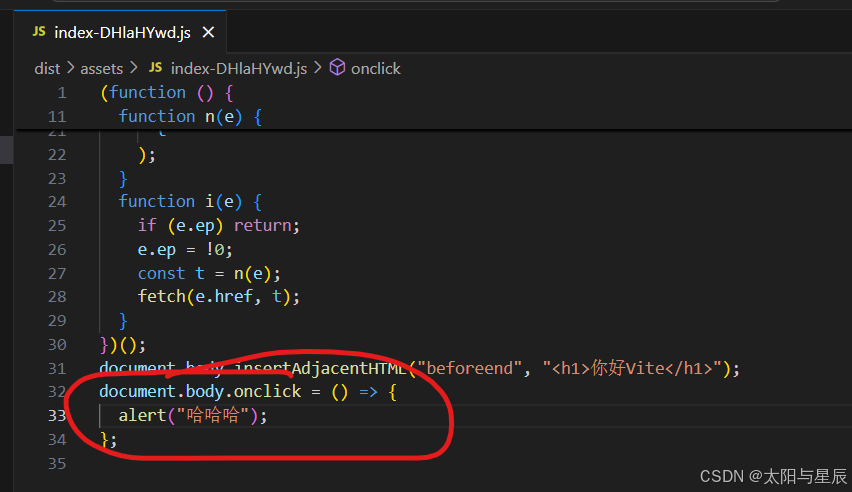
发现打包生成的文件中有箭头函数,没有转为匿名函数。说明这时候还没有做兼容性处理。vite和webpack一样,是需要配置插件来做兼容性处理的。
@vitejs/plugin-legacy是兼容传统浏览器的语法转换插件。安装插件:
npm install -D @vitejs/plugin-legacy
新建并且配置vite.config.js文件:
// vite.config.js
import legacy from '@vitejs/plugin-legacy'	//引入插件
import { defineConfig } from 'vite'	//语法提示(可选)
export default defineConfig({	//写上defineConfig配置时会有提示,也可以不写那样子就没有提示了
  plugins: [	//配置插件
     legacy({
      targets: ["defaults", "IE 11"], //配置兼容版本
    }),
  ],
})
打包项目
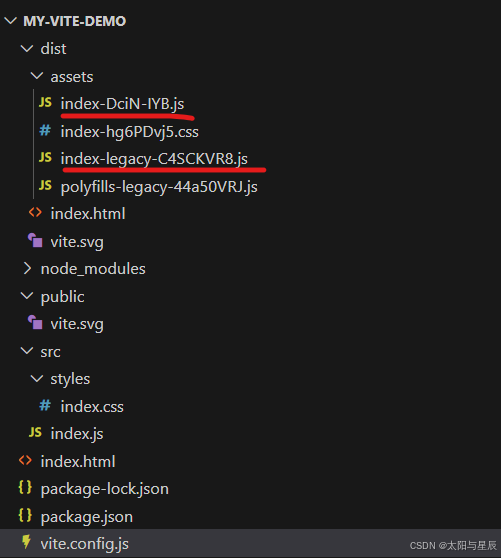
上图中index-DciN-IYB.js中的是新版语法,未做兼容性处理的。index-legacy-C4SCKVR8.js是兼容性的语法,会做兼容性处理。
打开index-legacy-C4SCKVR8.js文件:
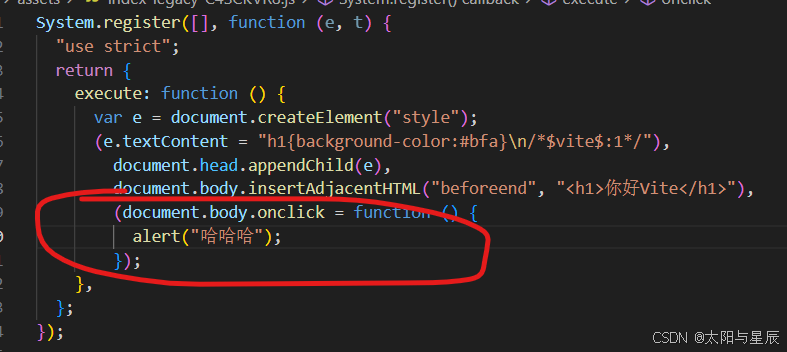
已经做了兼容性处理。
注意
vite中配置是esm模块化规范语,用的export default导出;webpack中配置是CommonJS模块化规范,用的export.modules
我们去node_modules中找到vite中的package.json:
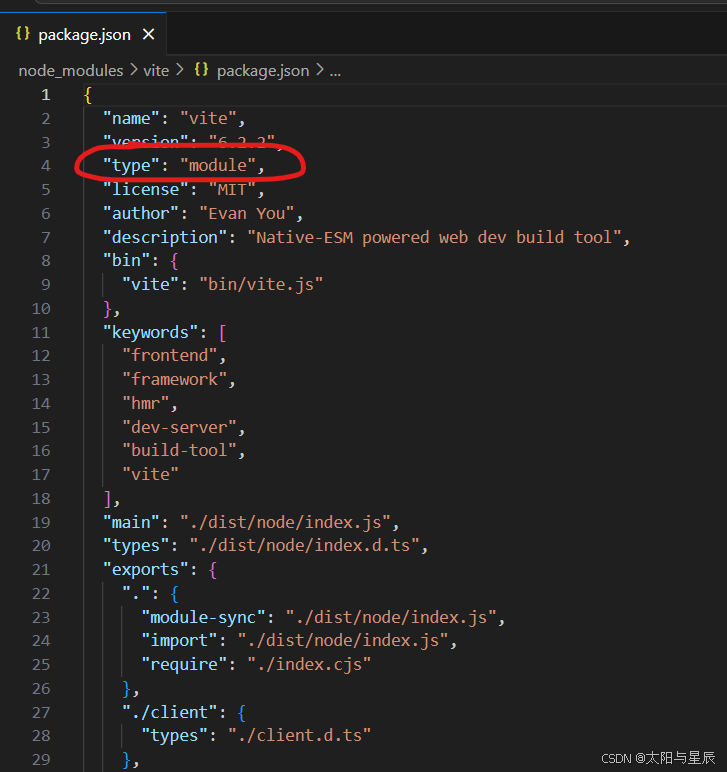
会发现确实是esm模块化规范。
4.配置详情
4.1 详细的vite.config.js配置示例
Vite 的配置文件支持 JavaScript 或 TypeScript。以下是一个更全面的配置示例:
import { defineConfig, loadEnv } from 'vite';
import vue from '@vitejs/plugin-vue'; // Vue 插件
import react from '@vitejs/plugin-react'; // React 插件
import { fileURLToPath, URL } from 'node:url'; // 处理路径
import legacy from '@vitejs/plugin-legacy'; // 兼容旧版浏览器
import { visualizer } from 'rollup-plugin-visualizer'; // 构建分析工具

export default defineConfig(({ mode }) => {
  // 加载环境变量
  const env = loadEnv(mode, process.cwd(), '');

  return {
    // 插件配置
    plugins: [
      vue(), // Vue 插件
      react(), // React 插件
      legacy({ // 兼容旧版浏览器
        targets: ['defaults', 'not IE 11'],
      }),
      visualizer({ // 构建分析
        open: true,
        filename: 'bundle-analysis.html',
      }),
    ],

    // 开发服务器配置
    server: {
      port: 3000, // 端口号
      open: true, // 自动打开浏览器
      proxy: { // 代理配置
        '/api': {
          target: env.VITE_API_BASE_URL || 'http://localhost:5000', // 代理目标
          changeOrigin: true,
          rewrite: (path) => path.replace(/^\/api/, ''),
        },
      },
      cors: true, // 启用 CORS
      hmr: { // 热模块替换配置
        overlay: true,
      },
    },

    // 构建配置
    build: {
      outDir: 'dist', // 输出目录
      assetsDir: 'assets', // 静态资源目录
      sourcemap: true, // 生成 sourcemap
      minify: 'terser', // 代码压缩工具
      terserOptions: { // Terser 配置
        compress: {
          drop_console: true, // 移除 console.log
          drop_debugger: true, // 移除 debugger
        },
      },
      rollupOptions: { // Rollup 配置
        output: {
          manualChunks: { // 手动分块
            vendor: ['vue', 'vue-router', 'axios'], // 第三方库单独打包
          },
        },
      },
    },

    // 路径别名
    resolve: {
      alias: {
        '@': fileURLToPath(new URL('./src', import.meta.url)), // 路径别名
      },
      extensions: ['.js', '.jsx', '.ts', '.tsx', '.vue'], // 自动解析扩展名
    },

    // CSS 配置
    css: {
      preprocessorOptions: { // 预处理器配置
        scss: {
          additionalData: `@import "@/styles/variables.scss";`, // 全局引入 SCSS 变量
        },
        less: {
          modifyVars: { // 修改 Less 变量
            'primary-color': '#1890ff',
          },
          javascriptEnabled: true,
        },
      },
      modules: { // CSS Modules 配置
        localsConvention: 'camelCase',
      },
    },

    // 环境变量配置
    envPrefix: 'VITE_', // 环境变量前缀
    define: { // 全局变量替换
      __APP_VERSION__: JSON.stringify(env.npm_package_version),
    },

    // 优化配置
    optimizeDeps: {
      include: ['vue', 'vue-router', 'axios'], // 预构建依赖
      exclude: ['some-package'], // 排除依赖
    },
  };
});
4.2 常用配置项详解
4.2.1 插件配置 (plugins)
@vitejs/plugin-vue:Vue 支持。@vitejs/plugin-react:React 支持。@vitejs/plugin-legacy:为旧版浏览器提供支持。rollup-plugin-visualizer:构建分析工具。
4.2.2 开发服务器配置 (server)
port:指定开发服务器端口。open:是否自动打开浏览器。proxy:配置代理,解决跨域问题。cors:启用跨域资源共享。hmr:热模块替换配置。
4.2.3 构建配置 (build)
outDir:指定构建输出目录。assetsDir:静态资源存放目录。sourcemap:是否生成 sourcemap 文件。minify:代码压缩工具,可选 terser 或 esbuild。rollupOptions:Rollup 打包配置,支持手动分块。
4.2.4 路径别名 (resolve.alias)
通过 alias 配置路径别名,简化模块导入。
4.2.5 CSS 配置 (css)
preprocessorOptions:配置 CSS 预处理器(如 SCSS、Less)。modules:启用 CSS Modules。
4.2.6 环境变量 (env)
envPrefix:指定环境变量前缀(默认为 VITE_)。define:定义全局变量。
4.2.7 依赖优化 (optimizeDeps)
include:预构建依赖。exclude:排除依赖。
4.3 环境变量
Vite 使用 .env 文件管理环境变量:
.env:默认环境变量。.env.development:开发环境变量。.env.production:生产环境变量。
关于VITE的环境变量详情见我写的文章https://blog.youkuaiyun.com/fageaaa/article/details/145513384。
示例 .env文件:
VITE_API_BASE_URL=https://api.example.com
VITE_APP_TITLE=My Vite App
在代码中访问:
console.log(import.meta.env.VITE_API_BASE_URL);
4.4 默认支持TypeScript
Vite 默认支持TypeScript。只需安装 TypeScript 并创建 tsconfig.json 文件:
npm install typescript --save-dev
示例 tsconfig.json:
{
  "compilerOptions": {
    "target": "ESNext",
    "module": "ESNext",
    "strict": true,
    "esModuleInterop": true,
    "skipLibCheck": true,
    "forceConsistentCasingInFileNames": true,
    "moduleResolution": "Node",
    "resolveJsonModule": true,
    "isolatedModules": true,
    "noEmit": true,
    "jsx": "preserve"
  },
  "include": ["src"]
}


 3179
3179

 被折叠的 条评论
为什么被折叠?
被折叠的 条评论
为什么被折叠?
 到【灌水乐园】发言


