


 本文介绍了如何在Spring Boot项目中集成RabbitMQ,并通过实例详细讲解了简单模式、工作队列(Work Queues)、发布订阅和路由模式的实现与输出结果,展示了不同模式下生产者和消费者的代码示例,帮助读者理解RabbitMQ在实际应用中的工作原理。
目录
搭建环境
SpringBoot项目的搭建参考这里,引入依赖
<dependency>
<groupId>org.springframework.boot</groupId>
<artifactId>spring-boot-starter-amqp</artifactId>
</dependency>
yml
spring:
  application:
    name: springboot_rabbitmq
  rabbitmq:
    host: 10.30.126.252/
    port: 5672
    username: admin
    password: admin
    virtual-host: /
RabbitTemplate 用来简化操作 使用时候直接在项目中注入即可使用。
简单模型

生产者代码
@SpringBootTest(classes = SpringBootMqDemoApplication.class)
@RunWith(SpringRunner.class)
class SpringBootMqDemoApplicationTests {

    @Autowired
    private RabbitTemplate rabbitTemplate;

    //简单模式
    @Test
    public void test01(){
        // 简单模式中第一个参数是队列名,在消费者执行时才会创建队列
        rabbitTemplate.convertAndSend("springboot-first","简单模式");
    }
}
消费者代码
@Component
@RabbitListener(queuesToDeclare = @Queue(name = "springboot-first"))
public class SimpleCustomer {
    // 代表这是处理消息的方法
    @RabbitHandler
    public void receive(String message){
        System.out.println("=====>"+message);
    }
}
或
@Component
public class SimpleCustomer {

    @RabbitListener(queuesToDeclare = @Queue(name = "springboot-first"))
    public void receive(String message){
        System.out.println("----------->"+message);
    }
}
注意:
- @RabbitListener 可以标注在方法上面,直接指定queue
- @RabbitListener 可以标注在类上面,需配合 @RabbitHandler 注解一起使用
- @RabbitListener 标注在类上面表示当有收到消息的时候,就交给 @RabbitHandler 的方法处理,具体使用哪个方法处理,根据 MessageConverter 转换后的参数类型
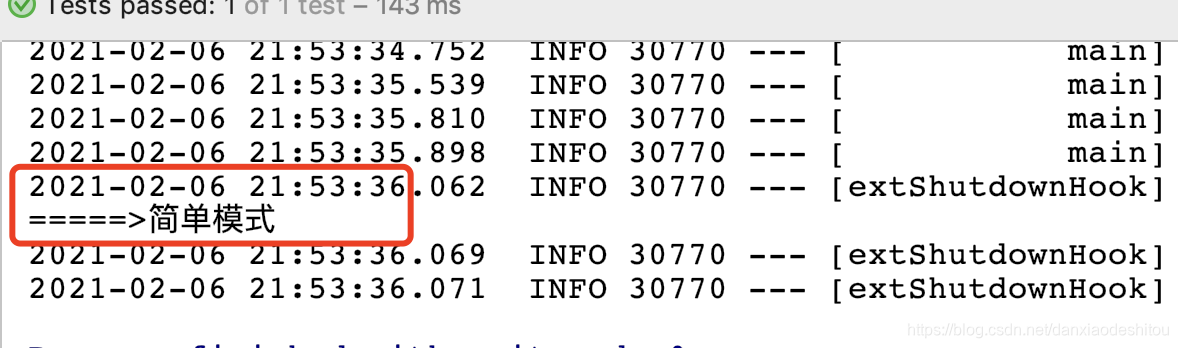
输出结果
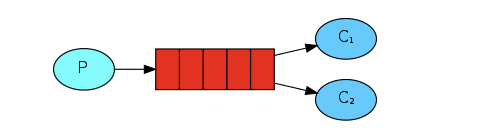
work queues模式
生产者代码
//work queue模式
    @Test
    public void test02(){
        // 第一个参数是队列名,在消费者执行时才会创建队列
        for (int i=0;i<10;i++){
            rabbitTemplate.convertAndSend("springboot-second","workqueue模式");
        }
    }
消费者代码
@Component
@RabbitListener(queuesToDeclare = @Queue(name = "springboot-second"))
public class WorkQueueCustomer {

    @RabbitHandler
    public void receive01(String message){
        System.out.println("=====>"+message);
    }
    @RabbitHandler
    public void receive02(String message){
        System.out.println("----------->"+message);
    }
}
------------------------上面的配置会报错------------------
Ambiguous methods for payload type: class java.lang.String: receive01 and receive02
无法确定用哪个方法消费
改为

@Component
public class WorkQueueCustomer {

    @RabbitListener(queuesToDeclare = @Queue(name = "springboot-second"))
    public void receive01(String message){
        System.out.println("=====>"+message);
    }
    @RabbitListener(queuesToDeclare = @Queue(name = "springboot-second"))
    public void receive02(String message){
        System.out.println("----------->"+message);
    }
}
输出结果
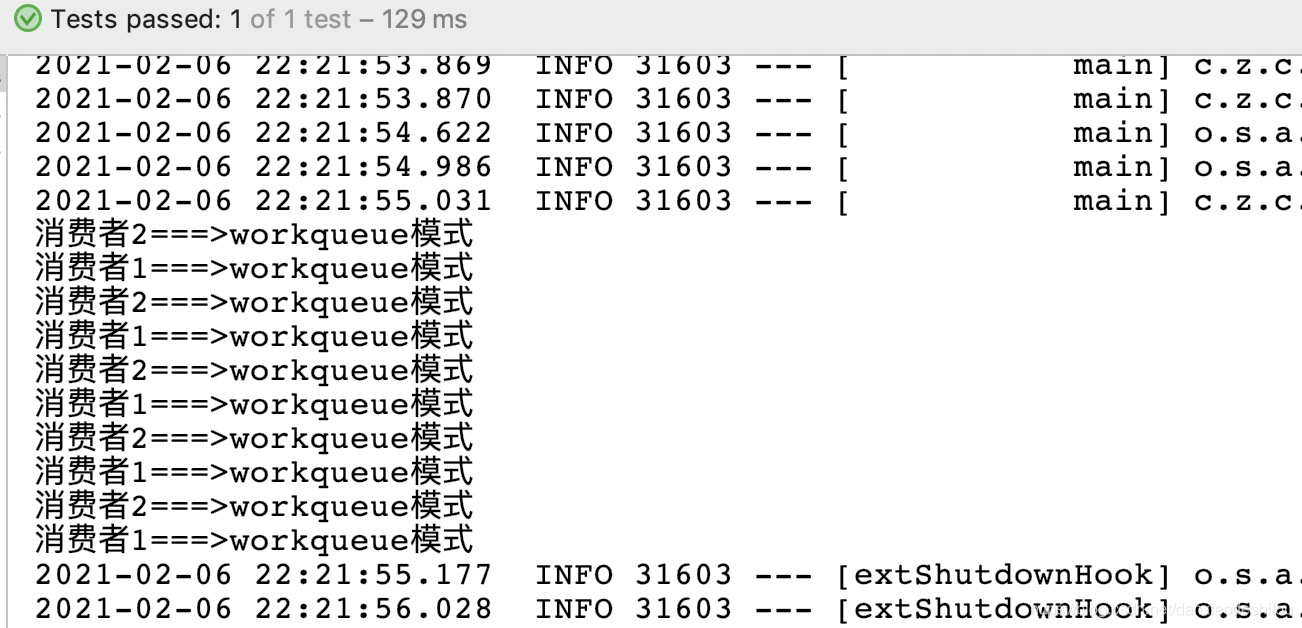
说明:默认在Spring AMQP实现中Work这种方式就是公平调度,如果需要实现能者多劳需要额外配置
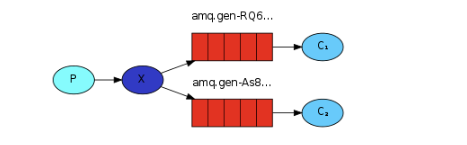
发布订阅模式
生产者代码
//fanout 模式
    @Test
    public void test03() {
        // 交换机名称, 不指定路由key  ,发送的消息
        rabbitTemplate.convertAndSend("spring-boot-third-exchange", "", "广播模式");
    }
消费者代码
@Component
public class FanoutCustomer {
@RabbitListener(bindings = @QueueBinding(
value = @Queue, // 不声明就是创建临时队列
exchange = @Exchange(value = "spring-boot-third-exchange",type = "fanout")//绑定交换机
))
public void receive01(String message){
System.out.println("消费者1===>"+message);
}
@RabbitListener(bindings = @QueueBinding(
value = @Queue, // 不声明就是创建临时队列
exchange = @Exchange(value = "spring-boot-third-exchange",type = "fanout")//绑定交换机
))
public void receive02(String message){
System.out.println("消费者2===>"+message);
}
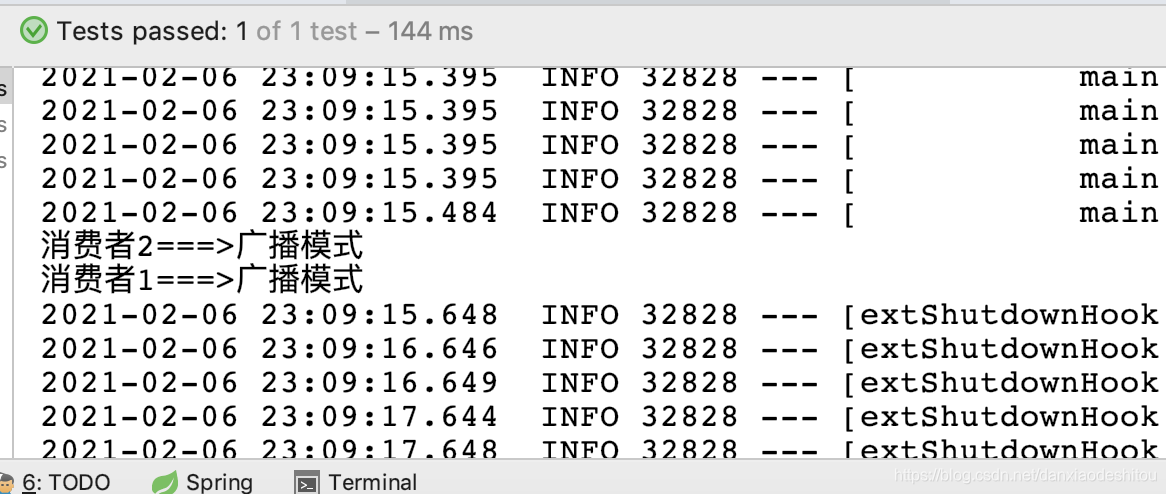
}输出结果
路由模式
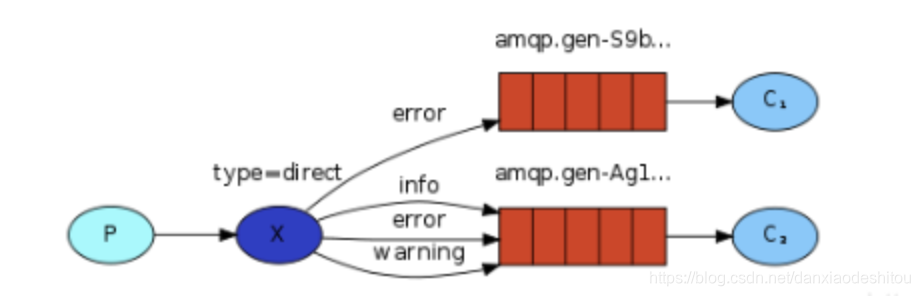
生产者代码
//路由模式
    @Test
    public void test04() {
        // 交换机名称, 不指定路由key  ,发送的消息
        rabbitTemplate.convertAndSend("spring-boot-forth-exchange", "error", "路由模式");
    }
消费者代码
@Component
public class RouteCustomer {
@RabbitListener(bindings = @QueueBinding(
value = @Queue, // 不声明就是创建临时队列
exchange = @Exchange(value = "spring-boot-forth-exchange",type = "direct"),//绑定交换机
key ={"error","info"}
))
public void receive01(String message){
System.out.println("消费者1===>"+message);
}
@RabbitListener(bindings = @QueueBinding(
value = @Queue, // 不声明就是创建临时队列
exchange = @Exchange(value = "spring-boot-forth-exchange",type = "direct"),//绑定交换机
key ={"info"}
))
public void receive02(String message){
System.out.println("消费者2===>"+message);
}
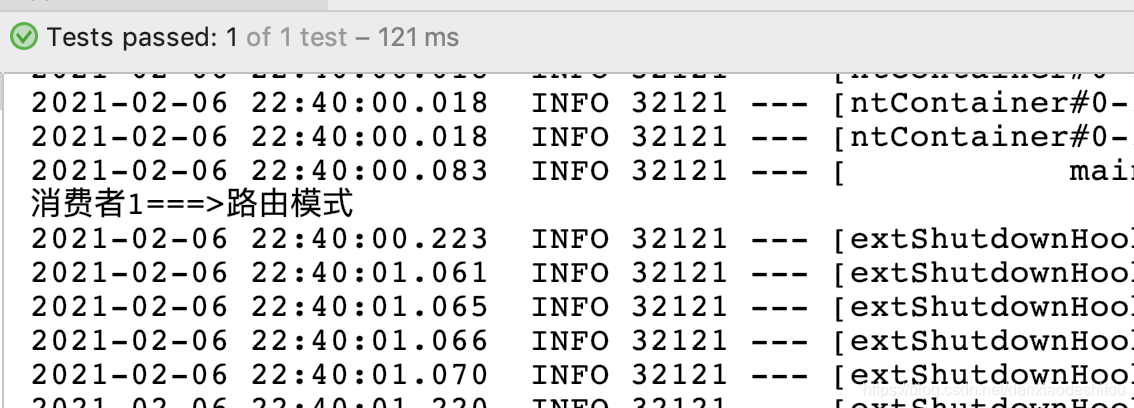
}输出结果
主题模式(Topic)
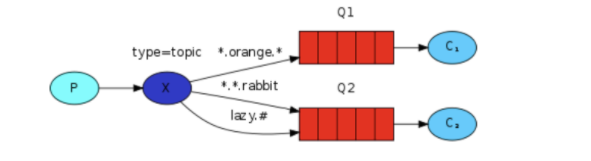
生产者代码
//topic模式
    @Test
    public void test05() {
        // 交换机名称, 不指定路由key  ,发送的消息
        rabbitTemplate.convertAndSend("spring-boot-fifth-exchange", "user.save", "topic模式");
    }
消费者代码
@Component
public class TopicCustomer {
@RabbitListener(bindings = @QueueBinding(
value = @Queue, // 不声明就是创建临时队列
exchange = @Exchange(value = "spring-boot-fifth-exchange", type = "topic"),//绑定交换机
key = {"user.save", "user.*"}
))
public void receive01(String message) {
System.out.println("消费者1===>" + message);
}
@RabbitListener(bindings = @QueueBinding(
value = @Queue, // 不声明就是创建临时队列
exchange = @Exchange(value = "spring-boot-fifth-exchange", type = "topic"),//绑定交换机
key = {"user.*"}
))
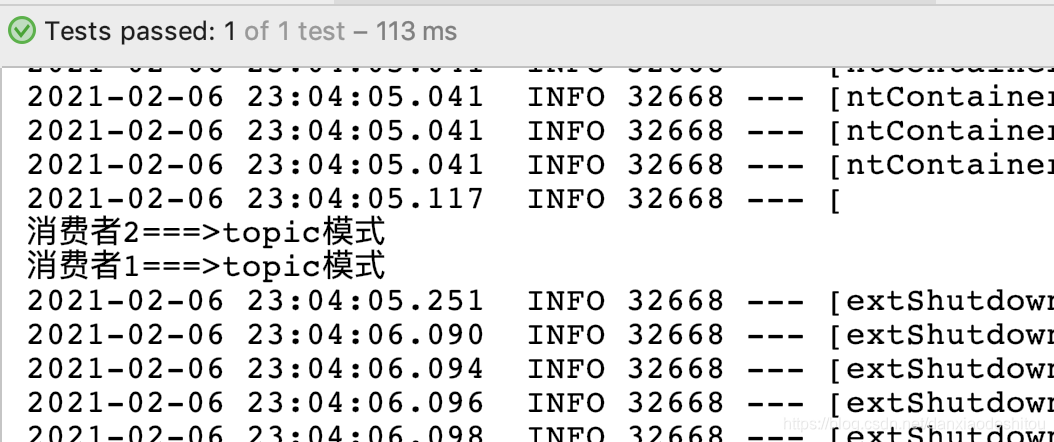
public void receive02(String message) {
System.out.println("消费者2===>" + message);
}
}
输出结果


 3366
3366

 被折叠的 条评论
为什么被折叠?
被折叠的 条评论
为什么被折叠?
 到【灌水乐园】发言


