


 本文介绍了如何使用Docker安装并运行RabbitMQ,然后详细讲解了在SpringBoot项目中整合RabbitMQ的步骤,包括helloworld模型、workqueue模型、publish模型、routing模型和topics模型的实现。通过示例代码展示了生产者和消费者的创建,以及不同消息模型的工作原理。此外,还涉及到了RabbitMQ的用户管理和权限设置。
安装运行rabbitmq
1.docker安装rabbitmq:
docker run -it --name rabbitmq -p 5672:5672 -p 15672:15672 rabbitmq:3-management
2.访问localhost:15672

3.创建虚拟主机:(如果默认用guest账号则跳过3,4,5这三步骤)

4.创建用户:

5.赋予ems用户权限:

六种模型(老版本,现在为七种):

spring boot整合RabbitMQ
hello world模型(点对点消费)
1.创建springboot项目添加rabbitmq依赖

2.编写配置文件
spring:
  rabbitmq:
    host: 127.0.0.1
    port: 5672
    username: ems
    password: 123
    virtual-host: /ems
如果没做3,4,5步,则配置为:
spring:
  rabbitmq:
    host: 127.0.0.1
    port: 5672
    username: guest
    password: guest
3.在Test类中创建生产者
@SpringBootTest
class RabbitmqSpringbootApplicationTests {

    @Autowired
    private RabbitTemplate rabbitTemplate;
    @Test
    void testhelloworld() {
    	//第一个参数:发送的队列 第二个参数: 发送的信息
        rabbitTemplate.convertAndSend("hellosr","hello spring boot rabbitmq");
    }

}
4.在启动类同级目录下创建消费者
@Component
@RabbitListener(queuesToDeclare = @Queue("hellosr"))
public class helloconsumer {

    @RabbitHandler
    public void receivel(String message) {
        System.out.println(message);
    }

}
5.运行生产者:
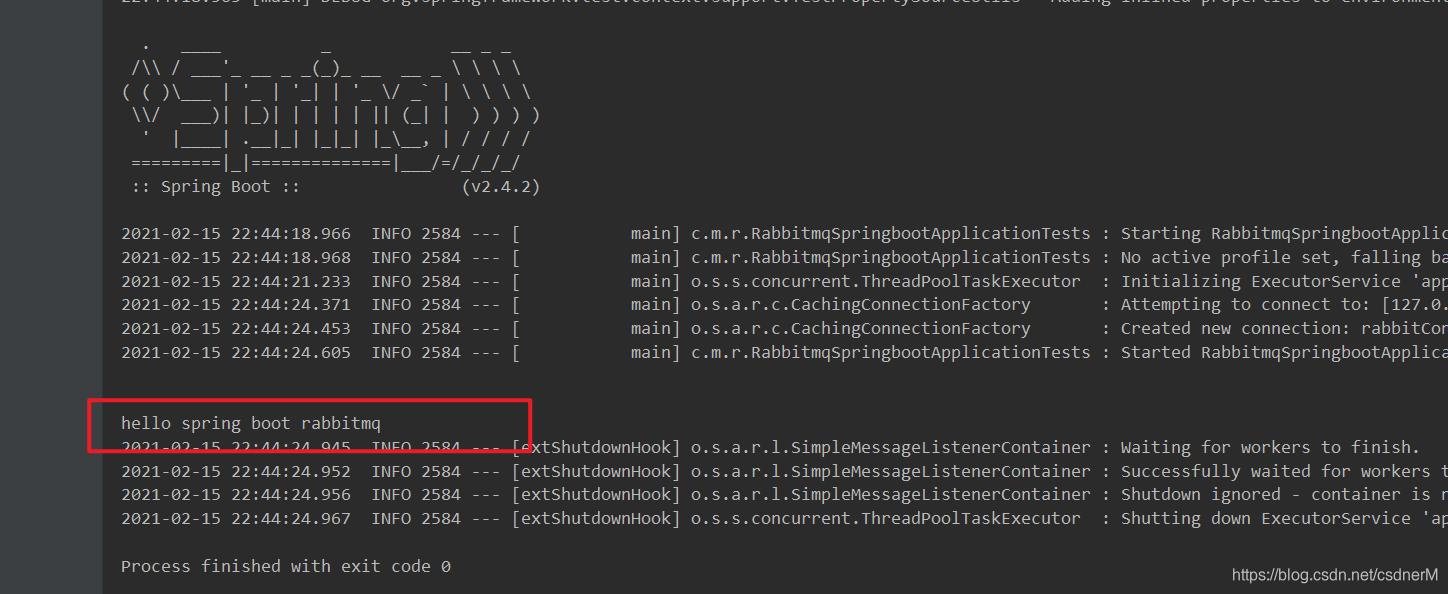
消息发送成功
我们查看管理界面可以看到多了个队列:

2.workqueue模式(拿到消息即销毁)
1.生产者
    @Test
    void testwork() {
        for (int i = 0; i < 10; i++) {
            rabbitTemplate.convertAndSend("worksr", "hello spring boot rabbitmq"+i);

        }
    }
2.消费者1,2
@Component
public class consumer {

    @RabbitListener(queuesToDeclare = @Queue("worksr"))
    public void receivel(String message) {
        System.out.println("C1  :"+message);
    }

    @RabbitListener(queuesToDeclare = @Queue("worksr"))
    public void receivel2(String message) {
        System.out.println("C2  :"+message);
    }

}
3.运行:

3.Publish模型(发布订阅/fanout模型)
1.创建生产者:
    @Test
    void testfanout() {
        rabbitTemplate.convertAndSend("fanoutsr", "","hello spring boot rabbitmq");
    }
2 .消费者
@Component
public class Consumer1 {

    @RabbitListener(bindings = {
            @QueueBinding(
                    value = @Queue,//声明临时队列
                    exchange = @Exchange(value = "fanoutsr",type = "fanout")
            )
    })
    public void receivel(String message) {
        System.out.println("C1  :"+message);
    }

    @RabbitListener(bindings = {
            @QueueBinding(
                    value = @Queue,//声明临时队列
                    exchange = @Exchange(value = "fanoutsr",type = "fanout")
            )
    })
    public void receivel2(String message) {
        System.out.println("C2  :"+message);
    }

}
3.运行:

4.Routing(静态路由模型)
指定routingkey,如果消费者拥有和生产者相同的routingkey就可以接受到生产者发送的信息
1.生产者:
  @Test
    void testRoute() {
        rabbitTemplate.convertAndSend("routesr", "info","hello spring boot rabbitmq");
    }
2.消费者:
@Component
public class RouteConsumer {
    @RabbitListener(bindings = {
            @QueueBinding(
                    value = @Queue,//声明临时队列
                    exchange = @Exchange(value = "routesr", type = "direct"),
                    key ={"error"}
            )
    })
    public void receivel(String message) {
        System.out.println("C1  :"+message);
    }

    @RabbitListener(bindings = {
            @QueueBinding(
                    value = @Queue,//声明临时队列
                    exchange = @Exchange(value = "routesr",type = "direct"),
                    key ={"error","info"}
            )
    })
    public void receivel2(String message) {
        System.out.println("C2  :"+message);
    }

}
3.运行:

只有info的信息接收到了
5.topics(动态路由)
1.生产者:
    @Test
    void testTopic() {
        rabbitTemplate.convertAndSend("topicsr", "order.save.oid","hello spring boot rabbitmq");
    }
2.消费者:
@Component
public class TopicConsumer {
    @RabbitListener(bindings = {
            @QueueBinding(
                    value = @Queue,//声明临时队列
                    exchange = @Exchange(value = "topicsr", type = "topic"),
                    key ={"order.*"}
            )
    })
    public void receivel(String message) {
        System.out.println("C1  :"+message);
    }

    @RabbitListener(bindings = {
            @QueueBinding(
                    value = @Queue,//声明临时队列
                    exchange = @Exchange(value = "topicsr",type = "topic"),
                    key ={"order.#"}
            )
    })
    public void receivel2(String message) {
        System.out.println("C2  :"+message);
    }

}
3.运行:


 10万+
10万+

 被折叠的 条评论
为什么被折叠?
被折叠的 条评论
为什么被折叠?
 到【灌水乐园】发言


