


前言:
本人k8s环境是使用kubekey创建的.部署详情参见kubesphere官网:
在 Linux 上以 All-in-One 模式安装 KubeSphere
| k8s版本 | 1.23.14 |
| argocd版本 | 2.4.2 |
| 操作系统版本 | centos7.9 |
| uname -r | 3.10.0-1160.71.1.el7.x86_64 |
确定版本兼容性,
这里我咨询的ai1.23.14版本的k8s兼容哪个版本的argocd.推荐版本是2.4.2,因为我的本地k8s版本就是1.23.14 这里根据自己的情况拉取对应版本
https://github.com/argoproj/argo-cd/blob/v2.4.2/manifests/install.yaml
上面是argocd部署使用的yaml文件的地址.
从github上拉取该文件到集群中部署(打开后复制到集群中也可以.)
创建命名空间
#创建命名空间
[root@module /zpf/argocd]$kubectl create  ns argocd
#查看创建是否成功
[root@module /zpf/argocd]$kubectl get ns
NAME                              STATUS   AGE
argocd                            Active   23h
default                           Active   57d
ingress-nginx                     Active   22h
kube-node-lease                   Active   57d
kube-public                       Active   57d
kube-system                       Active   57d
kubekey-system                    Active   57d
kubesphere-controls-system        Active   57d
kubesphere-monitoring-federated   Active   57d
kubesphere-monitoring-system      Active   57d
kubesphere-system                 Active   57d
#查看详细信息(可查可不查)
[root@module /zpf/argocd]$kubectl describe ns argocd
Name:         argocd
Labels:       kubernetes.io/metadata.name=argocd
              kubesphere.io/namespace=argocd
Annotations:  <none>
Status:       Active

No resource quota.

No LimitRange resource.
需要注意的是
创建部署文件-->install.yaml
这里如果直接将github上的文件拉取到本地的话,就不用创建了.直接根据文件创建服务就行.
[root@module /zpf/argocd]$cat install.yaml
# This is an auto-generated file. DO NOT EDIT
apiVersion: apiextensions.k8s.io/v1
kind: CustomResourceDefinition
metadata:
  labels:
    app.kubernetes.io/name: applications.argoproj.io
    app.kubernetes.io/part-of: argocd
  name: applications.argoproj.io
spec:
  group: argoproj.io
  names:
    kind: Application
    listKind: ApplicationList
    plural: applications
    shortNames:
    - app
    - apps
    singular: application
  scope: Namespaced
  versions:
  - additionalPrinterColumns:
    - jsonPath: .status.sync.status
      name: Sync Status
      type: string
    - jsonPath: .status.health.status
      name: Health Status
      type: string
    - jsonPath: .status.sync.revision
      name: Revision
      priority: 10
      type: string
    name: v1alpha1
    schema:
      openAPIV3Schema:
.
.
.
.
以下省略一万行....
创建服务组件
[root@module /zpf/argocd]$kubectl create -n argocd -f install.yaml
customresourcedefinition.apiextensions.k8s.io/applications.argoproj.io created
customresourcedefinition.apiextensions.k8s.io/applicationsets.argoproj.io created
customresourcedefinition.apiextensions.k8s.io/appprojects.argoproj.io created
serviceaccount/argocd-application-controller created
serviceaccount/argocd-applicationset-controller created
serviceaccount/argocd-dex-server created
serviceaccount/argocd-notifications-controller created
serviceaccount/argocd-redis created
serviceaccount/argocd-repo-server created
serviceaccount/argocd-server created
role.rbac.authorization.k8s.io/argocd-application-controller created
role.rbac.authorization.k8s.io/argocd-applicationset-controller created
role.rbac.authorization.k8s.io/argocd-dex-server created
role.rbac.authorization.k8s.io/argocd-notifications-controller created
role.rbac.authorization.k8s.io/argocd-server created
clusterrole.rbac.authorization.k8s.io/argocd-application-controller created
clusterrole.rbac.authorization.k8s.io/argocd-server created
rolebinding.rbac.authorization.k8s.io/argocd-application-controller created
rolebinding.rbac.authorization.k8s.io/argocd-applicationset-controller created
rolebinding.rbac.authorization.k8s.io/argocd-dex-server created
rolebinding.rbac.authorization.k8s.io/argocd-notifications-controller created
rolebinding.rbac.authorization.k8s.io/argocd-redis created
rolebinding.rbac.authorization.k8s.io/argocd-server created
clusterrolebinding.rbac.authorization.k8s.io/argocd-application-controller created
clusterrolebinding.rbac.authorization.k8s.io/argocd-server created
configmap/argocd-cm created
configmap/argocd-cmd-params-cm created
configmap/argocd-gpg-keys-cm created
configmap/argocd-notifications-cm created
configmap/argocd-rbac-cm created
configmap/argocd-ssh-known-hosts-cm created
configmap/argocd-tls-certs-cm created
secret/argocd-notifications-secret created
secret/argocd-secret created
service/argocd-applicationset-controller created
service/argocd-dex-server created
service/argocd-metrics created
service/argocd-notifications-controller-metrics created
service/argocd-redis created
service/argocd-repo-server created
service/argocd-server created
service/argocd-server-metrics created
deployment.apps/argocd-applicationset-controller created
deployment.apps/argocd-dex-server created
deployment.apps/argocd-notifications-controller created
deployment.apps/argocd-redis created
deployment.apps/argocd-repo-server created
deployment.apps/argocd-server created
statefulset.apps/argocd-application-controller created
networkpolicy.networking.k8s.io/argocd-application-controller-network-policy created
networkpolicy.networking.k8s.io/argocd-dex-server-network-policy created
networkpolicy.networking.k8s.io/argocd-redis-network-policy created
networkpolicy.networking.k8s.io/argocd-repo-server-network-policy created
networkpolicy.networking.k8s.io/argocd-server-network-policy created
查看pod部署状态
[root@module /zpf/argocd]$kubectl get po -A|grep argo
argocd                         argocd-application-controller-0                        1/1     Running   0             3m6s
argocd                         argocd-applicationset-controller-75f464b975-n789x      1/1     Running   0             3m6s
argocd                         argocd-dex-server-9b7695954-rtk8r                      1/1     Running   0             3m6s
argocd                         argocd-notifications-controller-87d586594-ldvv7        1/1     Running   0             3m6s
argocd                         argocd-redis-78675b87fc-slc6m                          1/1     Running   0             3m6s
argocd                         argocd-repo-server-9f8b96f65-s84zg                     1/1     Running   0             3m6s
argocd                         argocd-server-56847dcb98-b8j6s                         1/1     Running   0             3m6s
这里说明一下,我在部署的时候出现了redis拉取不下来的情况.
这种情况有几种解决方式:
首先将imagePullPolicy字段修改成 IfNotPresent,意思是本地有这个镜像的话就不直接拉取.然后后面的步骤可选项.
1.从dockerhub上自己想办法拉取指定版本的redis,然后放到部署的服务器上.
2.将自己可以拉取下来的其他版本redis修改一下docker tag
3.将yaml文件中redis的image位置的redis修改成本地已经有的,redis版本号.
查看svc状态
[root@module /zpf/argocd]$kubectl get svc -A|grep argo
argocd                         argocd-applicationset-controller              ClusterIP   10.233.37.237   <none>        7000/TCP,8080/TCP               18m
argocd                         argocd-dex-server                             ClusterIP   10.233.21.129   <none>        5556/TCP,5557/TCP,5558/TCP      18m
argocd                         argocd-metrics                                ClusterIP   10.233.44.192   <none>        8082/TCP                        18m
argocd                         argocd-notifications-controller-metrics       ClusterIP   10.233.56.237   <none>        9001/TCP                        18m
argocd                         argocd-redis                                  ClusterIP   10.233.52.170   <none>        6379/TCP                        18m
argocd                         argocd-repo-server                            ClusterIP   10.233.45.144   <none>        8081/TCP,8084/TCP               18m
argocd                         argocd-server                                 ClusterIP   10.233.9.188    <none>        80/TCP,443/TCP                  18m
argocd                         argocd-server-metrics                         ClusterIP   10.233.11.60    <none>        8083/TCP                        18m
部署ingress
这里遇到了一个坑.因为我开着梯子,所以ingress一直访问不通,这里说明一下.
从argocd官网找到ingress部署方式
https://argo-cd.readthedocs.io/en/stable/operator-manual/ingress/#kubernetesingress-nginx
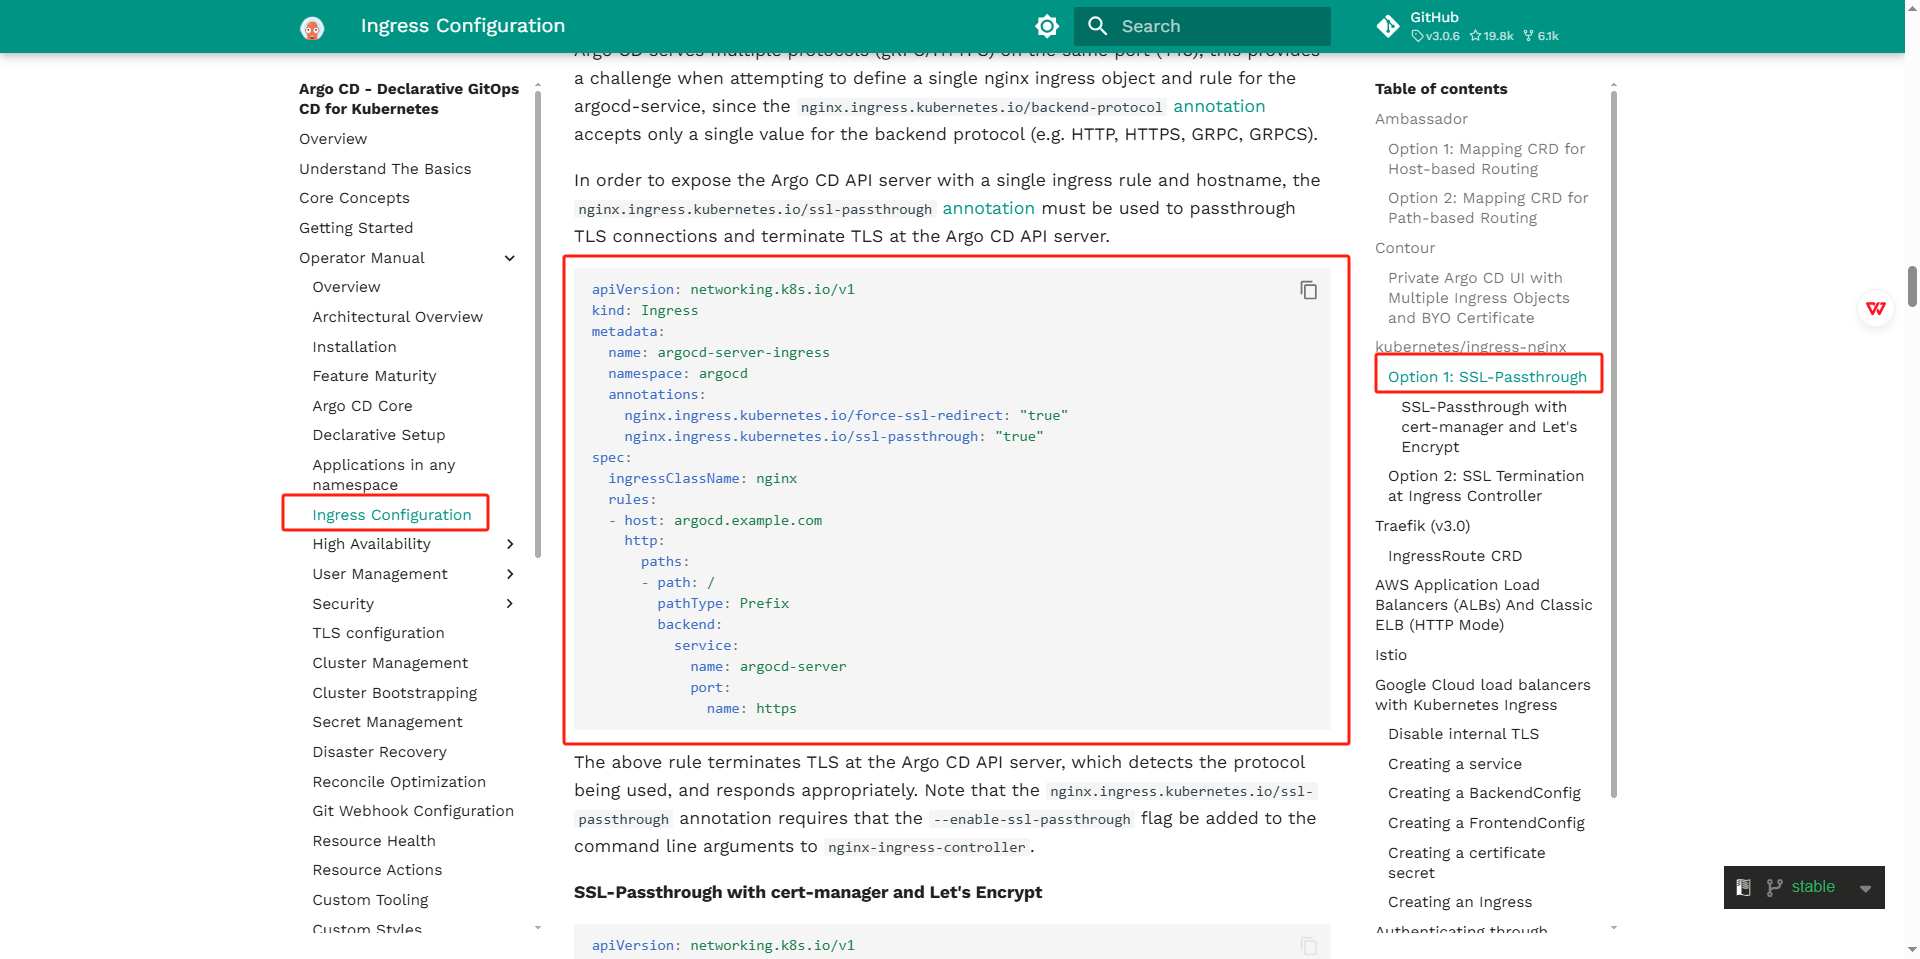
文件内容如下:
apiVersion: networking.k8s.io/v1
kind: Ingress
metadata:
  name: argocd-server-ingress
  namespace: argocd
  annotations:
    nginx.ingress.kubernetes.io/force-ssl-redirect: "true"
    nginx.ingress.kubernetes.io/ssl-passthrough: "true"
spec:
  ingressClassName: nginx
  rules:
  - host: argocd.example.com
    http:
      paths:
      - path: /
        pathType: Prefix
        backend:
          service:
            name: argocd-server
            port:
              name: https
启动ingress.
本地hosts解析域名
用于访问页面
服务器上域名解析:
[root@module /zpf/argocd]$cat /etc/hosts
127.0.0.1   localhost localhost.localdomain localhost4 localhost4.localdomain4
::1         localhost localhost.localdomain localhost6 localhost6.localdomain6

192.168.59.100 argocd.example.com
电脑的hosts上解析域名:
C:\Windows\System32\drivers\etc\hosts
192.168.59.100 argocd.example.com
从kubersphere上查看网关端口号.
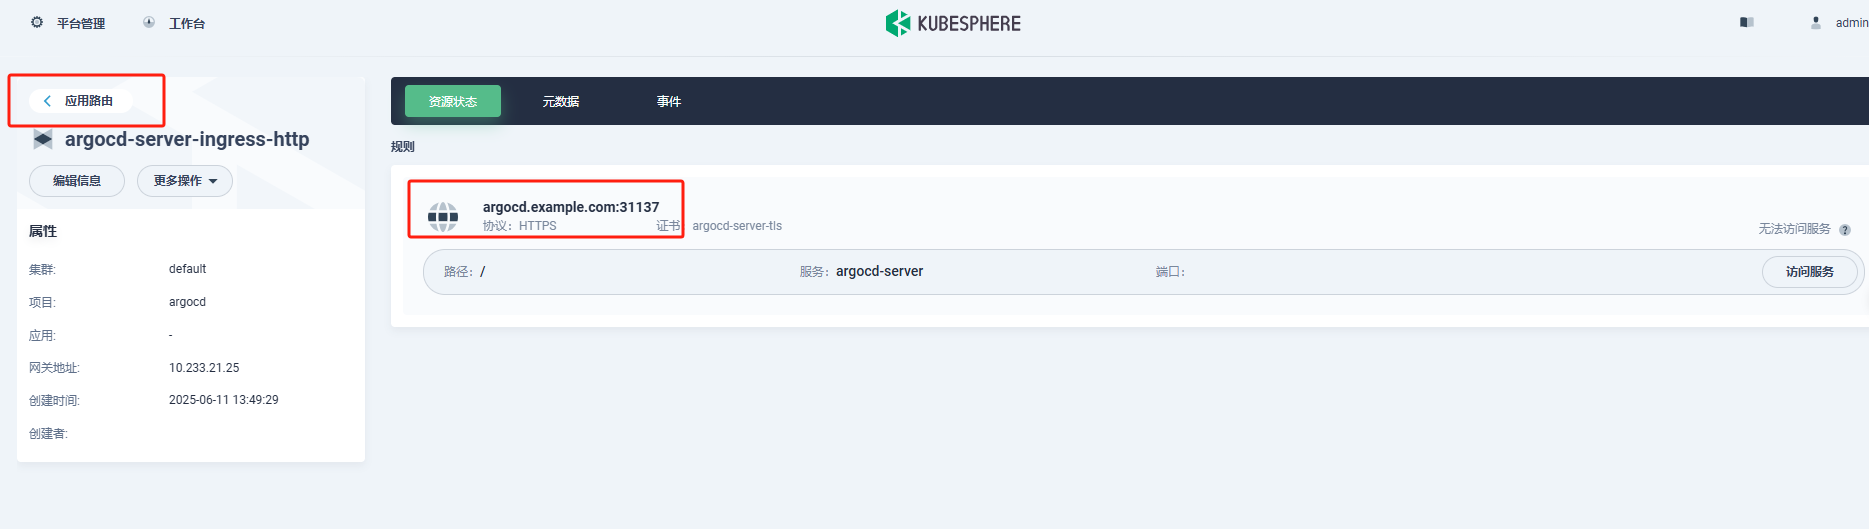
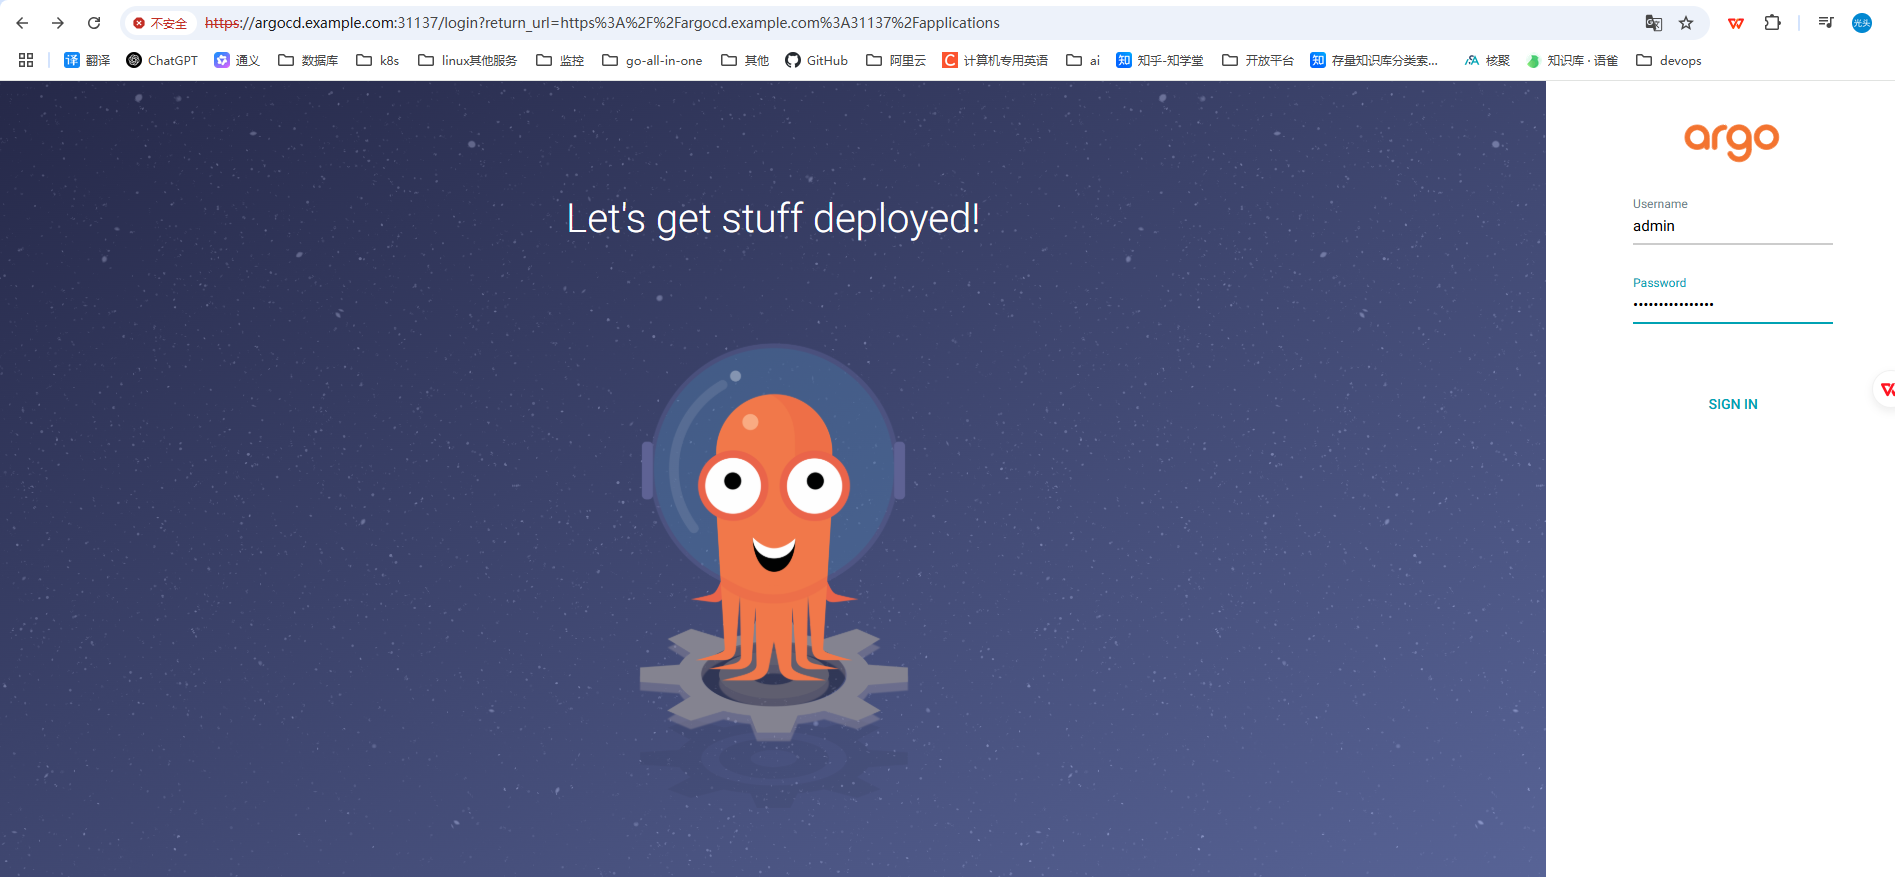
浏览器访问argocd控制台地址.
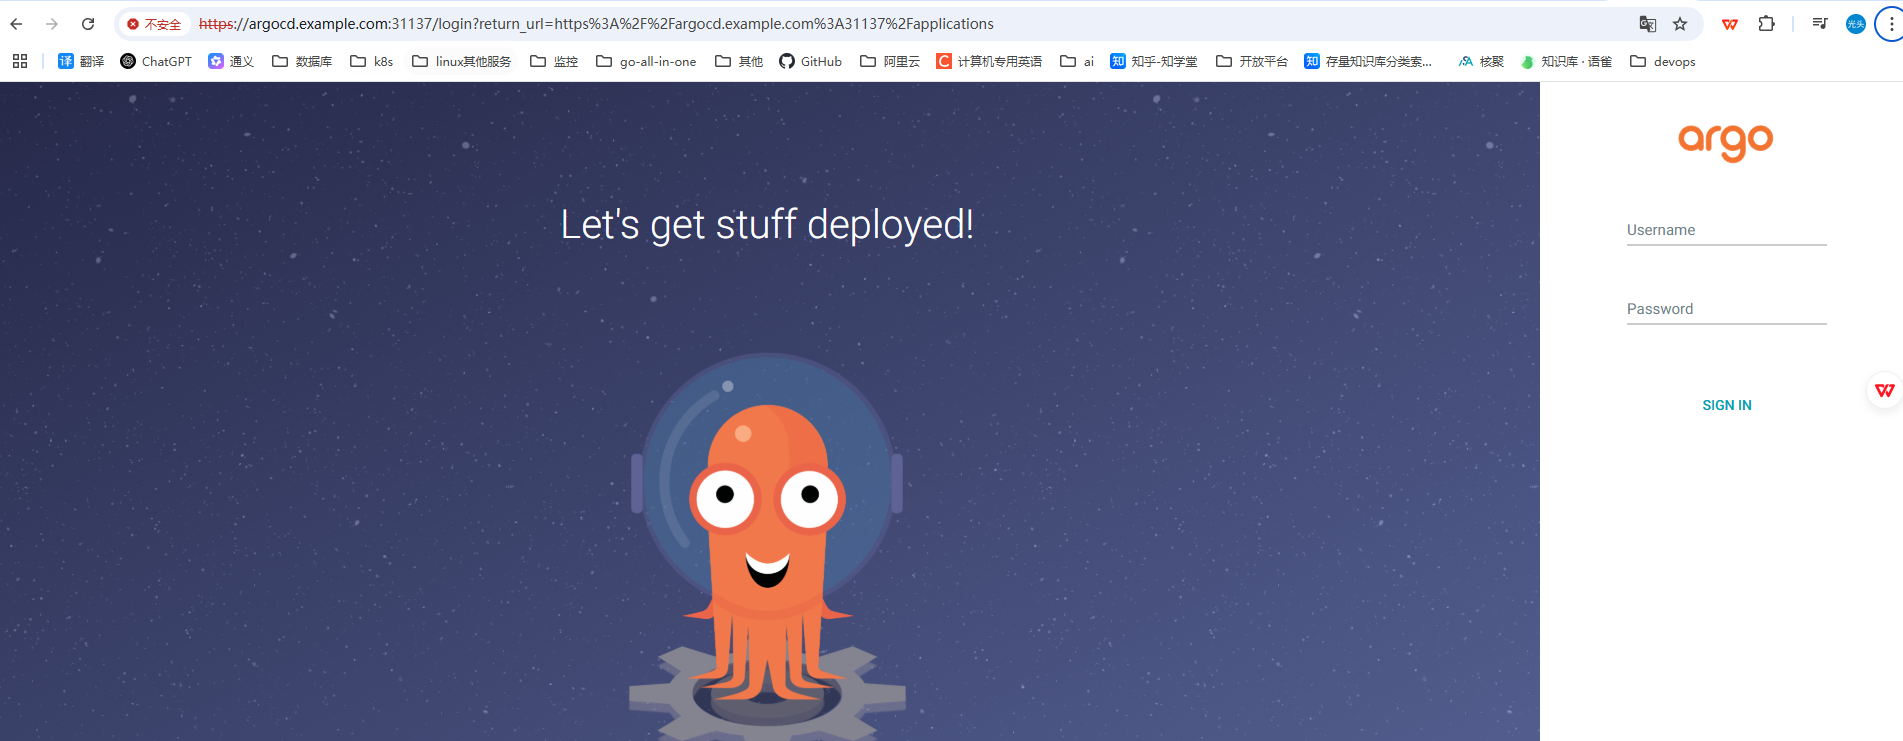
argocd部署成功,
找到用户名密码登陆控制台.\
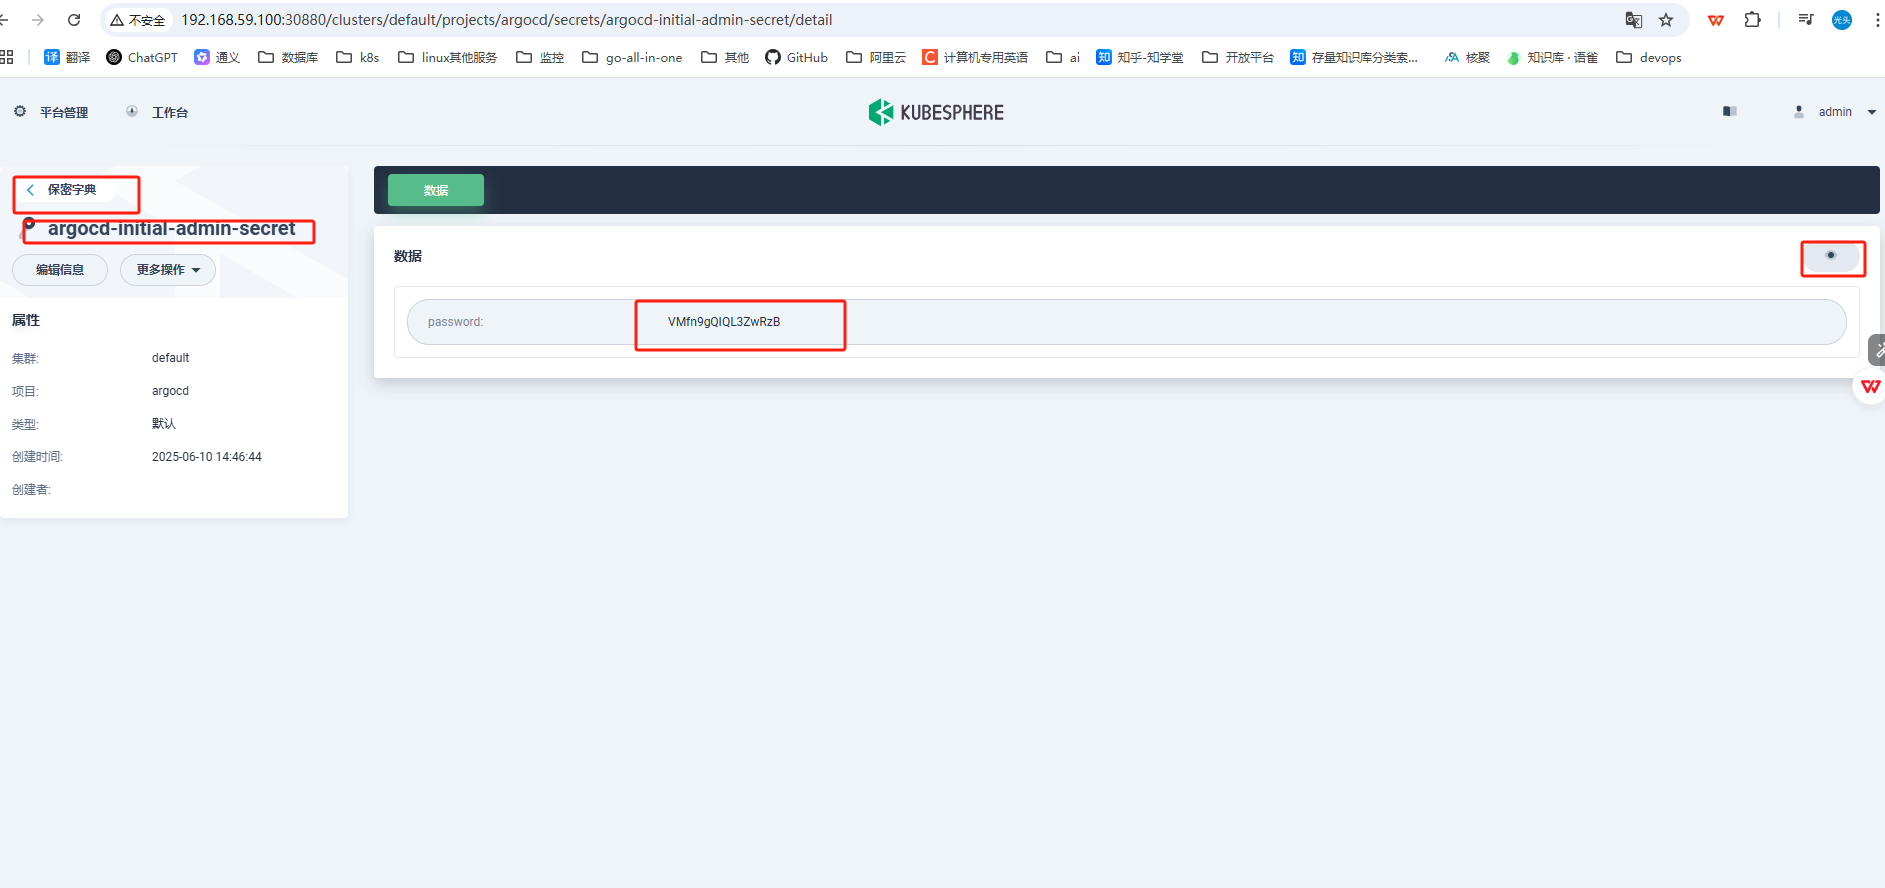
argocd的密码是以secret的形式保存的.
这里有两种方式获取,
1.直接使用kubectl使用命令行获取密码
[root@module /zpf/argocd]$kubectl get secret -n argocd argocd-initial-admin-secret -o jsonpath={.data.password}|base64 -d
VMfn9gQIQL3ZwRzB
2.使用kubesphere找到secret后,找到argocd-initial-admin-secret.
查看密码,
登陆控制台验证是否成功
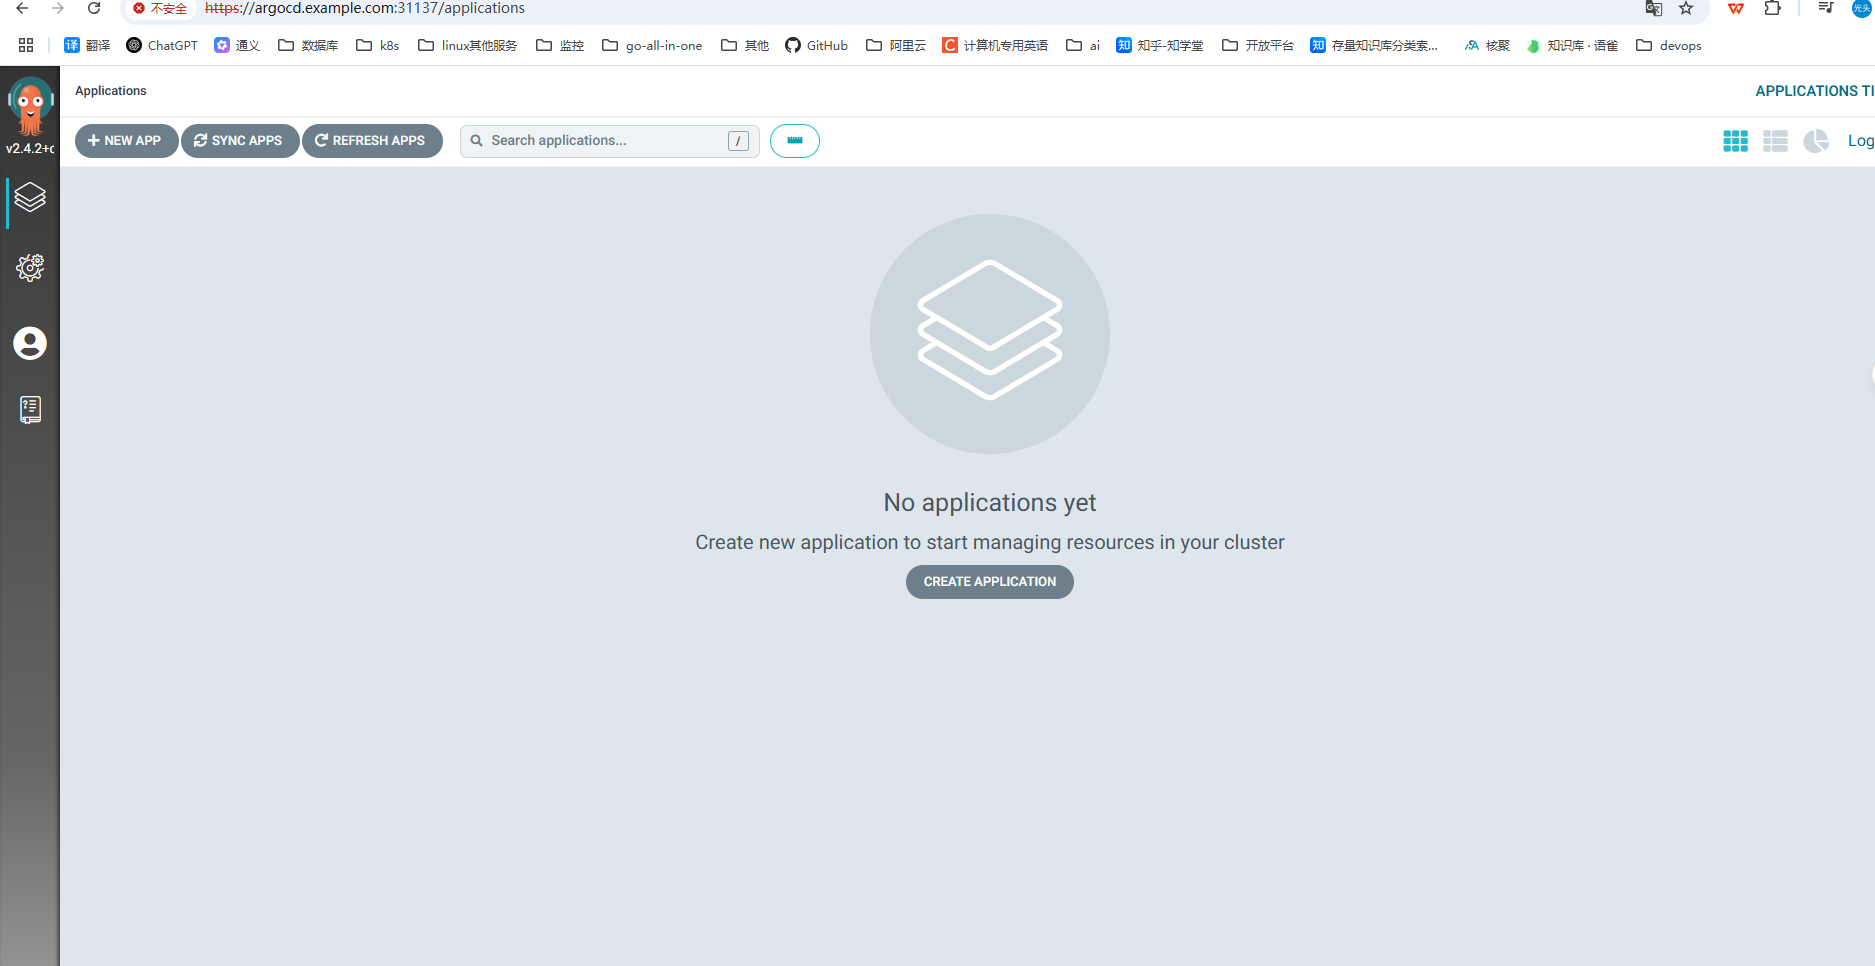
验证成功


 791
791

 被折叠的 条评论
为什么被折叠?
被折叠的 条评论
为什么被折叠?
 到【灌水乐园】发言


