


创建项目Admin
本次是使用ext6.0.2的sdk创建以下项目.
使用sencha -sdk ./XXX generate app -s ./XXXX/templates/XXX Admin ./Admin命令。 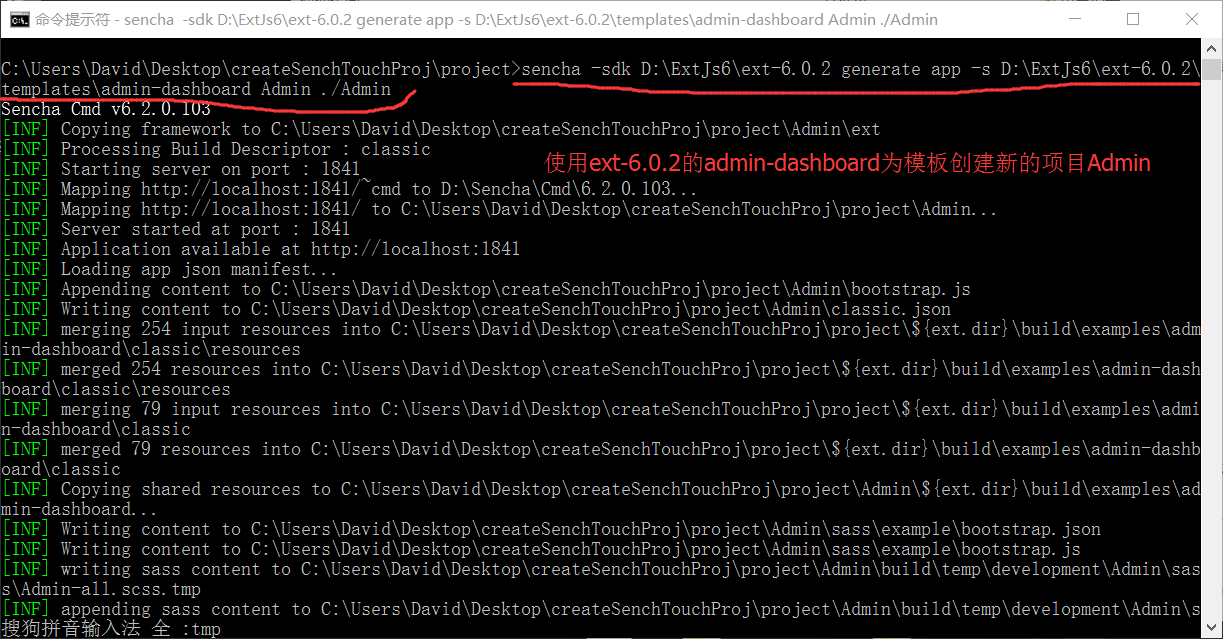
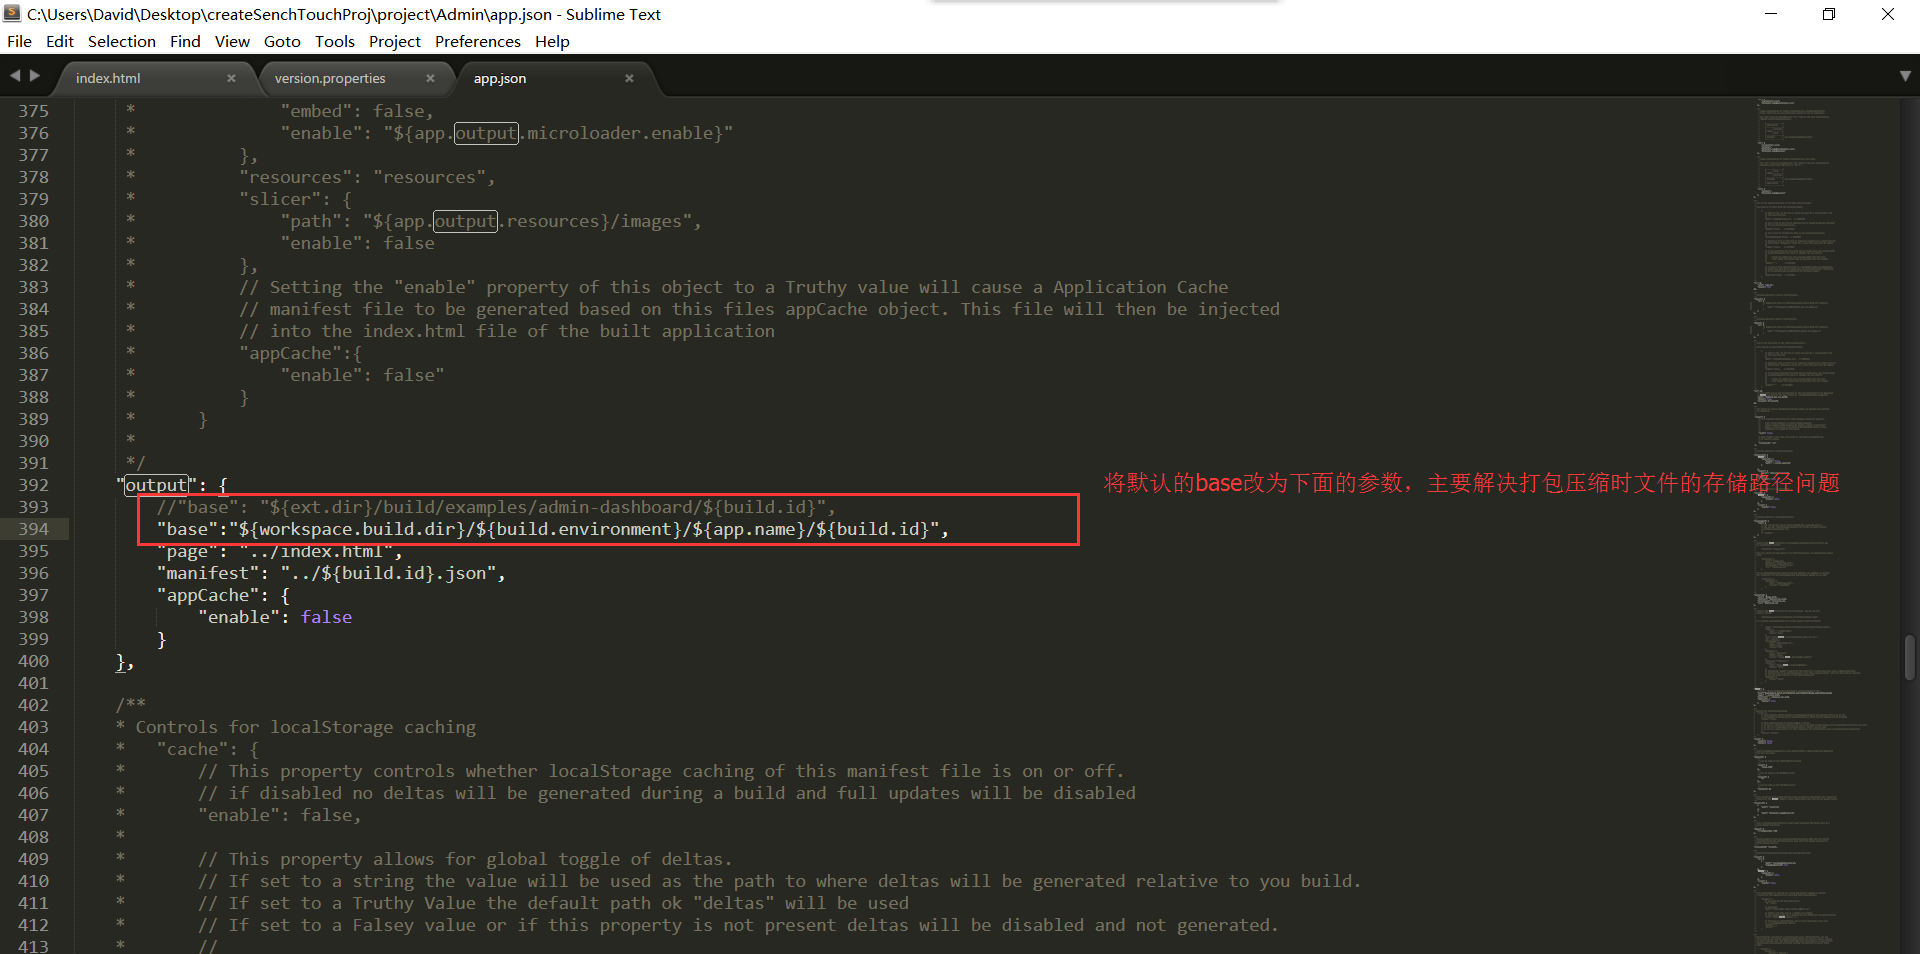
修改项目配置文件 app.json
在项目的根目录有app.json文件,需要修改其中output的base属性,具体如下图所示:
 "output": {
        //"base": "${ext.dir}/build/examples/admin-dashboard/${build.id}",
        "base":"${workspace.build.dir}/${build.environment}/${app.name}/${build.id}",
        "page": "../index.html",
        "manifest": "../${build.id}.json",
        "appCache": {
            "enable": false
        }
sencha app watch启动项目
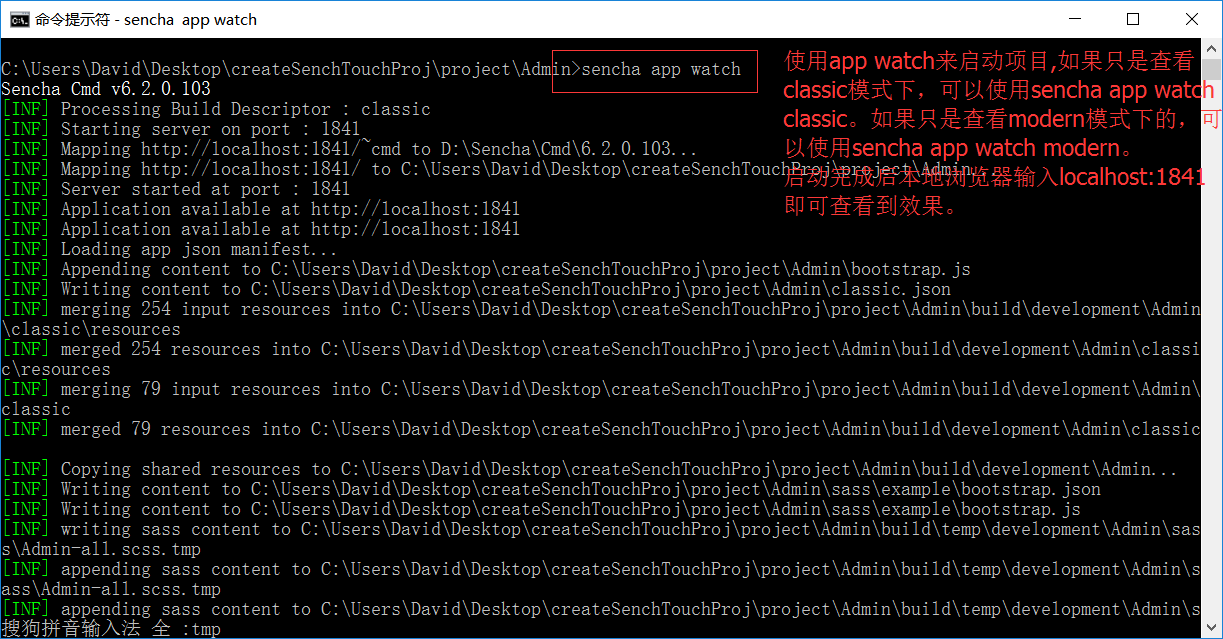
在浏览器地址栏输入localhost:1841查看结果
PC端: 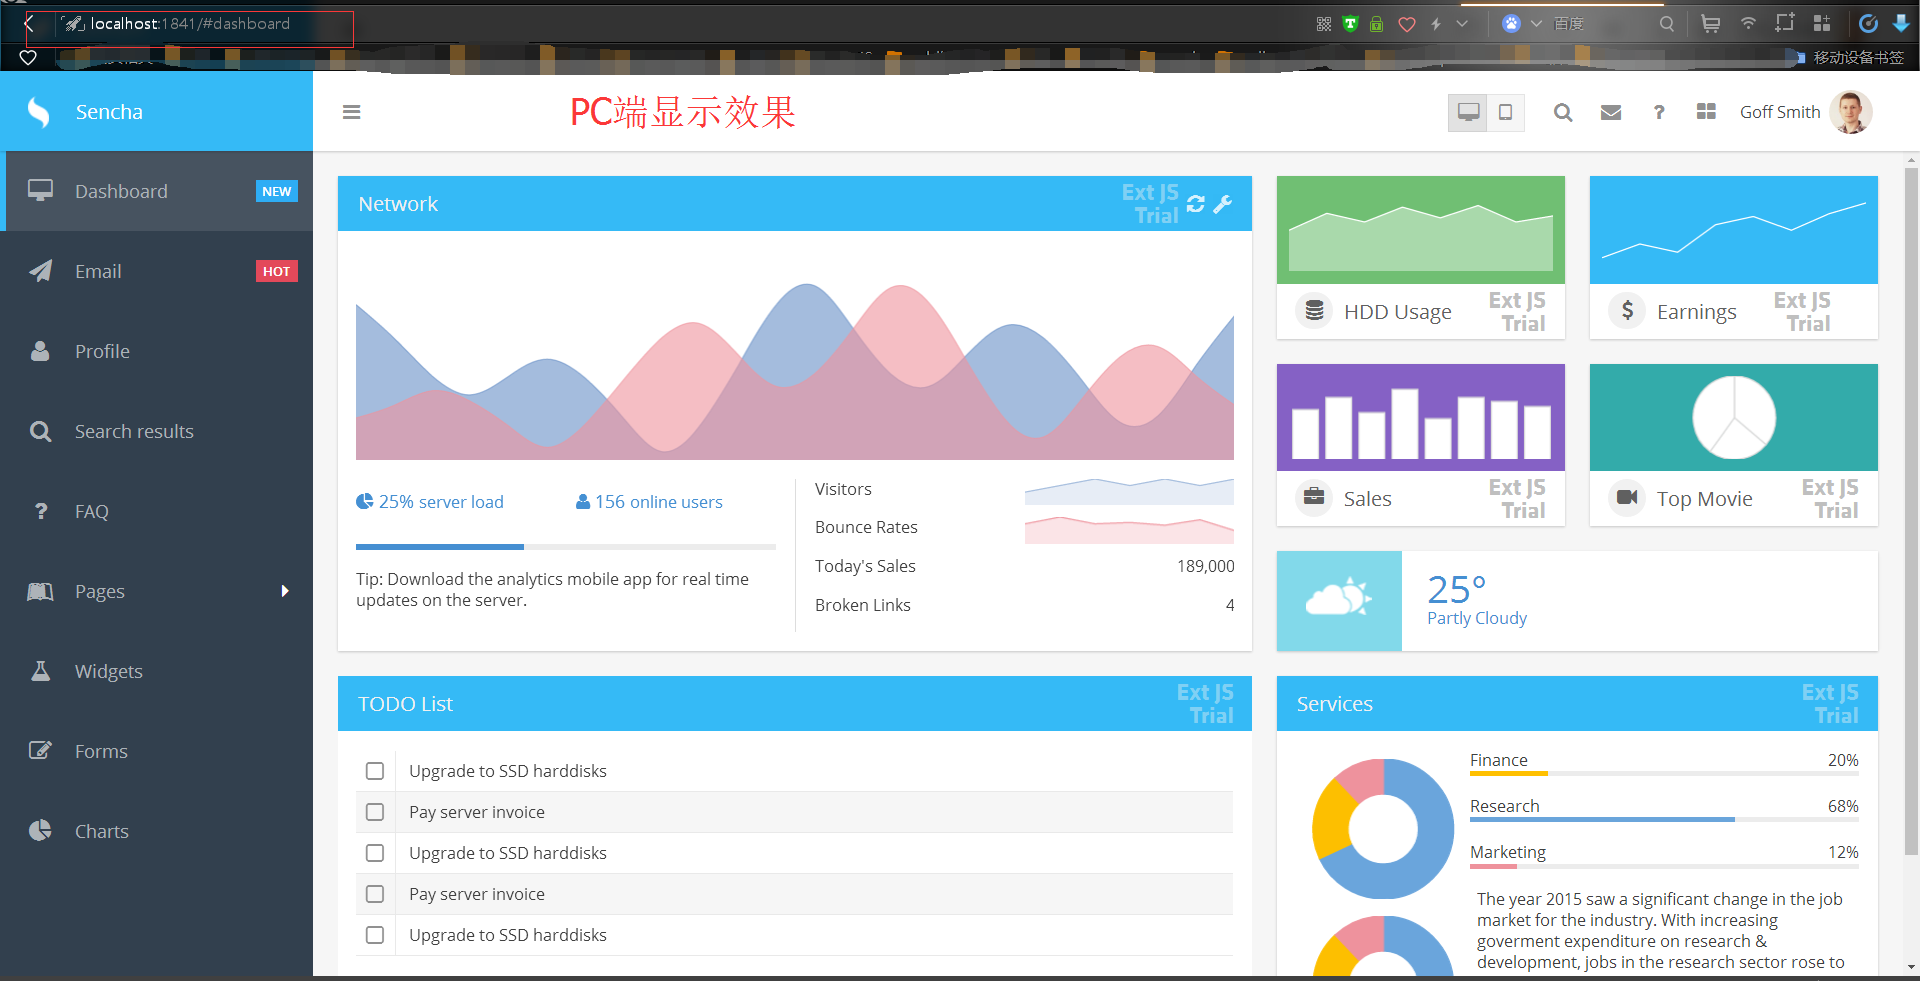
移动端: 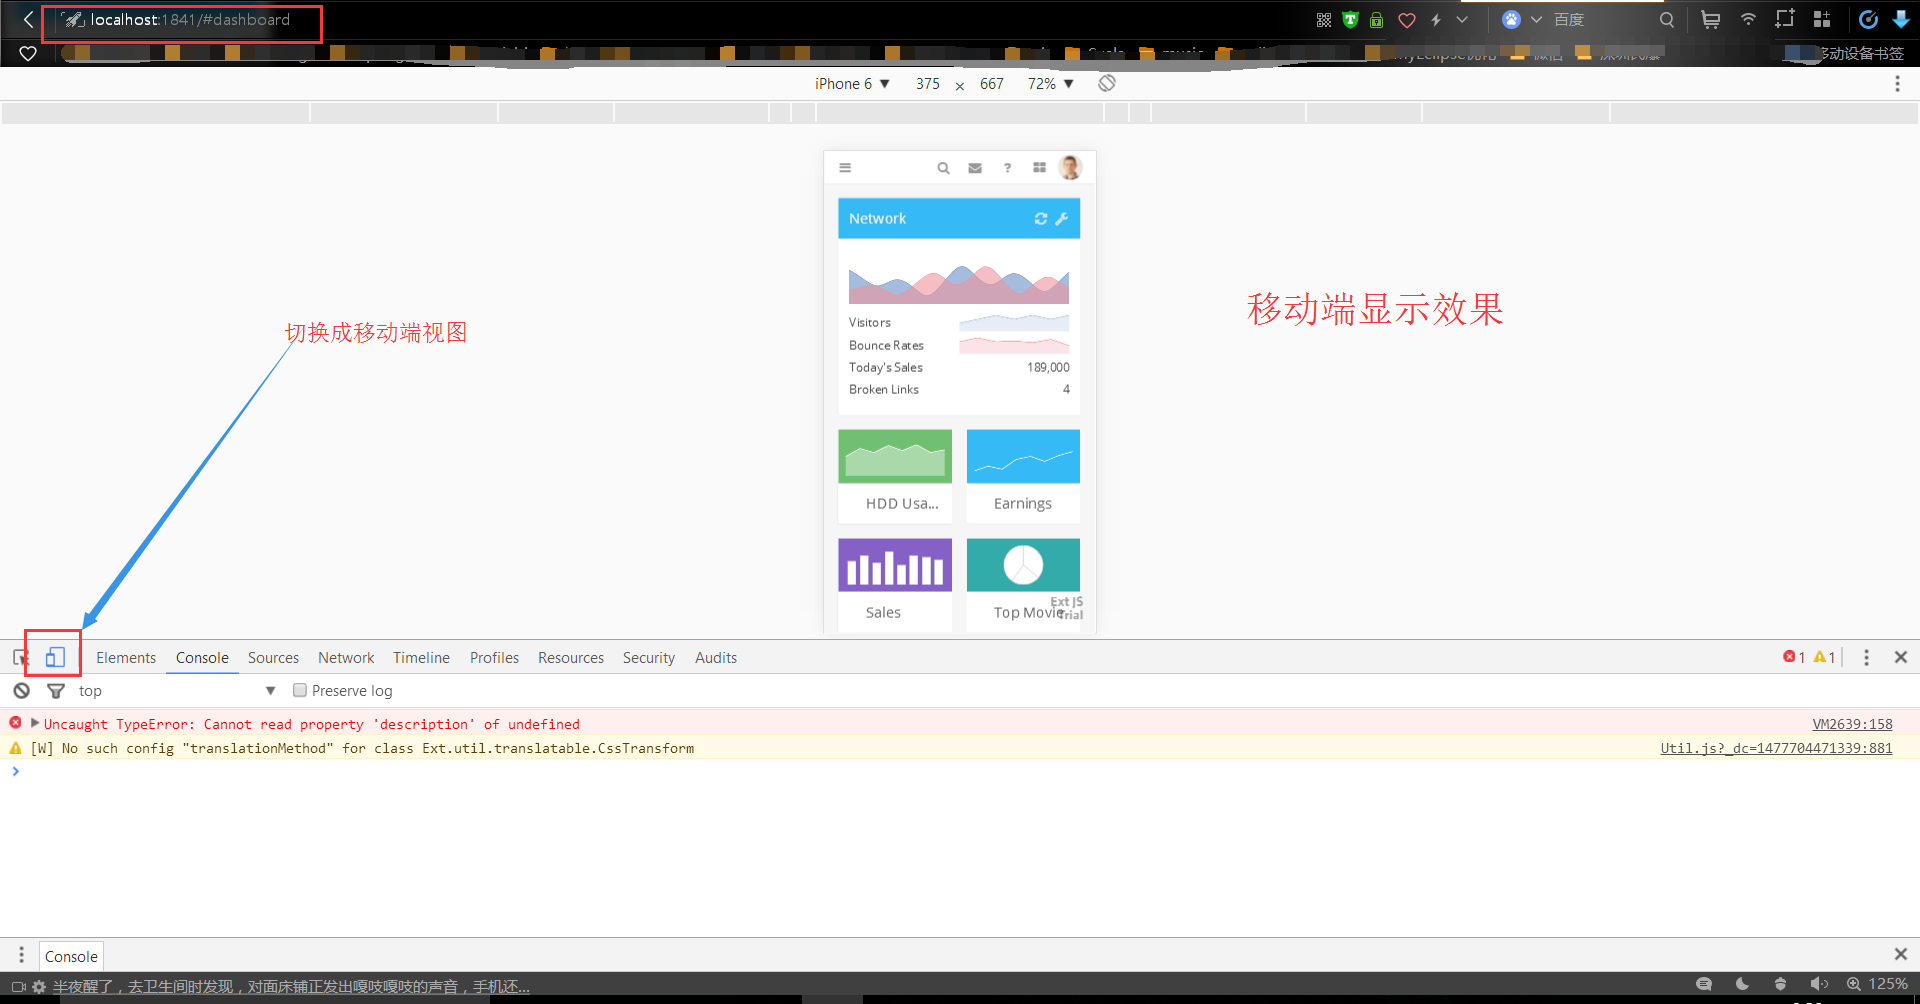
如何去除最上面的一排按钮?
将toolbar.js文件中的以下部分注释即可,确定以后不会用到也可删除。
Ext.define('Admin.view.main.Toolbar', {
    extend: 'Ext.Toolbar',
    xtype: 'maintoolbar',

    requires: [
        'Ext.SegmentedButton'
    ],

    items: [
        {
            // This component is moved to the floating nav container by the phone profile
            xtype: 'component',
            reference: 'logo',
            userCls: 'main-logo',
            html: 'Sencha'
        },
        {
            xtype: 'button',
            ui: 'header',
            iconCls: 'x-fa fa-bars',
            margin: '0 0 0 10',
            listeners: {
                tap: 'onToggleNavigationSize'
            }
        },
        '->',
        /*{
            xtype: 'segmentedbutton',
            margin: '0 16 0 0',
            //defaultUI: 'header',

            platformConfig: {
                phone: {
                    hidden: true
                }
            },

            items: [{
                iconCls: 'x-fa fa-desktop',
                handler: 'onSwitchToClassic'
            }, {
                iconCls: 'x-fa fa-tablet',
                pressed: true
            }]
        },
        {
            xtype:'button',
            ui: 'header',
            iconCls:'x-fa fa-search',
            href: '#searchresults',
            margin: '0 7 0 0',
            handler: 'toolbarButtonClick'
        },
        {
            xtype:'button',
            ui: 'header',
            iconCls:'x-fa fa-envelope',
            href: '#email',
            margin: '0 7 0 0',
            handler: 'toolbarButtonClick'
        },
        {
            xtype:'button',
            ui: 'header',
            iconCls:'x-fa fa-question',
            href: '#faq',
            margin: '0 7 0 0',
            handler: 'toolbarButtonClick'
        },
        {
            xtype:'button',
            ui: 'header',
            iconCls:'x-fa fa-th-large',
            href: '#dashboard',
            margin: '0 7 0 0',
            handler: 'toolbarButtonClick'
        },
        {
            xtype: 'component',
            html: 'Goff Smith',
            margin: '0 12 0 4',
            userCls: 'main-user-name'
        },*/
        {
            xtype: 'image',
            userCls: 'main-user-image small-image circular',
            alt: 'Current user image',
            src: 'resources/images/user-profile/2.png'
        }
    ]
});

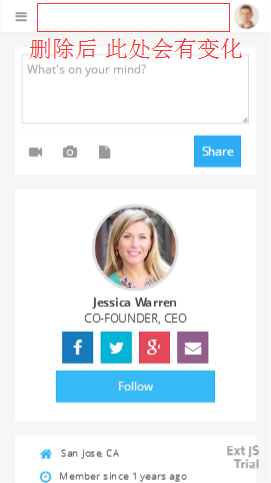
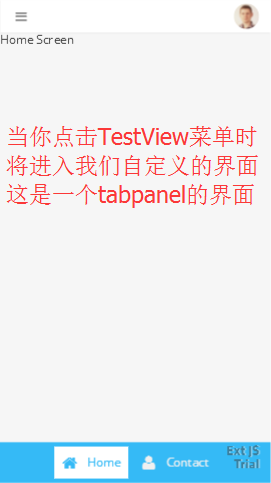
查看移动端修改后的界面
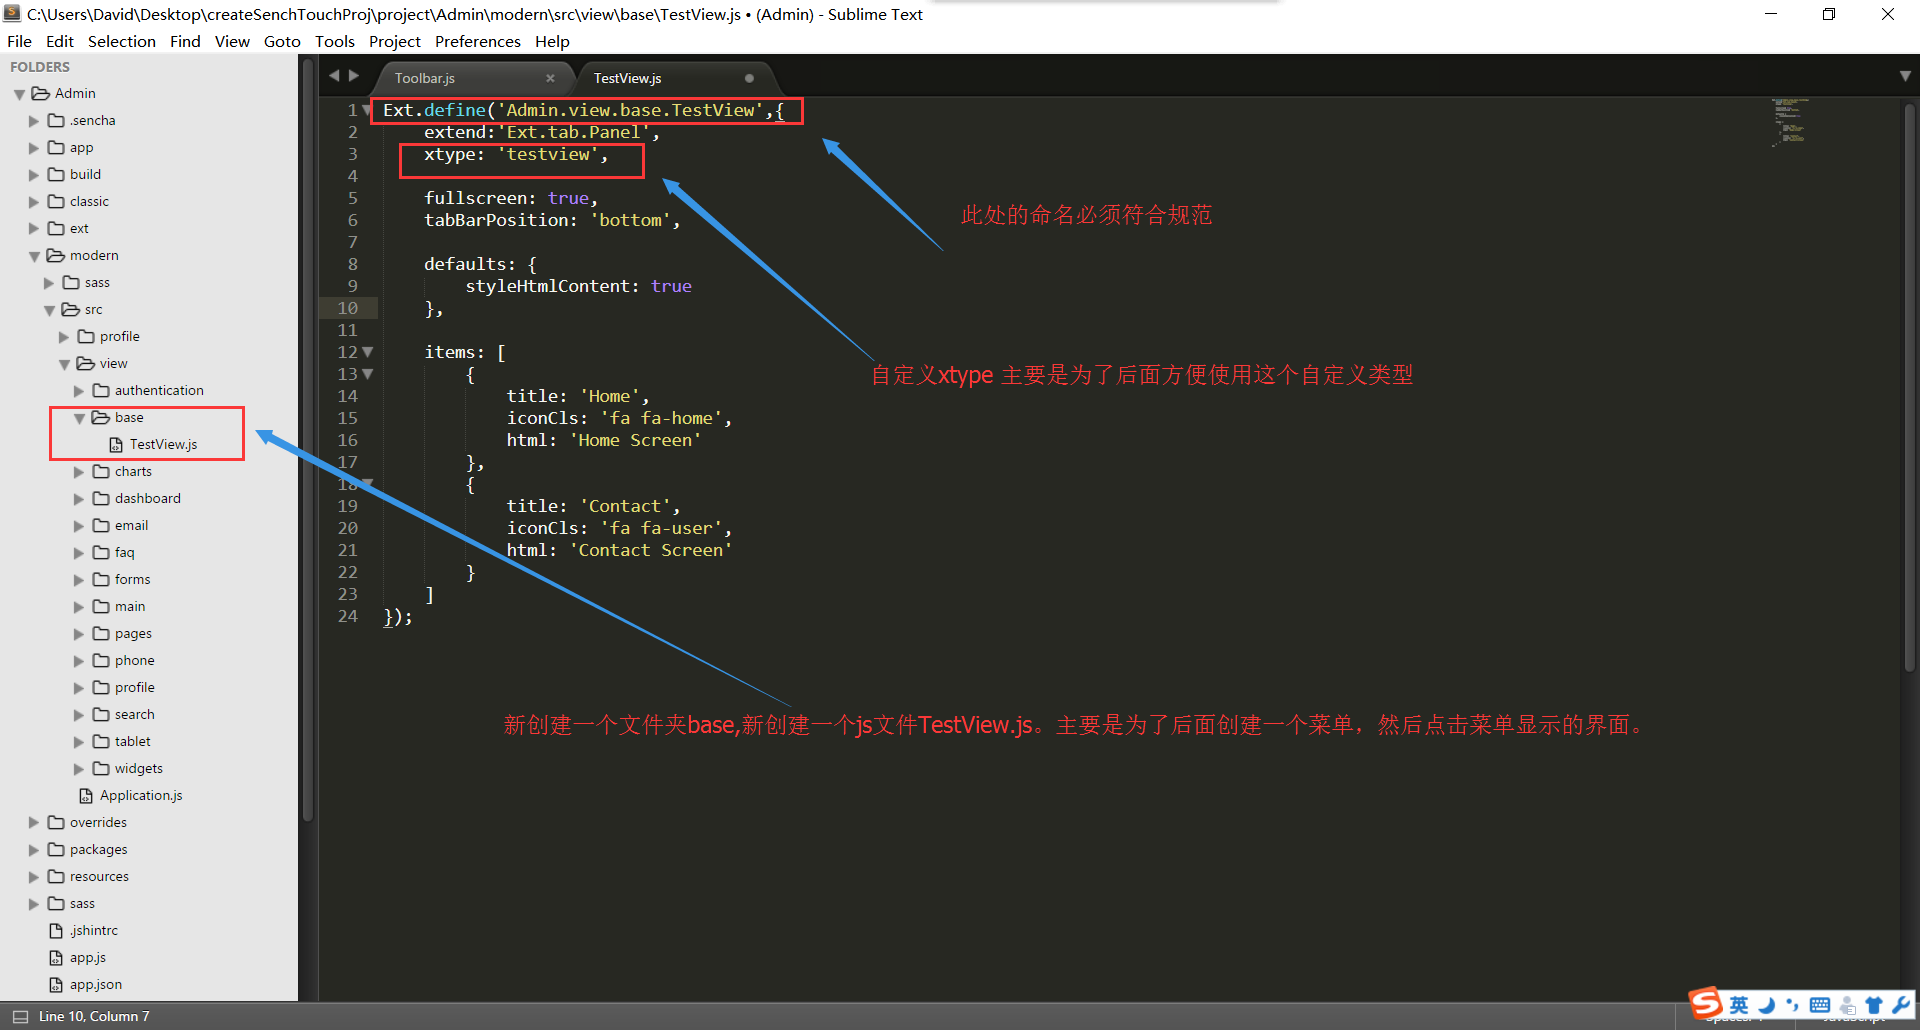
创建一个新的View->TestView.js
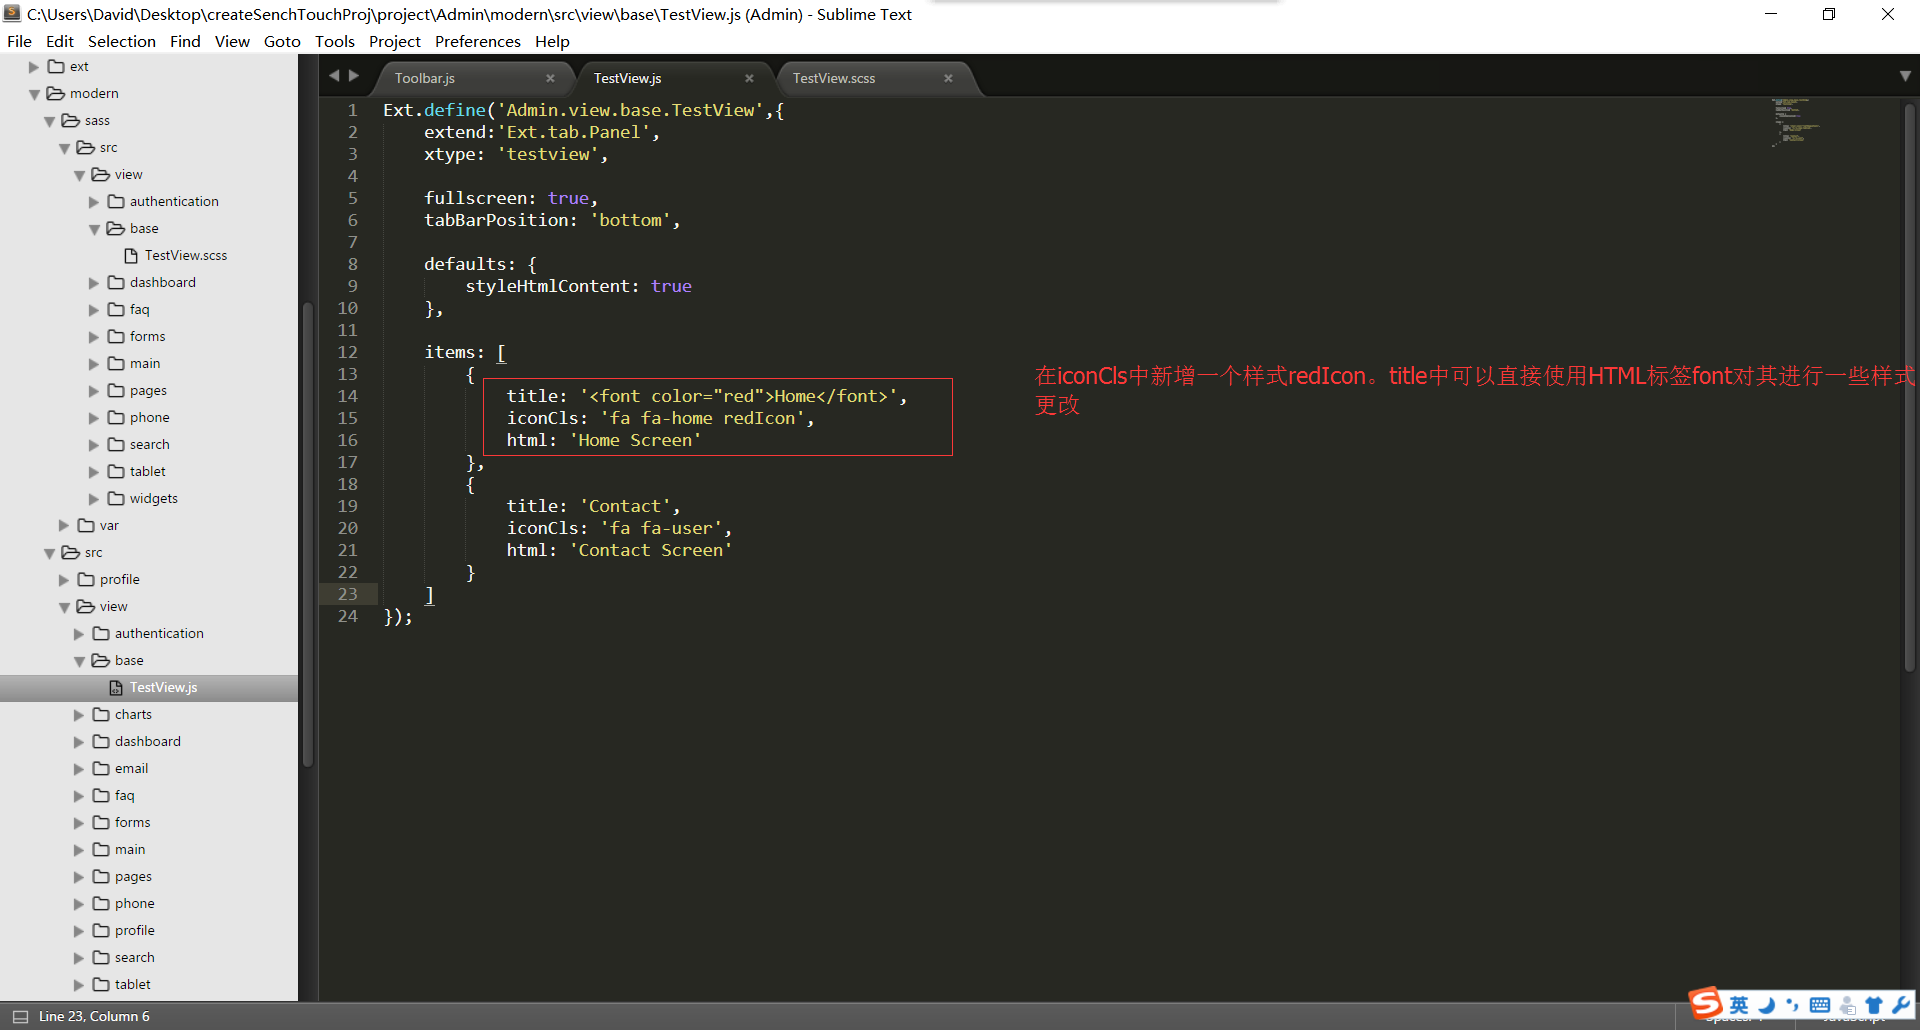
Ext.define('Admin.view.base.TestView',{
    extend:'Ext.tab.Panel',
    xtype: 'testview',

    fullscreen: true,
    tabBarPosition: 'bottom',

    defaults: {
        styleHtmlContent: true
    },

    items: [
        {
            title: '<font color="red">Home</font>',
            iconCls: 'fa fa-home redIcon',
            html: 'Home Screen'
        },
        {
            title: 'Contact',
            iconCls: 'fa fa-user',
            html: 'Contact Screen'
        }
    ] });
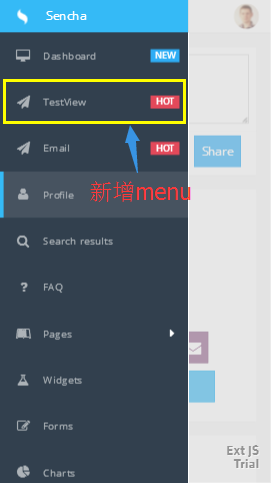
为TestView.JS创建菜单
{ text: 'TestView', iconCls: 'x-fa fa-send', rowCls: 'nav-tree-badge nav-tree-badge-hot', viewType: 'testview', leaf: true },
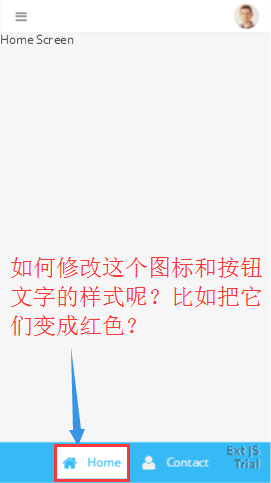
查看显示效果
下面介绍如何修改样式
1.修改TestView.js
2.创建样式redIcon 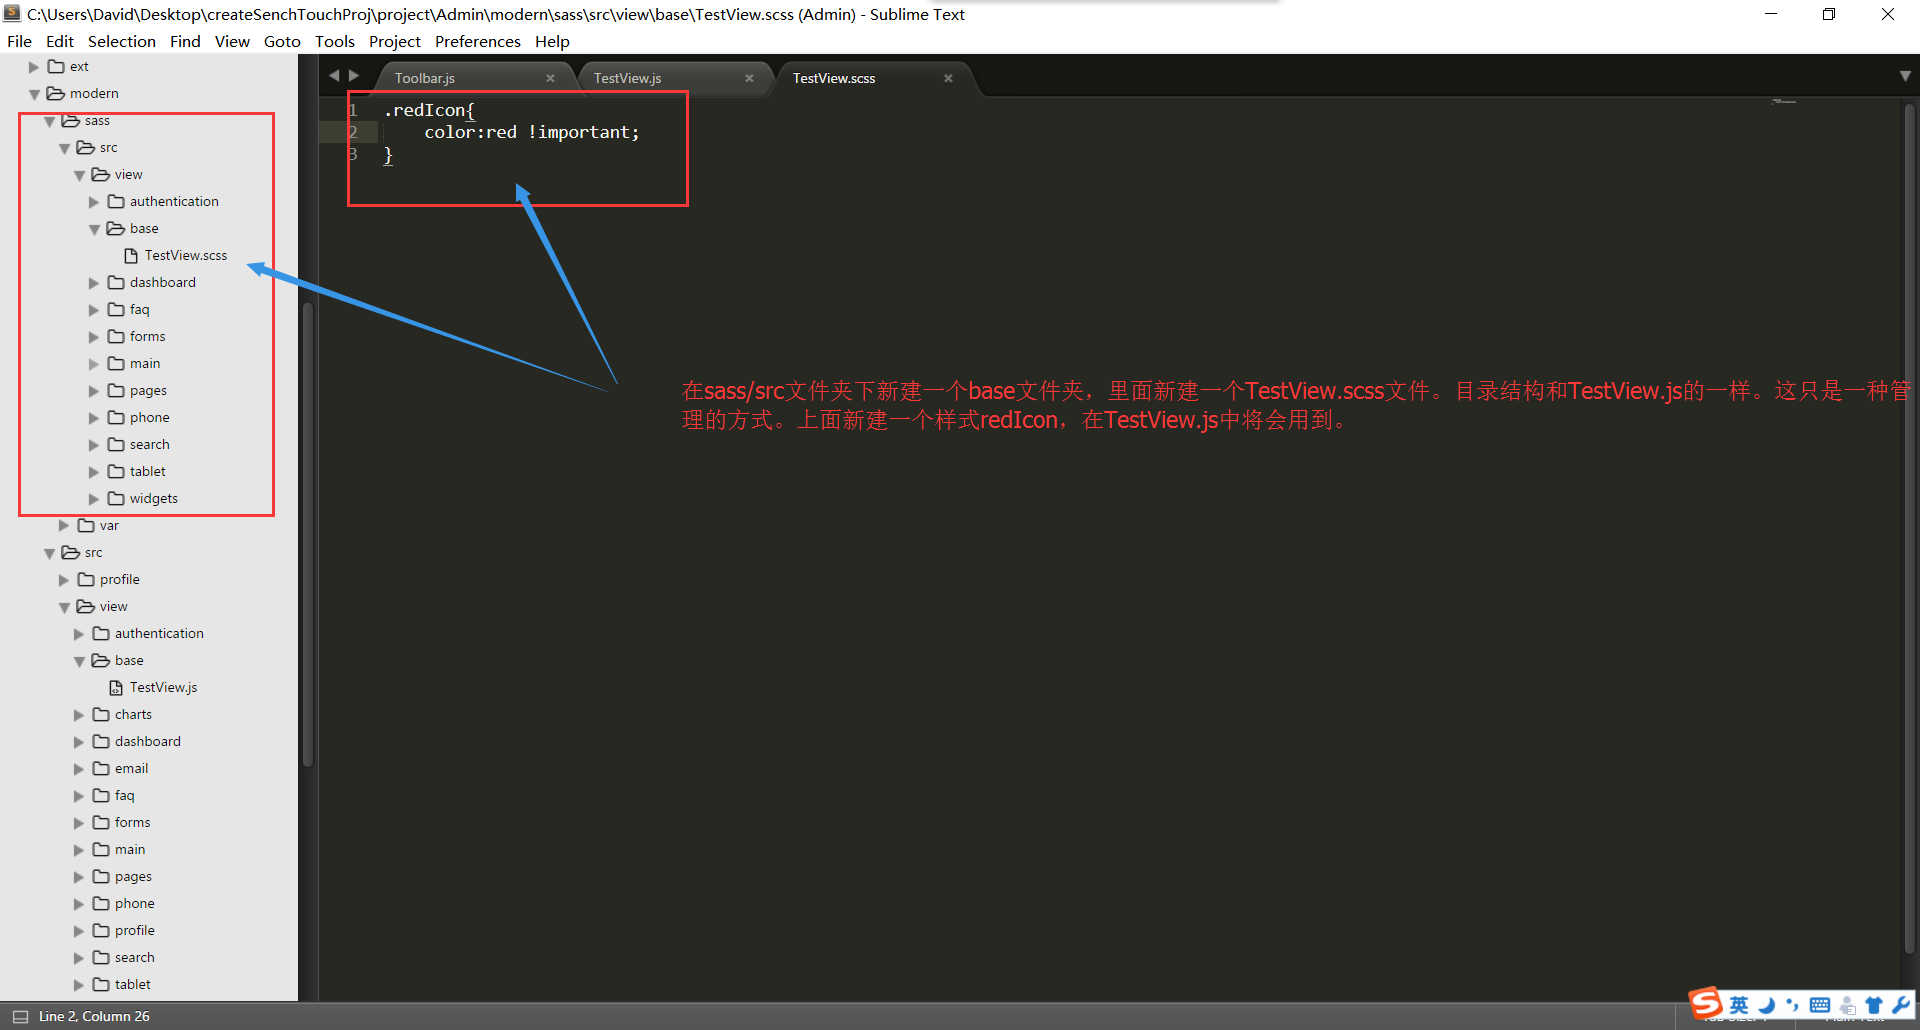
3.修改后的界面 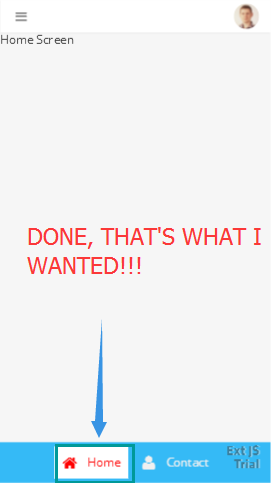
总结
以上基本上包含了创建项目所遇到的问题,然后创建了一个demo去演示,及最后简单说明如何修改一些样式。
本次演示的demo:http://download.youkuaiyun.com/detail/u010989191/9667343


 3405
3405

 被折叠的 条评论
为什么被折叠?
被折叠的 条评论
为什么被折叠?
 到【灌水乐园】发言


