


 本文详细介绍如何在项目中配置UEditor编辑器,包括将Baidu文件夹下的资源拷贝到项目,设置核心配置文件ueditor_config.json,以及实现图片上传至服务器的Controller方法。文章还介绍了如何通过流读取配置文件,以及前后端分离环境下接口的正确配置。
首先 要把baidu文件夹下的所有文件拷贝到项目中
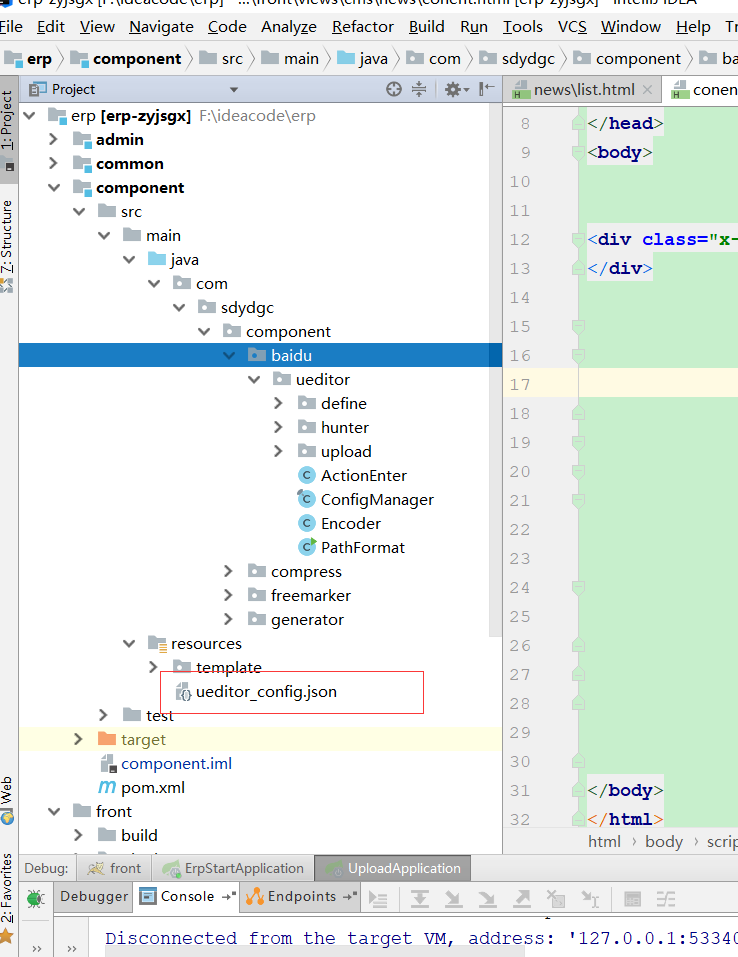
注意 ueditor_config.json这个配置文件,这是个核心配置文件
其中ConfigManager类中
private String readFile() throws IOException {
    StringBuilder builder = new StringBuilder();
    try {
        InputStreamReader reader = new InputStreamReader(ConfigManager.class.getClassLoader().getResourceAsStream(configFileName), "UTF-8");
        BufferedReader bfReader = new BufferedReader(reader);

        String tmpContent = null;

        while ((tmpContent = bfReader.readLine()) != null) {
            builder.append(tmpContent);
        }

        bfReader.close();

    } catch (UnsupportedEncodingException e) {
        // 忽略
    }

    return this.filter(builder.toString());

}
这个方法是读取ueditor_config.json文件的,由于boot打成jar读取不到包中的文件,所以采取流的形式读取ConfigManager.class.getClassLoader().getResourceAsStream(configFileName)这个是关键,把文件放在resource文件下,只用输入名字,就可以读取到文件。
然后写接收图片的controller
/**
 * ueditor文件上传(上传到外部服务器)
 *
 * @param request
 * @param response
 * @param action
 */
@RequestMapping(value = "/ueditorUpload.do", method = {RequestMethod.GET, RequestMethod.POST})
public Map editorUpload(HttpServletRequest request, HttpServletResponse response, String action,String url) {
    response.setContentType("application/json");

    String rootPath = request.getSession().getServletContext().getRealPath("/");
    Map<String, Object> rs = new HashMap<String, Object>();
    MultipartHttpServletRequest mReq = null;
    MultipartFile file = null;
    String fileName = "";
    // 原始文件名   UEDITOR创建页面元素时的alt和title属性
    String originalFileName = "";
    try{
        if ("config".equals(action)) {    //如果是初始化
            String exec = new ActionEnter(request, rootPath).exec();
            PrintWriter writer = response.getWriter();
            writer.write(exec);
            writer.flush();
            writer.close();
        }else if ("uploadimage".equals(action) || "uploadvideo".equals(action) || "uploadfile".equals(action)){
            mReq = (MultipartHttpServletRequest) request;
            // 从config.json中取得上传文件的ID
            file = mReq.getFile("upfile");
            if (file.isEmpty()) {
                throw new RRException("上传文件不能为空");
            }
            //获取文件后缀
            String suffix = FileUtil.suffixFromFileName(file.getOriginalFilename());
            String project="cms";
            String projectName = (project == null || "".equals(project)) ? "default" : project;
            //文件目录
            String path = projectName + "/" + FileUtil.genTypePath(suffix) + "/" + DateUtils.format(DateUtils.DATE_DIR);
            String destName = UUID.randomUUID() + "." + suffix;
            //要生成的文件
            File dest = new File(uploadConfig.getPath() + "/" + path + "/" + destName);
            if (!dest.getParentFile().exists()) {
                dest.getParentFile().mkdirs();
            }
            //保存文件
            file.transferTo(dest);
            //上传文件 保存文件信息
            UploadFileEntity uploadFile = new UploadFileEntity();
            uploadFile.setFileName(file.getOriginalFilename());
            uploadFile.setFileSize(file.getSize());
            uploadFile.setFileSuffix(suffix);
            uploadFile.setProject(project);
            uploadFile.setStyle("");
            uploadFile.setRelationId(UUID.randomUUID().toString());
            uploadFile.setFileUrl(path + "/" + destName);
            uploadFile.setGmtCreate(new Date());
            uploadFileService.insert(uploadFile);
            String pathh=url+"file/image/"+uploadFile.getId();
            rs.put("state", "SUCCESS");// UEDITOR的规则:不为SUCCESS则显示state的内容
            rs.put("url", pathh);         //能访问到你现在图片的路径
            rs.put("title", originalFileName);
            rs.put("original", originalFileName);
            return rs;

        }
    }catch (Exception e){
        e.printStackTrace();
    }

   return null;
}
页面加载会走初始化的if,即config时 只有state为SUCCESS时 前台才允许传图片,url是返回的此图片能直接访问的地址,以便于前台反显
前台
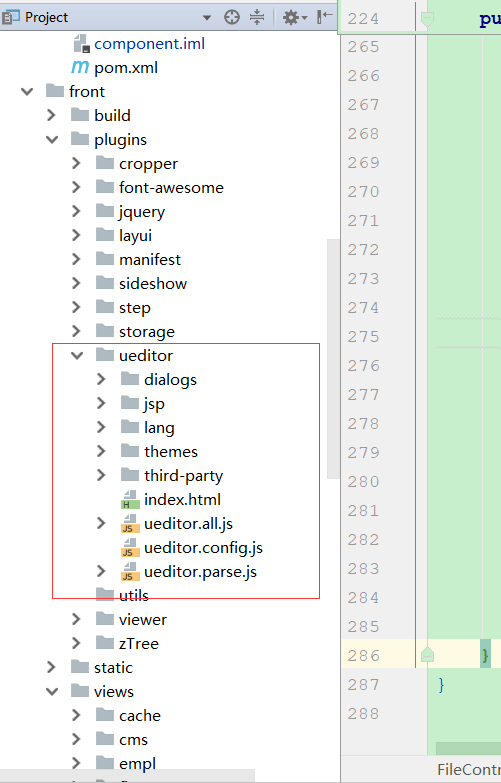
考进去相应的js即配置文件,
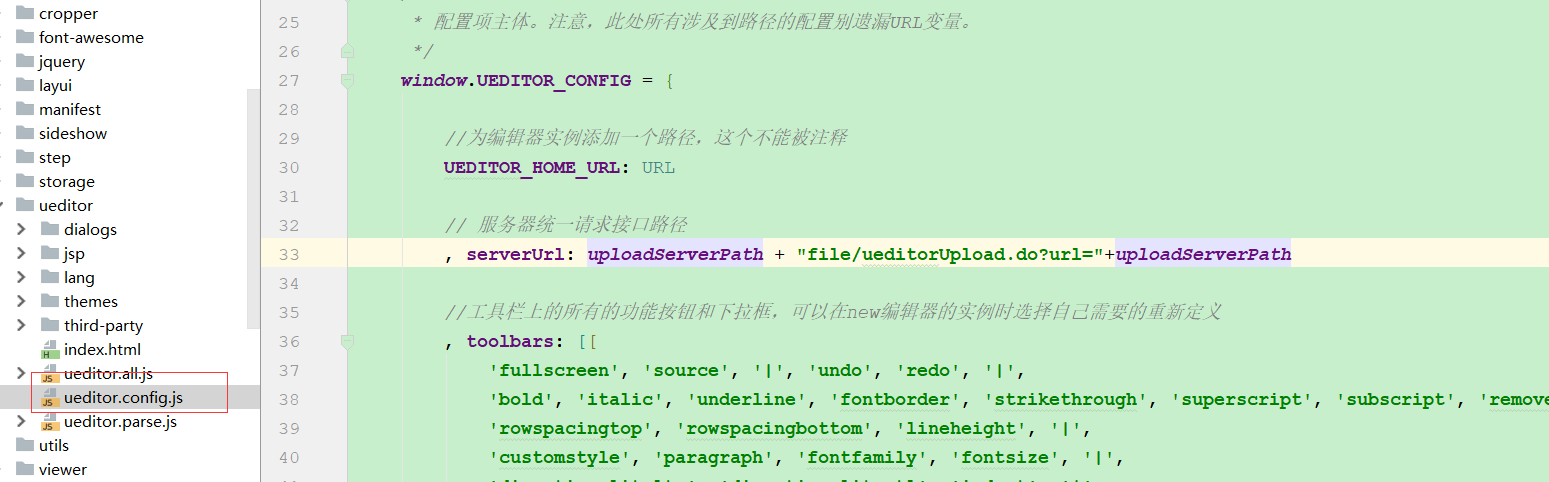
配置ueditor.config.js中的serverUrl,为controller里写的接口,注意:由于是先后台分离的,所以此接口应该在过滤器之外,不能把此接口过滤掉


 2839
2839

 被折叠的 条评论
为什么被折叠?
被折叠的 条评论
为什么被折叠?
 到【灌水乐园】发言


