


 本文是Vue入门教程,参考之前项目使用脚手架构建的内容,以新建项目开展Vue项目。目标是做一个可调用后端接口的简单登录界面,学会使用WebStorm,设计思路是登录验证后跳转相应页面。文中给出项目结构图、代码,还介绍启动和结果。
一、背景
1.你们可以参考我的上一篇博文:https://blog.youkuaiyun.com/chenmingxu438521/article/details/90414329,这里面有详细的项目使用脚手架的构建,今天我们就可以通过昨天新建的项目来写我们的vue项目了,作为一个简单的入门,下面直接进入今天的正题。
二、目标
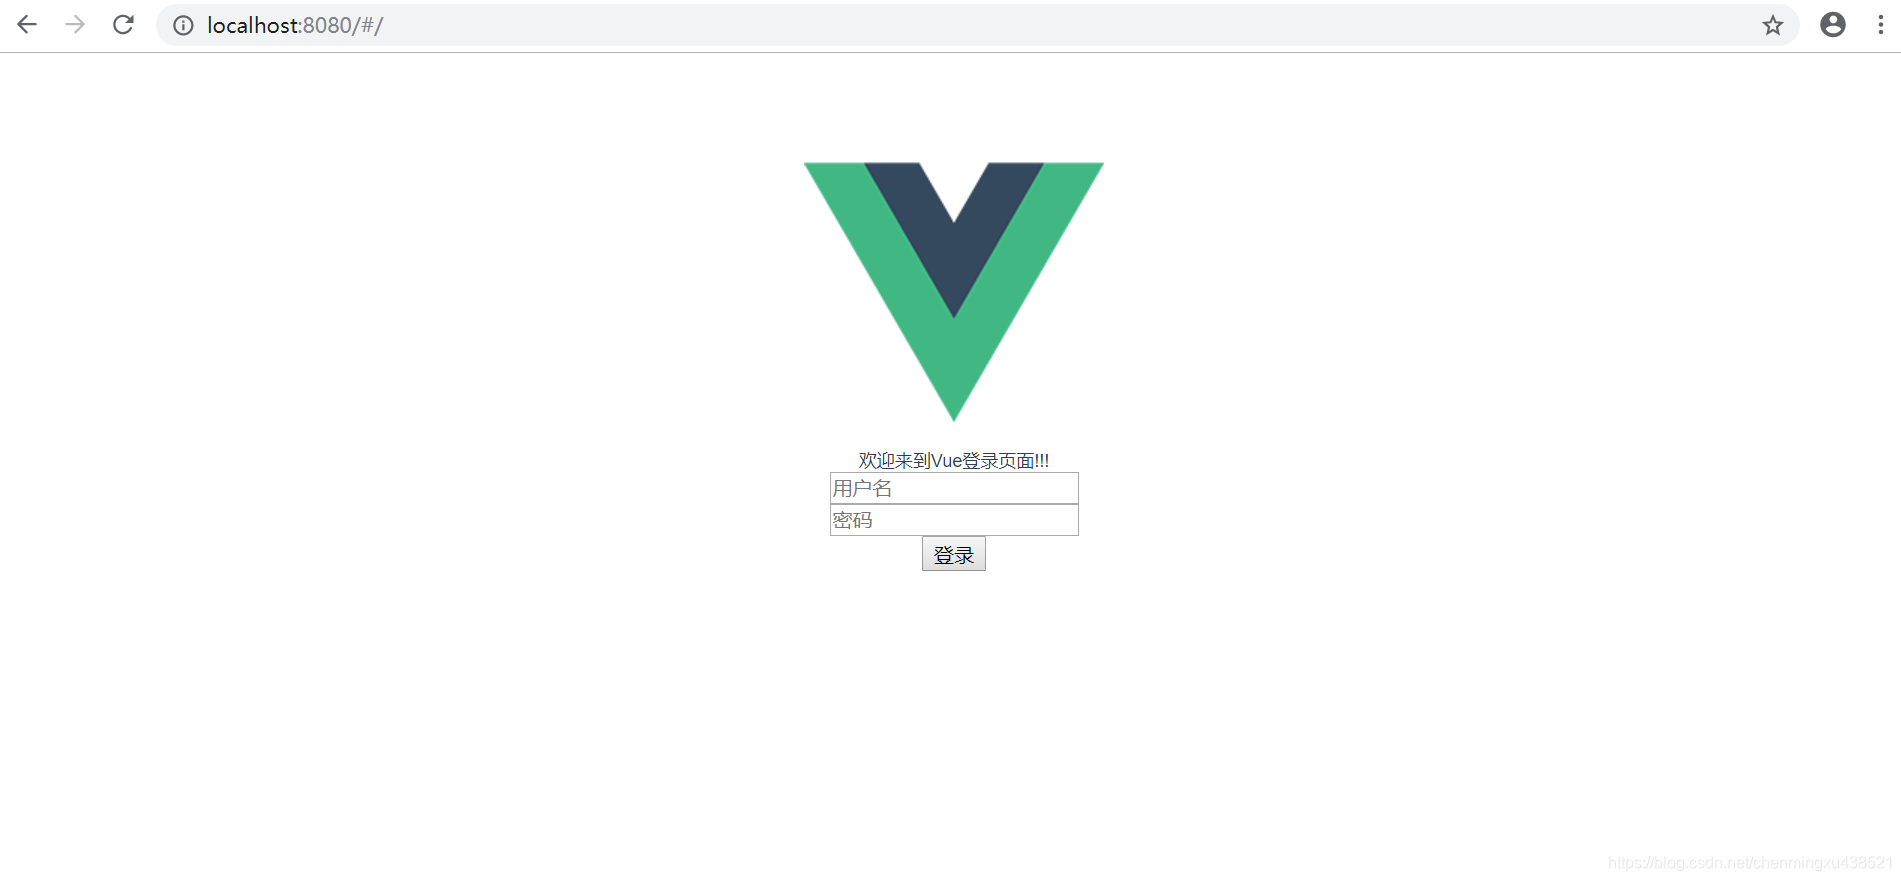
1.今天我们做一个简单的登录界面的入门,可以调用后端接口的,今天就不写后端的项目了。
2.学会使用webstrom的使用。
3.大致设计思路就是登录成功验证之后跳入HelloWord页面,失败的话就跳入Fail的页面。
三、项目结构图
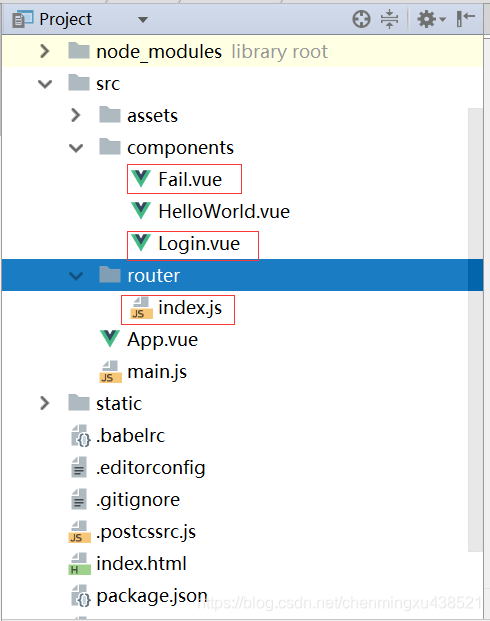
解释:上图中router目录就是我们的路由,一会儿是需要在里面配置东西的,一会儿详细讲解。
四、贴代码
1.Login.vue
<template>
  <div class="login">
    {{message}}<br/>
    <input v-model="username" placeholder="用户名"><br/>
    <input v-model="password" placeholder="密码"><br/>
    <button v-on:click="login">登录</button>
  </div>
</template>

<script>
  export default {
    name:"login",
    data(){
      return{
        message:'欢迎来到Vue登录页面!!!',
        username:'',
        password:''
      }
    },
    http: {
      //设置请求头
      headers: {'Content-Type': 'application/x-www-form-urlencoded; charset=UTF-8'}
    },
    methods: {
      login: function () {
        var _this = this;
        console.log(_this.username+_this.password);
        //请求的后端接口地址
        _this.$http.post('http://localhost:8080/xxx/xxx', {
            username: _this.username,
            password: _this.password
          },{emulateJSON:true}
        )
          .then(function (response) {
            var errorcode = response.data.code;
            if (errorcode == "200") {
              _this.$router.push(
                { path: '/HelloWorld',
                  query: {
                    user: response.data.data,
                  }
                });
            } else {
              _this.$router.push({ path: '/Fail' });
            }
          })
          .catch(function (error) {
            console.log(error);
          });
      }
    }
  }
</script>
<style scoped>

</style>
2.Fail.vue
<template>
  <div class="hello">
    <h2>{{msg}}</h2>
  </div>
</template>

<script>
  export default {
    name:'HelloWord',
    data (){
      return{
        msg:'登录失败'
      }
    }
  }
</script>
<style scoped>
  h1, h2 {
    font-weight: normal;
  }
  ul {
    list-style-type: none;
    padding: 0;
  }
  li {
    display: inline-block;
    margin: 0 10px;
  }
  a {
    color: #42b983;
  }
</style>
3.路由配置
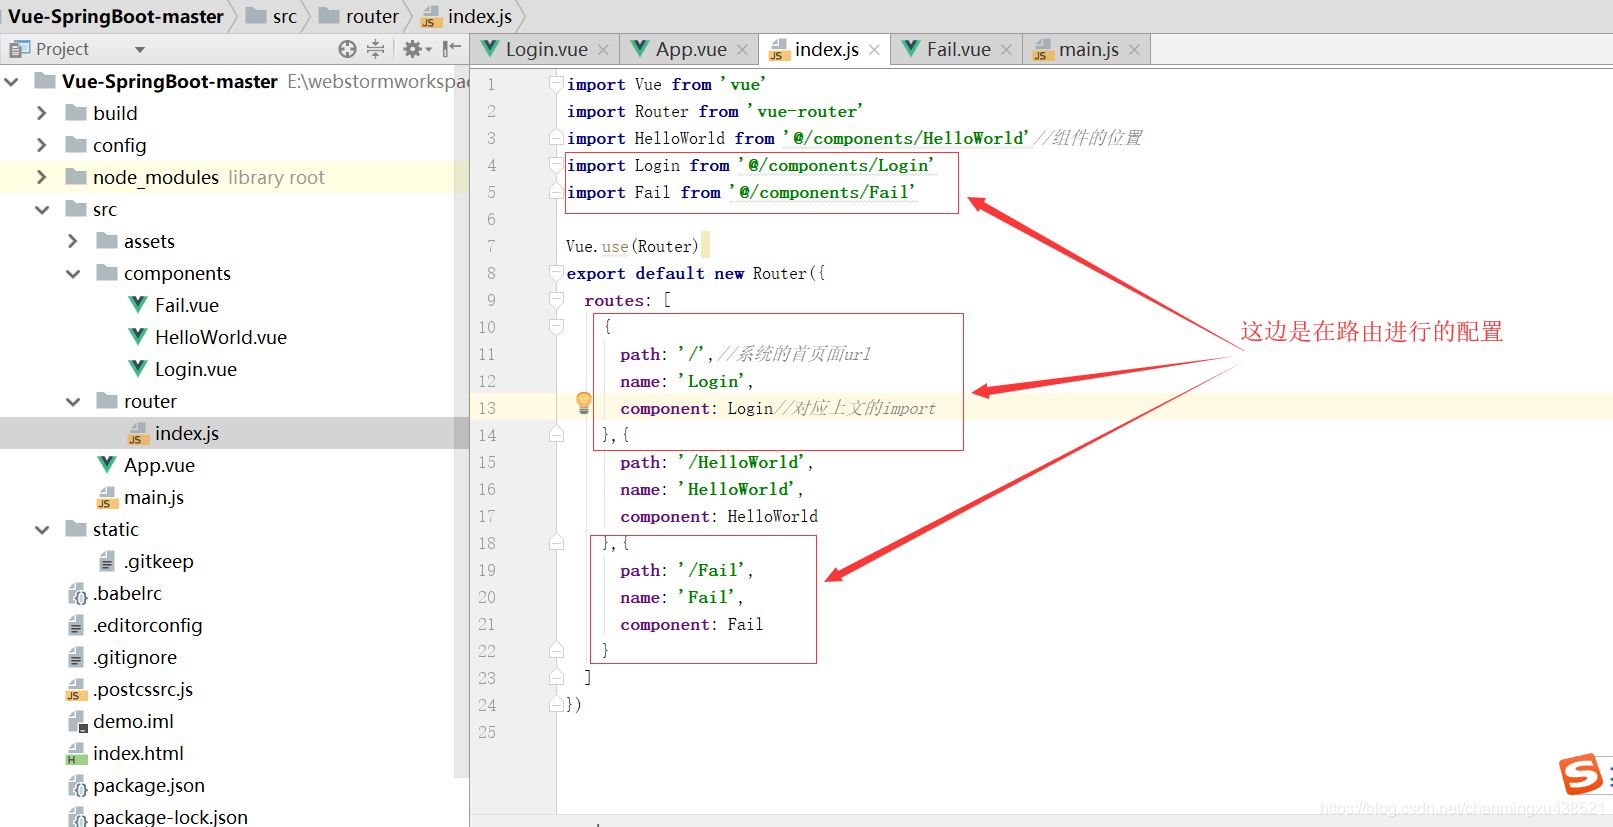
在给你们贴下代码吧,方便测试
import Vue from 'vue'
import Router from 'vue-router'
import HelloWorld from '@/components/HelloWorld'//组件的位置
import Login from '@/components/Login'
import Fail from '@/components/Fail'

Vue.use(Router)
export default new Router({
  routes: [
    {
      path: '/',//系统的首页面url
      name: 'Login',
      component: Login//对应上文的import
    },{
      path: '/HelloWorld',
      name: 'HelloWorld',
      component: HelloWorld
    },{
      path: '/Fail',
      name: 'Fail',
      component: Fail
    }
  ]
})
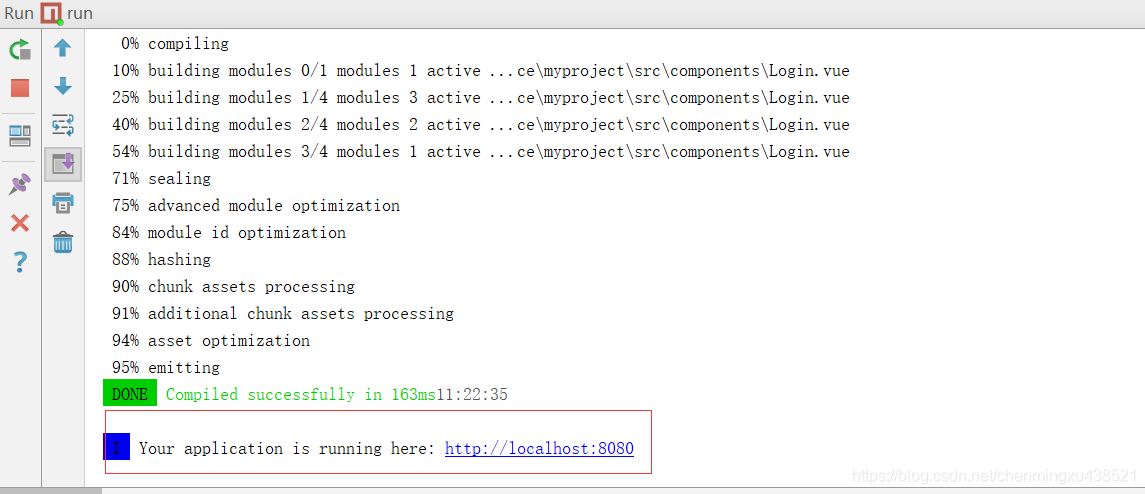
五、启动
六、结果
七、结束
欢迎大家批评指正!!!
Always keep the faith!!!


 3323
3323

 被折叠的 条评论
为什么被折叠?
被折叠的 条评论
为什么被折叠?
 到【灌水乐园】发言


