


 本文介绍了如何使用Nginx作为负载均衡器,结合SpringBoot应用集群实现外部网络访问内部服务。首先,搭建了两个运行在不同端口的SpringBoot应用作为服务集群。然后,配置Nginx的nginx.conf文件,设置了轮询策略的负载均衡,将请求分发到8001和8003端口的应用。最后,通过访问Nginx的4001端口验证了负载均衡的正确性。
本文转载自:https://www.cnblogs.com/c2g5201314/p/13026100.html,留作备份,以防后续找不到。
1.前言
已经掌握了spring cloud 得使用 ,但这是在内部网络做业务 ,现在需要 在外部网络 访问内部网络 服务 ,引入了 服务端负载均衡 Nginx ,
Nginx 根据预定的策略 ,将请求路由给 Zuul网关集群中得一个 ,然后由 Zuul网关过滤后路由到指定的 微服务,业务处理完后,处理结果返回zuul网关 ,然后再返回给Nginx服务器再返回前端。
为了简便演示具体操作,忽略zuul部分 ,使用两个微服务做集群即可
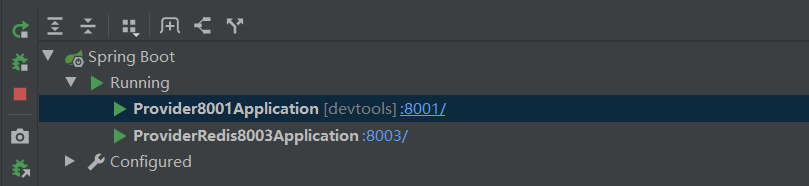
2.提前准备两个spring boot工程做集群
端口分别是8001 ,8003 ,地址都是localhost 【127.0.0.1】具体配置这里不讲解,可看我得其他随笔由详细记录
8001端口 controller层

package com.example.provider8001.controller;
import org.springframework.web.bind.annotation.RequestMapping;
import org.springframework.web.bind.annotation.RequestMethod;
import org.springframework.web.bind.annotation.RestController;
@RestController
public class PRController {
@RequestMapping(value = "/getname",method = RequestMethod.GET)
public String getname(String name){
System.out.println("接收名字="+name);
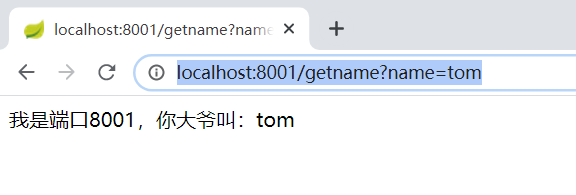
return "我是端口8001,你大爷叫:"+name;
}
}
8003端口 controller层
package com.example.providerredis8003.controller;


import com.example.providerredis8003.service.EatService;
import org.springframework.beans.factory.annotation.Autowired;
import org.springframework.web.bind.annotation.RequestMapping;
import org.springframework.web.bind.annotation.RequestMethod;
import org.springframework.web.bind.annotation.RestController;

import java.util.Map;

@RestController
public class FoodController {


    @RequestMapping(value = "/getname",method = RequestMethod.GET)
    public String getname(String name){
        System.out.println("接收名字="+name);
        return "我是端口8003,你三爷叫:"+name;
    }

}
3.配置Nginx的配置文件 nginx.conf
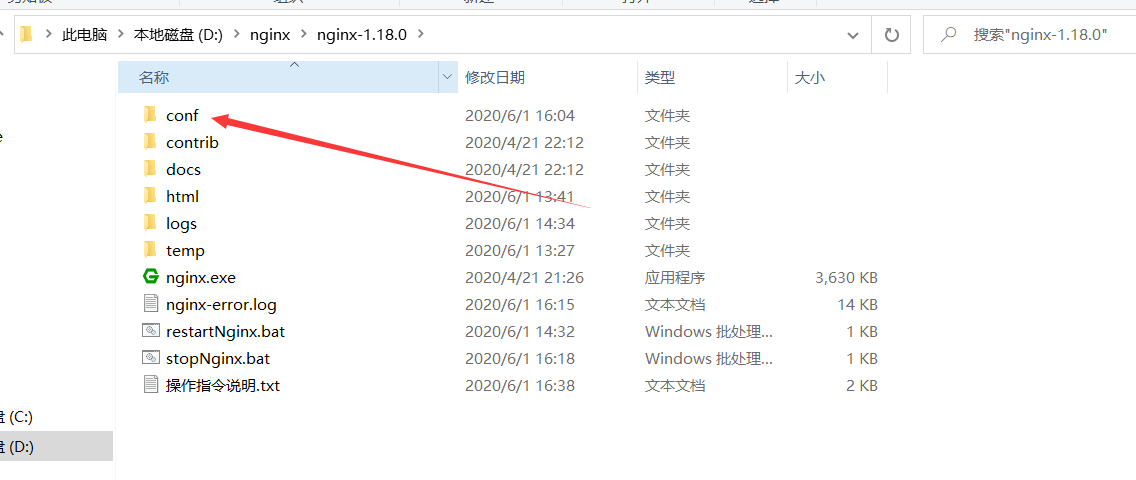
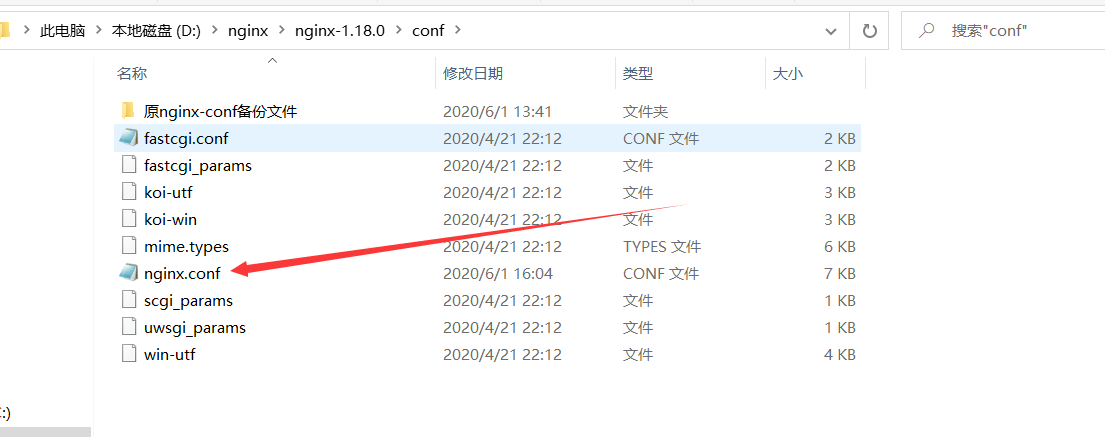
直接打开修改文件
默认的未修改过的文件

#user  nobody;
worker_processes  1;

#error_log  logs/error.log;
#error_log  logs/error.log  notice;
#error_log  logs/error.log  info;

#pid        logs/nginx.pid;


events {
    worker_connections  1024;
}


http {
    include       mime.types;
    default_type  application/octet-stream;

    #log_format  main  '$remote_addr - $remote_user [$time_local] "$request" '
    #                  '$status $body_bytes_sent "$http_referer" '
    #                  '"$http_user_agent" "$http_x_forwarded_for"';

    #access_log  logs/access.log  main;

    sendfile        on;
    #tcp_nopush     on;

    #keepalive_timeout  0;
    keepalive_timeout  65;

    #gzip  on;

    server {
        listen       80;
        server_name  localhost;

        #charset koi8-r;

        #access_log  logs/host.access.log  main;

        location / {
            root   html;
            index  index.html index.htm;
        }

        #error_page  404              /404.html;

        # redirect server error pages to the static page /50x.html
        #
        error_page   500 502 503 504  /50x.html;
        location = /50x.html {
            root   html;
        }

        # proxy the PHP scripts to Apache listening on 127.0.0.1:80
        #
        #location ~ \.php$ {
        #    proxy_pass   http://127.0.0.1;
        #}

        # pass the PHP scripts to FastCGI server listening on 127.0.0.1:9000
        #
        #location ~ \.php$ {
        #    root           html;
        #    fastcgi_pass   127.0.0.1:9000;
        #    fastcgi_index  index.php;
        #    fastcgi_param  SCRIPT_FILENAME  /scripts$fastcgi_script_name;
        #    include        fastcgi_params;
        #}

        # deny access to .htaccess files, if Apache's document root
        # concurs with nginx's one
        #
        #location ~ /\.ht {
        #    deny  all;
        #}
    }


    # another virtual host using mix of IP-, name-, and port-based configuration
    #
    #server {
    #    listen       8000;
    #    listen       somename:8080;
    #    server_name  somename  alias  another.alias;

    #    location / {
    #        root   html;
    #        index  index.html index.htm;
    #    }
    #}


    # HTTPS server
    #
    #server {
    #    listen       443 ssl;
    #    server_name  localhost;

    #    ssl_certificate      cert.pem;
    #    ssl_certificate_key  cert.key;

    #    ssl_session_cache    shared:SSL:1m;
    #    ssl_session_timeout  5m;

    #    ssl_ciphers  HIGH:!aNULL:!MD5;
    #    ssl_prefer_server_ciphers  on;

    #    location / {
    #        root   html;
    #        index  index.html index.htm;
    #    }
    #}

}
完整详细的配置【有点乱,这是我的笔记】
#配置用户或者组,默认为nobody nobody。
#user  nobody;
#允许生成的进程数,默认为1
worker_processes  1;
#pid /nginx/pid/nginx.pid;   #指定nginx进程运行文件存放地址
#制定日志路径,级别。这个设置可以放入全局块,http块,server块,
#级别以此为:debug|info|notice|warn|error|crit|alert|emerg
#error_log log/error.log debug;
#其他得如这样写
#error_log  logs/error.log  notice;
#error_log  logs/error.log  info;
#

#events块:配置影响nginx服务器或与用户的网络连接。有每个进程的最大连接数,
#选取哪种事件驱动模型处理连接请求,是否允许同时接受多个网路连接,开启多个网络连接序列化等。
events {
 #设置网路连接序列化,防止惊群现象发生,默认为on
    #accept_mutex on;
    #设置一个进程是否同时接受多个网络连接,默认为off
    #multi_accept on;
    #事件驱动模型,select|poll|kqueue|epoll|resig|/dev/poll|eventport
    #use epoll;
    #最大连接数,默认为512
    worker_connections  1024;
}

#http块:可以嵌套多个server,配置代理,缓存,日志定义等绝大多数功能和第三方模块的配置。如文件引入,
#mime-type定义,日志自定义,是否使用sendfile传输文件,连接超时时间,单连接请求数等。
http {
#文件扩展名与文件类型映射表
    include       mime.types;
    #默认文件类型,默认为text/plain
    default_type  application/octet-stream;
    #取消服务日志
    #access_log off;
#自定义格式
    #log_format  main  '$remote_addr - $remote_user [$time_local] "$request" '
    #                  '$status $body_bytes_sent "$http_referer" '
    #                  '"$http_user_agent" "$http_x_forwarded_for"';
    #注意:1.$remote_addr 与$http_x_forwarded_for 用以记录客户端的ip地址;
     #2.$remote_user :用来记录客户端用户名称;
      #3.$time_local : 用来记录访问时间与时区;
      #4.$request : 用来记录请求的url与http协议;
      #5.$status : 用来记录请求状态;成功是200,
      #6.$body_bytes_s ent :记录发送给客户端文件主体内容大小;7.$http_refe
      #7.惊群现象:一个网路连接到来,多个睡眠的进程被同事叫醒,但只有一个进程能获得链接,这样会影响系统性能。
      #8.每个指令必须有分号结束。

    #------------------------------------
#combined为日志格式的默认值
    #access_log  logs/access.log  main;
#允许sendfile方式传输文件,默认为off,可以在http块,server块,location块。
    sendfile        on;
    #每个进程每次调用传输数量不能大于设定的值,默认为0,即不设上限。
     #sendfile_max_chunk 100k;

    #tcp_nopush     on;

    #连接超时时间,默认为75s,可以在http,server,location块。
    keepalive_timeout  65;

    #服务器列表 ,集群地址 ,providernames 是名字 ,可自定义
     upstream pancm{
           server 127.0.0.1:8001;
           server 127.0.0.1:8003;
        }

    #gzip  on;
    #错误页 也可写在server块里面
    #error_page 404 https://www.baidu.com;

#server块:配置虚拟主机的相关参数,一个http中可以有多个server。
    server {
    #单连接请求上限次数。
 keepalive_requests 120;

     #nginx监听端口
        listen       4001;

       # Nginx监听地址,可以使用域名,多个用空格分隔。
        server_name  localhost;
        #server_name  127.0.0.1;

          #添加头部信息
              # proxy_set_header Cookie $http_cookie;
              # proxy_set_header X-Forwarded-Host $host;
              # proxy_set_header X-Forwarded-Server $host;
              # proxy_set_header X-Forwarded-For $proxy_add_x_forwarded_for;


  #通过代理地址关键字,重定义路径
        # 访问 http://localhost:4001/api/getname?name=tom  ,4001端口是nginx的 ,相当于直接访问 http://localhost:8001/getname?name=tom
        # location /api/ {
        #这里以spring boot 服务提供者 端口 8001 为例子
        #       proxy_pass http://localhost:8001/;  #注意:使用代理地址时末尾记得加上斜杠"/"。
        # }
       #------------------
         #通过alias关键字,重定义路径
         #此时,通过浏览器访问http://127.0.0.1:7001/file/t.txt,则访问服务器的文件是/home/china/areas/t.txt
        # location /file/ {
          #这里以spring boot 服务提供者 端口 8001 为例子
          #   alias /home/china/areas/;
          # }
        #------------
       #alias可以使用正则表达式,如
       #location ~  ^/test/(\w+).(\w+)$ {
        #   alise /home/china/$2/$1.$2;
       #}
       #访问/test/t.conf,则实际访问的是/home/china/conf/t.conf

       #--------------------------------
        #通过root关键字,重定义路径
        #此时,通过浏览器访问http://127.0.0.1:7001/test/t.txt,则访问服务器的文件是/home/china/areas/test/t.txt
          # location /file/ {
          #这里以spring boot 服务提供者 端口 8001 为例子
          #root /home/china/areas/;
        #}

       #------------------
##location块:配置请求的路由,以及各种页面的处理情况。
        #根据 pancm 定义的服务器列表进行负载均衡路由
        location / {
             #根目录,注意:使用"/"拦截全路径的时候记得放在最后。
              # root   path;
              #设置默认页
               #index  index.html index.htm;  #index表示首页

               #请求转向 pancm 定义的服务器列表
               #代理路径,一般配置upstream后面的名称用于实现负载均衡,可以直接配置ip进行跳转;
               proxy_pass http://pancm;
               #拒绝的ip
               # deny 127.0.0.1;
                #允许的ip
                #allow 172.18.5.54;
                 #index表示首页
               index  index.html index.htm;
        }


        #charset koi8-r;

        #access_log  logs/host.access.log  main;


       # location / {
        #    root   html;
         #   index  index.html index.htm;
        #}

        #error_page  404              /404.html;

        # redirect server error pages to the static page /50x.html
        #
        #错误页
        error_page   500 502 503 504  /50x.html;
        location = /50x.html {
            root   html;
        }


    }


}
简洁版的配置【去除多余的注释】
 View Code
【我这里使用了默认的轮询负载均衡策略】
1)nginx实现负载均衡有几种模式:
(1).轮询:每个请求按时间顺序逐一分配到不同的后端服务器,也是nginx的默认模式。轮询模式的配置很简单,只需要把服务器列表加入到upstream模块中即可。
下面的配置是指:负载中有三台服务器,当请求到达时,nginx按照时间顺序把请求分配给三台服务器处理。
upstream serverList {
server 1.2.3.4;
server 1.2.3.5;
server 1.2.3.6;
}
(2).ip_hash:每个请求按访问IP的hash结果分配,同一个IP客户端固定访问一个后端服务器。可以保证来自同一ip的请求被打到固定的机器上,可以解决session问题。
下面的配置是指:负载中有三台服务器,当请求到达时,nginx优先按照ip_hash的结果进行分配,也就是同一个IP的请求固定在某一台服务器上,其它则按时间顺序把请求分配给三台服务器处理。
upstream serverList {
    ip_hash
    server 1.2.3.4;
    server 1.2.3.5;
    server 1.2.3.6;
}
(3).url_hash:按访问url的hash结果来分配请求,相同的url固定转发到同一个后端服务器处理。
upstream serverList {
    server 1.2.3.4;
    server 1.2.3.5;
    server 1.2.3.6;
    hash $request_uri;
    hash_method crc32;
}
(4)fair:按后端服务器的响应时间来分配请求,响应时间短的优先分配。
upstream serverList {
    server 1.2.3.4;
    server 1.2.3.5;
    server 1.2.3.6;
    fair;
}
2)而在每一种模式中,每一台服务器后面的可以携带的参数有:
- down: 当前服务器暂不参与负载
- weight: 权重,值越大,服务器的负载量越大。
- max_fails:允许请求失败的次数,默认为1。
- fail_timeout:max_fails次失败后暂停的时间。
- backup:备份机, 只有其它所有的非backup机器down或者忙时才会请求backup机器。
如下面的配置是指:负载中有三台服务器,当请求到达时,nginx按时间顺序和权重把请求分配给三台服务器处理,例如有100个
请求,有30%是服务器4处理,有50%的请求是服务器5处理,有20%的请求是服务器6处理。
upstream serverList {
    server 1.2.3.4 weight=30;
    server 1.2.3.5 weight=50;
   server 1.2.3.6 weight=20;
}
如下面的配置是指:负载中有三台服务器,服务器4的失败超时时间为60s,服务器5暂不参与负载,服务器6只用作备份机。
upstream serverList {
    server 1.2.3.4 fail_timeout=60s;
    server 1.2.3.5 down;
    server 1.2.3.6 backup;
}
配置完成后,保存即可
4.测试
启动端口8001和8003工程集群 ,
(1)直接访问端口8001 , http://localhost:8001/getname?name=tom
(2)直接访问端口8003 , http://localhost:8003/getname?name=tom2
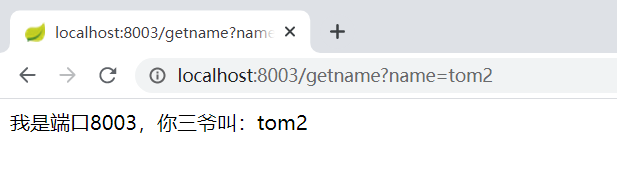
都可以正常访问
(3)启动Nginx
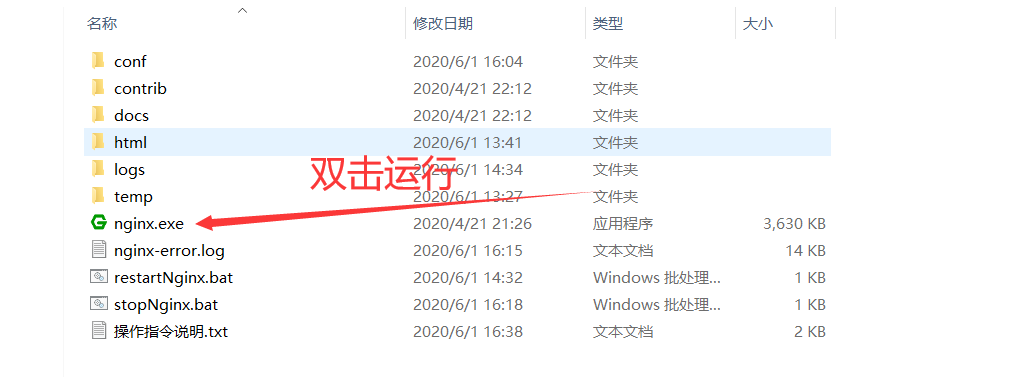
怎么查看有没有启动呢?
打开cmd 输入指令 tasklist /fi "imagename eq nginx.exe"
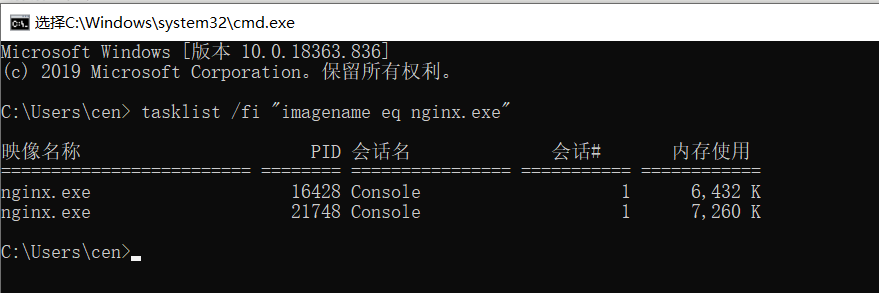
其他命令
View Code
(4)访问Nginx端口 4001 ,让其根据均衡策略路由到集群中的一个
请求第一次 http://localhost:4001/getname?name=tom3
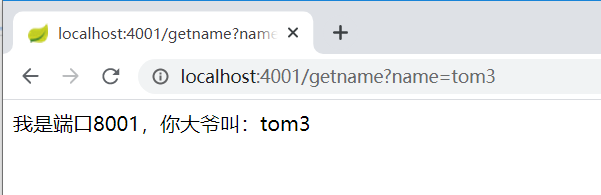
路由成功 ,
请求第二次 http://localhost:4001/getname?name=tom3
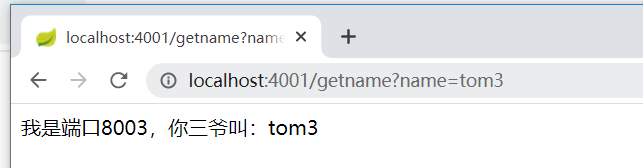
成功了
因为使用轮询策略,所以是在集群里轮流路由
-----------------------
参考博文原址 :
https://www.cnblogs.com/xiangzhong/p/11355414.html
https://www.cnblogs.com/muyun/p/9652379.html
https://blog.youkuaiyun.com/liaoxuda_edu/article/details/72870923
https://blog.youkuaiyun.com/qq_43732691/article/details/103449054
https://www.cnblogs.com/xuwujing/p/11953697.html


 1万+
1万+

 被折叠的 条评论
为什么被折叠?
被折叠的 条评论
为什么被折叠?
 到【灌水乐园】发言


