以前一直想学下vuex 但是一直没有学进去,今天无聊看看vuex ,没想到竟然如此之简单,可能看react-redux 看懵了,现在忘了react-redux 再一看vuex真的是眼前一亮,不得不说,起码易用性方面vue真的是甩react 好几条街。
首先贴上官方文档,
https://vuex.vuejs.org/guide/modules.html
新建项目就不多说了,用vue-cli ,在新建项目的选项上选择了typescript 和class 类的方式,这种形式也和react 的class 方式是很像的,然后一直下一步下一步,项目就给你自动创建成功了,很吊有没有。
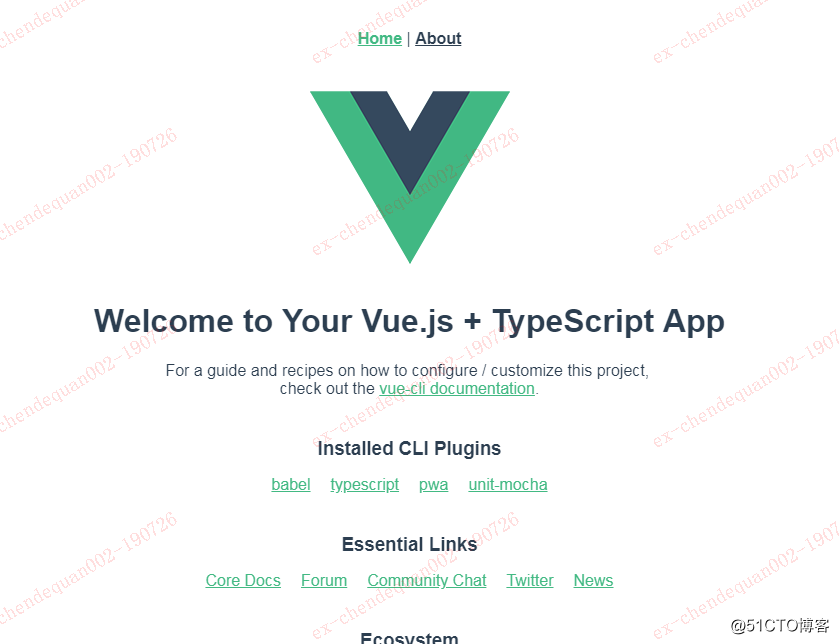
根据提示 运行 npm run serve 熟悉的界面就来了:

这些没必要说了,下面进入正题,其实已经自动整合了vuex
并且创建了 store.ts
import Vue from 'vue';
import Vuex from 'vuex';
Vue.use(Vuex);
export default new Vuex.Store({
state: {
name: 'Hello Word',
count: 1,
users: [
{ name: '×××', age: 18 },
{ name: '小刘', age: 18 },
{ name: '小王', age: 11 },
{ name: '小张', age: 18 },
{ name: '小鹏', age: 18 },
{ name: '小强', age: 19 },
{ name: '小子', age: 20 },
]
},
mutations: {
increment(state, payload) {
// mutate state
state.count += payload.count;
},
},
getters: {
getAges: (state) => {
return state.users.filter(user => {
return user.age > 18;
});
}
},
actions: {
},
});(稍微添加了点东西);
那么我们在页面上怎么用他呢?
只需要引入 store.ts 然后 store.state 就可以获取state了
以HelloWorld.vue 为例<template>
<div class="hello">
<template>
<el-radio v-model="checkTest" @change="clickHandle" label="1">备选项</el-radio>
<el-radio v-model="checkTest" @change="clickHandle" label="2">备选项</el-radio>
</template>
</div>
</template>
</div>
</template>
<script lang="ts">
import { Component, Prop, Vue } from "vue-property-decorator";
import store from "./../store";
import Combilestore from "../combineStore";
@Component
export default class HelloWorld extends Vue {
@Prop() private msg!: string;
data() {//data 直接定义
//数据
return {
checkTest: "1"
};
}
//以前包裹在methods里面,现在可以独立出来
clickHandle(val) {
//调用vuex的commit 方法提交mutations 更新state
//输出获取state store.state 这个应该和react 几乎一模一样
console.log(store.state.checkTest);
store.commit("setCheckedVal", { val: "1" });
}
//生命周期
mounted() {
console.log(store.state.checkTest);
}
}
</script>
<!-- Add "scoped" attribute to limit CSS to this component only -->
<style scoped lang="scss">
h3 {
margin: 40px 0 0;
}
ul {
list-style-type: none;
padding: 0;
}
li {
display: inline-block;
margin: 0 10px;
}
a {
color: #42b983;
}
</style>
getters 是对state的一些过滤操作,如果想要改变state 就执行store.commit 方法
第一个参数是mutations名称 在store的 mutations 下定义。
第二个参数是传递的参数 类似react-redux 的 actions。
现在都是在一个store文件上定义所有state ,当项目越来越大的时候如果还采用这种方式,那么store必定越来越大,有没有什么办法优化呢?当然有那就是Modules
官网例子
新建一个store 取名 combineStore.ts:
 import Vue from 'vue';
import Vuex from 'vuex';
const moduleA = {
    state: { name: "moduleA" },
    mutations: {},
    actions: {},
    getters: {}
}

const moduleB = {
    state: { name: "moduleB" },
    mutations: {},
    actions: {}
}

const Combilestore = new Vuex.Store({
    modules: {
        a: moduleA,
        b: moduleB
    }
})

// store.state.a // -> `moduleA`'s state
// store.state.b // -> `moduleB`'s state

export default Combilestore;在组件中引入就可以用了:import Combilestore from "../combineStore";
用法和普通store 并无区别
还可以整合elementUi
main.ts
import Vue from 'vue';
import App from './App.vue';
import router from './router';
import store from './store';
import './registerServiceWorker';
//引入elementui
import ElementUI from 'element-ui';
//引入样式
import 'element-ui/lib/theme-chalk/index.css';
Vue.use(ElementUI)

Vue.config.productionTip = false;

new Vue({
  router,
  store,
  render: (h) => h(App),
}).$mount('#app'); Vuex入门与实践


 本文介绍了Vuex的基本使用方法,包括状态管理、mutation、action和getter的定义与应用。通过实例展示了如何在Vue项目中整合Vuex进行状态管理,以及模块化组织store的方法。


 812
812

 被折叠的 条评论
为什么被折叠?


