


文章目录
一、概述
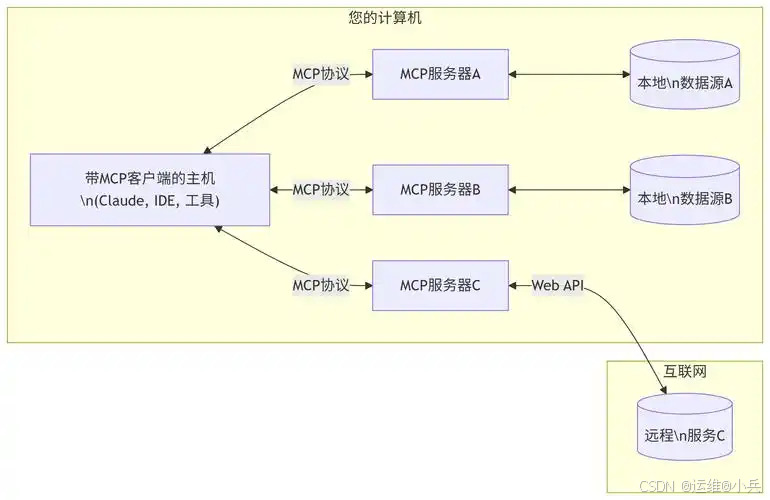
MCP架构图
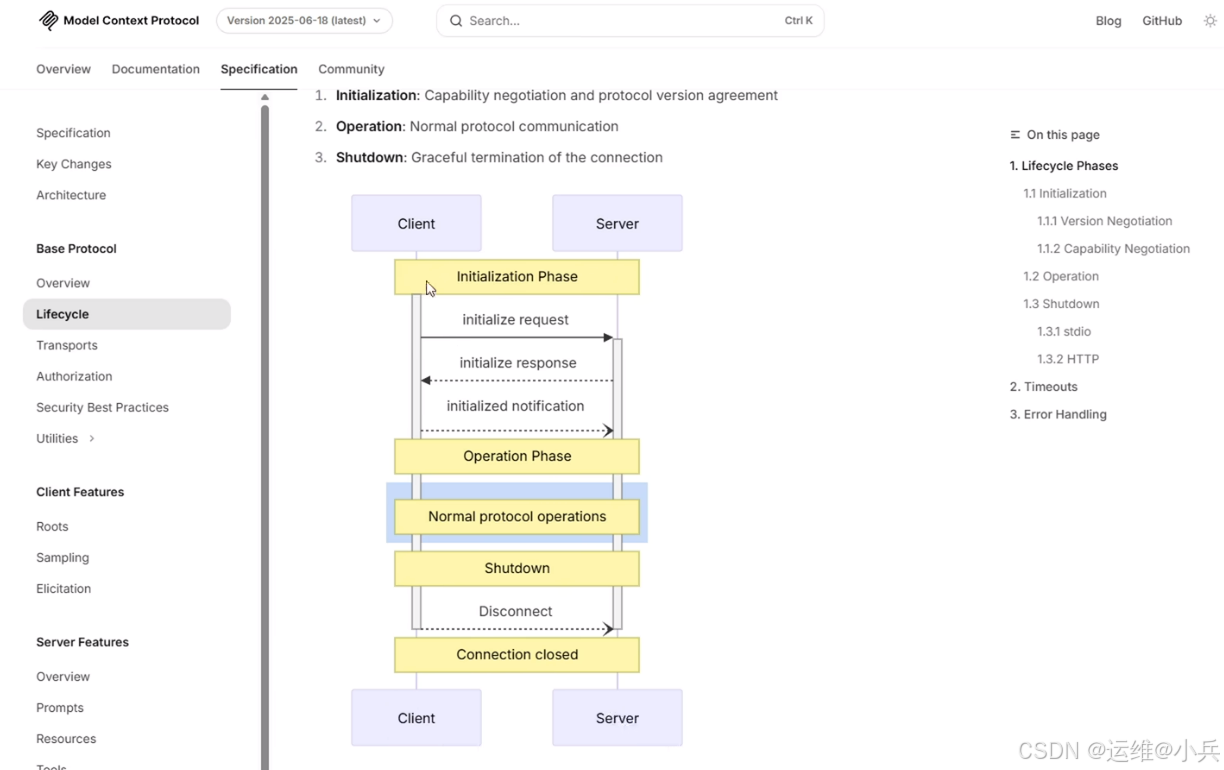
MCP生命周期
二、创建MCP SERVER的java工程
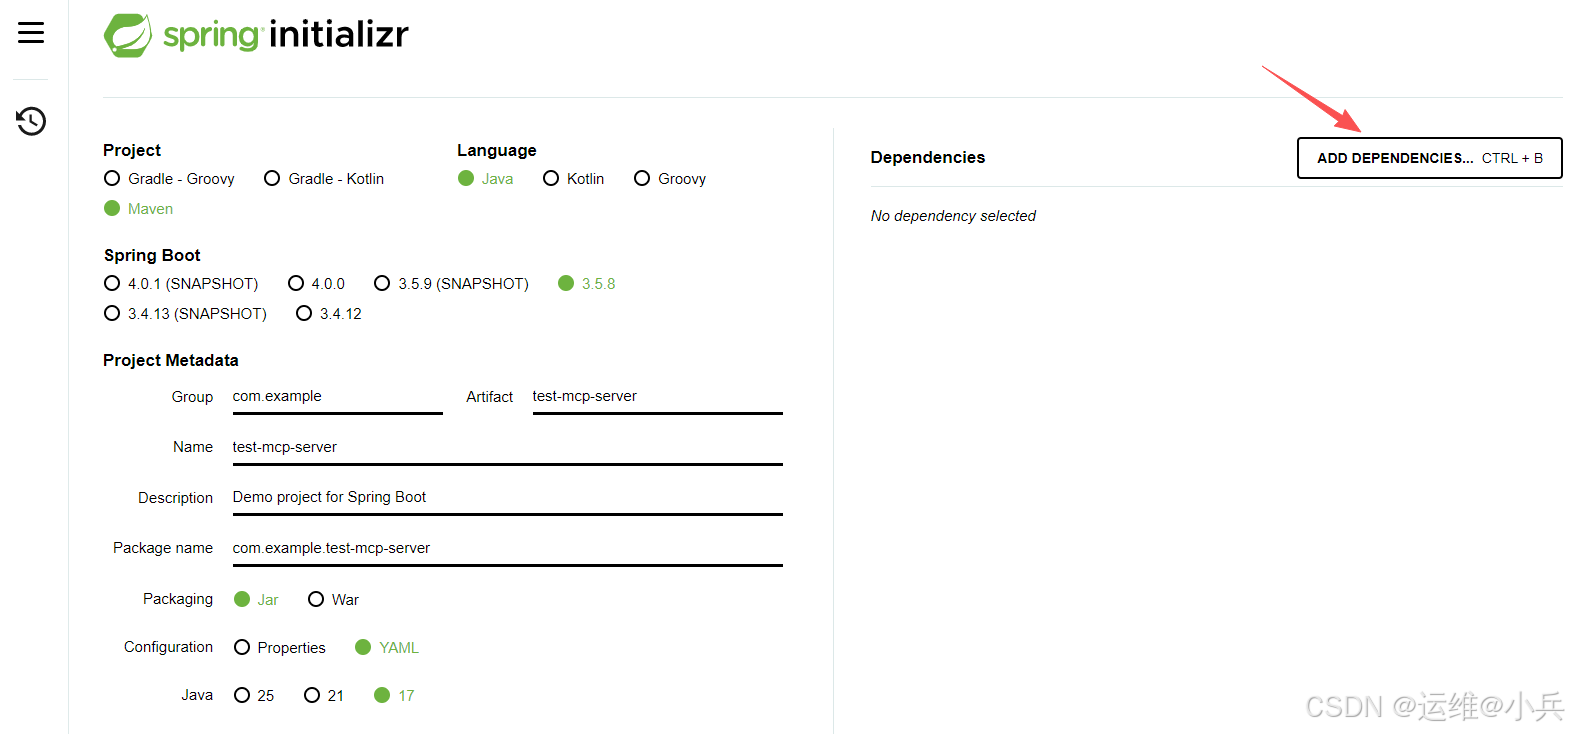
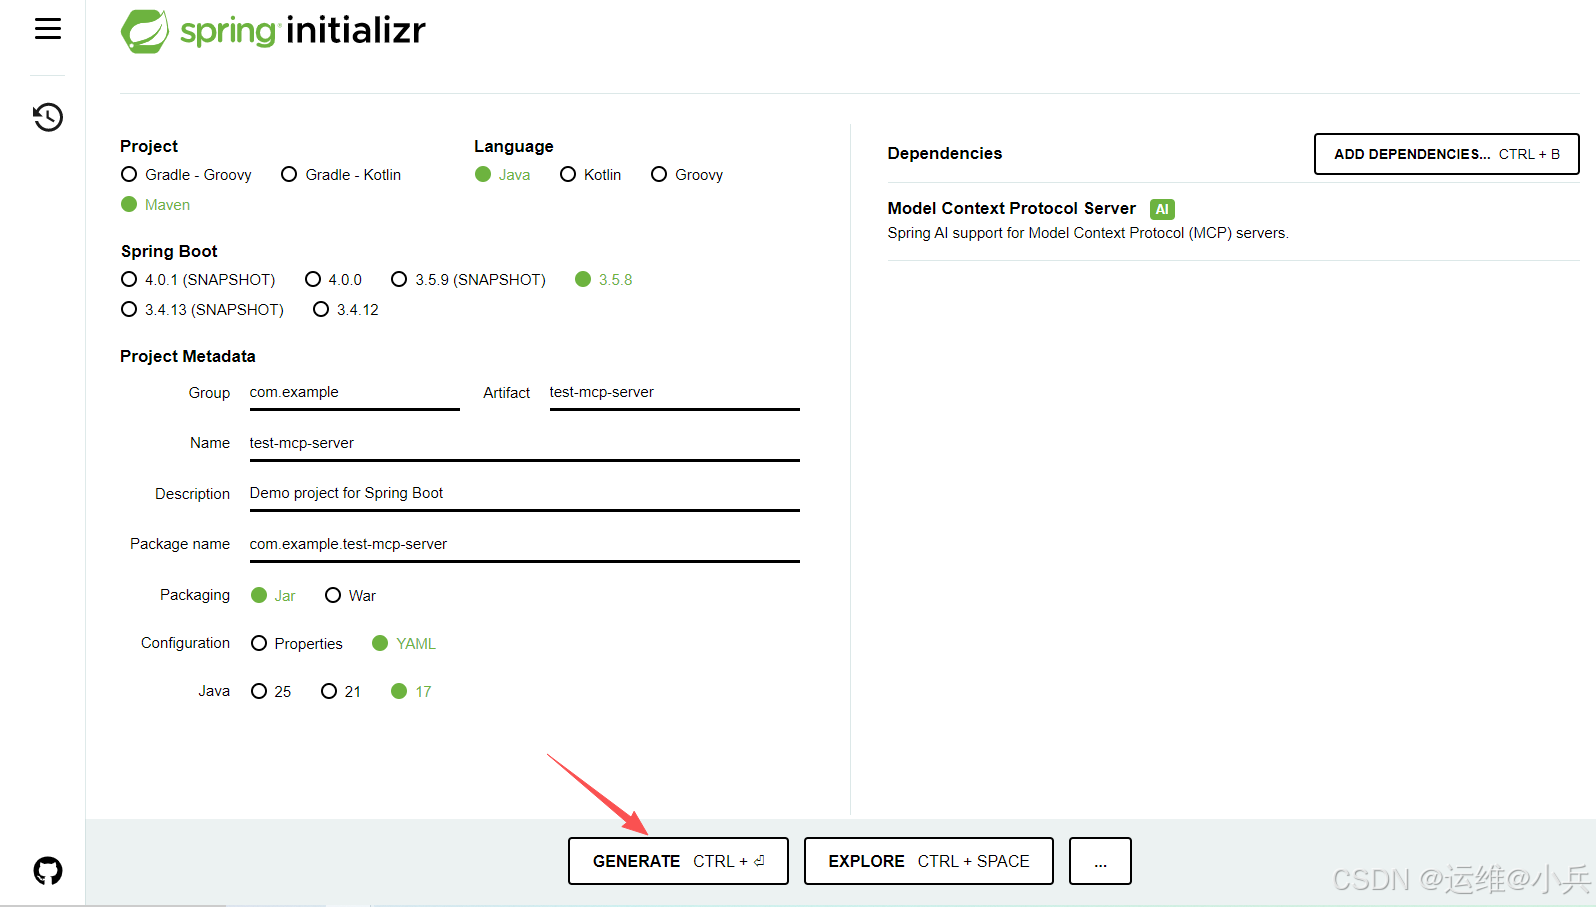
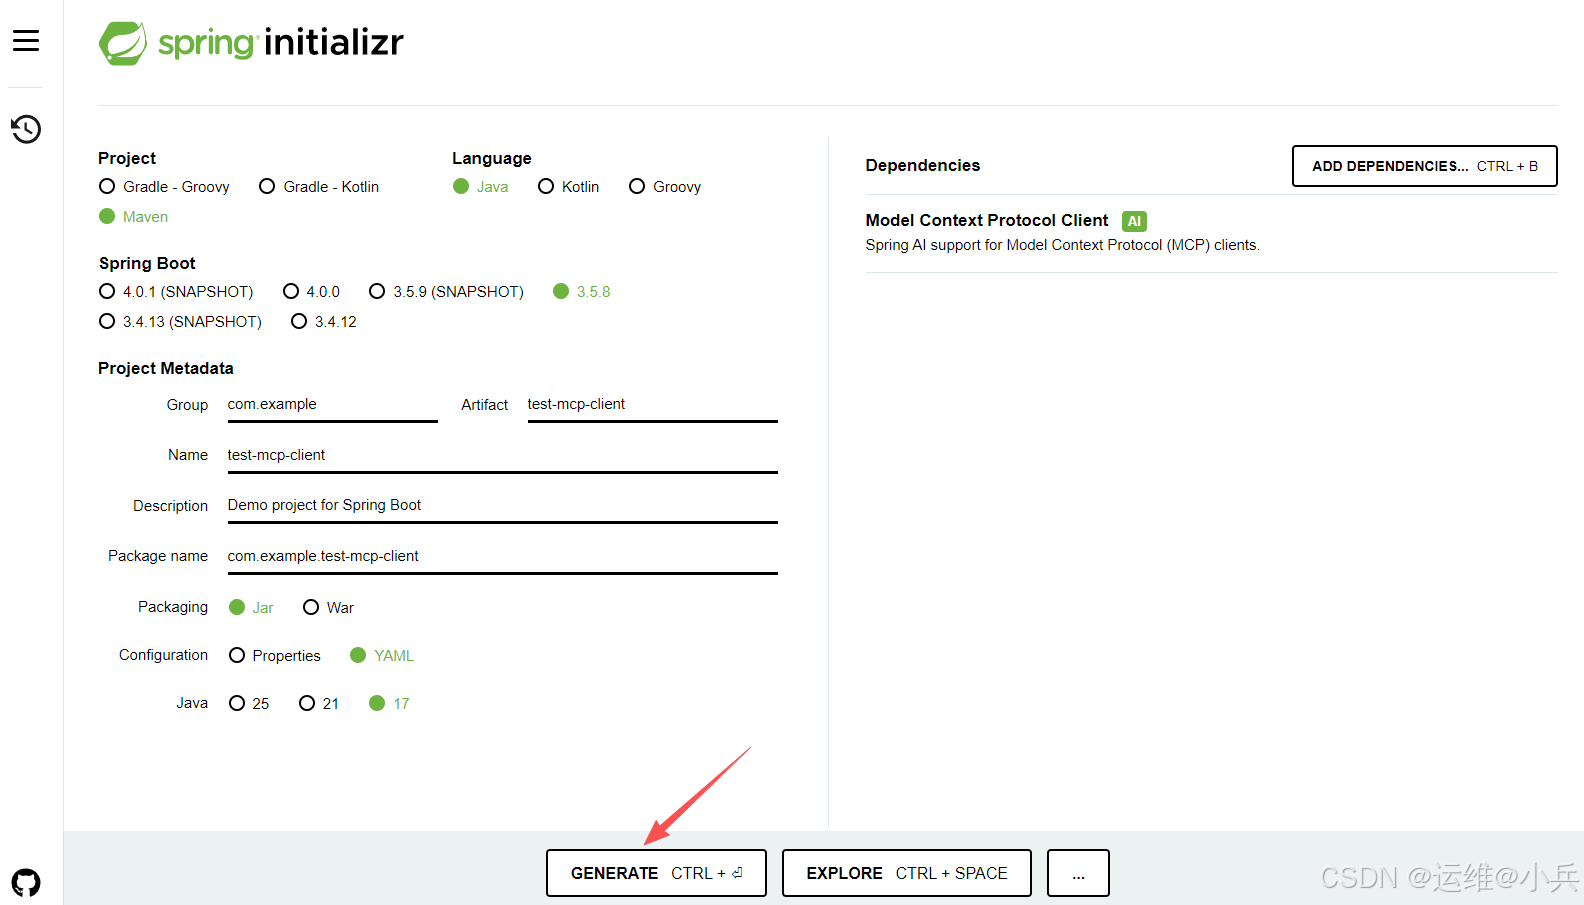
生成初始化工程代码
访问网址:https://start.spring.io/
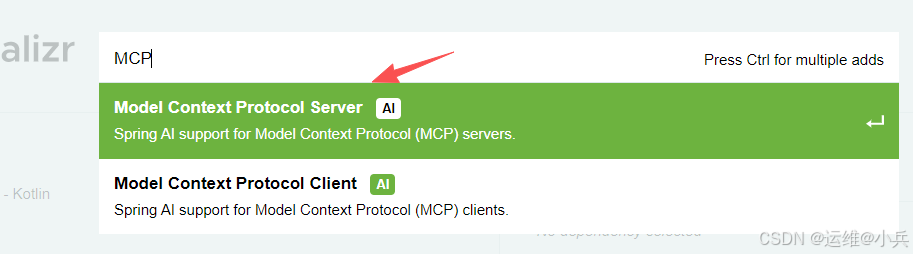
填写基本信息→添加依赖项
选择Server
点击生成
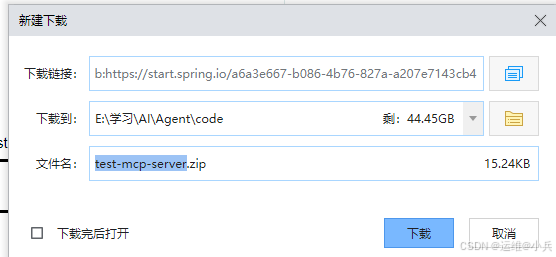
解压后用IDEA打开
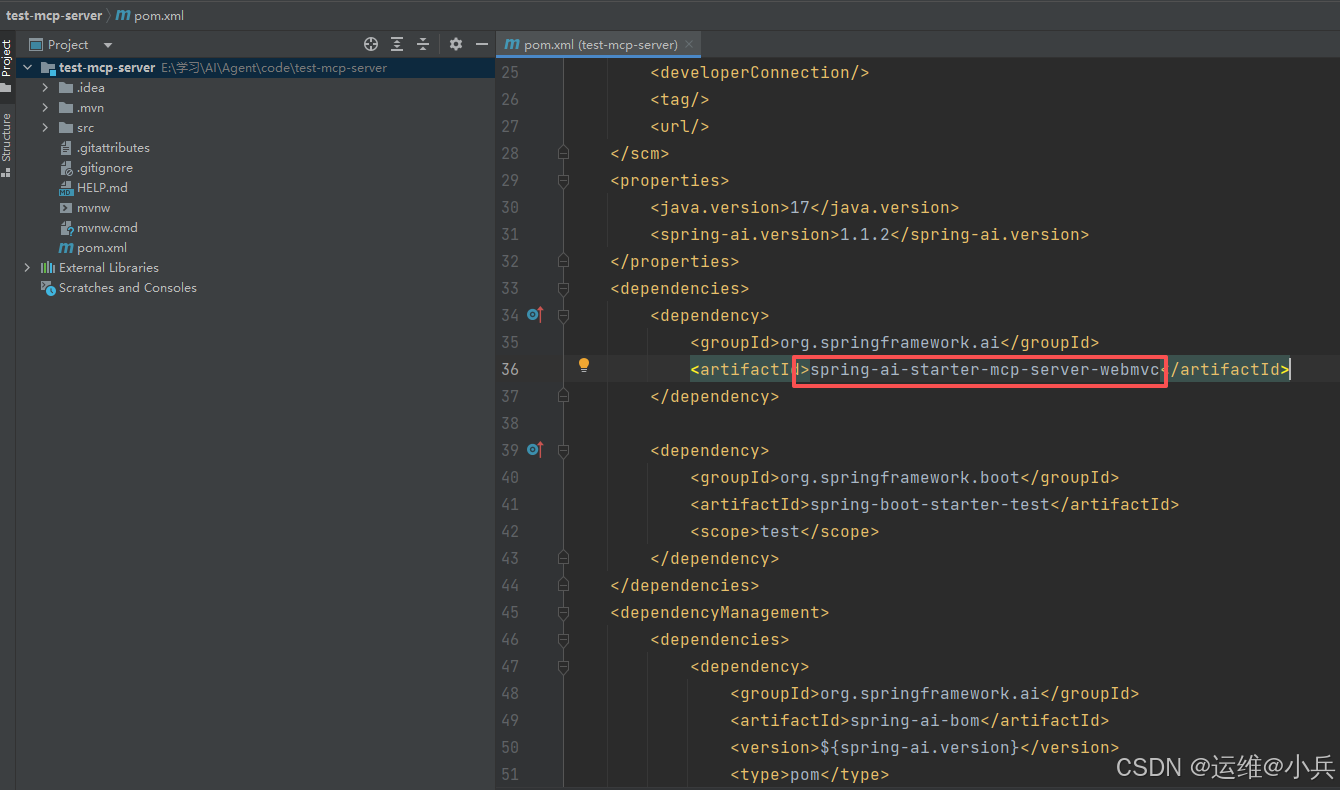
修改pom.xml文件
把spring-ai-starter-mcp-server依赖改为spring-ai-starter-mcp-server-webmvc
完整pom.xml内容
<?xml version="1.0" encoding="UTF-8"?>
<project xmlns="http://maven.apache.org/POM/4.0.0" xmlns:xsi="http://www.w3.org/2001/XMLSchema-instance"
	xsi:schemaLocation="http://maven.apache.org/POM/4.0.0 https://maven.apache.org/xsd/maven-4.0.0.xsd">
	<modelVersion>4.0.0</modelVersion>
	<parent>
		<groupId>org.springframework.boot</groupId>
		<artifactId>spring-boot-starter-parent</artifactId>
		<version>3.5.8</version>
		<relativePath/> <!-- lookup parent from repository -->
	</parent>
	<groupId>com.example</groupId>
	<artifactId>test-mcp-server</artifactId>
	<version>0.0.1-SNAPSHOT</version>
	<name>test-mcp-server</name>
	<description>Demo project for Spring Boot</description>
	<url/>
	<licenses>
		<license/>
	</licenses>
	<developers>
		<developer/>
	</developers>
	<scm>
		<connection/>
		<developerConnection/>
		<tag/>
		<url/>
	</scm>
	<properties>
		<java.version>17</java.version>
		<spring-ai.version>1.1.2</spring-ai.version>
	</properties>
	<dependencies>
		<dependency>
			<groupId>org.springframework.ai</groupId>
			<artifactId>spring-ai-starter-mcp-server-webmvc</artifactId>
		</dependency>

		<dependency>
			<groupId>org.springframework.boot</groupId>
			<artifactId>spring-boot-starter-test</artifactId>
			<scope>test</scope>
		</dependency>
	</dependencies>
	<dependencyManagement>
		<dependencies>
			<dependency>
				<groupId>org.springframework.ai</groupId>
				<artifactId>spring-ai-bom</artifactId>
				<version>${spring-ai.version}</version>
				<type>pom</type>
				<scope>import</scope>
			</dependency>
		</dependencies>
	</dependencyManagement>

	<build>
		<plugins>
			<plugin>
				<groupId>org.springframework.boot</groupId>
				<artifactId>spring-boot-maven-plugin</artifactId>
			</plugin>
		</plugins>
	</build>

</project>
定义服务类MathTool
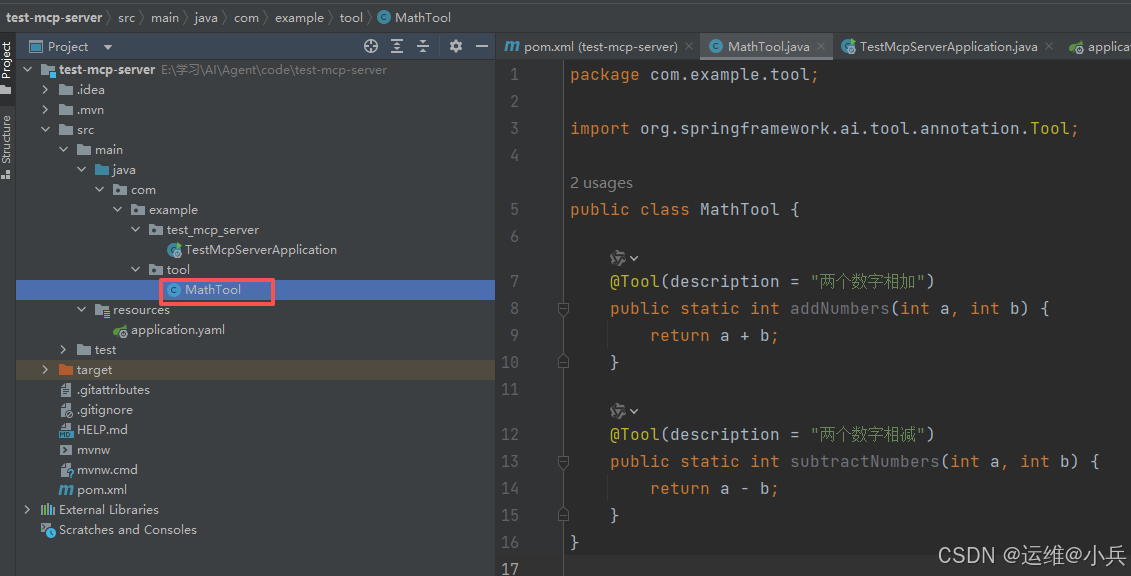
package com.example.tool;

import org.springframework.ai.tool.annotation.Tool;

public class MathTool {

    @Tool(description = "两个数字相加")
    public static int addNumbers(int a, int b) {
        return a + b;
    }

    @Tool(description = "两个数字相减")
    public static int subtractNumbers(int a, int b) {
        return a - b;
    }
}
通过配置类的方式把MathTool注入到Spring容器中
创建config包,在下面创建McpConfig类
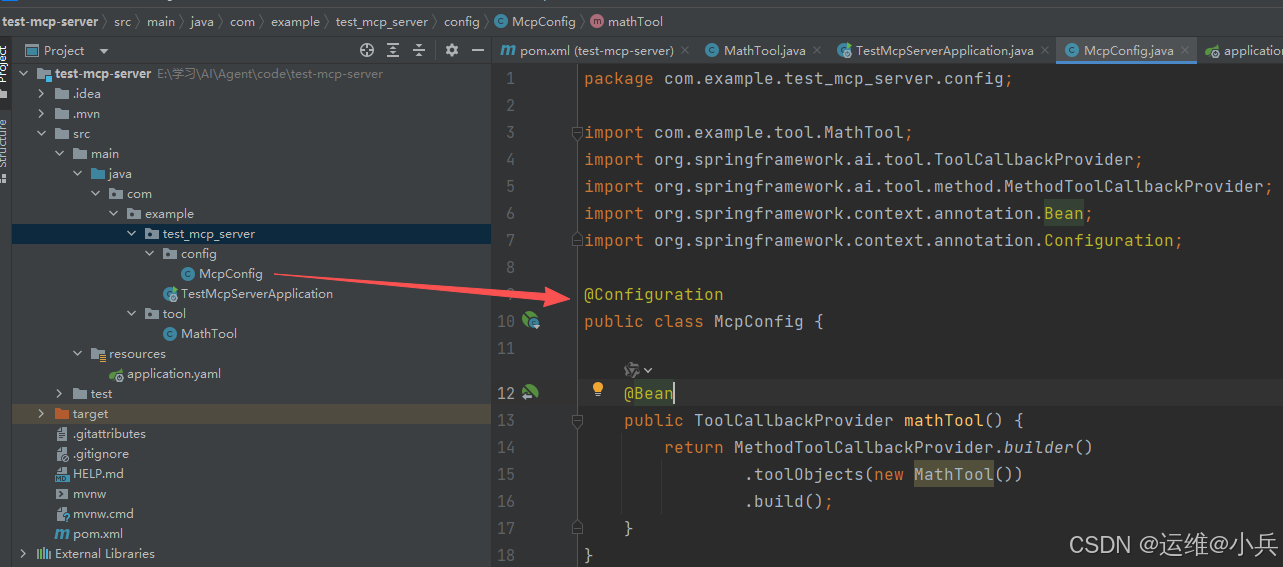
package com.example.test_mcp_server.config;

import com.example.tool.MathTool;
import org.springframework.ai.tool.ToolCallbackProvider;
import org.springframework.ai.tool.method.MethodToolCallbackProvider;
import org.springframework.context.annotation.Bean;
import org.springframework.context.annotation.Configuration;

@Configuration
public class McpConfig {

    @Bean
    public ToolCallbackProvider mathTool() {
        return MethodToolCallbackProvider.builder()
                .toolObjects(new MathTool())
                .build();
    }
}
修改配置文件application.yaml
配置内容为:
server:
  port: 8080

spring:
  application:
    name: math_mcp_server

  ai:
    mcp:
      server:
        enabled: true
        name: test_mcp_server
        version: 1.0.0
        sse-endpoint: /api/v1/sse
        sse-message-endpoint: /api/v1/mcp
        capabilities:
          tool: true

logging:
  level:
    # 查看MCP详细日志
    io.modelcontextprotocol: TRACE
    org.springframework.ai.mcp: TRACE
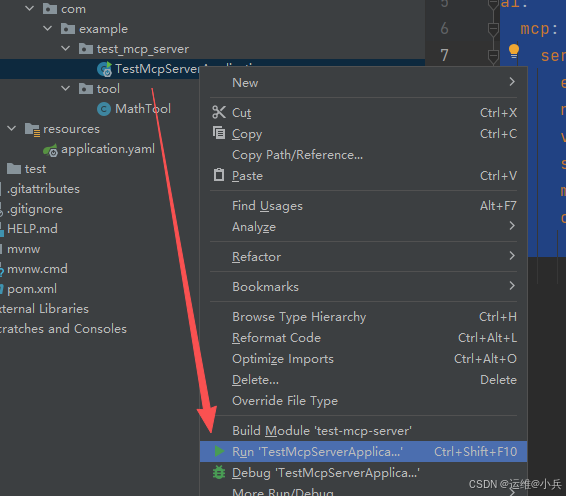
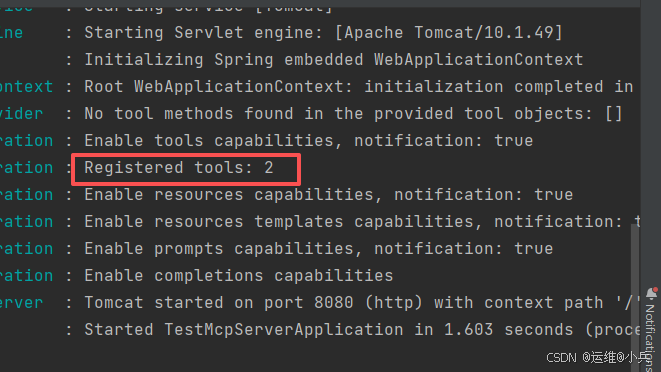
启动服务
启动成功,并提示注册了两个Tool
三、如何使用MCP Server
方式一:使用Chatbox连接MCP Server
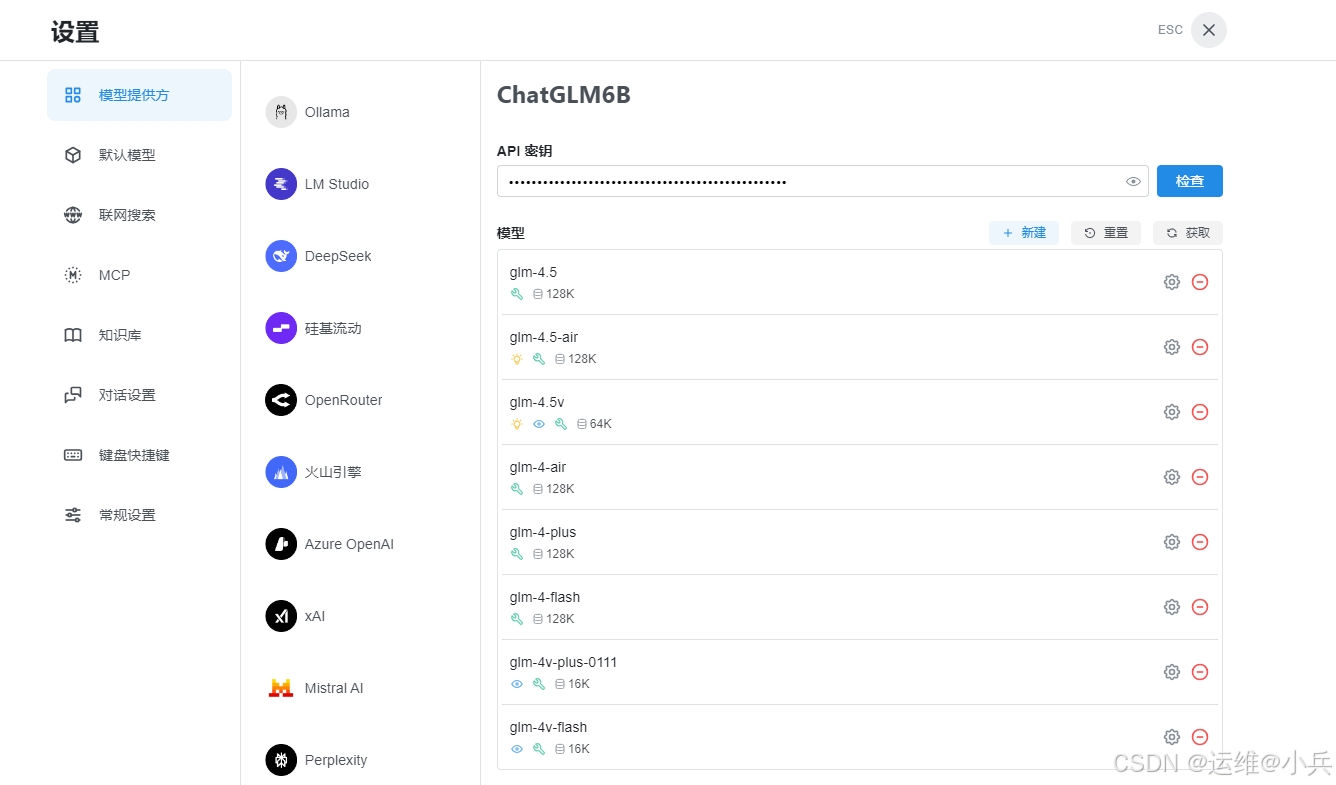
设置AI模型提供方
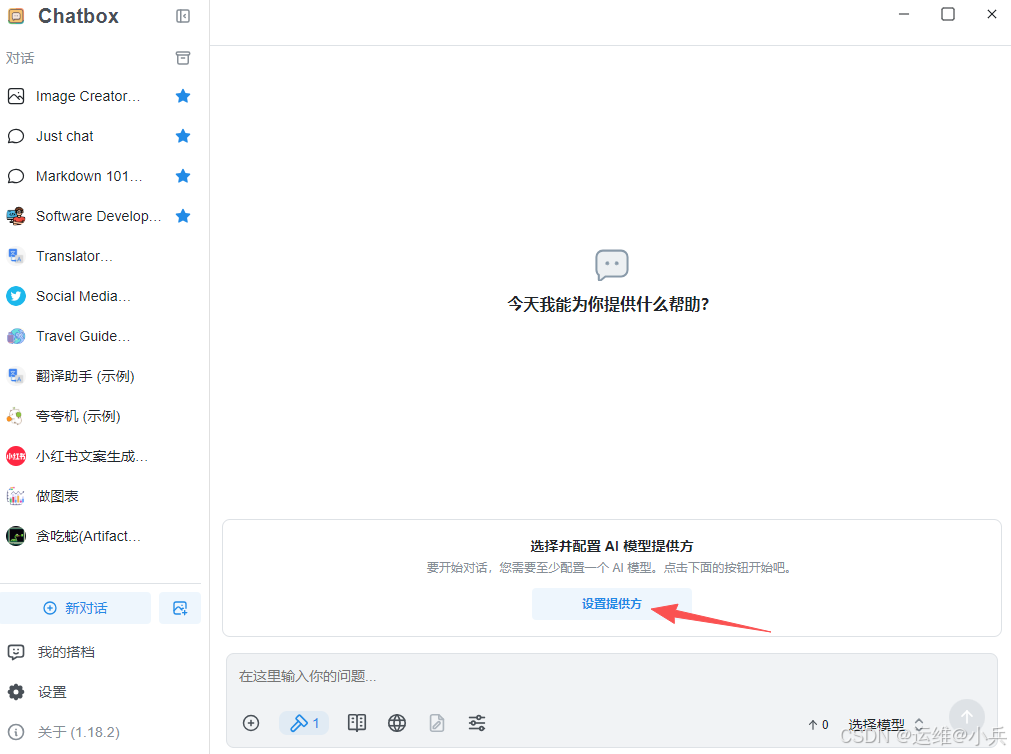
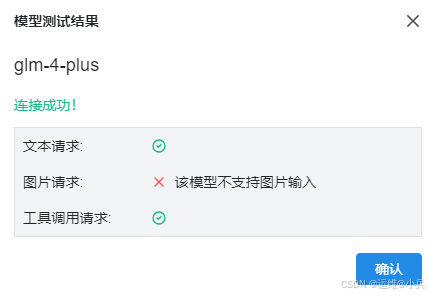
我这里选择智谱的ChatGLM6B, API密钥去智谱官网申请,点击检查
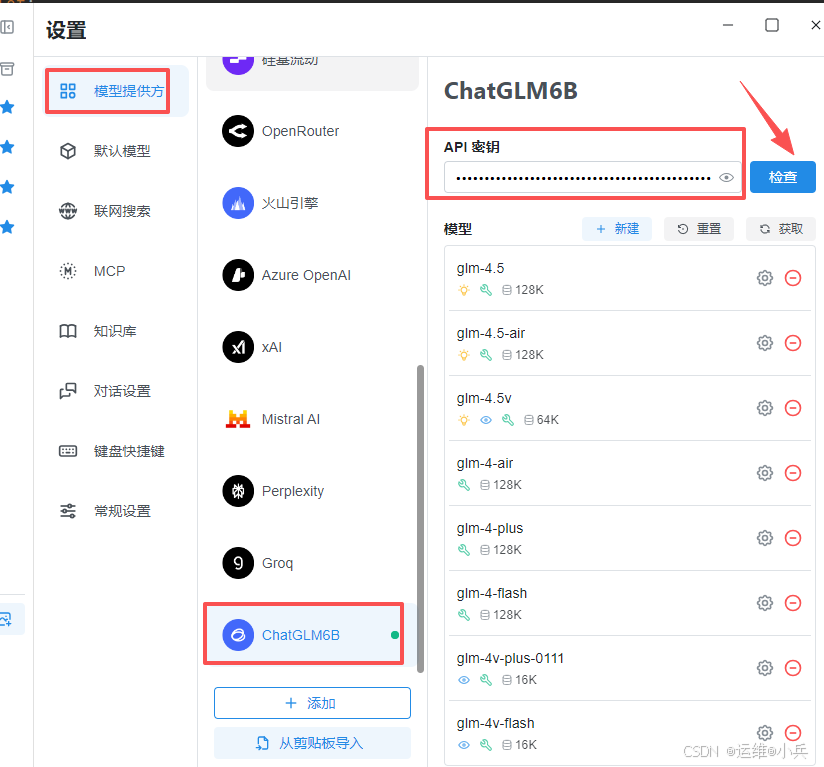

点确认
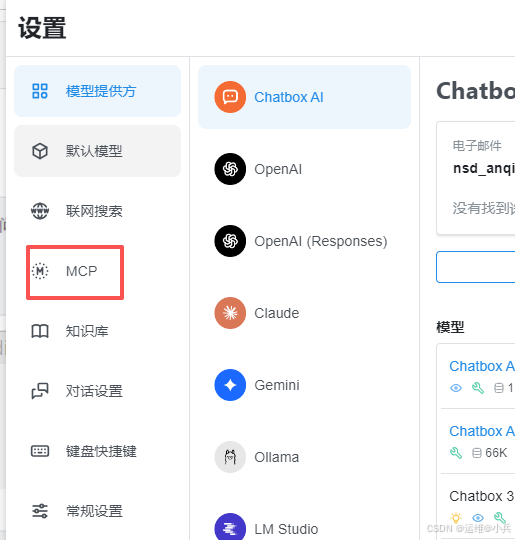
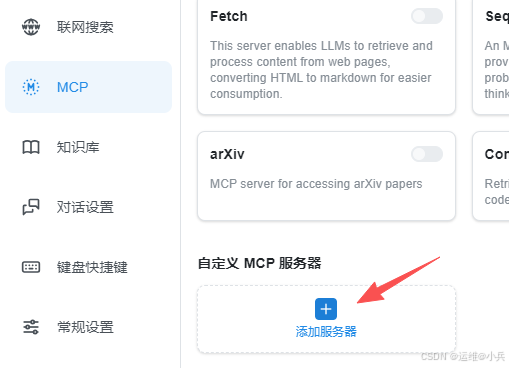
配置MCP服务器
点击左侧的MCP
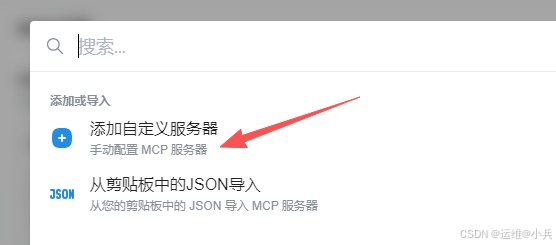
添加服务器
配置信息后点击测试

编写的两个工具成功显示
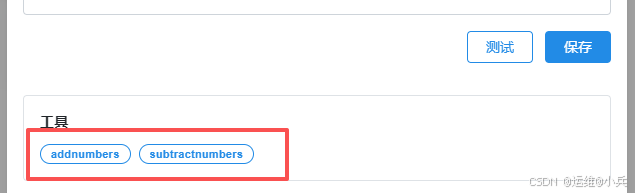
**PS:必须点测试,这样才能完成服务端的初始化连接**
服务端日志:

点击保存
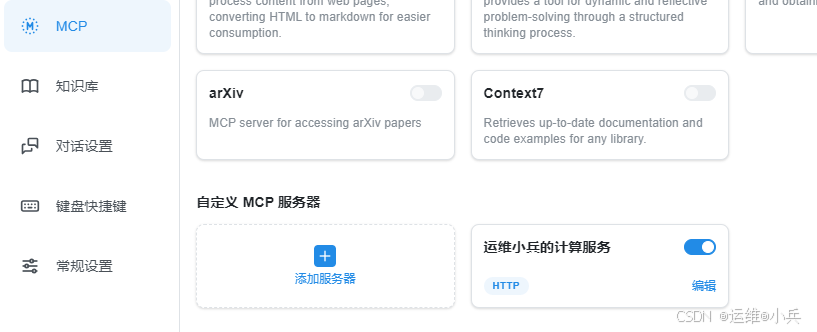
使用MCP Server
按ECS键退出设置,点击新对话,可以看到刚才添加的MCP服务

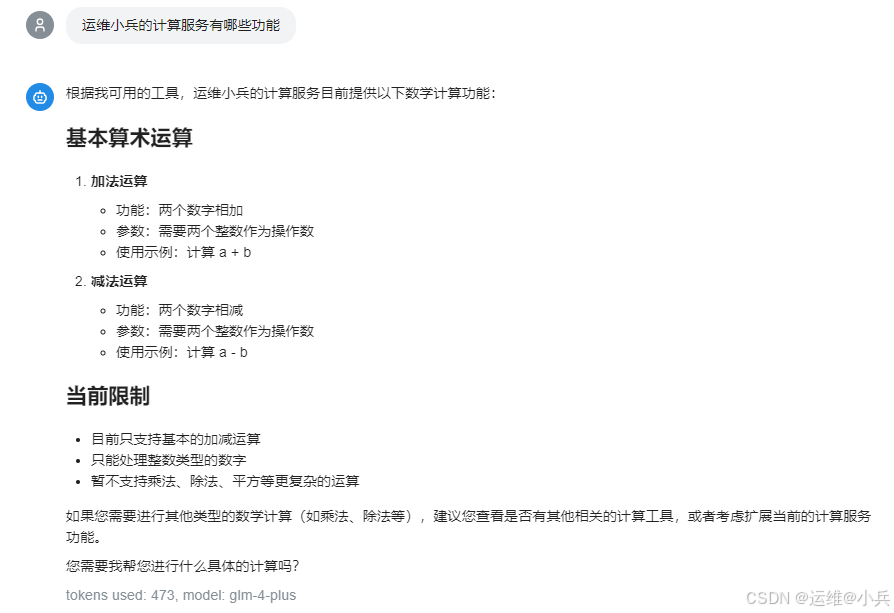
输入“运维小兵的计算服务有哪些功能”
AI给的回复很好的总结了工具的功能
问:8加7等于几
工具成功调用
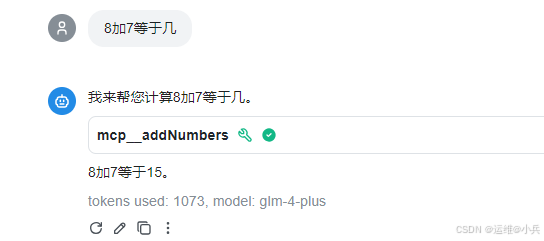
服务端日志内容

测试完毕,符合预期
方式二:开发一个Client来连接Server
创建java工程
跟创建MCP Server类似,改下Artifact名字
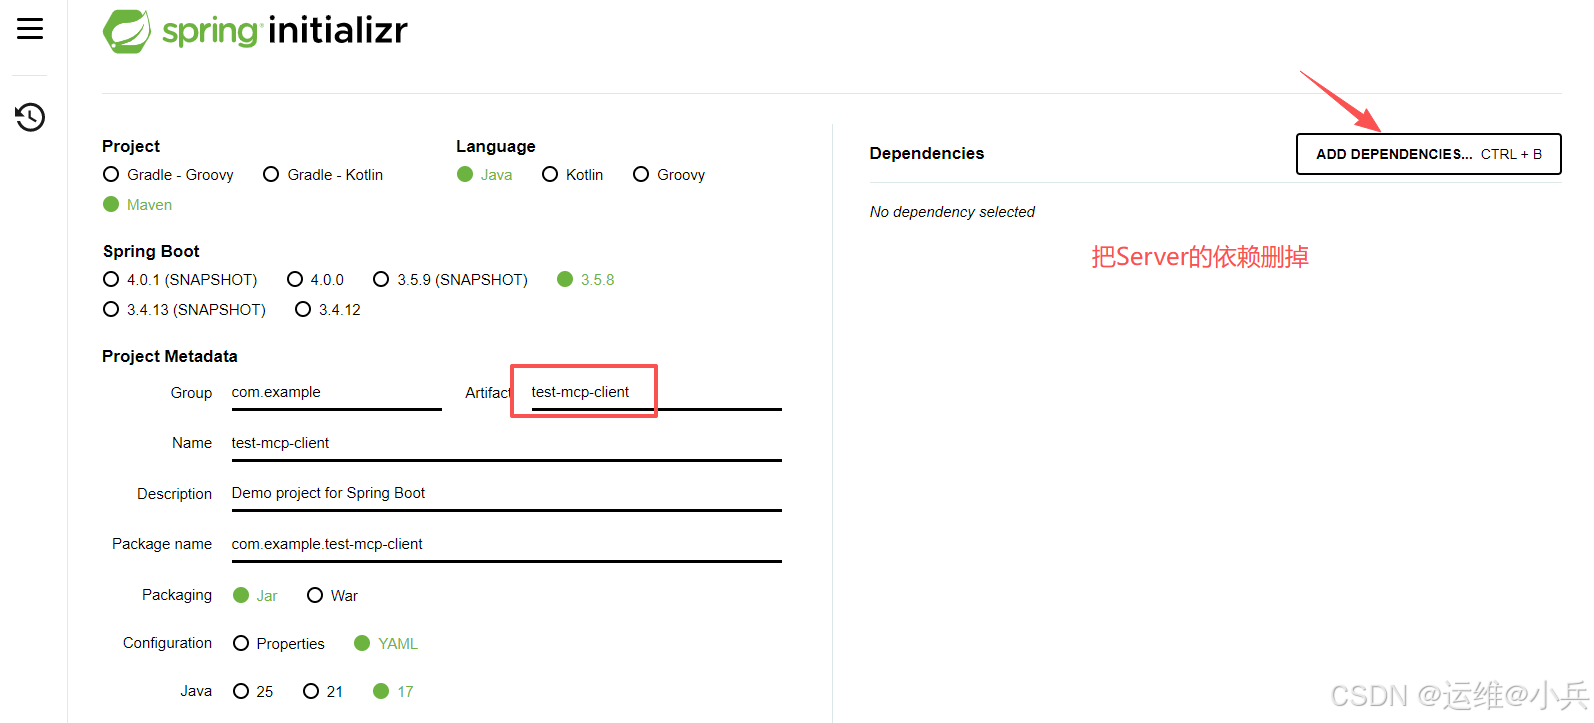
添加Client的依赖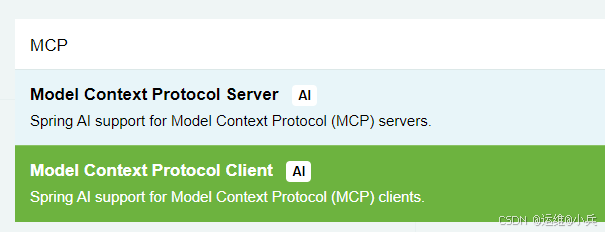
保存工程文件,解压后用IDEA打开
修改pom.xml,添加核心依赖
<properties>
		<java.version>17</java.version>
		<spring-ai.version>1.1.2</spring-ai.version>
	</properties>
	<dependencies>
		<dependency>
			<groupId>org.springframework.boot</groupId>
			<artifactId>spring-boot-starter-web</artifactId>
		</dependency>

		<!--调用智谱系列大模型的依赖-->
		<dependency>
			<groupId>org.springframework.ai</groupId>
			<artifactId>spring-ai-starter-model-zhipuai</artifactId>
		</dependency>

		<dependency>
			<groupId>org.springframework.ai</groupId>
			<artifactId>spring-ai-starter-mcp-client-webflux</artifactId>
		</dependency>
	</dependencies>
	<dependencyManagement>
		<dependencies>
			<dependency>
				<groupId>org.springframework.ai</groupId>
				<artifactId>spring-ai-bom</artifactId>
				<version>${spring-ai.version}</version>
				<type>pom</type>
				<scope>import</scope>
			</dependency>
		</dependencies>
	</dependencyManagement>
配置application.yaml
server:
  port: 8081

spring:
  application:
    name: test-mcp-client
  ai:
    zhipuai:
      # 智谱官网创建API Key,配置到机器的环境变量ZHIPU_KEY
      api-key: ${ZHIPU_KEY}
      base-url: "https://open.bigmodel.cn/api/paas"  # 配置模型地址
      chat:
        options:
          model: glm-4-flash
    mcp:
      client:
        sse:
          connections:
            server1:
              # 填写MCP Server的地址
              url: http://localhost:8080
              sse-endpoint: /api/v1/sse
创建Controller
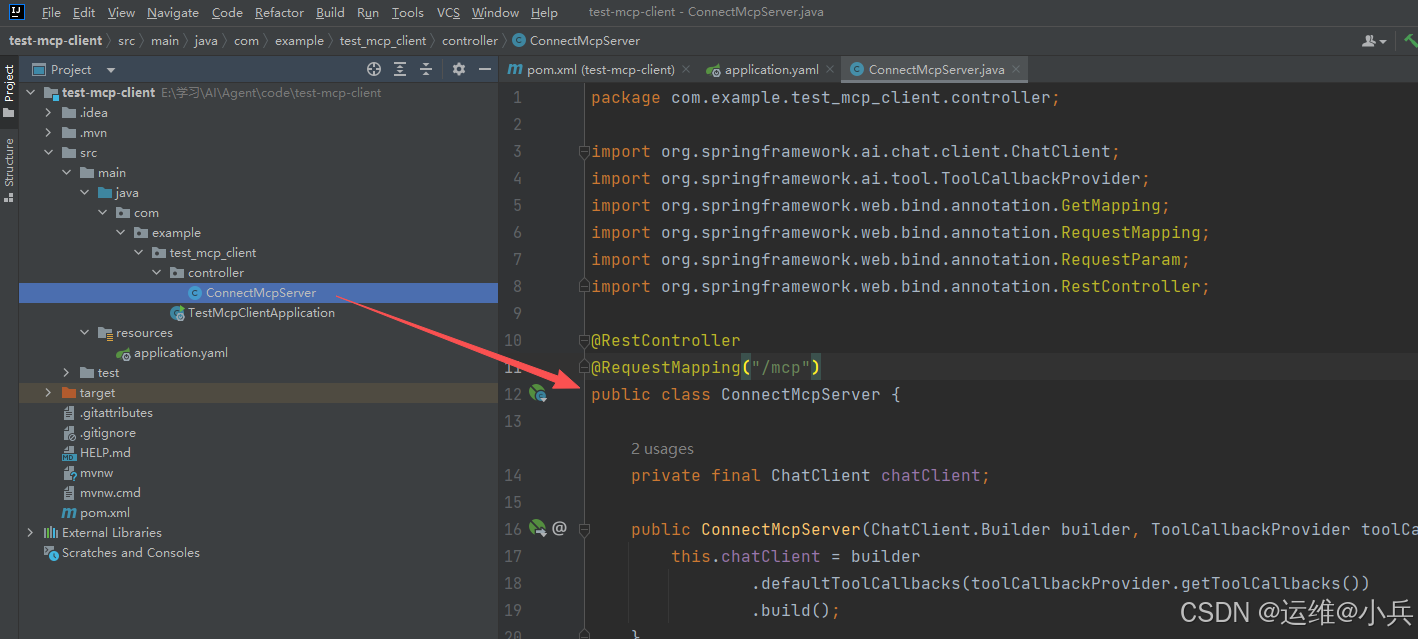
ConnectMcpServer.java
package com.example.test_mcp_client.controller;

import org.springframework.ai.chat.client.ChatClient;
import org.springframework.ai.tool.ToolCallbackProvider;
import org.springframework.web.bind.annotation.GetMapping;
import org.springframework.web.bind.annotation.RequestMapping;
import org.springframework.web.bind.annotation.RequestParam;
import org.springframework.web.bind.annotation.RestController;

@RestController
@RequestMapping("/mcp")
public class ConnectMcpServer {

    private final ChatClient chatClient;

    public ConnectMcpServer(ChatClient.Builder builder, ToolCallbackProvider toolCallbackProvider) {
        this.chatClient = builder
                .defaultToolCallbacks(toolCallbackProvider.getToolCallbacks())
                .build();
    }

    @GetMapping("/test")
    public String test(@RequestParam(name = "query") String query) {
        return chatClient.prompt()
                .system("你是一个有用的AI助手")
                .user(query)
                .call().content();
    }
}
启动Client服务
服务启动成功

SERVER端完成初始化

访问接口进行测试
GET http://localhost:8081/mcp/test?query=8加6等于几
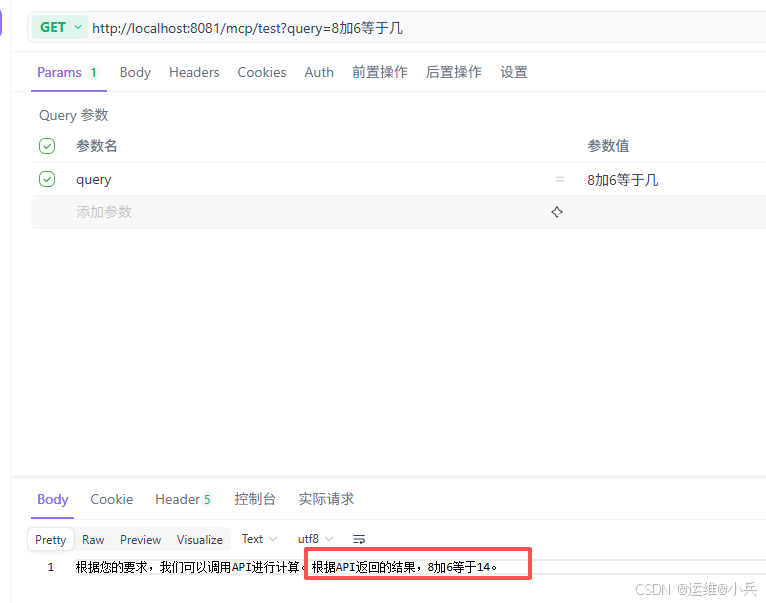
查看SERVER日志

完美。
四、资料
Spring AI官网:https://docs.spring.io/spring-ai/reference/index.html
视频:https://www.bilibili.com/video/BV1yT8qzMEbd/?spm_id_from=333.337.search-card.all.click&vd_source=0467ab39cc5ec5940fee22a0e7797575


 364
364

 被折叠的 条评论
为什么被折叠?
被折叠的 条评论
为什么被折叠?
 到【灌水乐园】发言


