


 本文介绍如何使用Guava的EventBus实现事件监听与发布机制。包括引入依赖、创建监听器、配置EventBus、发布事件及异步处理等步骤。
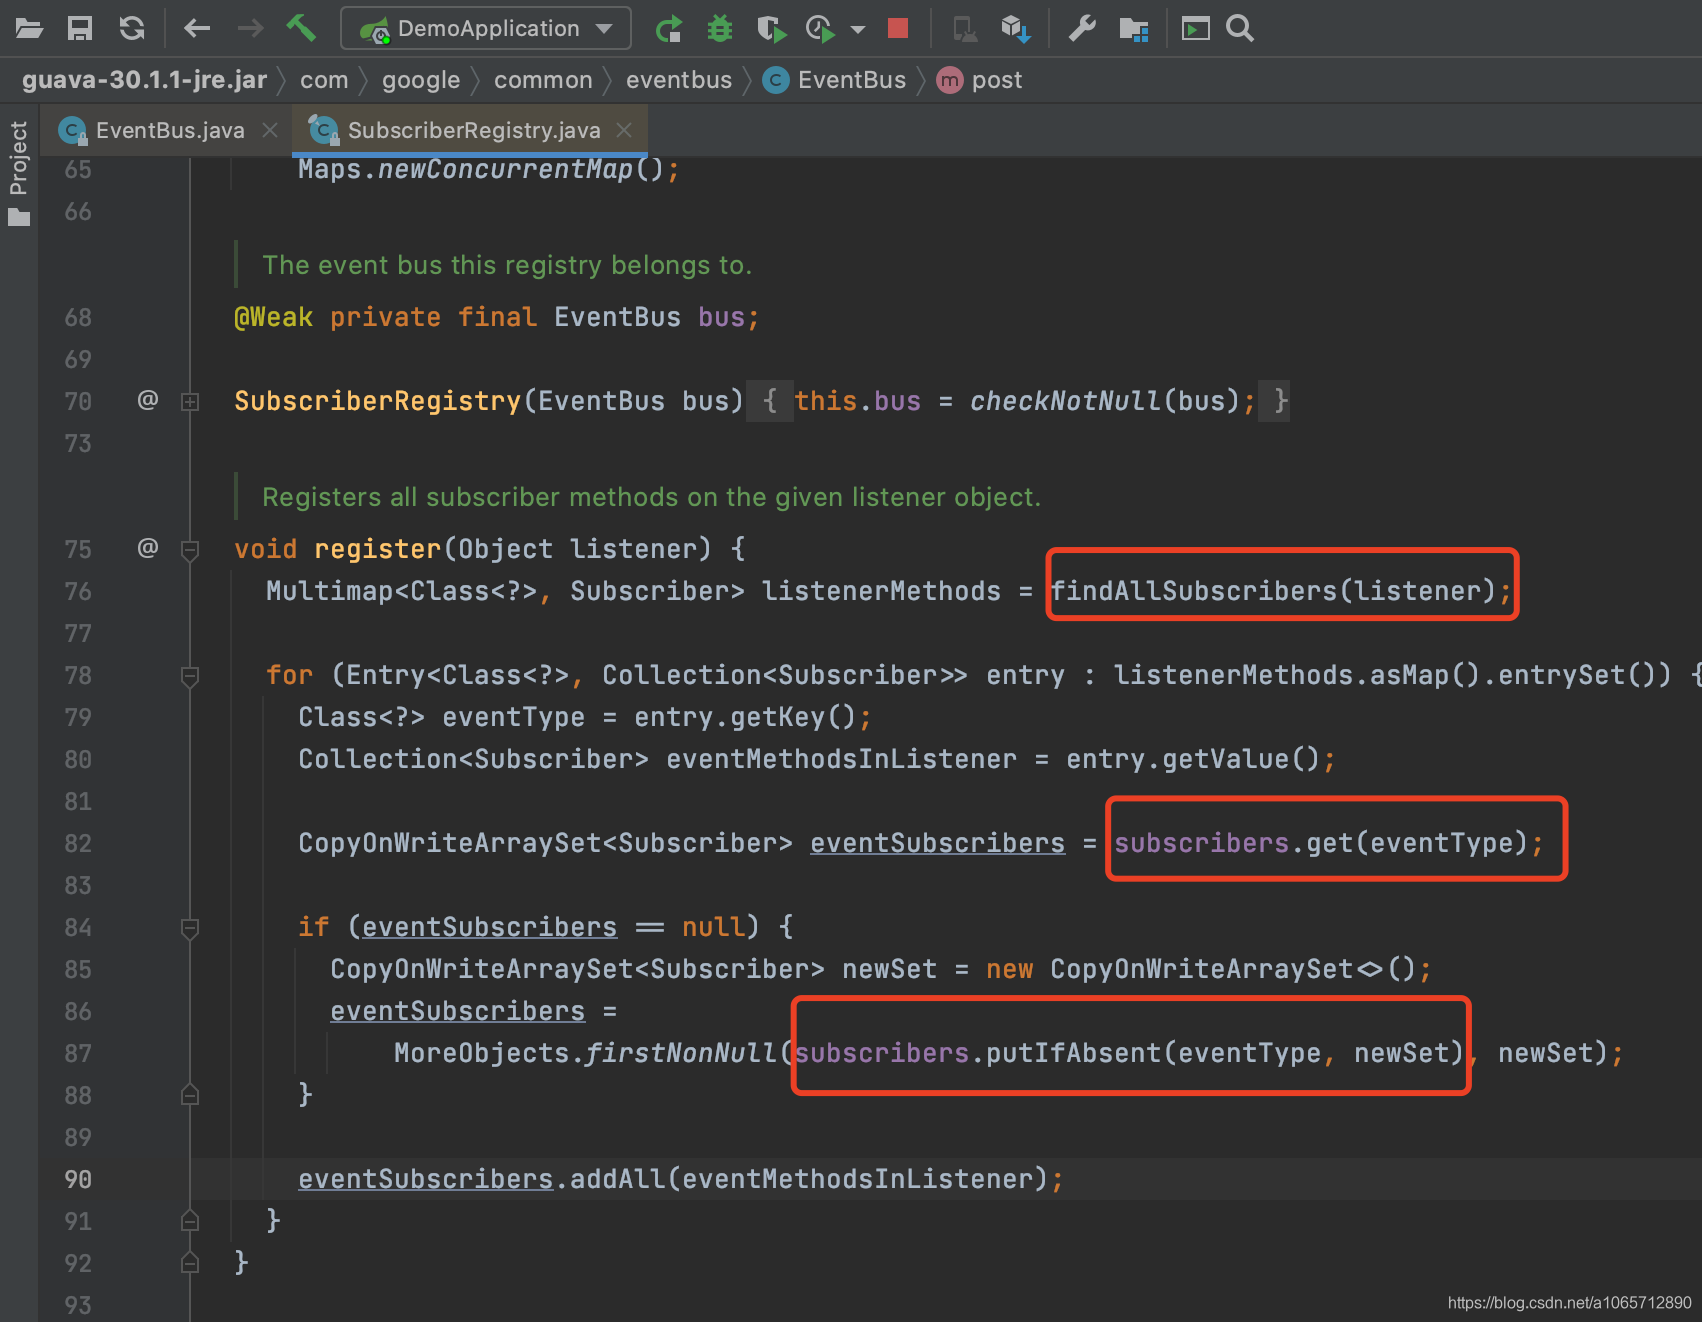
它默认是同步的,依次调用Listener。
1.引入依赖
        <dependency>
            <groupId>com.google.guava</groupId>
            <artifactId>guava</artifactId>
            <version>30.1.1-jre</version>
        </dependency>
2.创建EventBus的Listener
package com.example.demo;

import com.google.common.eventbus.Subscribe;

/**
 * TODO
 *
 * @author
 * @version 1.0.0
 * @since 2021/06/11 16:35
 */
public class EventListener {

  @Subscribe
  public void processEvent(String message) {
    System.out.println("message:" + message);
  }
}
3.创建EventBus并注册Listener
package com.example.demo;

import com.google.common.eventbus.EventBus;
import org.springframework.context.annotation.Bean;
import org.springframework.context.annotation.Configuration;

/**
 * TODO
 *
 * @author
 * @version 1.0.0
 * @since 2021/06/11 16:23
 */
@Configuration
public class EventBusConfiguration {

  @Bean
  public EventBus eventBus() {
    EventBus eventBus = new EventBus("myEventBus");
    // 注册listener
    eventBus.register(new EventListener());
    return eventBus;
  }

}
4.发布事件
此处写了一个controller来测试发送消息
package com.example.demo;

import com.google.common.eventbus.EventBus;
import org.springframework.stereotype.Controller;

/**
 * TODO
 *
 * @author
 * @version 1.0.0
 * @since 2021/03/11 15:58
 */
@Controller
public class TestController implements API{

  @Override
  public String test() {
    EventBus bean = SpringUtil.getBean(EventBus.class);
    bean.post("123");
    return "123";
  }
}
最终效果

5.使用异步的EventBus
// 使用AsyncEventBus,构造函数里的参数为一个线程池
AsyncEventBus asyncEventBus = new AsyncEventBus(Executors.newSingleThreadExecutor());
6.扩展
我们写的listener的processEvent方法参数是String,所以如果在发布事件的时候,发布一个其他类型的,他是不会收到的。


 870
870

 被折叠的 条评论
为什么被折叠?
被折叠的 条评论
为什么被折叠?
 到【灌水乐园】发言


