


JeecgBoot3.6.1中实现打印功能
前言
在项目开发中我们可能会遇到打印得需求,基于JeecgBoot框架做了如下案例
一、前端
1、vue页面代码:List.vue
<template>
    <BasicTable @register="registerTable" :rowSelection="rowSelection">
      <!--本身的列表代码省略-->
      <!--插槽:table标题-->
      <template #tableTitle>
        <a-button type="primary" @click="print"> 重打指引单</a-button>
      </template>
    </BasicTable>
  </div>
</template>

<script lang="ts" name="triage-hisOpWaitQueue" setup>
  import { ref } from 'vue';
  import { BasicTable, TableAction } from '/@/components/Table';
  import { useListPage } from '/@/hooks/system/useListPage';
  import { columns, searchFormSchema } from './List.data';
  import { list, selectTeacInfo } from './List.api';
  import { useUserStore } from '/@/store/modules/user';
  import { useMessage } from '/@/hooks/web/useMessage';
  import printJS from 'print-js';

  const checkedKeys = ref<Array<string | number>>([]);
  const userStore = useUserStore();
  const { createWarningModal } = useMessage();
  // 定义一个响应式 ref 作为表格数据源
  const dataSource = ref([]);
  //注册table数据
  const { tableContext } = useListPage({
    tableProps: {
      title: '',
      dataSource,
      api: list,
      columns,
      canResize: false,
      formConfig: {
        //labelWidth: 120,
        schemas: searchFormSchema,
        autoSubmitOnEnter: true,
        showAdvancedButton: true,
        fieldMapToNumber: [],
        fieldMapToTime: [],
      },
      actionColumn: {
        width: 150,
        fixed: 'right',
      },
    },
  });

  const [registerTable, { reload }, { rowSelection, selectedRowKeys }] = tableContext;
  /**
   * 打印公共方法
   *
   */
  async function print() {
    const printInfo = await selectTeacInfo({
      queryType: '1',
      queryValue: '213123213213123',
    });
    console.log(JSON.stringify(printInfo));
    if (printInfo.state == 0) {
      createWarningModal({ title: '温馨提示', content: '数据为空' });
    } else {
      const data = {
        标题: printInfo.teaVO.title + '(学生明细)',
        教师名称: printInfo.teaVO.teaName,
        教师年龄: printInfo.teaVO.teaAge,
        教师性别: printInfo.teaVO.teaSex,
      };

      // 根据stuList生成二维数组
      let htmlContent2 = '';
      const data2D = [];
        for (const item of printInfo.stuList) {
          data2D.push([
            item.teaName || '-', // 学生名称
            item.teaAge, // 学生年龄
            item.describe || '-', // 学生描述(如果不存在特殊提示,则用破折号填充)
          ]);
        }

        // 构建HTML内容
        htmlContent2 =
          '<tr><td colspan="3" style="text-align: center;font-weight: bold;">学生明细</td></tr>' +
          // 添加列标题行
          '<tr style="text-align: center;font-weight: bold;"><td>学生名称</td><td>学生年龄</td><td>学生描述</td></tr>';

      let htmlContent = '<table>';
      for (const key in data) {
        htmlContent += '<tr><td>' + key + '</td><td colspan="3">' + data[key] + '</td></tr>';
      }

      // 遍历每一行
      for (const row of data2D) {
        htmlContent2 += '<tr>';

        // 遍历每一列
        for (const item of row) {
          htmlContent2 += `<td style="width: 15ch; word-wrap: break-word; overflow-wrap: break-word;">${item}</td>`;
        }

        htmlContent2 += '</tr>';
      }
      htmlContent += htmlContent2;
      htmlContent += '</table>';
      htmlContent = htmlContent.replace('Document', 'Guide Bill');
      printJS({
        printable: htmlContent,
        type: 'raw-html',
        header: 'Guide Bill',
        style:
          '.printable { font-family: Arial; } .description { font-weight: bold; } table { border-collapse: collapse; width: 100%; } td { border: 1px solid black; padding: 5px; }',
      });
    }
  }

  /**
   * 成功回调
   */
  function handleSuccess() {
    (selectedRowKeys.value = []) && reload();
  }
</script>

<style scoped>
  .btn {
    margin-right: 4px;
  }
</style>
2、List.api.ts
import { defHttp } from '/@/utils/http/axios';
import { useMessage } from '/@/hooks/web/useMessage';

const { createConfirm } = useMessage();

enum Api {
  selectTeacInfo= '/teacher/teacher/selectTeacInfo',
}

/**
 * 查询打印信息
 * @param params
 * @returns
 */
export const selectTeacInfo = (params) => defHttp.get({ url: Api.selectTeacInfo, params });
3、后端返回数据结构
{
	"stuList": [{
		"id": 1,
		"stuName": '张三',
		"stuAge": 15
		"describe": "优秀",
	}, {
		"id": 2,
		"stuName": '李四',
		"stuAge": 15
		"describe": "有进步空间",
	}],
	"teaVO": {
		"title": '数据列表',
		"teaAge": 26,
		"teaSex": 1,
	},
	"state": 1,
}
二、后端
@ApiOperation(value = "根据教师查询打印信息", notes = "根据教师查询打印信息")
@GetMapping(value = "/selectTeacInfo")
public Result<Map> selectTeacInfo(String identificationValue){
	Map map = new HashMap();
	if(StringUtils.isBlank(identificationValue)){
	    return Result.error("identificationValue参数为空");
	}else{
		// 判断是否有值
		int state = 1;
		List<Student> studentList = null;// 查询所有得学生记录
		QueryWrapper<Teacher> queryWrapper = new QueryWrapper<>();
		queryWrapper.lambda().eq(Teacher::getId,identificationValue);
		Teacher teacher = teacherService.getOne(queryWrapper);
		if (teacher!=null){
			teacher.setTitle("数据列表");// 此字段数据库中不存在,仅为显示服务
			QueryWrapper<Student> queryWrapper1 = new QueryWrapper<>();
			queryWrapper1.lambda().eq(Student::getClassId,teacher.getId());
			// 查询学生
			studentList = teacherService.list(queryWrapper1);
		}else{
			state = 0;
		}

		map.put("stuList",studentList);
		map.put("teaVo",teacher);
		map.put("state",state);
		return Result.ok(map);
	    }else{
		return Result.error("数据不存在");
	    }
	}
}
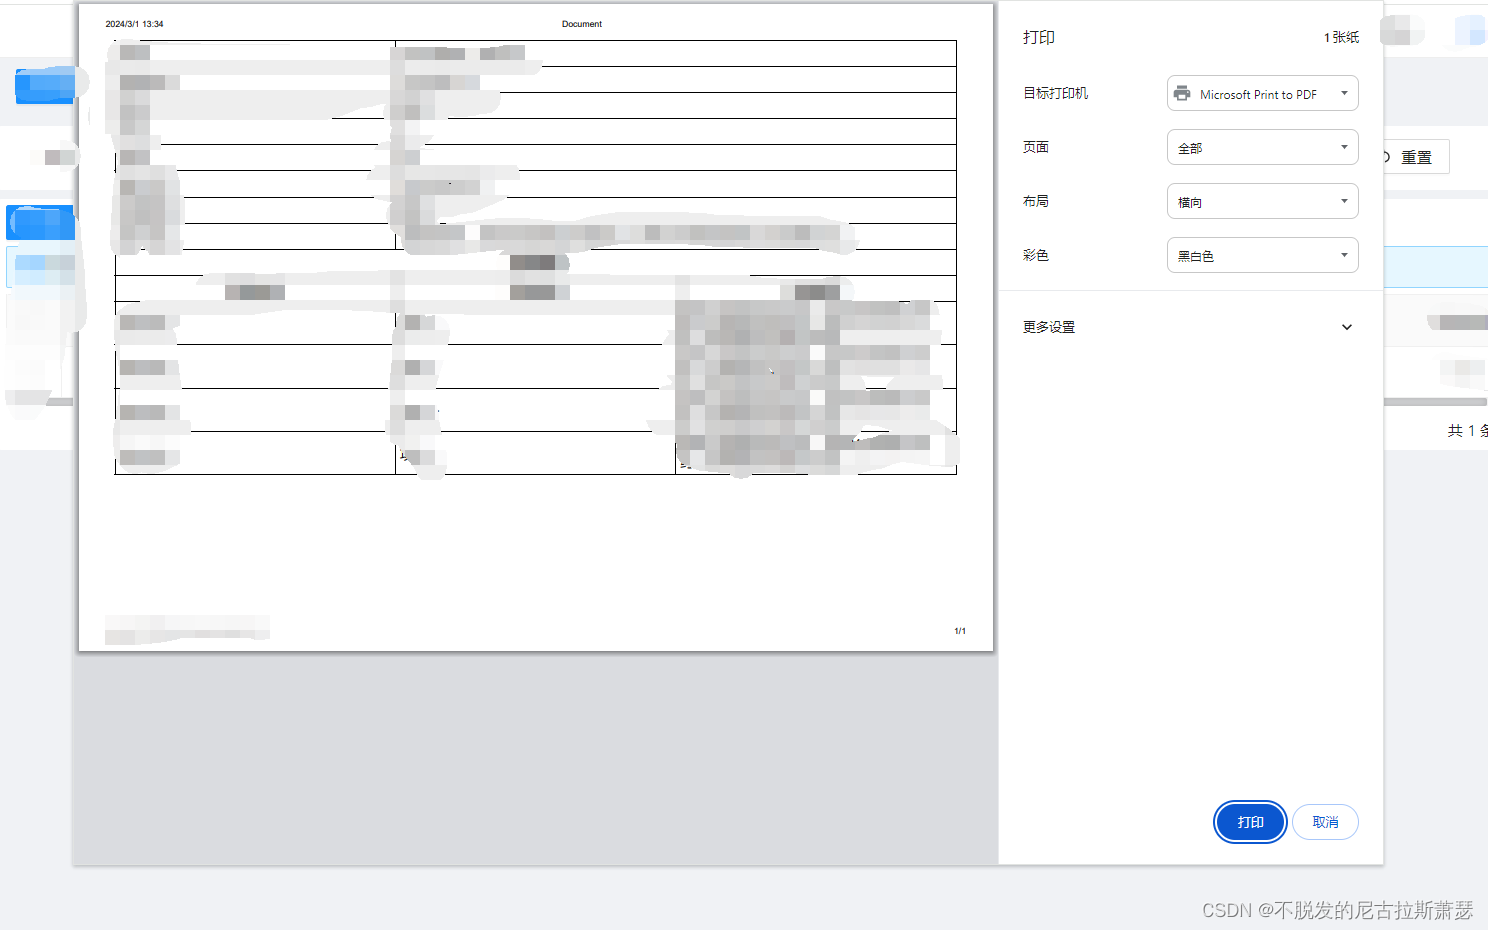
执行结果:
总结
道阻且长,一起加油哦!!!


 1471
1471

 被折叠的 条评论
为什么被折叠?
被折叠的 条评论
为什么被折叠?
 到【灌水乐园】发言


