


此处省略废话,直接上操作!
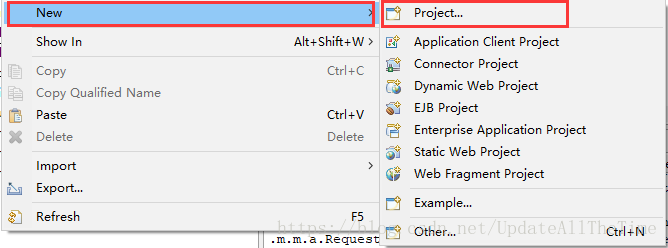
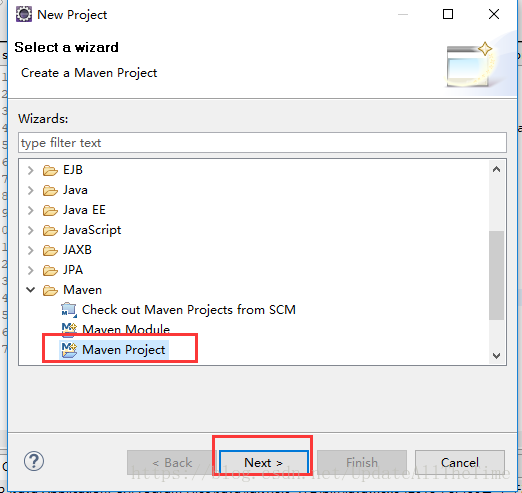
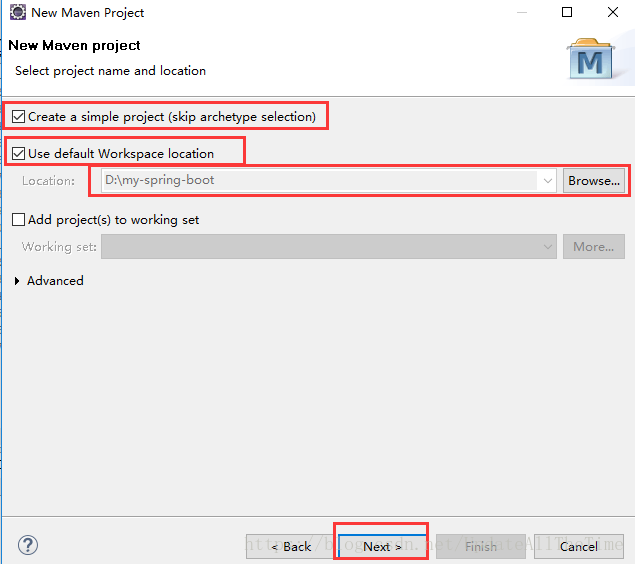
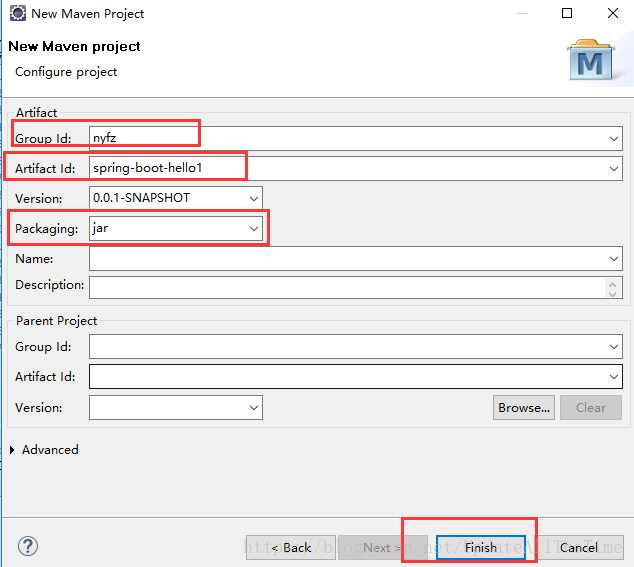
第一步:使用eclipse创建Maven工程
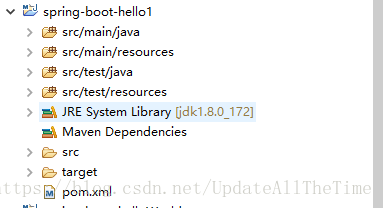
第二步:添加依赖和代码编写

pom.xml
<project xmlns="http://maven.apache.org/POM/4.0.0" xmlns:xsi="http://www.w3.org/2001/XMLSchema-instance" xsi:schemaLocation="http://maven.apache.org/POM/4.0.0 http://maven.apache.org/xsd/maven-4.0.0.xsd">
  <modelVersion>4.0.0</modelVersion>
  <groupId>nyfz</groupId>
  <artifactId>spring-boot-hello1</artifactId>
  <version>0.0.1-SNAPSHOT</version>

    <parent>
		<groupId>org.springframework.boot</groupId>
		<artifactId>spring-boot-starter-parent</artifactId>
		<version>2.0.0.RELEASE</version>
	</parent>

  <dependencies>
    <dependency>
	   <groupId>org.springframework.boot</groupId>
	   <artifactId>spring-boot-starter-web</artifactId>
	</dependency>
  </dependencies>
</project>
HelloWorldController.java
package helloWorldController;

import org.springframework.web.bind.annotation.GetMapping;
import org.springframework.web.bind.annotation.RestController;

@RestController
public class HelloWorldController {

	@GetMapping("/hello")
	public String hello(){
		return "hello world";
	}

}
启动类 AppRun.java
package helloWorldController;

import org.springframework.boot.SpringApplication;
import org.springframework.boot.autoconfigure.SpringBootApplication;

@SpringBootApplication
public class AppRun {

	public static void main(String[] args) {
		SpringApplication.run(AppRun.class, args);

	}

}
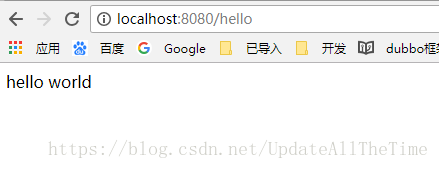
第三步:启动项目,测试
从启动类启动项目,RUN AS ==> Java Application
访问:http://localhost:8080/hello


 1233
1233

 被折叠的 条评论
为什么被折叠?
被折叠的 条评论
为什么被折叠?
 到【灌水乐园】发言


