


获取data的操作来源于:microns-nda-access-lauch-jupyter-environment
准备工作:
- 在服务器root中安装docker,要下载有docker-compose插件版本的,配置docker的镜像网络(服务器没有vpn,无法连接外网);
- 在root中添加group组,将个人用户(需要使用docker的用户)添加到docker group内;
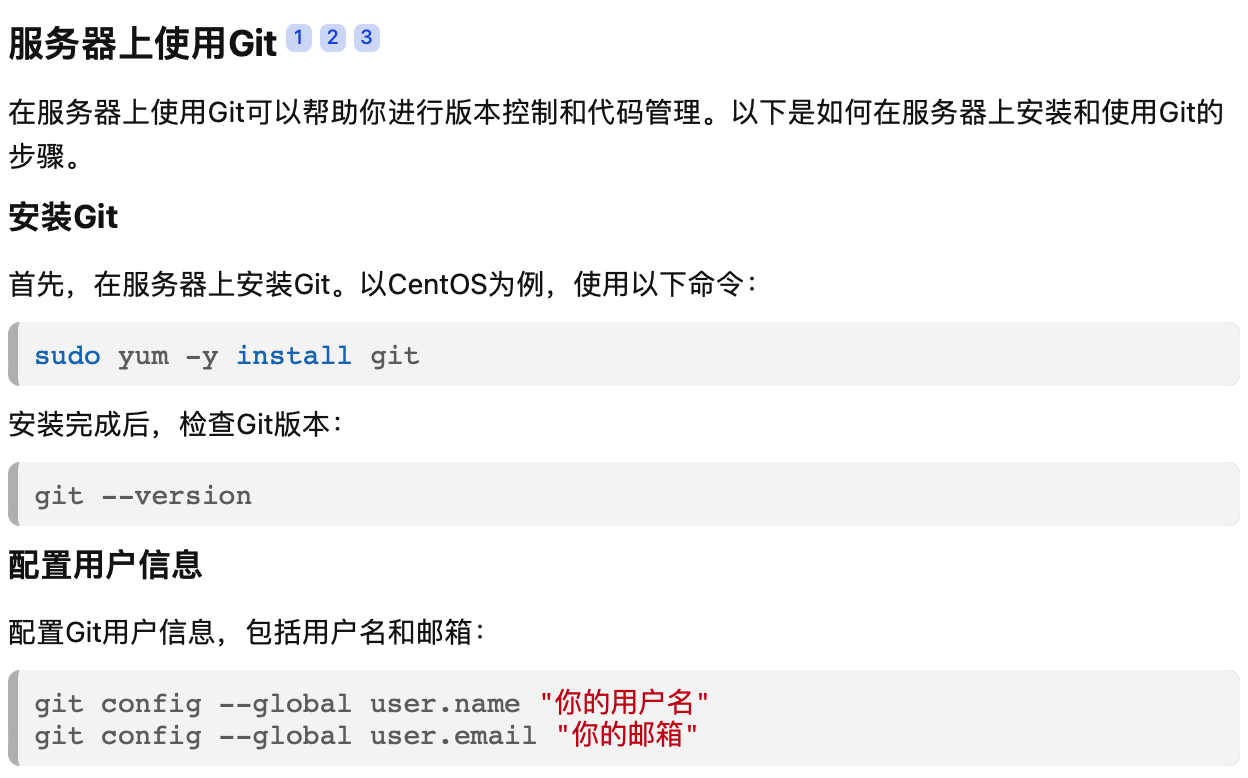
- 确认服务器安装了git,运行git --version不会出现not command这种报错;
- 如果服务器上没有梯子无法连接外网,需要提前将一些会用到github的仓库转存到gitee上(一个镜像工作站,可以从GitHub导入仓库)
上述过程的参考链接:
GitHub仓库快速导入Gitee及同步更新 - Gitee.com
ps:保证vscode可以在本地顺利ssh连接服务器
Database Setup
这里会有两种方式可以完成数据库的建立:
- Docker container environment with the database and all data pre-ingested
- Download a data dump for manual ingestion into an existing MySQL database
因为我们服务器本来也没有MySQL,本人也不熟悉MySQL的语法,所以选择了docker container。
那么第一步就是下载container image tar file:
- 先建立一个空的文件夹存放,也可以直接放到第二步里要下载的仓库文件夹内;
- 在文件夹内运行⬇️:但是会出现一些问题,比如,1. 服务器本身没有aws这个操作命令,2. 运行时间过长,你的终端被占用,无法关闭;
aws s3 cp s3://bossdb-open-data/iarpa_microns/minnie/functional_data/two_photon_processed_data_and_metadata/database_v8/functional_data_database_container_image_v8.tar . --no-sign-request
解决aws问题的第一种方法,如果是非root用户,可以直接在自己的账号下安装aws,参考:Linux安装非root用户安装aws-优快云博客
第二种方法,在网页microns-nda-access-lauch-jupyter-environment中直接点击下载链接:

然后通过scp或者sftp上传至服务器刚刚建立好的文件夹内;
解决终端被占用过长时间的问题:可以开一个screen,执行screen -R windowname(其中windowname是你screen窗口的名字),这样在screen运行命令后,可以通过ctrl+A+D返回终端主窗口
第二步(同时)把microns-nda-access仓库下载下来:
内部有.env, Dockerfile, docker-compose.yml等等配置文件,下载后将仓库上传到服务器上,之后所有的配置都是在这个文件夹路径内执行的
等待第一步结束后,load下载的tar文件
docker load --input functional_data_database_container_image_v8.tar在第一步的路径内执行上述load,完成docker加载镜像数据
docker compose
1. 回到第二步的仓库路径内,执行
docker compose up -d databasedocker版本更新后,原来的docker-compose命令更换为docker compose,但是github上的教程都还是docker-compose,运行时需要手动更改。
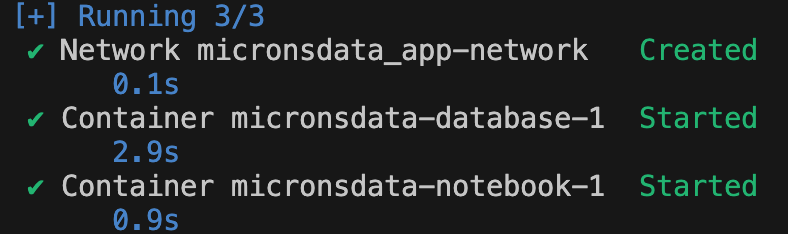
这一步正常执行后是直接进入Running的状态,会把数据加载进docker的容器内,应该会在docker内出现一个database的container;
2. 然后需要配置jupyter,目的是能通过jupyter notebook在docker环境内运行datajoint,获取可视化数据。
docker compose up -d notebook这一步需要的时间比较久,而且问题比较多,如果你的服务器能够顺利连到外网github以及docker内的网络配置也没有问题的话,那应该很顺利,但是因为我们的服务器没有办法连到github,所以要将Dockerfile里所有要RUN的git clone后的链接转到gitee上。
问题又出现了,就算我用了gitee的网址,服务器能够顺利git clone http://gitee,但是docker内无法连接gitee,要么被拒绝,要么超时。fine,只能先将所有需要用到的git clone的仓库都先clone到服务器本地路径内,然后在Dockerfile里用COPY命令复制到docker容器内。因为microns_phase3_nda文件夹内的requirements.txt在RUN pip3 install -e microns_phase3_nda/的时候会被setup.py执行,因此我要把requirements.txt内的git也去掉。
最终需要通过git更改的文件有:
microns_phase3_nda/requirements.txt
microns-nda-access/Dockerfile 如下(后半部分Set up work environment保持不变)
FROM python:3.8-buster

# Base packages

RUN apt-get update&& \
    apt-get install -y git openssh-client&& \
    apt-get -y install graphviz build-essential python-dev ffmpeg fish

RUN pip install --upgrade pip

# Install jupyter notebook
RUN pip3 install jupyter jupyterlab

# Install viz dependencies
RUN pip3 install matplotlib ipyvolume seaborn

# Lock to datajoint 0.12.9
RUN pip3 install datajoint==0.12.9

# Install the outside packages
WORKDIR /src
COPY README.md /microns-nda-access/.
COPY Dockerfile /microns-nda-access/.
COPY docker-compose.yml /microns-nda-access/.

COPY microns_phase3_nda/ /src/microns_phase3_nda/
COPY microns_phase3_nda/requirements.txt /src/microns_phase3_nda/requirements.txt
RUN pip3 install torch==1.9.0+cpu torchvision==0.10.0+cpu torchaudio==0.9.0 -f https://download.pytorch.org/whl/torch_stable.html

COPY em_coregistration/ /src/em_coregistration/
RUN pip3 install -e /src/em_coregistration/
RUN pip3 install --no-deps -e microns_phase3_nda/
RUN pip3 install numpy==1.24.3 scipy==1.10.1 pandas==2.0.2 scikit-video==1.1.11 datajoint==0.12.9 matplotlib==3.7.1 nglui==2.14.2 caveclient==5.7.0 torch==1.9.0
最后还可能因为docker-compose.yml文件里的网络端口有一些奇怪的问题访问不了,GPT更改一下好了。如果没问题就会出现皆大欢喜的如下界面:
最后进入docker内运行jupyter notebook:
先检查docker容器在运行:
docker ps | grep notebook1. 网页版jupyter notebook
因为我的docker在服务器上,所以我如果想用自己电脑的jupyter网页版访问docker,先在终端连接到服务器的端口,这个端口在docker-compose.yml文件里的notebook部分有:
ssh -L 8889:localhost:8889 username@your_server然后在本地浏览器访问 http://localhost:8889,就可以连到docker内看到ipynb文件了
2. vscode jupyter notebook插件
除了在vscode里下载Jupyter系列插件外,还要下载Docker插件和Dev Container插件,第一个可以看到docker内的容器运行情况,第二个可以进入Docker内的可视化界面,通过:
![]()
show and run commands >
![]()
Dev containers: attach to running container

就能进入到容器内了!


 1531
1531

 被折叠的 条评论
为什么被折叠?
被折叠的 条评论
为什么被折叠?
 到【灌水乐园】发言


