


写在前面
首先看这篇文章前,假设你懂点Java后端,以及能看懂html javascript代码
那么你想了解一个最基础的vue代码是怎么写的,以及在ideal中怎么做
最终的目标是自己在ideal中用vue写一个页面并展示后端接口传来的数据
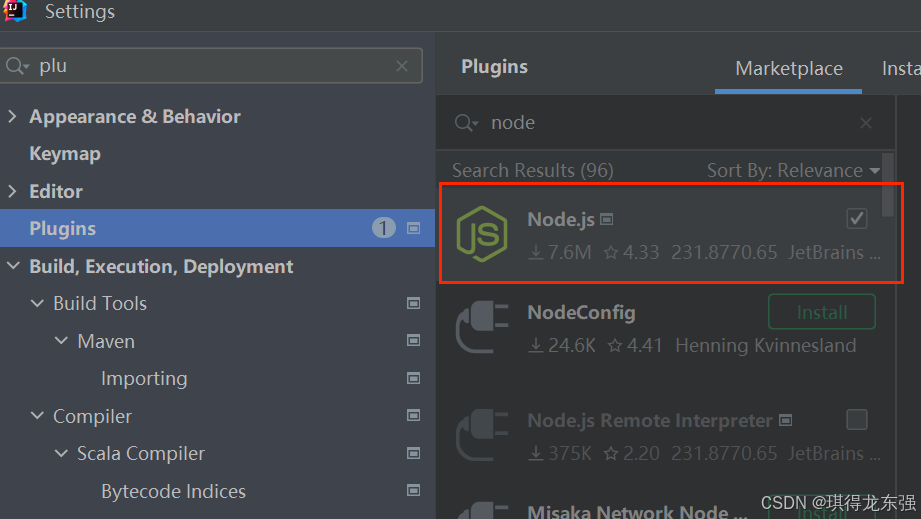
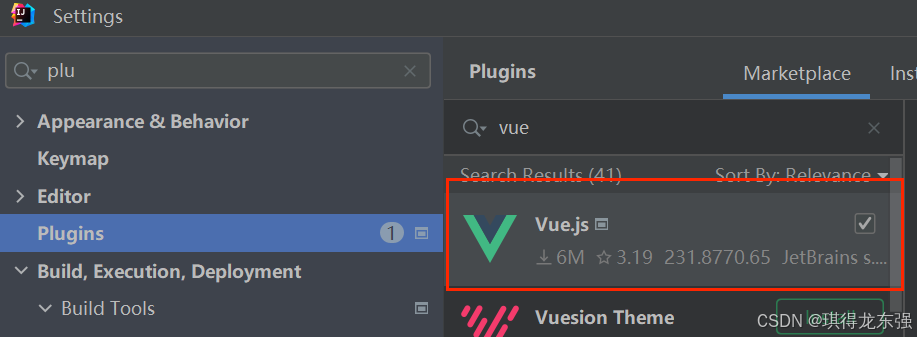
环境准备
你需要安装node和vue,安装过程可能会有报错,解决思路通常是升级你的node npm ,换仓库源等
npm config set registry https://mirrors.huaweicloud.com/repository/npm/
npm config set registry https://registry.npm.taobao.org
...
升级npm
cnpm install cnpm -g
查看版本
C:\Users\specialwu>node -v
v18.19.0
C:\Users\specialwu>npm -v
10.2.3
C:\Users\specialwu>cnpm install -g @vue/cli
C:\Users\specialwu>vue -V
@vue/cli 5.0.8

编写第一个vue代码
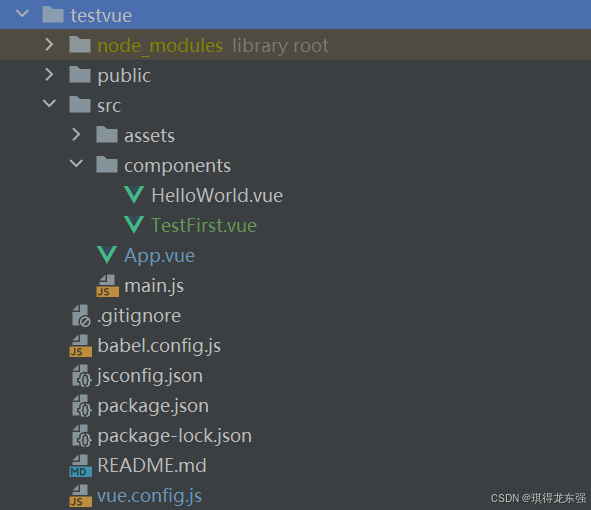
项目结构
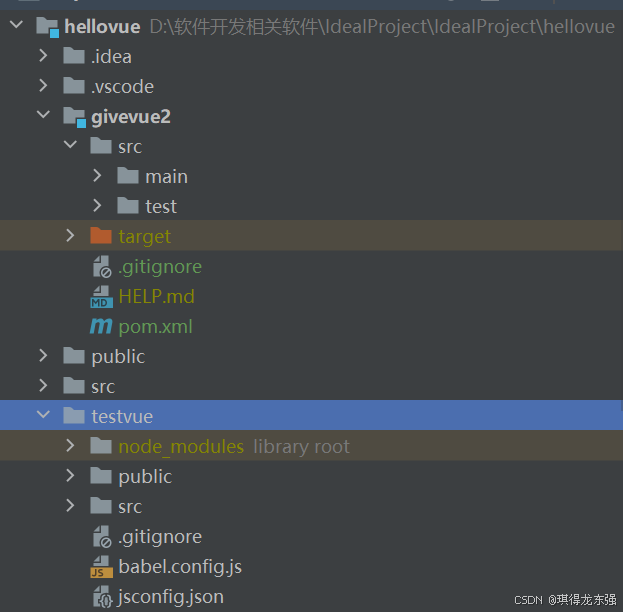
vue create testvue
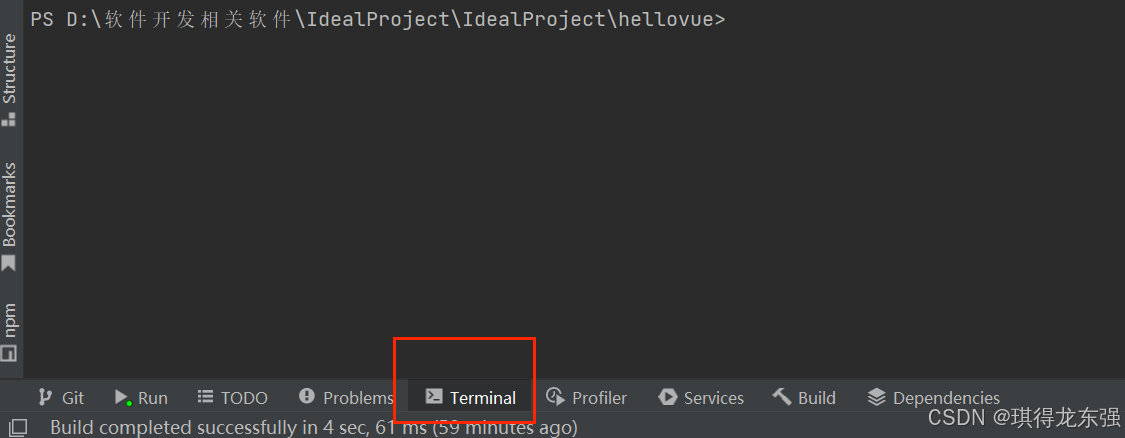
执行
npm run serve
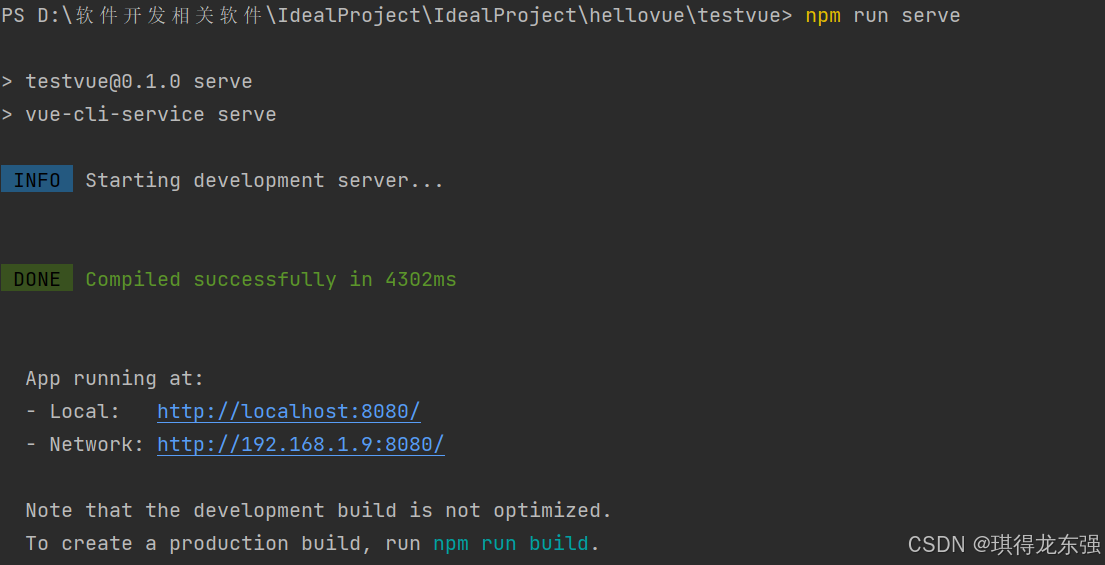
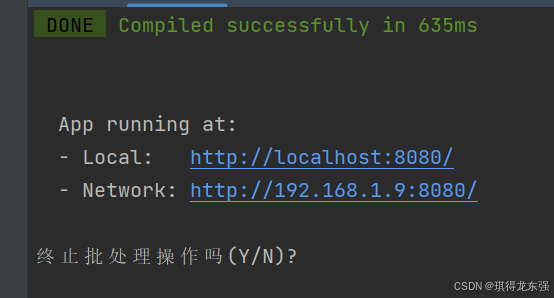
ctrl + c退出
创建好vue项目后,初次执行 npm run serve 会加载App.vue这个文件,那么我们对它进行调整,我们再新写一个页面TestFirst .vue,在这个App.vue文件中引入
App.vue(初始创建项目自带的)
<template>
  <img alt="Vue logo" src="./assets/logo.png">
<!--  <HelloWorld msg="hello vuesss"/>-->
    <TestFirst msg="hello workd"/>
</template>

<script>
/*import HelloWorld from './components/HelloWorld.vue';*/
import TestFirst from './components/TestFirst.vue';

export default {
  name: 'App',
  components: {
 /*   HelloWorld,*/
      TestFirst
  }
}


</script>

<style>
#app {
  font-family: Avenir, Helvetica, Arial, sans-serif;
  -webkit-font-smoothing: antialiased;
  -moz-osx-font-smoothing: grayscale;
  text-align: center;
  color: #2c3e50;
  margin-top: 60px;
}
</style>
TestFirst .vue(自己编写的)
<template>
    <div>
        <h1>{{ stringData }}</h1>
        <h1>hello world</h1>
    </div>
</template>

<script>
export default {
    data() {
        return {
            stringData: ''
        };
    },
    created() {
        console.log('Component created. Fetching data...');
        this.fetchStringData();
    },
    methods: {
        fetchStringData() {
            fetch('http://localhost:9088/api/data')
                .then(response => response.text()) // 处理文本响应

                .then(data => {
                    this.stringData = data;
                })
                .catch(error => {
                    console.error('There was an error!', error);
                });
        }
    }
}
</script>
后端代码
@CrossOrigin(origins = "http://ip:8080")解决跨域问题,具体表现为调用后端接口被拒绝
package com.example.givevue2.controller;


import org.springframework.stereotype.Controller;
import org.springframework.web.bind.annotation.CrossOrigin;
import org.springframework.web.bind.annotation.GetMapping;
import org.springframework.web.bind.annotation.RequestMapping;
import org.springframework.web.bind.annotation.RestController;

@RestController
@RequestMapping("/api")
@CrossOrigin(origins = "http://ip:8080")
public class GiveValue {

    @GetMapping("/data")
    public String giveValue(){
        return "666";
    }
}


 到【灌水乐园】发言


