


 本教程详细介绍了如何使用Idea和Maven构建Spring Cloud集群项目,包括配置hosts文件、创建父项目、设置依赖管理和排除src目录等内容,旨在帮助读者深入理解Spring Cloud集群的搭建过程。
1.准备工作 项目采用idea创建、使用maven构建工具
修改/etc/hosts 在最下面 新增4行配置
127.0.0.1 eureka01
127.0.0.1 eureka02
127.0.0.1 eureka03
127.0.0.1 eureka04
2.新建一个项目 spring-cloud-study父项目,用来管理所有spring cloud项目,并修改pom.xml代码如下
springboot版本:2.2.2.RELEASE
springcloud版本:Hoxton.RELEASE
项目源码地址:https://github.com/andyluna/spring-cloud-study/
<?xml version="1.0" encoding="UTF-8"?>
<project xmlns="http://maven.apache.org/POM/4.0.0"
         xmlns:xsi="http://www.w3.org/2001/XMLSchema-instance"
         xsi:schemaLocation="http://maven.apache.org/POM/4.0.0 http://maven.apache.org/xsd/maven-4.0.0.xsd">
    <modelVersion>4.0.0</modelVersion>

    <groupId>org.andy.springcloud</groupId>
    <artifactId>spring-cloud-study</artifactId>
    <version>1.0-SNAPSHOT</version>
    <packaging>pom</packaging>
    <name>spring-cloud-study</name>
    <description>spring-cloud-study系统学习项目</description>
    <url>https://github.com/andyluna/spring-cloud-study/</url>

    <developers>
        <developer>
            <id>andy</id>
            <name>andy</name>
            <organization>hunan dtxytech</organization>
            <email>xiangdan311@163.com</email>
        </developer>
    </developers>


    <parent>
        <groupId>org.springframework.boot</groupId>
        <artifactId>spring-boot-starter-parent</artifactId>
        <version>2.2.2.RELEASE</version>
    </parent>

    <properties>
        <maven.compiler.source>1.8</maven.compiler.source>
        <maven.compiler.target>1.8</maven.compiler.target>
        <project.build.sourceEncoding>UTF-8</project.build.sourceEncoding>
        <project.reporting.outputEncoding>UTF-8</project.reporting.outputEncoding>
        <maven.compiler.encoding>UTF-8</maven.compiler.encoding>
        <spring-cloud-version>Hoxton.RELEASE</spring-cloud-version>
    </properties>

    <dependencyManagement>
        <dependencies>
            <dependency>
                <groupId>org.springframework.cloud</groupId>
                <artifactId>spring-cloud-dependencies</artifactId>
                <version>${spring-cloud-version}</version>
                <type>pom</type>
                <scope>import</scope>
            </dependency>
        </dependencies>
    </dependencyManagement>

    <dependencies>
        <dependency>
            <groupId>org.projectlombok</groupId>
            <artifactId>lombok</artifactId>
            <scope>provided</scope>
        </dependency>
        <dependency>
            <groupId>org.springframework.boot</groupId>
            <artifactId>spring-boot-starter-test</artifactId>
            <scope>test</scope>
        </dependency>
    </dependencies>


</project>
项目建好之后 删除项目下的src目录,因为父项目不需要写任何源代码,建好之后项目结构如下:
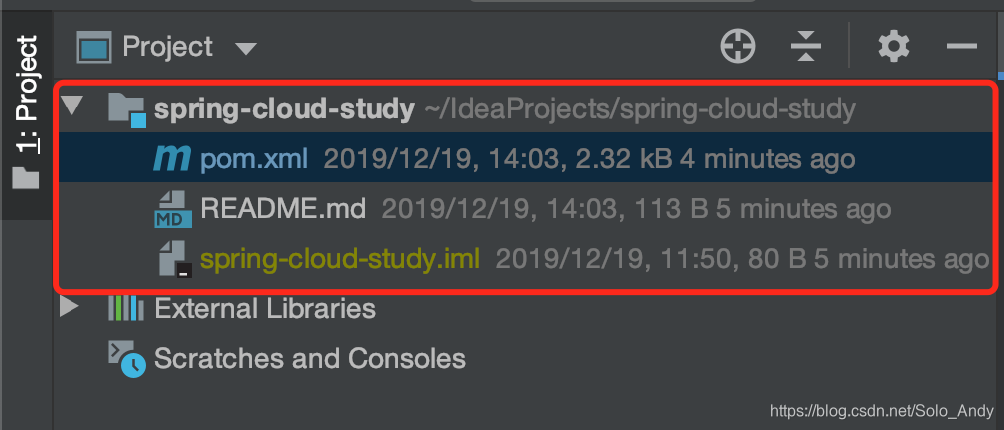
准备工作创建完毕,下面正式开始学习spring-cloud


 1651
1651

 被折叠的 条评论
为什么被折叠?
被折叠的 条评论
为什么被折叠?
 到【灌水乐园】发言


