


 本文详细介绍了如何搭建Maven私有仓库,包括Nexus的安装、配置和启动,以及解决初次安装可能遇到的问题。同时,文章还讲解了如何配置Maven的setting.xml以从私有仓库下载和上传jar包。
1. 私有仓库搭建
本次安装以
nexus-2.14.3-02-bundle.tar.gz为演示版本
1. 1. 需要上传安装文件
本次安装使用
nexus-2.14.3-02-bundle.tar.gz安装包
1. 2. 解压压缩文件
tar -zxvf nexus-2.14.3-02-bundle.tar.gz
1. 3. 解压后的文件说明
(1) nexus-2.11.4-01 文件夹
里面是nexus的运行环境和应用程序。
(2) sonatype-work 文件夹
里面是我们后面要对nexus进行一些配置的地方,像索引和起始的仓库和端口等都可以在这里面配置。
1. 4. nexus的启动
(1) 要求: 我们要确定有java环境(最好不要用openjdk)
java -version
(2) 切换目录到解压目录中的bin目录
# 进入bin目录
cd nexus-2.14.3-02/bin
(3) 执行启动命令
./nexus start
1. 5. 初次安装可能会报如下错误
(1) 错误信息
If you insist running as root, then set the environment variable RUN_AS_USER=root before running this script.
(2) 解决方案
我们需要在启动之前我们需要配置环境变量先, 可以配置到 /etc/profile
# 编辑配置文件
vim /etc/profile

# 增加如下内容到/etc/profile
export RUN_AS_USER=root
解决方案如下:
我们需要在启动之前我们需要配置环境变量先
- (1)
vi /etc/profile - (2) 增加如下环境变量
export RUN_AS_USER=root
1. 6. 测试访问
友情提示,我们测试之前需要开放安全组哦, 通过浏览器访问
http://主机ip:8081/nexus/
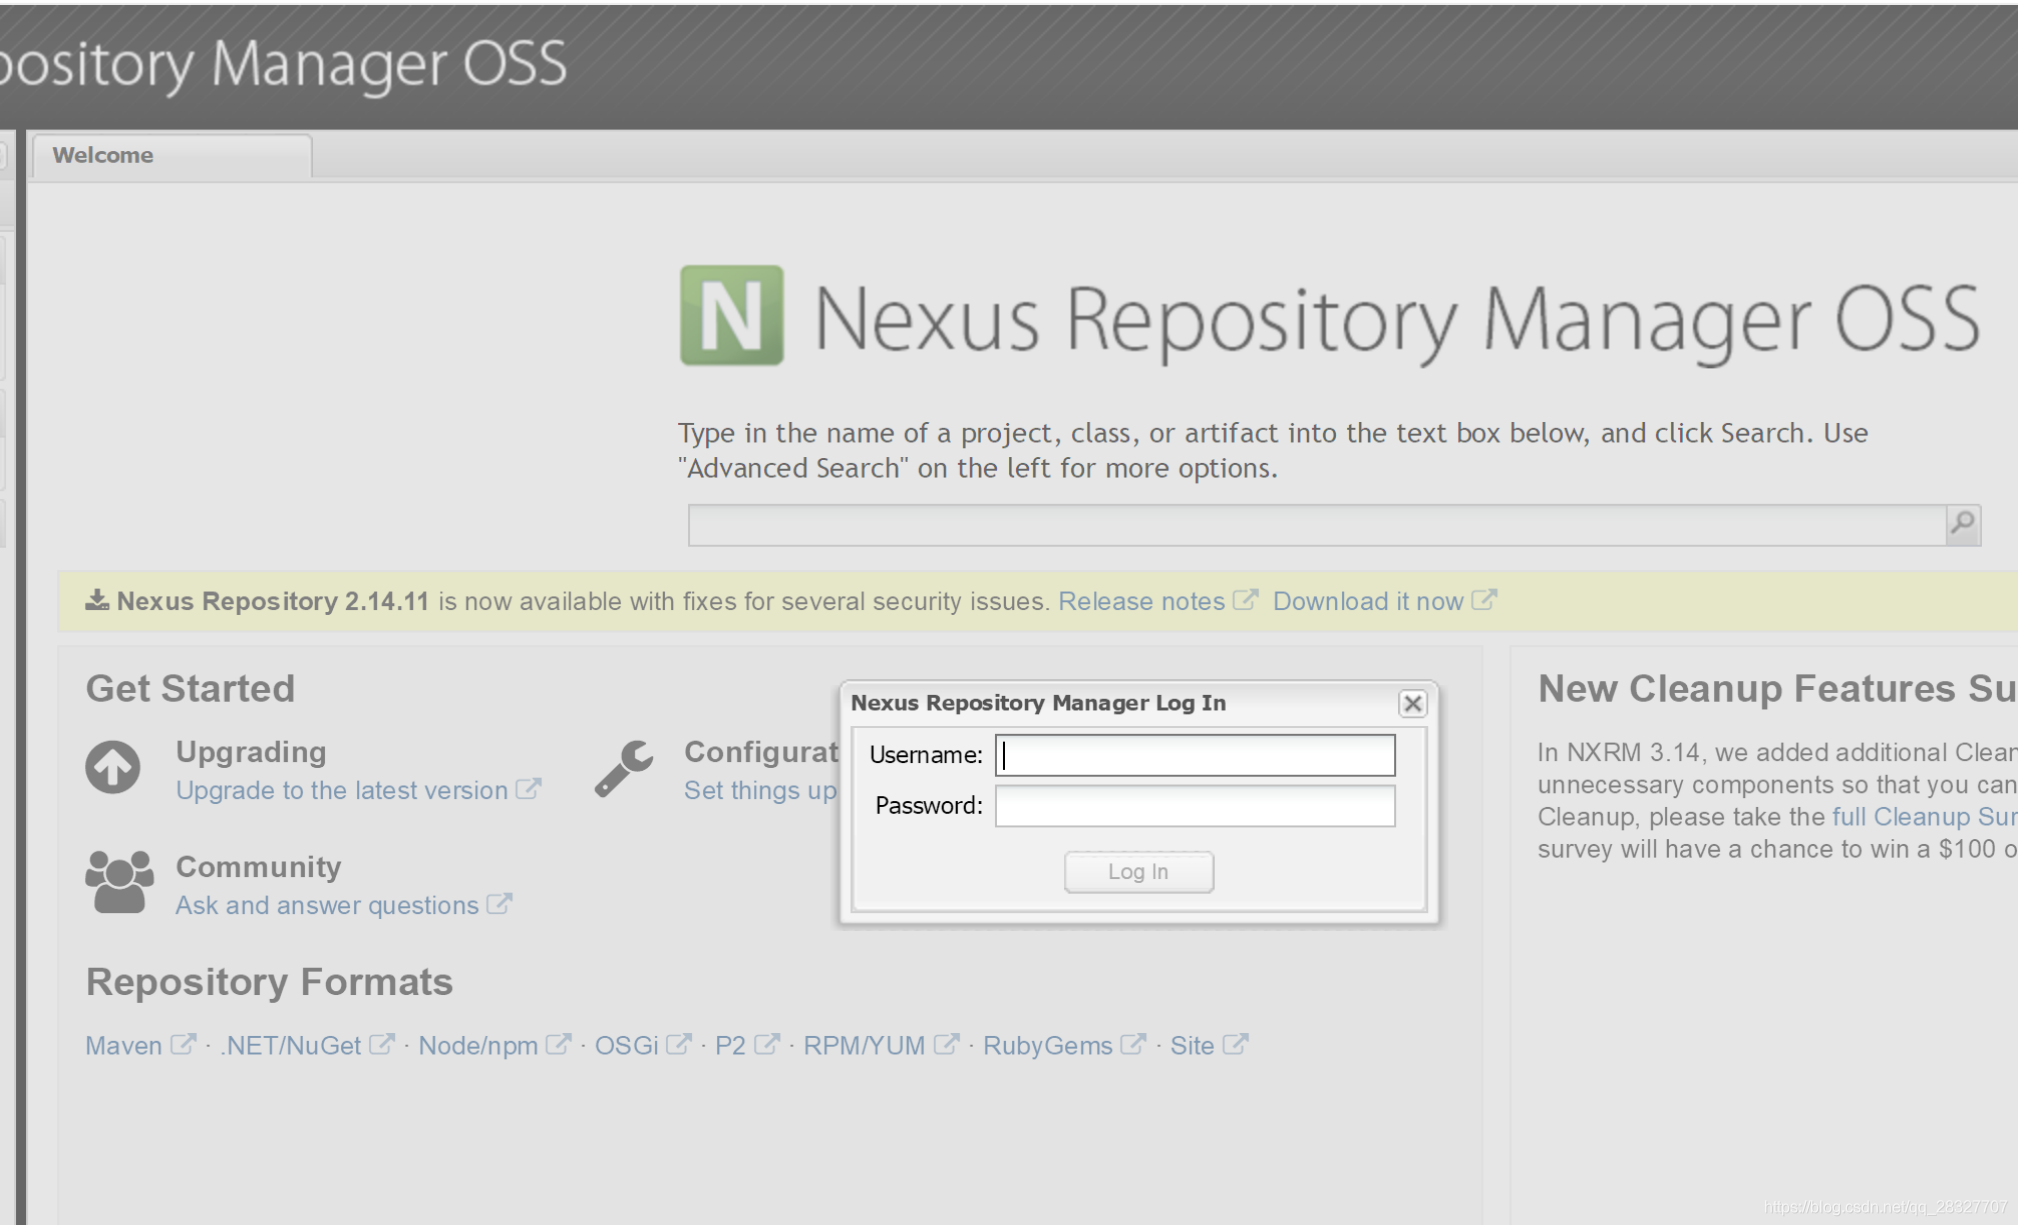
1. 7. nexus 登录
默认用户是
admin, 密码是admin123后期可以自己修改
1. 8. nexus 的仓库类型
| 类型 | 描述 |
|---|---|
| hosted | 宿主仓库,部署自己的jar到这个类型的仓库,包括releases和snapshot两部分,Releases公司内部发布版本仓库、 Snapshots 公司内部测试版本仓库 |
| proxy | 代理仓库,用于代理远程的公共仓库,如maven中央仓库,用户连接私服,私服自动去中央仓库下载jar包或者插件 |
| group | 仓库组,用来合并多个hosted/proxy仓库,通常我们配置自己的maven连接仓库组 |
| virtual | 兼容Maven1 版本的jar或者插件 |
1. 9. nexus 的仓库
nexus仓库默认在sonatype-work目录中
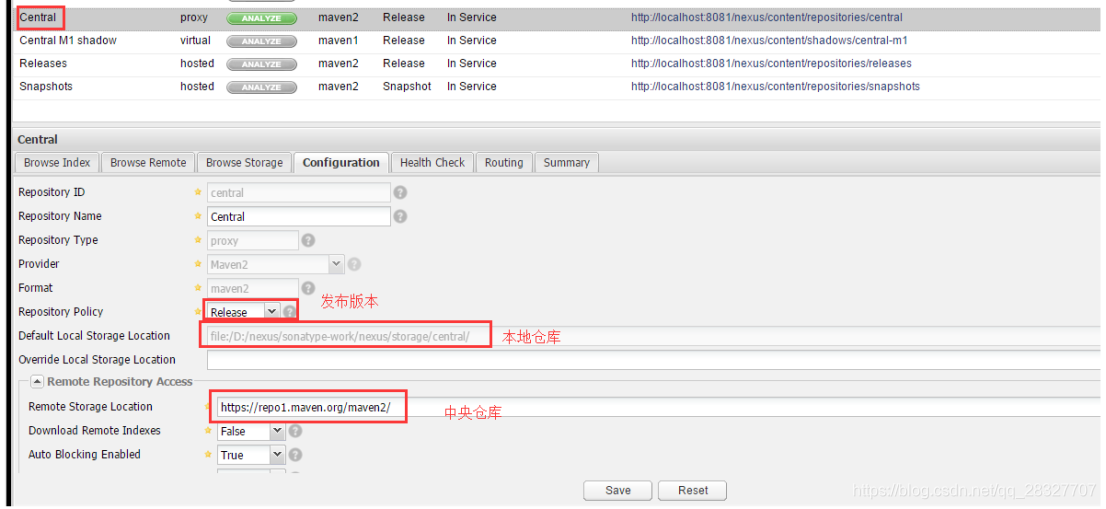
| 仓库 | 描述 |
|---|---|
| central | 代理仓库,代理中央仓库 |
| apache-snapshots | 代理仓库 ,存储snapshots构件,代理地址https://repository.apache.org/snapshots/ |
| central-m1 | virtual类型仓库,兼容Maven1 版本的jar或者插件 |
| releases | 本地仓库,存储releases构件 |
| snapshots | 本地仓库,存储snapshots构件 |
| thirdparty | 第三方库 |
| public | 仓库组 |
1. 10. nexus 配置文件简单介绍
# Jetty section
application-port=8081  	# nexus的访问端口配置
application-host=0.0.0.0 	# nexus主机监听配置(不用修改)
nexus-webapp=${bundleBasedir}/nexus 	# nexus工程目录
nexus-webapp-context-path=/nexus	 # nexus的web访问路径

# Nexus section
nexus-work=${bundleBasedir}/../sonatype-work/nexus   # nexus仓库目录
runtime=${bundleBasedir}/nexus/WEB-INF  # nexus运行程序目录
2. maven 从私有仓库下载jar包
2. 1 修改maven 的 setting.xml 配置文件
(1) 配置仓库认证信息 (一般来说上传还是下载都需要配置这个的)
  <servers>
 	<!-- 如果某个仓库需要认证, 这里的id 跟仓库的id一致,配置用户密码即可, 不用认证的则不需要配置 -->
    <server>
      <id>share-test</id>
      <username>sansui</username>
      <password>sansui123</password>
    </server>
  </servers>
(2) 配置仓库信息
<!-- Haitech 开发仓库,需配置测试仓库认证信息 -->
    <profile>
      <id>share-test</id>
      <!-- jar 包下载位置 , repositories中可以配置多个仓库,但是要保证id不重复-->
      <repositories>
        <repository>
          <id>share-test</id>
          <name>Share Test</name>
          <url>http://learn.bigdata.nexus/repository/odc-test/</url>
            <!--是否下载releases构件-->
          <releases>
            <enabled>true</enabled>
          </releases>
          <!--是否下载snapshots构件-->
          <snapshots>
            <enabled>false</enabled>
          </snapshots>
        </repository>
      </repositories>
      <!-- plugin 下载位置-->
      <pluginRepositories>
      	<!-- 插件仓库的id不允许重复,如果重复后边配置会覆盖前边 -->
        <pluginRepository>
          <id>share-test</id>
          <name>Share Test</name>
          <url>http://learn.bigdata.nexus/repository/odc-test/</url>
          <!--是否下载releases构件-->
          <releases>
            <enabled>true</enabled>
          </releases>
          <!--是否下载snapshots构件-->
          <snapshots>
            <enabled>false</enabled>
          </snapshots>
        </pluginRepository>
      </pluginRepositories>
    </profile>
(3) 配置仓库信息
  <!-- 需要激活的仓库都需要配置到这里来 activeProfile 标签即是-->
  <activeProfiles>
    <activeProfile>share-test</activeProfile>
  </activeProfiles>
3. maven 上传 jar 包到私有仓库
(1) 修改maven的setting文件增加如下内容
 <proxies>
    <!-- 增加下面这一段,否则编译都不会通过 -->
	<proxy>
      <id>optional</id>
      <!-- 代表是否启动代理 -->
      <active>true</active>
      <protocol>http</protocol>
      <!-- 远程仓库的用户名 -->
      <username>admin</username>
      <!-- 远程仓库的密码 -->
      <password>admin123</password>
      <!-- 远程仓库的地址 -->
      <host>114.67.156.73</host>
      <!-- 远程仓库的端口号-->
      <port>8081</port>
    </proxy>
  </proxies>
(2) 配置项目的pom.xml 文件
	<distributionManagement>
		<repository>
			<id>releases</id>
			<url>http://114.67.156.73:8081/nexus/content/repositories/releases/</url>
		</repository>
		<snapshotRepository>
			<id>snapshots</id>
			<url>http://114.67.156.73:8081/nexus/content/repositories/snapshots/</url>
		</snapshotRepository>
	</distributionManagement>
(3) 在项目中使用 deploy 命令部署即可
mvn deploy
(4) 验证
如果在仓库中出现我们的包,说明我们部署成功了


 881
881

 被折叠的 条评论
为什么被折叠?
被折叠的 条评论
为什么被折叠?
 到【灌水乐园】发言


