


1 最简单的Hello World系统内核实现
java代码如下,代码就不做过多解释了,直接看就可以了:
import java.io.DataOutputStream;
import java.io.File;
import java.io.FileInputStream;
import java.io.FileNotFoundException;
import java.io.FileOutputStream;
import java.io.IOException;
import java.io.InputStream;
import java.util.ArrayList;
public class OperatingSystem {
private int[] imgContent = new int[]{
0xeb,0x4e,0x90,0x48,0x45,0x4c,0x4c,0x4f,0x49,0x50,0x4c,0x00,0x02,0x01,0x01,0x00,0x02,0xe0,
0x00,0x40,0x0b,0xf0,0x09,0x00,0x12,0x00,0x02,0x00,0x00,0x00,0x00,0x00,0x40,0x0b,0x00,0x00,0x00,0x00,0x29,
0xff,0xff,0xff,0xff,0x48,0x45,0x4c,0x4c,0x4f,0x2d,0x4f,0x53,0x20,0x20,0x20,0x46,0x41,0x54,0x31,0x32,
0x20,0x20,0x20,0x00,0x00,0x00,0x00,0x00,0x00,0x00,0x00,0x00,0x00,0x00,0x00,0x00,0x00,0x00,0x00,0x00,0x00,0xb8,0x00,0x00,0x8e,
0xd0,0xbc,0x00,0x7c,0x8e,0xd8,0x8e,0xc0,0xbe,0x74,0x7c,0x8a,
0x04,0x83,0xc6,0x01,0x3c,0x00,0x74,0x09,0xb4,0x0e,0xbb,0x0f,0x00,0xcd,0x10,0xeb,0xee,0xf4,0xeb,0xfd
};
private ArrayList<Integer> imgByteToWrite = new ArrayList<Integer>();
public OperatingSystem(String s) {
for (int i = 0; i < imgContent.length; i++) {
imgByteToWrite.add(imgContent[i]);
}
imgByteToWrite.add(0x0a); // 换行符 \n
imgByteToWrite.add(0x0a); // 换行符 \n
for (int j = 0; j < s.length(); j++) {
imgByteToWrite.add((int)s.charAt(j));
}
imgByteToWrite.add(0x0a); // 换行符 \n
// 这里一直从现有代码之后到510字节的所有内容都填充为0
int len = 0x1fe;
int curSize = imgByteToWrite.size();
for (int k = 0; k < len - curSize; k++) {
imgByteToWrite.add(0);
}
// 第511、512字节为磁盘主引导扇区的有效标志,必须为0x55、0xaa
// 0x1fe-0x1f: 0x55, 0xaa
// 0x200-0x203: f0 ff ff
imgByteToWrite.add(0x55);
imgByteToWrite.add(0xaa);
imgByteToWrite.add(0xf0);
imgByteToWrite.add(0xff);
imgByteToWrite.add(0xff);
// 总共1.44MB大小
len = 0x168000;
curSize = imgByteToWrite.size();
for (int l = 0; l < len - curSize; l++) {
imgByteToWrite.add(0);
}
}
public void makeFllopy() {
try {
DataOutputStream out = new DataOutputStream(new FileOutputStream("system.img"));
for (int i = 0; i < imgByteToWrite.size(); i++) {
out.writeByte(imgByteToWrite.get(i).byteValue());
}
} catch (Exception e) {
// TODO Auto-generated catch block
e.printStackTrace();
}
}
public static void main(String[] args) {
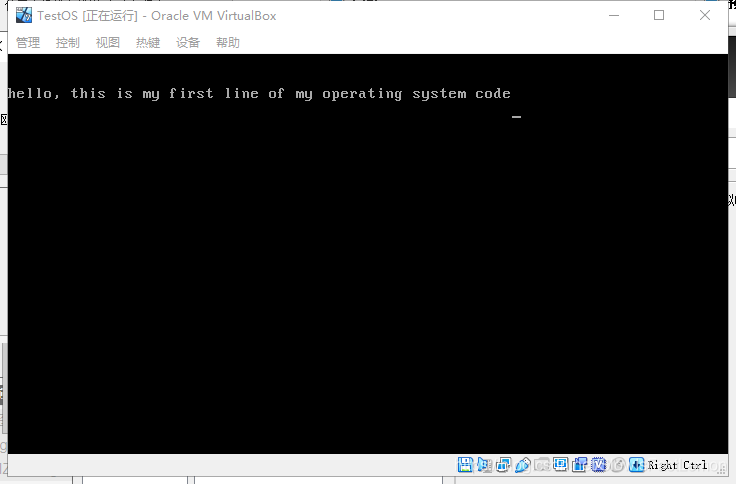
OperatingSystem op = new OperatingSystem("hello, this is my first line of my operating system code");
op.makeFllopy();
}
}
2 使用VirtualBox创建虚拟机并加载上述生成的软盘文件
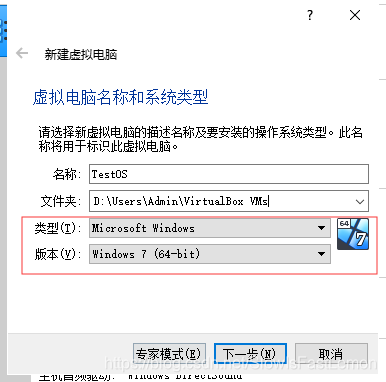
2.1 创建虚拟机
创建时,需要注意类型和版本的选择:
一路下一步,这里不添加虚拟硬盘:
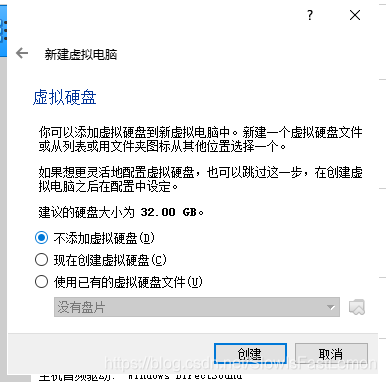
然后就创建完成。
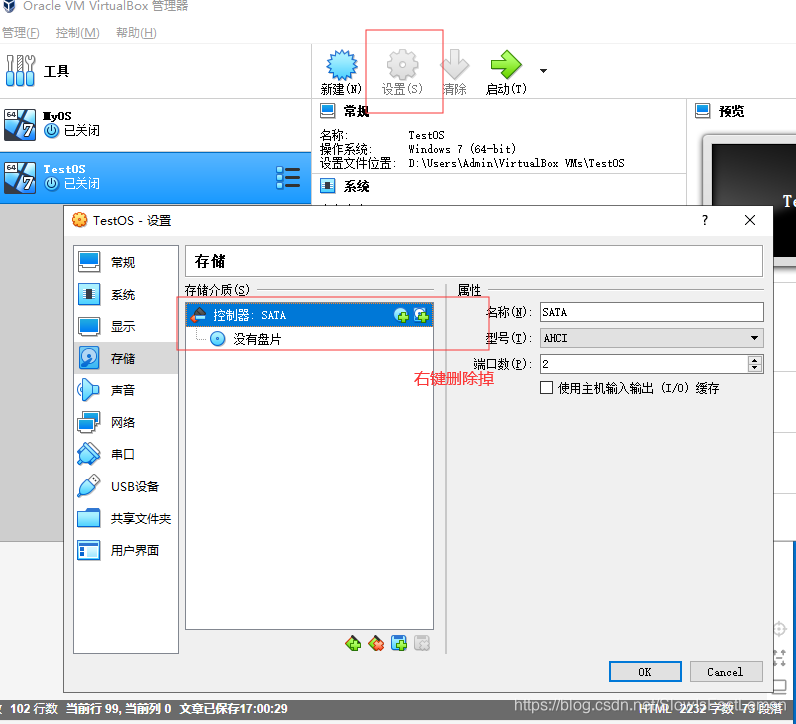
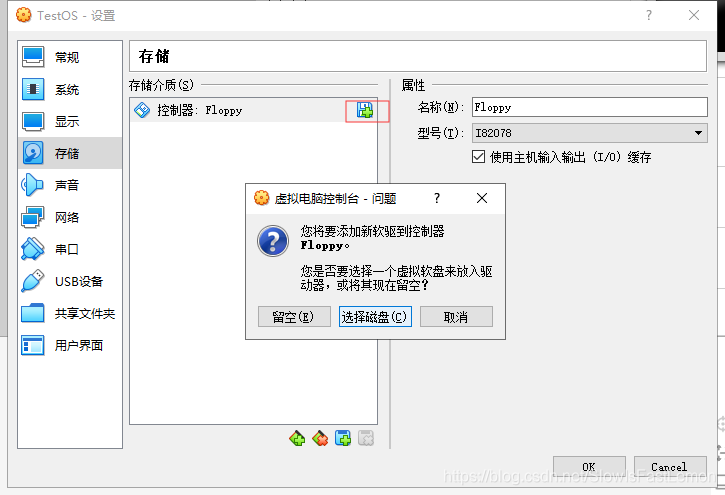
我们需要设置虚拟机从软驱启动,点击设置,设置方式如下:
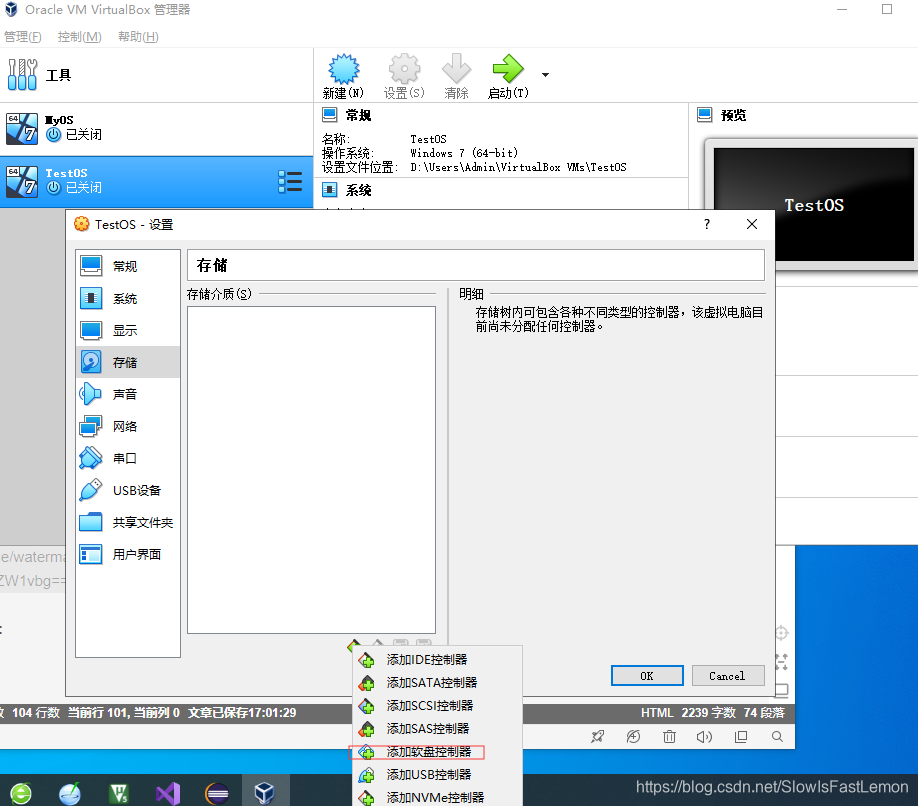
然后添加软驱:
然后选择对应的虚拟软盘即可:
2.2 加载软盘中的内核
点击启动虚拟机,将出现如下界面,大功告成:
参考资料:


 9万+
9万+

 被折叠的 条评论
为什么被折叠?
被折叠的 条评论
为什么被折叠?
 到【灌水乐园】发言


