


 本文介绍如何在CentOS7上安装Oracle 19c数据库,包括必要的依赖库安装、预安装步骤及Oracle数据库主体的安装过程。文中还提供了配置环境变量的方法以及启动1521端口监听的具体指令。
CentOS7安装Oracle
前言
版本说明
oracle-database-ee=19c-1.0-1.x86_64.rpm
相关链接:
- oracle 下载地址:https://www.oracle.com/database/technologies/oracle-database-software-downloads.html
- 官方安装教程:https://docs.oracle.com/en/database/oracle/oracle-database/19/ladbi/running-rpm-packages-to-install-oracle-database.html#GUID-BB7C11E3-D385-4A2F-9EAF-75F4F0AACF02
- compat-libstdc+±33 下载地址:http://www.rpmfind.net/linux/rpm2html/search.php?query=compat-libstdc+±33
- compat-libcap1 下载地址:http://rpmfind.net/linux/RPM/centos/7.8.2003/x86_64/Packages/compat-libcap1-1.10-7.el7.x86_64.html
安装
前置安装
- compat-libstdc+±33 下载地址:http://www.rpmfind.net/linux/rpm2html/search.php?query=compat-libstdc+±33
- compat-libcap1 下载地址:http://rpmfind.net/linux/RPM/centos/7.8.2003/x86_64/Packages/compat-libcap1-1.10-7.el7.x86_64.html
curl -o  compat-libstdc++-33-3.2.3-72.el7.i686.rpm http://www.rpmfind.net/linux/centos/7.8.2003/os/x86_64/Packages/compat-libstdc++-33-3.2.3-72.el7.i686.rpm
curl -o compat-libcap1-1.10-7.el7.x86_64.rpm  http://rpmfind.net/linux/centos/7.8.2003/os/x86_64/Packages/compat-libcap1-1.10-7.el7.x86_64.rpm
yum localinstall -y compat-libcap1-1.10-7.el7.x86_64.rpm
yum localinstall -y compat-libstdc++-33-3.2.3-72.el7.i686.rpm
Oracle 预安装
- oracle-database-preinstall 下载地址:https://yum.oracle.com/repo/OracleLinux/OL7/latest/x86_64/
打开下载网址,搜索 oracle-database-preinstall 并下载
curl -o oracle-database-preinstall-19c-1.0-1.el7.x86_64.rpm https://yum.oracle.com/repo/OracleLinux/OL7/latest/x86_64/getPackage/oracle-database-preinstall-19c-1.0-1.el7.x86_64.rpm
yum -y localinstall oracle-database-preinstall-19c-1.0-1.el7.x86_64.rpm
安装 Oracle
- oracle 下载地址:https://www.oracle.com/database/technologies/oracle-database-software-downloads.html
下载 oracle 安装后,上传到 temp 目录下,执行操作
cd /tmp
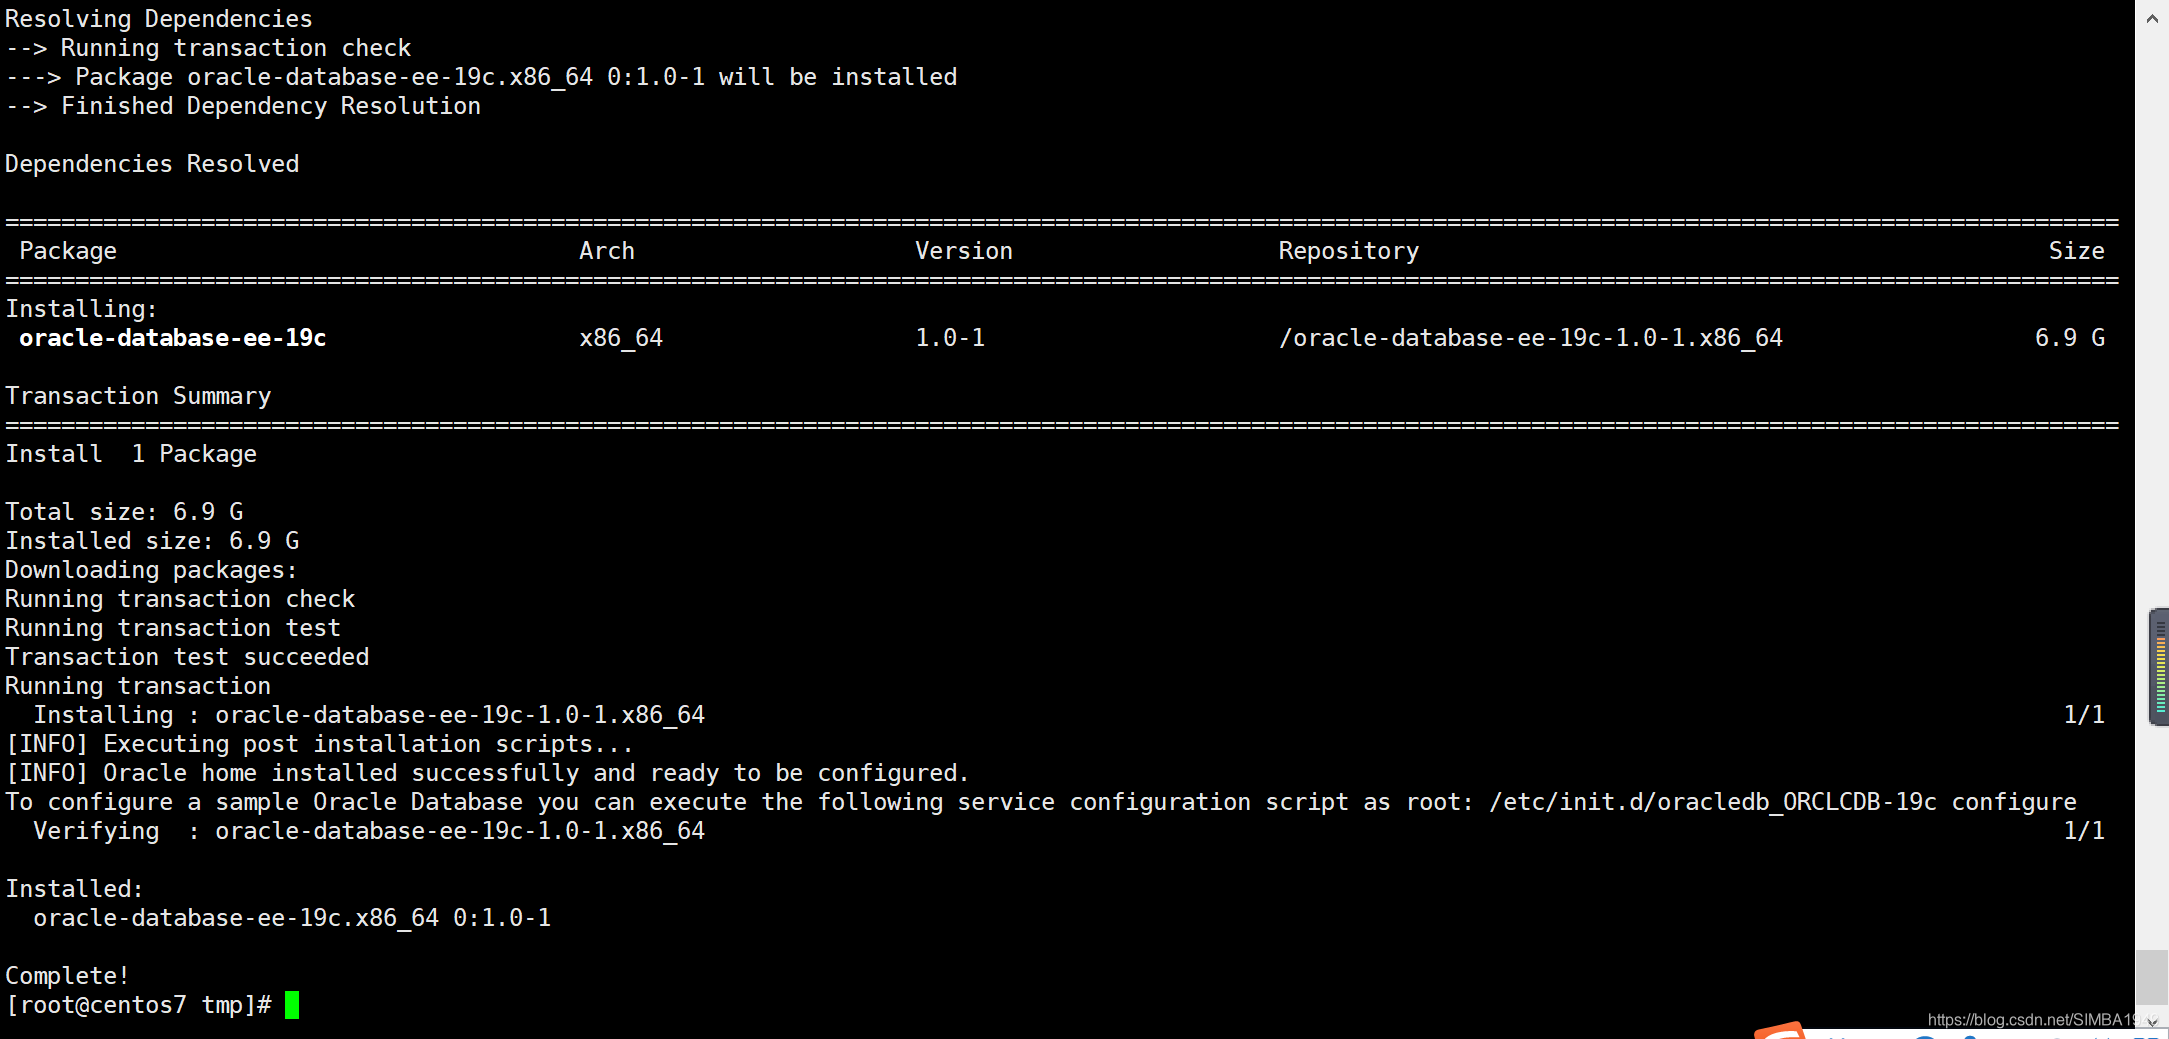
yum -y localinstall oracle-database-ee-19c-1.0-1.x86_64.rpm
初始化
# 注意需要很长的时间创建 oracle 实例
/etc/init.d/oracledb_ORCLCDB-19c configure

配置Oracle环境
编辑 /home/oracle/.bash_profile 配置文件,添加如下内容,
重新加载配置文件(source /home/oracle/.bash_profile)
export  ORACLE_BASE=/opt/oracle
export  ORACLE_HOME=/opt/oracle/product/19c/dbhome_1
export  ORACLE_SID=ORCLCDB
export  PATH=$ORACLE_HOME/bin:$PATH:$HOME/.local/bin:$HOME/bin
export  LD_LIBRARY_PATH=$ORACLE_HOME/lib:/usr/lib
export  NLS_LANG=AMERICAN_AMERICA.UTF8
修改 oracle 用户的密码
passwd oracle
切换 oracle 用户登录 Oracle 数据库
su oracle
sqlplus / as sysdba
登录用户名选择:sys as sysdba ,密码:change_on_install
修改 system 密码
SQL> password system
启动1521端口监听
使用 oracle 用户,启动1521端口监听
su oracle
# 进入 $ORACLE_HOME/bin 目录下
cd /opt/oracle/product/19c/dbhome_1/bin
# 重新加载配置
source /home/oracle/.bash_profile
# 启动1521端口监听
./lsnrctl start

# 命令
./lsnrctl stop
./lsnrctl start
./lsnrctl status

连接测试
使用 DataGrip 连接,service_name=ORCLCDB ,User=system ,密码是自己设置的,如图:


 9467
9467

 被折叠的 条评论
为什么被折叠?
被折叠的 条评论
为什么被折叠?
 到【灌水乐园】发言


