


 本文详细介绍如何使用IDEA和Maven快速搭建SpringBoot项目,包括项目结构搭建、Web功能配置、测试功能开启等核心步骤,并解析关键注解与依赖。
给岁月以文明,而不是给文明以岁月。
前言
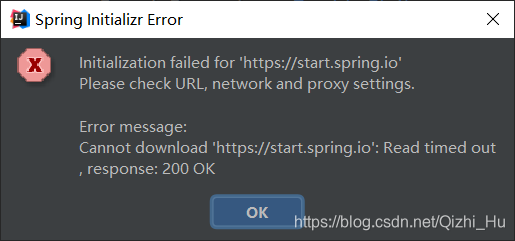
用Spring Initializr创建SpringBoot工程虽然方便,但是得有网,耗时耗流量,而且默认下载最新版本(强迫症可能会不舒服),网络不佳时还可能下载半天然后失败,如:
不想这样的话,可以参考我的这篇博客,用maven工程构建包括如何同时启动多个SpringBoot工程实例:如何用Maven搭建一个SpringBoot工程
后语
时代变得真快呀,现在SpingBoot官方直接强推Java17,然而现在很多企业还是用Java8
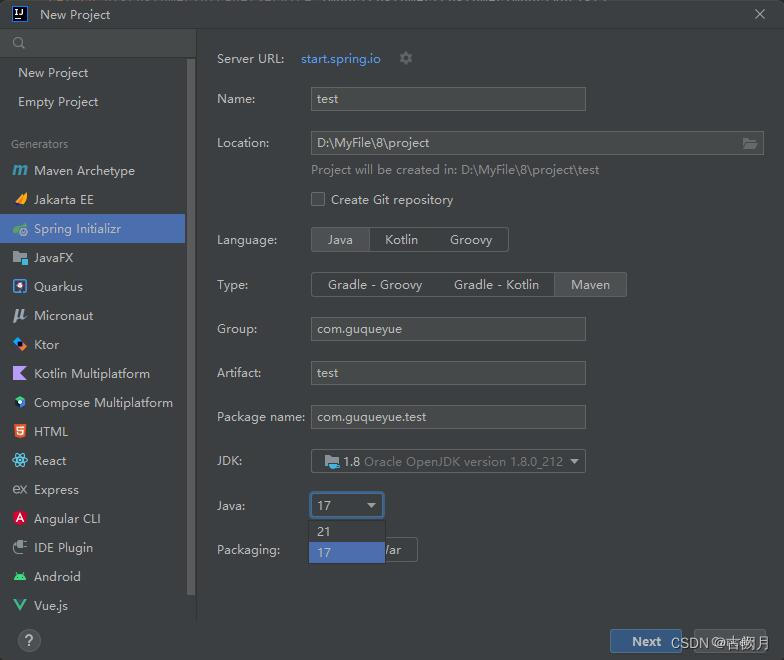
如果还想使用Spring Initializr快速构建的话,需要点击Server URL那一栏的设置按钮,进行换源,换成: https://start.aliyun.com
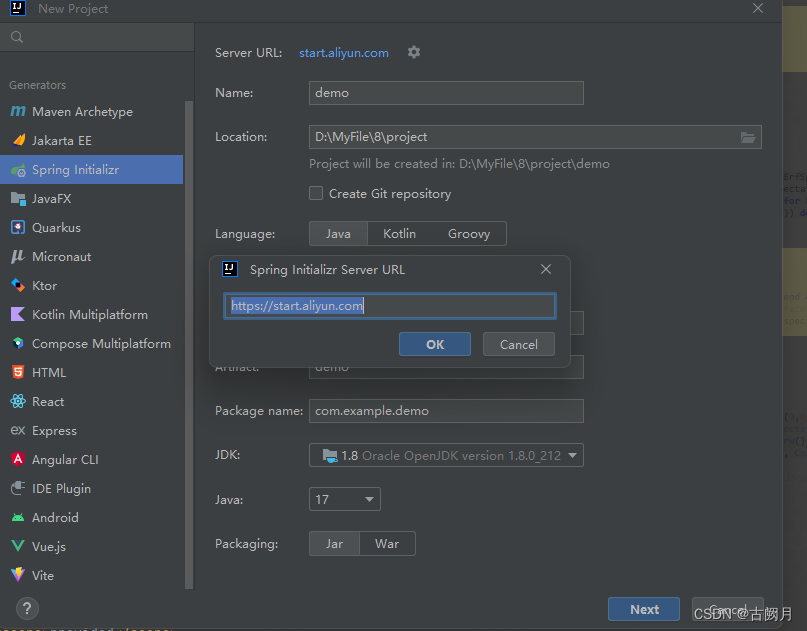
然后点击OK,就OK啦:

二步搭建
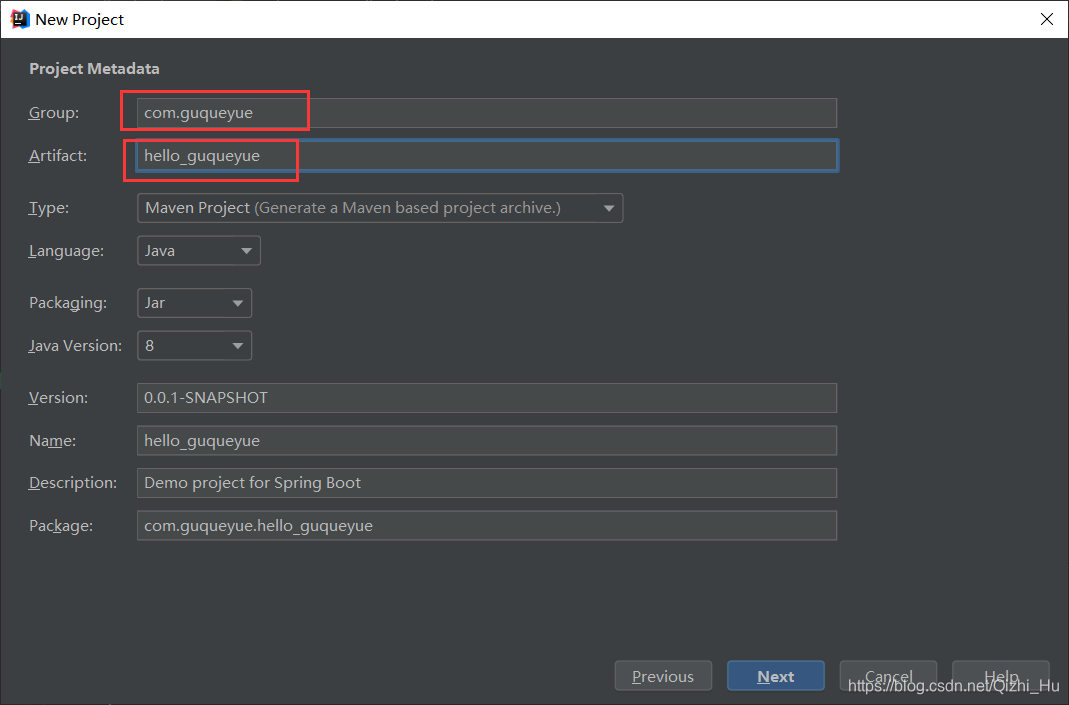
1.打开"IDEA",选择"Create New Project" -> “Next”,填写组织名,如"com.guqueyue"; 项目名,如"hello_guqueyue",再点击"Next",下一步。
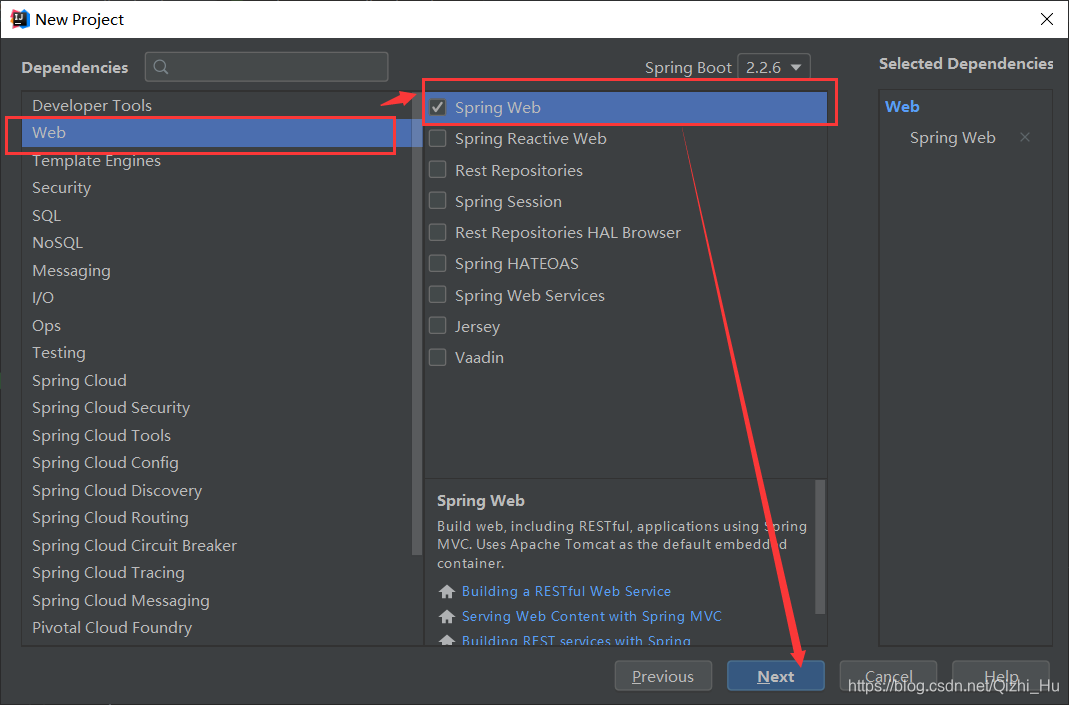
2.此处我们勾选"Spring MVC"的核心依赖,开启web功能:点击 “Web” -> “Spring Web”,再点击"Next",确认项目放置位置,再点击"Finish",等待IDEA右下方的进度条显示下载完成,即可。
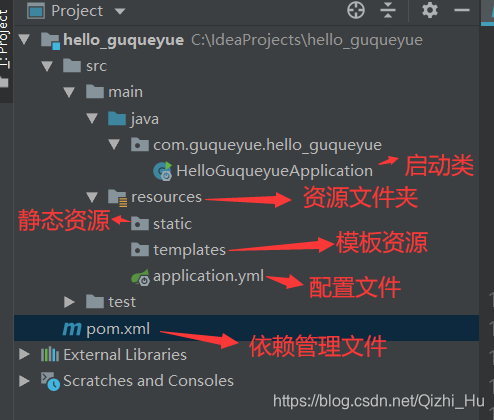
项目结构
选中application.properties文件,右键 -> “Refactor” -> “Rename…” ,再点击"Refactor"后,重命名为application.yml后,项目结构图如下:
其中配置文件pom.xml中有spring-boot-starter-web和spring-boot-starter-test的起步依赖:
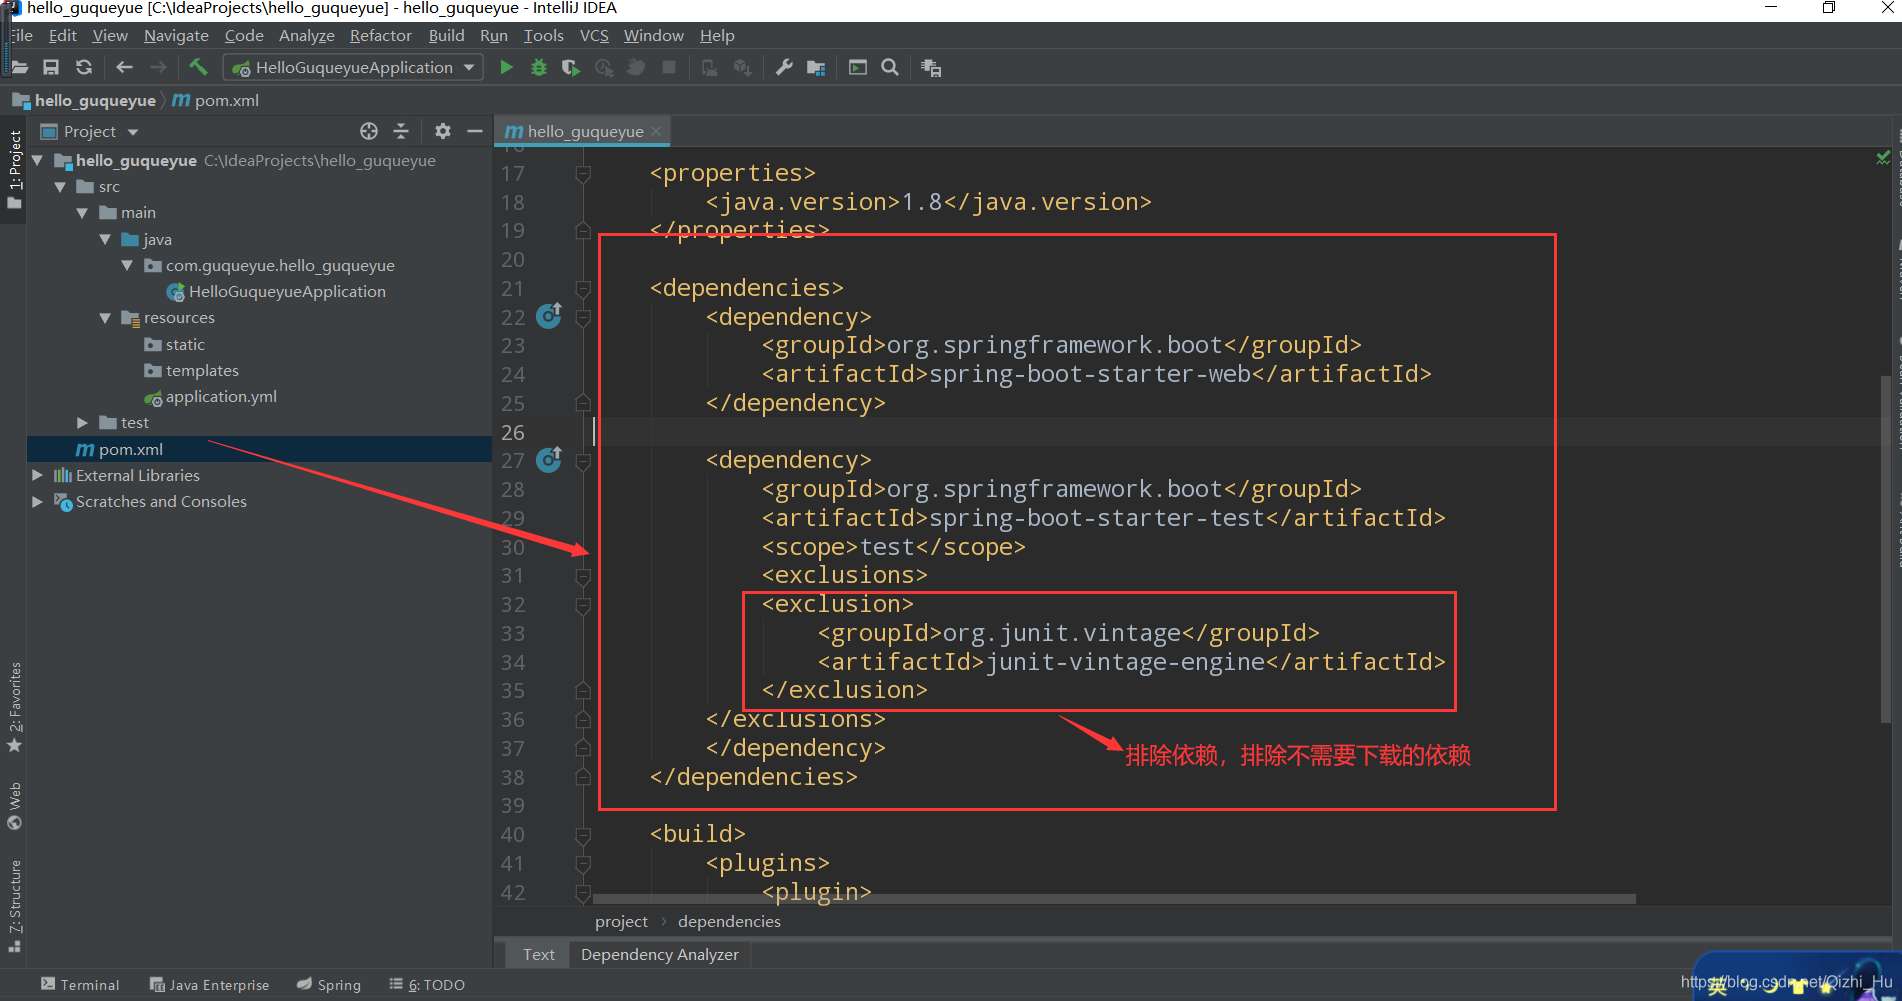
代码如下:
	<dependencies>
        <dependency>
            <groupId>org.springframework.boot</groupId>
            <artifactId>spring-boot-starter-web</artifactId>
        </dependency>

        <dependency>
            <groupId>org.springframework.boot</groupId>
            <artifactId>spring-boot-starter-test</artifactId>
            <scope>test</scope>
            <exclusions>
            <exclusion>
                <groupId>org.junit.vintage</groupId>
                <artifactId>junit-vintage-engine</artifactId
最低0.47元/天 解锁文章


 1255
1255

 被折叠的 条评论
为什么被折叠?
被折叠的 条评论
为什么被折叠?
 到【灌水乐园】发言


