


第二天任务:引入 ElementUI Navbar组件,完成用户登录注册页面。
1.Navbar
先创建如图示文件目录,并在 main.js 里面导入相应的组件:
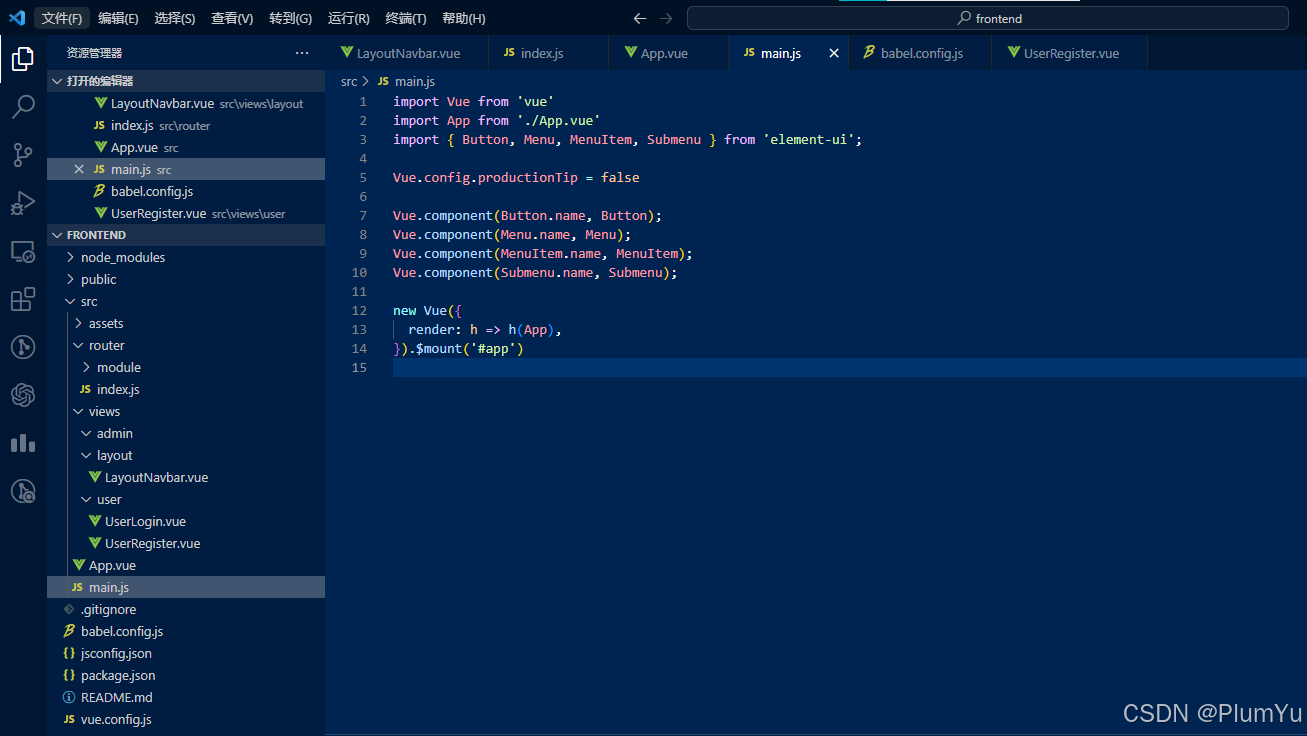
将 ElementUI 的 Navbar 代码粘贴复制到 LayoutNavbar 里面,如下:
<template>
  <div>
    <el-menu :default-active="activeIndex" class="el-menu-demo" mode="horizontal" @select="handleSelect">
    <el-menu-item index="1">处理中心</el-menu-item>
    <el-submenu index="2">
        <template slot="title">我的工作台</template>
        <el-menu-item index="2-1">选项1</el-menu-item>
        <el-menu-item index="2-2">选项2</el-menu-item>
        <el-menu-item index="2-3">选项3</el-menu-item>
        <el-submenu index="2-4">
        <template slot="title">选项4</template>
        <el-menu-item index="2-4-1">选项1</el-menu-item>
        <el-menu-item index="2-4-2">选项2</el-menu-item>
        <el-menu-item index="2-4-3">选项3</el-menu-item>
        </el-submenu>
    </el-submenu>
    <el-menu-item index="3" disabled>消息中心</el-menu-item>
    <el-menu-item index="4"><a href="https://www.ele.me" target="_blank">订单管理</a></el-menu-item>
    </el-menu>
    <div class="line"></div>
    <el-menu
    :default-active="activeIndex2"
    class="el-menu-demo"
    mode="horizontal"
    @select="handleSelect"
    background-color="#545c64"
    text-color="#fff"
    active-text-color="#ffd04b">
    <el-menu-item index="1">处理中心</el-menu-item>
    <el-submenu index="2">
        <template slot="title">我的工作台</template>
        <el-menu-item index="2-1">选项1</el-menu-item>
        <el-menu-item index="2-2">选项2</el-menu-item>
        <el-menu-item index="2-3">选项3</el-menu-item>
        <el-submenu index="2-4">
        <template slot="title">选项4</template>
        <el-menu-item index="2-4-1">选项1</el-menu-item>
        <el-menu-item index="2-4-2">选项2</el-menu-item>
        <el-menu-item index="2-4-3">选项3</el-menu-item>
        </el-submenu>
    </el-submenu>
    <el-menu-item index="3" disabled>消息中心</el-menu-item>
    <el-menu-item index="4"><a href="https://www.ele.me" target="_blank">订单管理</a></el-menu-item>
    </el-menu>
  </div>
</template>

<script>
export default {
    data() {
      return {
        activeIndex: '1',
        activeIndex2: '1'
      };
    },
    methods: {
      handleSelect(key, keyPath) {
        console.log(key, keyPath);
      }
    }
  }
</script>

<style>

</style>
在 App.vue 在引入组件并启动项目,App.vue 的代码和项目启动的截图如下:
App.vue 的代码:
<template>
  <div id="app">
    <navbar v-show="!isAdminRoute"/>
    <router-view/>
    <!-- <bottom-time class="bottom-component"/> -->
  </div>
</template>

<script>
import Navbar from './views/layout/layout_Navbar.vue';
import BottomTime from './views/bottom/bottom_time.vue';

export default {
  components: {
    Navbar,
    BottomTime
  },
  data() {
    return {};
  },
  computed: {
    isAdminRoute() {
      return this.$route.path.startsWith('/admin'); // 检查当前路由路径是否以 "admin/" 开头
    }
  }
};
</script>

<style scoped>

.app {
  position: relative;
  display: flex;
  justify-content: center; /* 水平居中 */
}
.bottom-component {
  /* position: fixed; 移除固定定位 */
width: 100%;
  /* 可以添加 margin 或 padding 来调整它与页面内容的间距 */
  margin-top: 20px; /* 例如,添加上边距 */
}
</style>
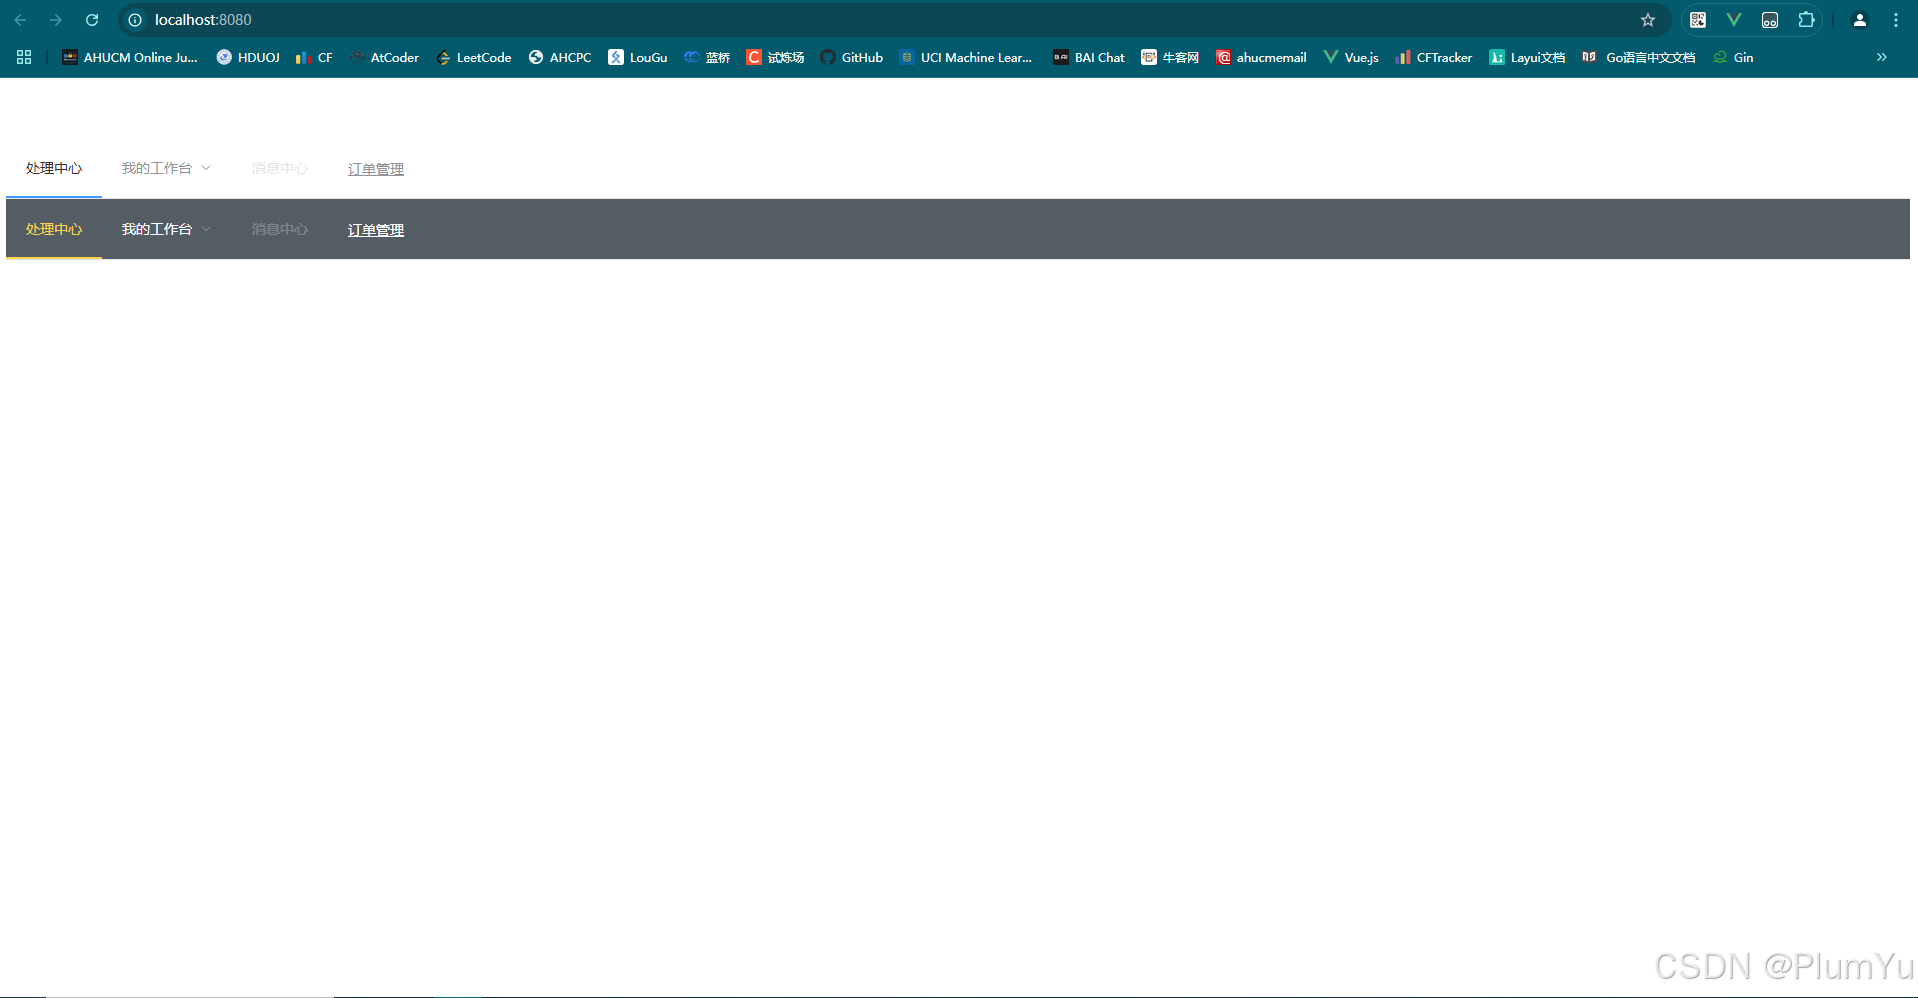
运行结果:
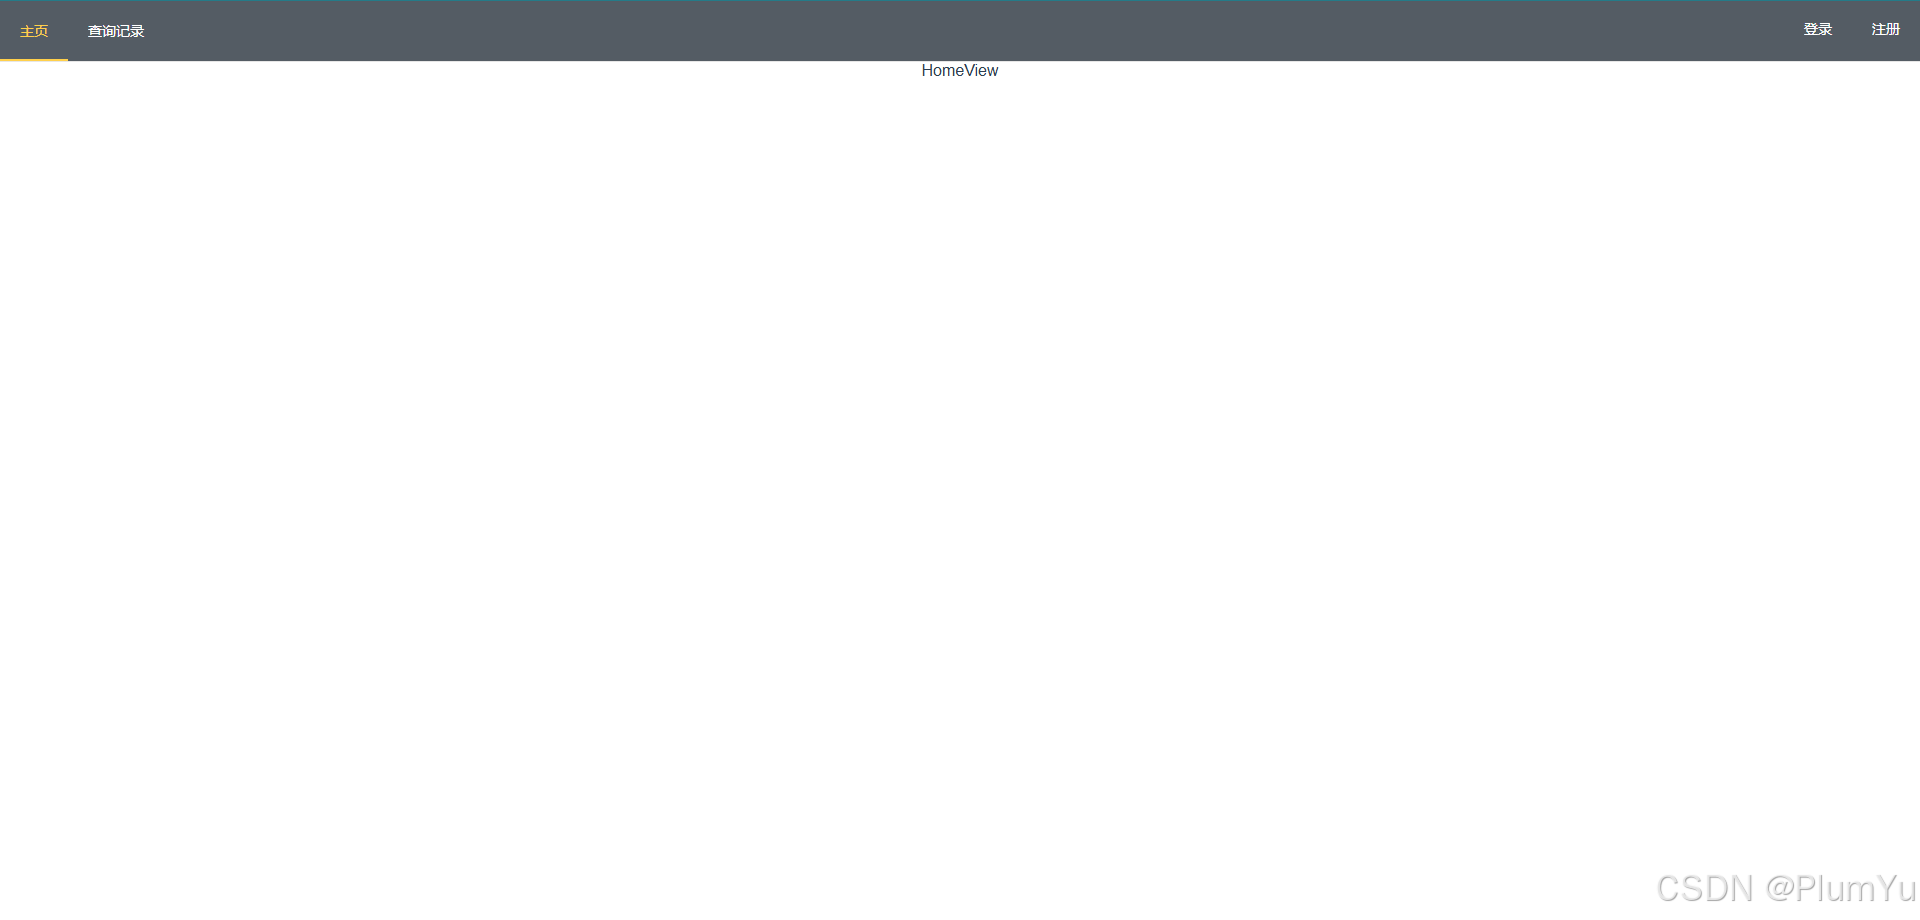
我们根据需要,选择性的删除或者添加一些,最终结果如下:
首先为了方便调整位置,我们需要到项目目录下将 elementui 自带的 body margin 删掉。
在 public/index.html 加入以下代码:
<!DOCTYPE html>
<html lang="">

<head>
  <meta charset="utf-8">
  <meta http-equiv="X-UA-Compatible" content="IE=edge">
  <meta name="viewport" content="width=device-width,initial-scale=1.0">
  <link rel="icon" href="<%= BASE_URL %>favicon.ico">
  <title>
    <%= htmlWebpackPlugin.options.title %>
  </title>
</head>

<body style="margin: 0;">
  <noscript>
    <strong>We're sorry but <%= htmlWebpackPlugin.options.title %> doesn't work properly without JavaScript enabled.
        Please enable it to continue.</strong>
  </noscript>
  <div id="app"></div>
  <!-- built files will be auto injected -->
</body>

</html>
LayoutNavbar.vue 的代码:
<template>
  <div>
    <el-menu
      :default-active="activeIndex2"
      class="el-menu-demo"
      mode="horizontal"
      @select="handleSelect"
      background-color="#545c64"
      text-color="#fff"
      active-text-color="#ffd04b">
      <el-menu-item index="1">主页</el-menu-item>
      <el-menu-item index="2">查询记录</el-menu-item>
      <div class="menu-item-right" v-if="this.userInfo">
        <el-menu-item index="3" >{{ userInfo }}</el-menu-item>
        <el-submenu index="4" >
          <template slot="title">工作台</template>
          <el-menu-item index="4-1">修改信息</el-menu-item>
          <el-menu-item index="4-2">后台管理</el-menu-item>
          <el-menu-item index="4-3">注销登陆</el-menu-item>
        </el-submenu>
      </div>
      <div class="menu-item-right" v-else>
        <el-menu-item index="3" >登录</el-menu-item>
        <el-menu-item index="4" >注册</el-menu-item>
      </div>
    </el-menu>
  </div>
</template>

<script>
export default {
  data() {
    return {
      activeIndex2: '1',
      userInfo:'',
    };
  },
  methods: {
    handleSelect(key, keyPath) {
      console.log(key, keyPath);
    }
  }
}
</script>

<style scoped>
.menu-item-right {
  margin-left: auto; /* 这会将子菜单推向右边,但请注意,这可能需要额外的样式调整 */
  display: flex;
}
.el-menu-demo {
  display: flex; /* 确保菜单使用 Flexbox 布局 */
  justify-content: space-between; /* 可选:根据需要调整菜单项之间的间距 */
}
</style>
这里先将 userInfo 的信息置为空,后续可以用 vuex 更新。
App.vue 的代码如下:
<template>
  <div id="app">
    <Navbar/>
  </div>
</template>

<script>
import Navbar from './views/layout/LayoutNavbar.vue';

export default {
  components: {
    Navbar,
  }
}
</script>

<style>
#app {
  font-family: Avenir, Helvetica, Arial, sans-serif;
  -webkit-font-smoothing: antialiased;
  -moz-osx-font-smoothing: grayscale;
  text-align: center;
  color: #2c3e50;
}
</style>
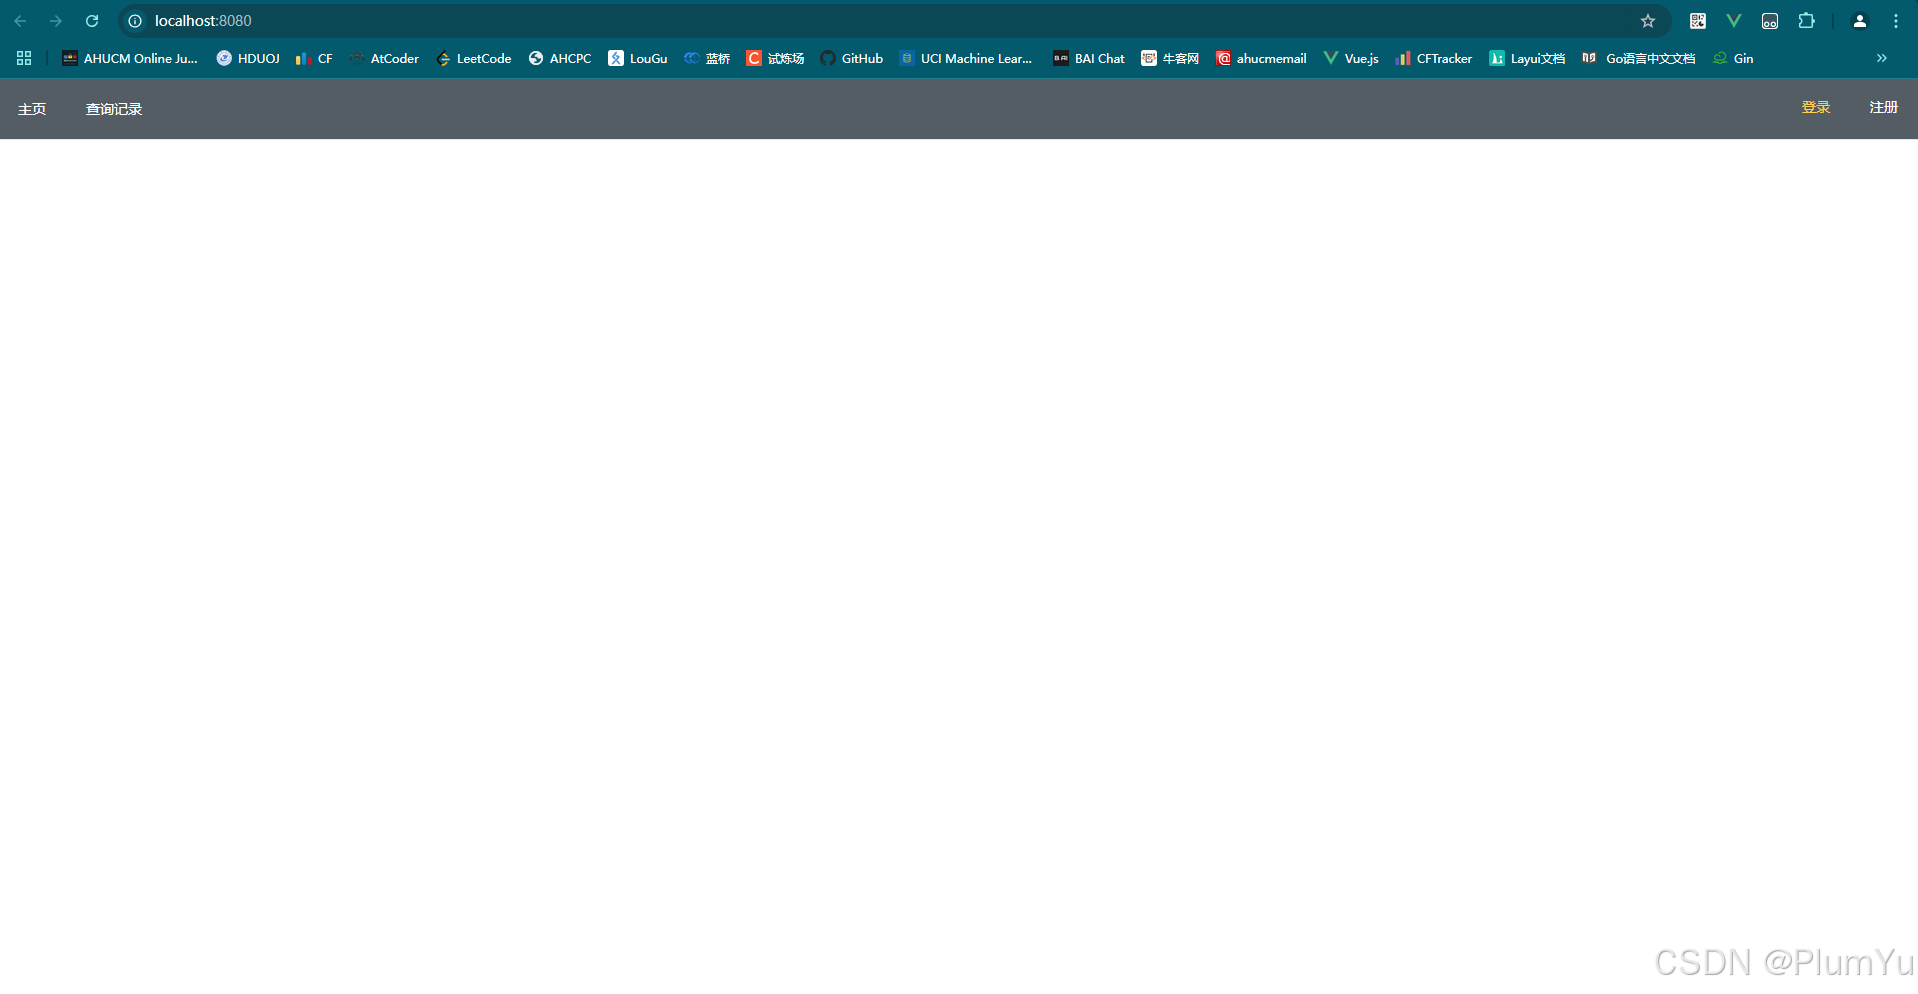
效果:
2.登录界面准备工作
我们先将项目终止,然后在命令行当中安装 vue-router,方便我们控制路由,由于是 vue2 所以vue-router 需要指定版本安装,否则默认安装的就是最新的,版本不兼容会出错。
首先需要在原先的 App.vue 中添加路由入口:
App.vue 代码:
<template>
  <div id="app">
    <Navbar/>
    <router-view/>
  </div>
</template>

<script>
import Navbar from './views/layout/LayoutNavbar.vue';

export default {
  components: {
    Navbar,
  }
}
</script>

<style>
#app {
  font-family: Avenir, Helvetica, Arial, sans-serif;
  -webkit-font-smoothing: antialiased;
  -moz-osx-font-smoothing: grayscale;
  text-align: center;
  color: #2c3e50;
}
</style>
然后安装 vue-router
yarn add vue-router@3
当然我们需要在 main.js 里面引入我们需要的组件
main.js 代码
import Vue from 'vue'
import App from './App.vue'
import router from './router';
import { Button, Menu, Input, MenuItem, Form, FormItem, Submenu } from 'element-ui';

Vue.config.productionTip = false

Vue.component(Button.name, Button);
Vue.component(Menu.name, Menu);
Vue.component(MenuItem.name, MenuItem);
Vue.component(Submenu.name, Submenu);
Vue.component(Form.name, Form);
Vue.component(FormItem.name, FormItem);
Vue.component(Input.name, Input);

new Vue({
  router,
  render: h => h(App),
}).$mount('#app')
新创建几个文件如图所示:
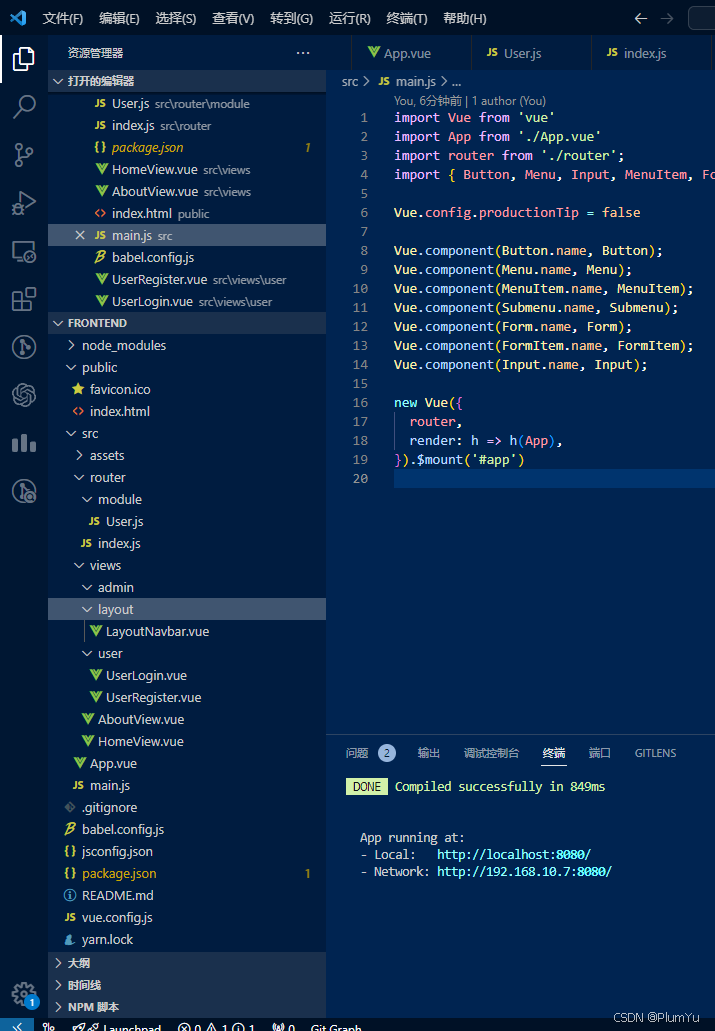
新建了两个 view 方便我们进行测试。
User.js 代码:
const UserRoutes = [
    {
        path: '/register',
        name: 'register',
        component: () => import('@/views/user/UserRegister.vue'),
    },
    {
        path: '/login',
        name: 'login',
        component: () => import('@/views/user/UserLogin.vue'),
    },
];

export default UserRoutes;
index.js 代码:
import Vue from 'vue';
import VueRouter from 'vue-router';
import UserRoutes from './module/User';

Vue.use(VueRouter);

const routes = [
    {
        path: '/',
        name: 'Home',
        component: () => import(/* webpackChunkName: "about" */ '../views/HomeView.vue'),
    },
    {
        path: '/about',
        name: 'about',
        // route level code-splitting
        // this generates a separate chunk (about.[hash].js) for this route
        // which is lazy-loaded when the route is visited.
        component: () => import(/* webpackChunkName: "about" */ '../views/AboutView.vue'),
    },
    ...UserRoutes,
];


const router = new VueRouter({
    mode: 'history',
    base: process.env.BASE_URL,
    routes,
});

// router.beforeEach((to, from, next) => {
//     if (to.meta.auth) { // 判断是否需要登录
//         // 判断用户是否登录
//         // if (store.state.userModule.token) {
//         //     // 判断 token 的有效性 比如有没有过期 需要后台发放 token 的时候 带上 token 的有效期
//         //     //  如果 token 无效 需要 请求 token
//         //     next()
//         // } else {
//         //     // 跳转登录
//         //     router.push({ name: 'login' });
//         // }
//     } else {
//         next()
//     }
// });

export default router;
AboutView.vue 代码:
<template>
    <div>AboutView</div>
  </template>

  <script>
  export default {

  }
  </script>

  <style>

  </style>
同理,HomeView.vue 的内容同上,将 div 标签里面的内容换成 HomeView 就行了。
运行结果如下:
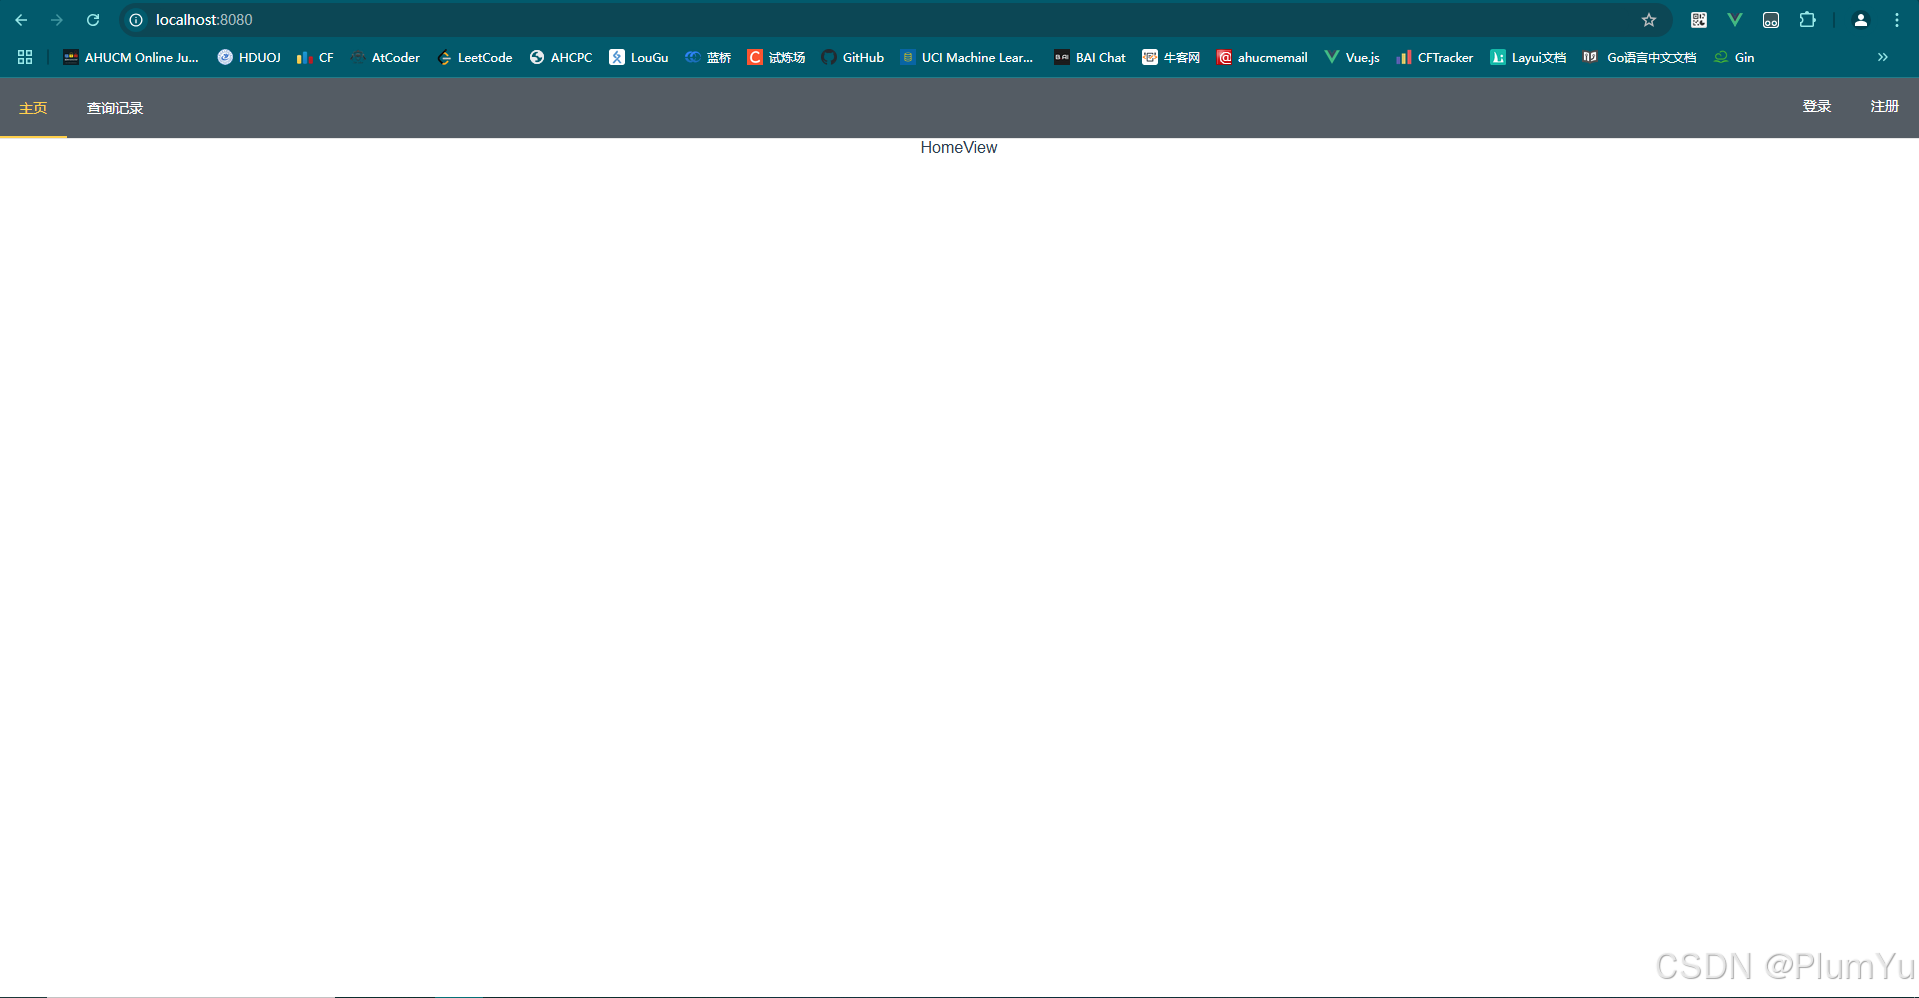
这是默认子路由界面为 HomeView.vue 在地址栏 + /about 会跳转到 AboutView.vue。
下面的任务就很简单了,开始编写我们的登陆界面。
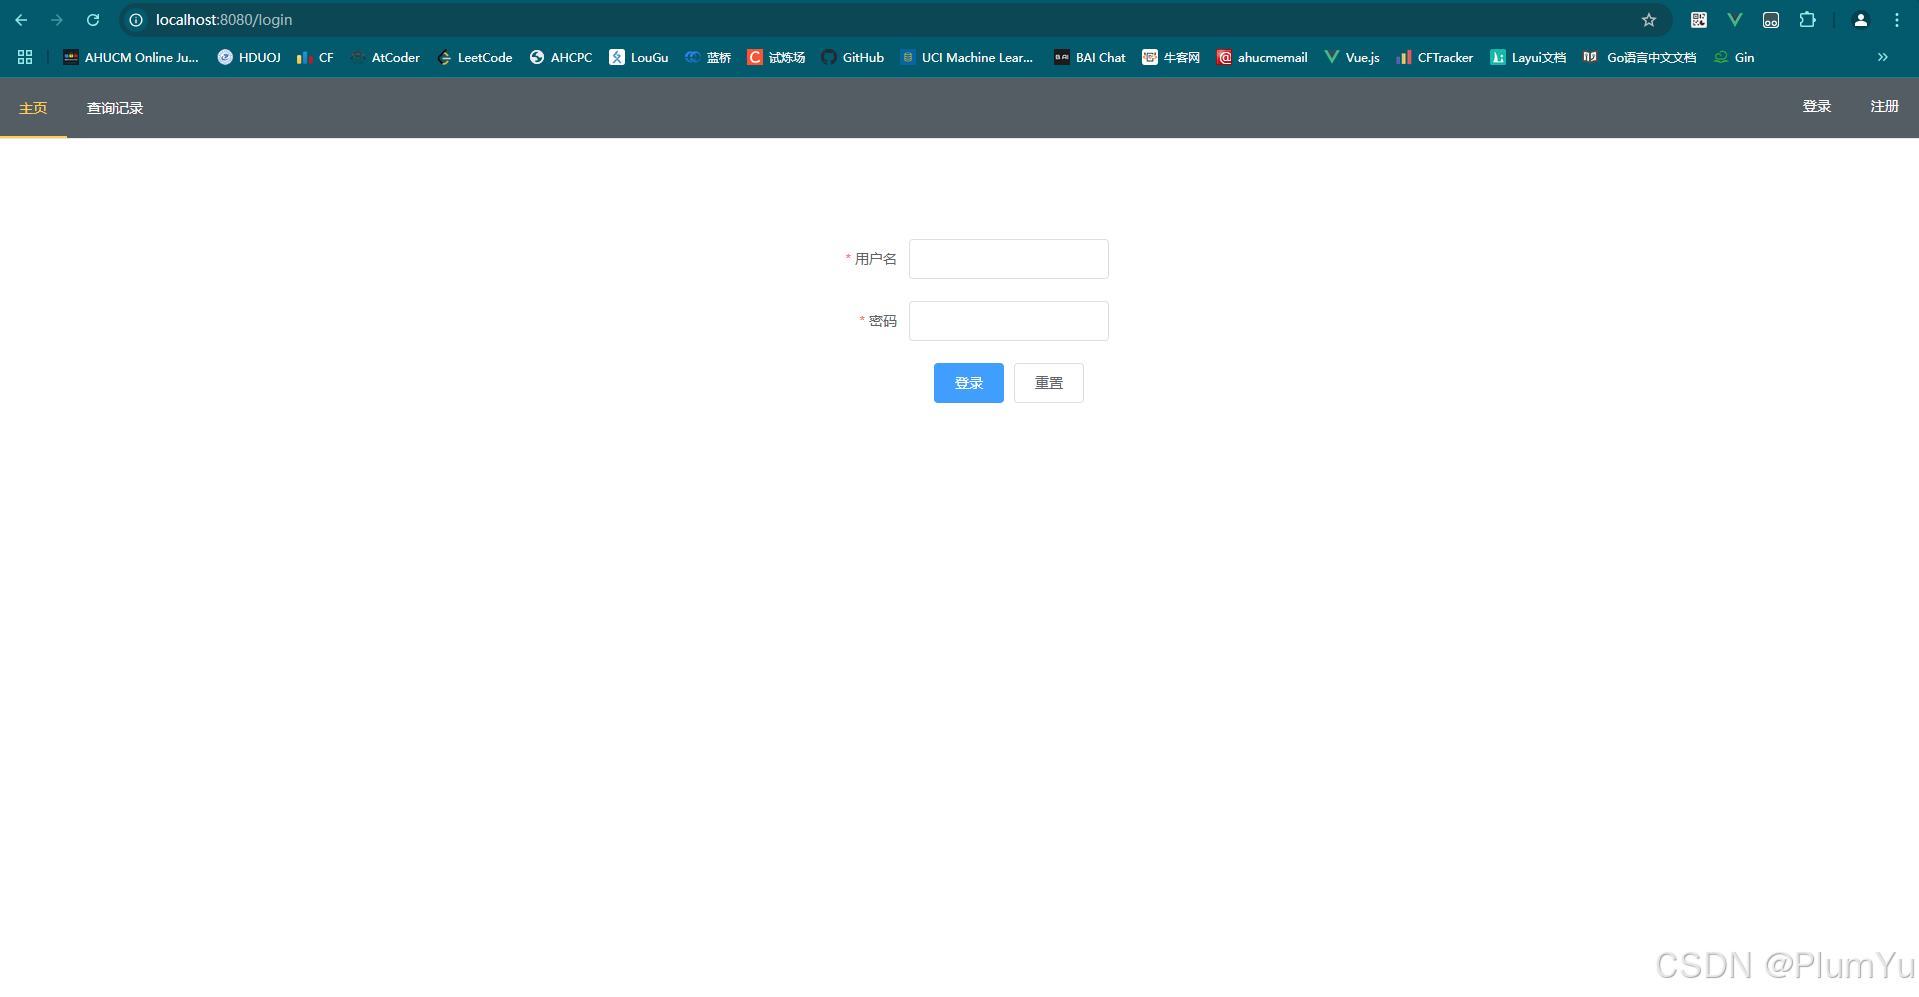
登录界面
UserLogin.vue 代码如下:
<template>
  <div class="login-container">
    <el-form :model="loginForm" :rules="rules" ref="loginForm" label-width="100px" class="demo-ruleForm">
      <el-form-item label="用户名" prop="username">
        <el-input v-model="loginForm.username"></el-input>
      </el-form-item>
      <el-form-item label="密码" prop="password">
        <el-input type="password" v-model="loginForm.password"></el-input>
      </el-form-item>
      <el-form-item>
        <el-button type="primary" @click="submitForm('loginForm')">登录</el-button>
        <el-button @click="resetForm('loginForm')">重置</el-button>
      </el-form-item>
    </el-form>
  </div>
</template>

<script>
export default {
  data() {
    return {
      loginForm: {
        username: '',
        password: ''
      },
      rules: {
        username: [
          { required: true, message: '请输入用户名', trigger: 'blur' }
        ],
        password: [
          { required: true, message: '请输入密码', trigger: 'blur' }
        ]
      }
    };
  },
  methods: {
    submitForm(formName) {
      this.$refs[formName].validate((valid) => {
        if (valid) {
          alert('提交成功!');
          // 在这里你可以添加登录逻辑,比如发送请求到服务器
        } else {
          console.log('error submit!!');
          return false;
        }
      });
    },
    resetForm(formName) {
      this.$refs[formName].resetFields();
    }
  }
};
</script>

<style scoped>
.login-container {
  width: 300px;
  margin: 100px auto;
}
</style>
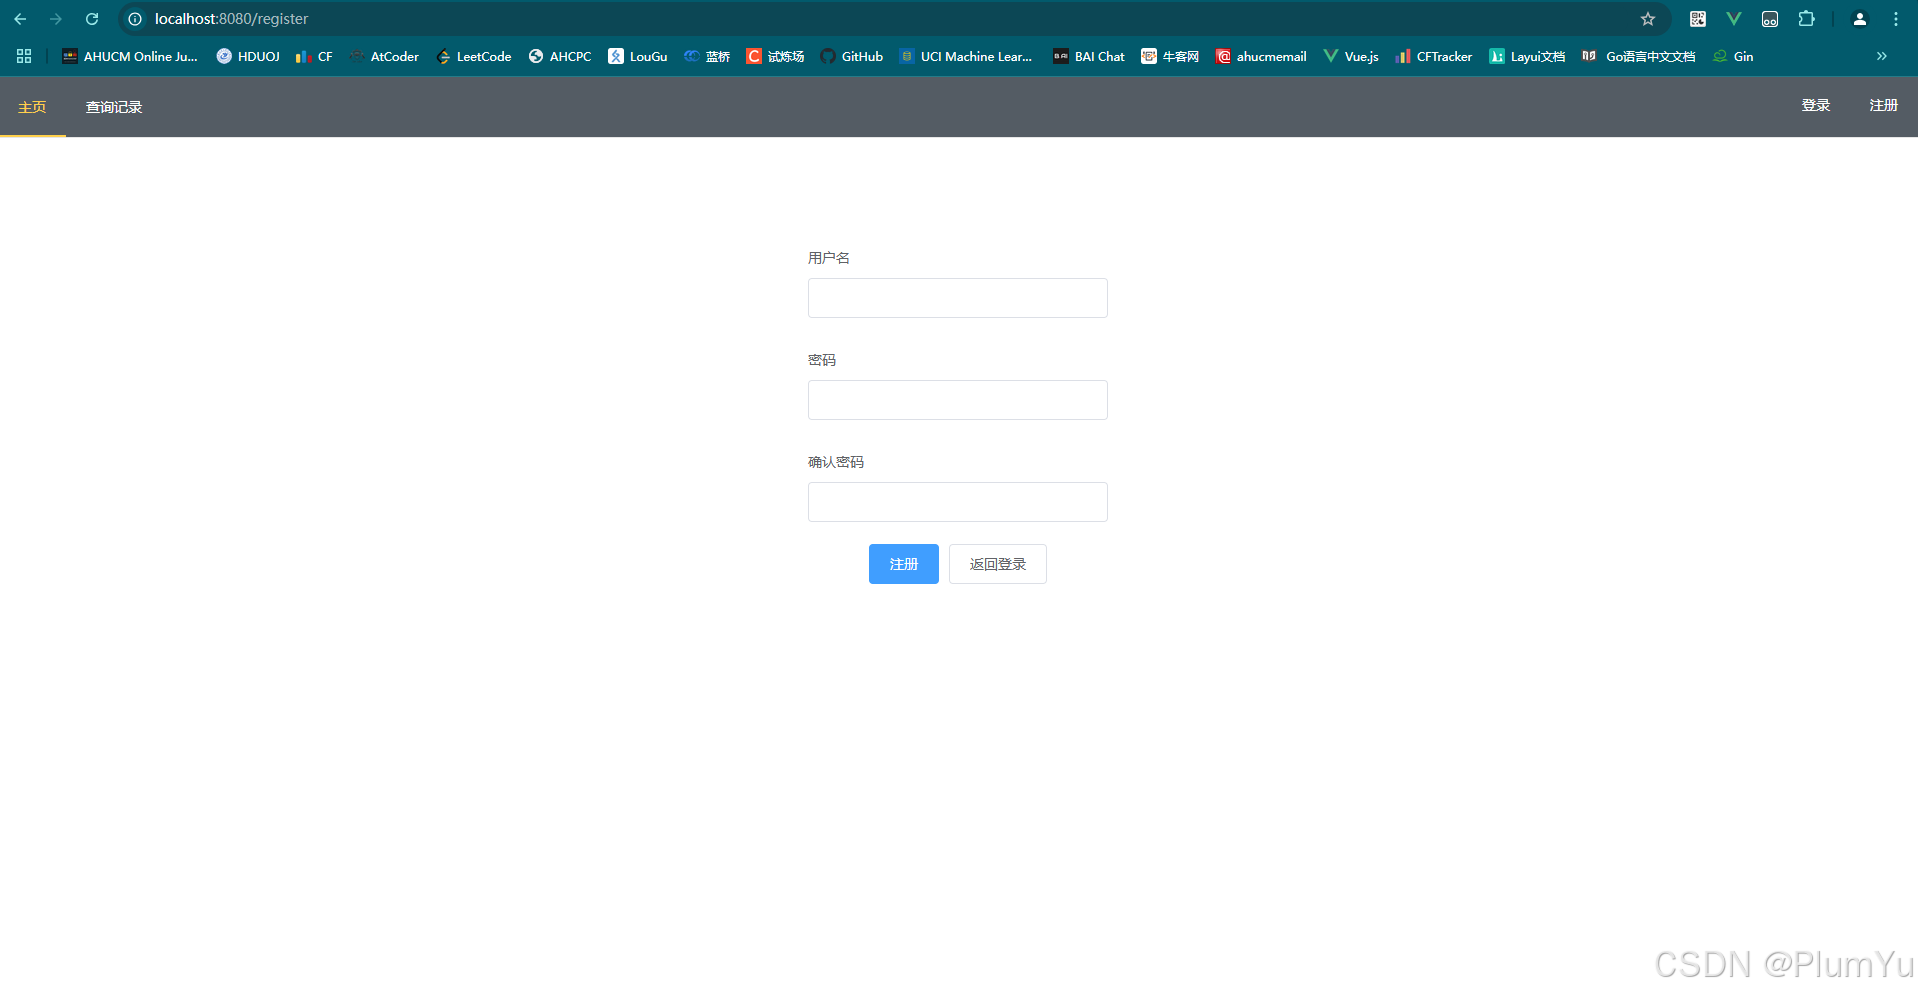
注册界面
UserRegister.vue 代码如下:
<template>
  <div class="register-form">
    <el-form :model="registerForm" @submit.native.prevent="handleRegister">
      <el-form-item label="用户名" prop="username">
        <el-input v-model="registerForm.username"></el-input>
      </el-form-item>
      <el-form-item label="密码" prop="password">
        <el-input type="password" v-model="registerForm.password"></el-input>
      </el-form-item>
      <el-form-item label="确认密码" prop="confirmPassword">
        <el-input type="password" v-model="registerForm.confirmPassword"></el-input>
      </el-form-item>
      <el-form-item>
        <el-button type="primary" @click="handleRegister">注册</el-button>
        <el-button @click="handleLogin">返回登录</el-button>
      </el-form-item>
    </el-form>
  </div>
</template>

<script>
export default {
  data() {
    return {
      registerForm: {
        username: '',
        password: '',
        confirmPassword: ''
      }
    };
  },
  methods: {
    handleRegister() {
      if (this.registerForm.password !== this.registerForm.confirmPassword) {
        alert('两次输入密码不一致');
        return;
      }
      // 处理注册逻辑,比如发送请求到后端
      console.log('注册', this.registerForm);
    },
    handleLogin() {
      this.$router.push('/');
    }
  }
};
</script>

<style scoped>
  .register-form {
    width: 300px;
    margin: 100px auto;
  }
</style>
运行结果:
首页
登陆界面:
 注册界面:
注册界面:
两个简单页面就完成了。
下面我们将 LayoutNavbar 与这两个页面连接起来, LayoutNavbar 代码如下:
<template>
  <div>
    <el-menu
      :default-active="activeIndex2"
      class="el-menu-demo"
      mode="horizontal"
      @select="handleSelect"
      background-color="#545c64"
      text-color="#fff"
      active-text-color="#ffd04b">
      <el-menu-item index="1">主页</el-menu-item>
      <el-menu-item index="2">查询记录</el-menu-item>
      <div class="menu-item-right" v-if="this.userInfo">
        <el-menu-item index="3" >{{ userInfo }}</el-menu-item>
        <el-submenu index="4" >
          <template slot="title">工作台</template>
          <el-menu-item index="4-1">修改信息</el-menu-item>
          <el-menu-item index="4-2">后台管理</el-menu-item>
          <el-menu-item index="4-3">注销登陆</el-menu-item>
        </el-submenu>
      </div>
      <div class="menu-item-right" v-else>
        <el-menu-item index="3" @click="gotoLogin">登录</el-menu-item>
        <el-menu-item index="4" @click="gotoRegister">注册</el-menu-item>
      </div>
    </el-menu>
  </div>
</template>

<script>
export default {
  data() {
    return {
      activeIndex2: '1',
      userInfo:'',
    };
  },
  methods: {
    handleSelect(key, keyPath) {
      console.log(key, keyPath);
    },
    gotoLogin() {
      const currentPath = this.$route.path;
      if (currentPath !== '/login') {
        this.$router.push('/login');
      }
      // 或者,如果您想在用户已经在登录页面时给出提示,可以添加以下代码:
      else {
        alert('您已经在登录页面!');
      }
    },
    gotoRegister() {
      const currentPath = this.$route.path;
      if (currentPath !== '/register') {
        this.$router.push('/register');
      }
      // 或者,如果您想在用户已经在注册页面时给出提示,可以添加以下代码:
      else {
        alert('您已经在注册页面!');
      }
    },
  }
}
</script>

<style scoped>
.menu-item-right {
  margin-left: auto; /* 这会将子菜单推向右边,但请注意,这可能需要额外的样式调整 */
  display: flex;
}
.el-menu-demo {
  display: flex; /* 确保菜单使用 Flexbox 布局 */
  justify-content: space-between; /* 可选:根据需要调整菜单项之间的间距 */
}
</style>
第二天的任务就到这里了。


 被折叠的 条评论
为什么被折叠?
被折叠的 条评论
为什么被折叠?
 到【灌水乐园】发言


