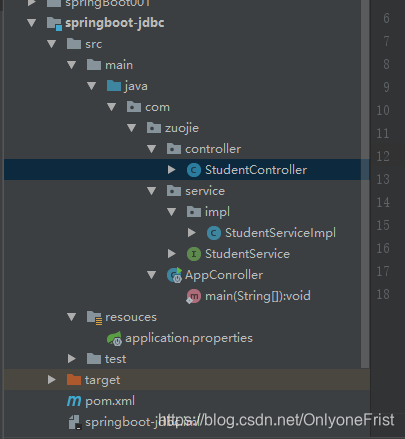
项目结构如下
第一步在pom中引入相应的jar包
<parent>
		<groupId>org.springframework.boot</groupId>
		<artifactId>spring-boot-starter-parent</artifactId>
		<version>1.5.2.RELEASE</version>
	</parent>
	<dependencies>
		<dependency>
			<groupId>org.springframework.boot</groupId>
			<artifactId>spring-boot-starter-jdbc</artifactId>
		</dependency>
		<dependency>
			<groupId>mysql</groupId>
			<artifactId>mysql-connector-java</artifactId>
			<version>5.1.21</version>
		</dependency>
		<dependency>
			<groupId>org.springframework.boot</groupId>
			<artifactId>spring-boot-starter-test</artifactId>
			<scope>test</scope>
		</dependency>
		<dependency>
			<groupId>org.springframework.boot</groupId>
			<artifactId>spring-boot-starter-web</artifactId>
		</dependency>
	</dependencies>
第二步application.properties配置如下
spring.datasource.url=jdbc:mysql://localhost:3306/test
spring.datasource.username=root
spring.datasource.password=root
spring.datasource.driver-class-name=com.mysql.jdbc.Driver
注:这里需要注意一个问题启动不同module的时候会出现端口被占用的情况。可以使用server.port=9090改变端口
第三步service代码
package com.zuojie.service;

public interface StudentService {
    public void createJdbcUser();
}
serviceImpl代码
package com.zuojie.service.impl;

import com.zuojie.service.StudentService;
import org.springframework.beans.factory.annotation.Autowired;
import org.springframework.jdbc.core.JdbcTemplate;
import org.springframework.stereotype.Service;

@Service
public class StudentServiceImpl  implements StudentService {
    @Autowired
    private JdbcTemplate jdbcTemplate;
    @Override
    public void createJdbcUser() {
        jdbcTemplate.update("insert into student values(null,?,?);","lisi",18);

    }
}
controller代码
package com.zuojie.controller;

import com.zuojie.service.StudentService;
import org.springframework.beans.factory.annotation.Autowired;
import org.springframework.web.bind.annotation.RequestMapping;
import org.springframework.web.bind.annotation.RestController;

@RestController
public class StudentController {
    @Autowired
    private StudentService studentService;
    @RequestMapping("/index")
   public String index(){
       return "add success";
   }

}
启动类代码
package com.zuojie;

import org.springframework.boot.SpringApplication;
import org.springframework.boot.autoconfigure.EnableAutoConfiguration;
import org.springframework.context.annotation.ComponentScan;


@ComponentScan(basePackages = "com.zuojie")
@EnableAutoConfiguration
public class AppConroller
{
    public static void main( String[] args )
    {
        SpringApplication.run(AppConroller.class, args);
    }
}
第四步访问
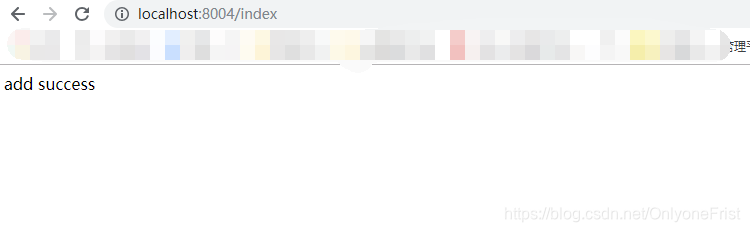
如图访问成功 到这里集成就成功了 可以编写增删查改了。


 本文详细介绍了如何在Spring Boot项目中集成MySQL数据库,包括引入依赖、配置数据源、实现JDBC操作以及创建RESTful API。


 823
823

 被折叠的 条评论
为什么被折叠?
被折叠的 条评论
为什么被折叠?
 到【灌水乐园】发言


