


 本文详细介绍了一种使用原生JavaScript实现图片放大镜效果的方法。通过监听鼠标移动事件,动态调整遮罩层和放大图片的位置,使用户可以查看图片的细节部分。此效果适用于产品详情页,提供更佳的用户体验。
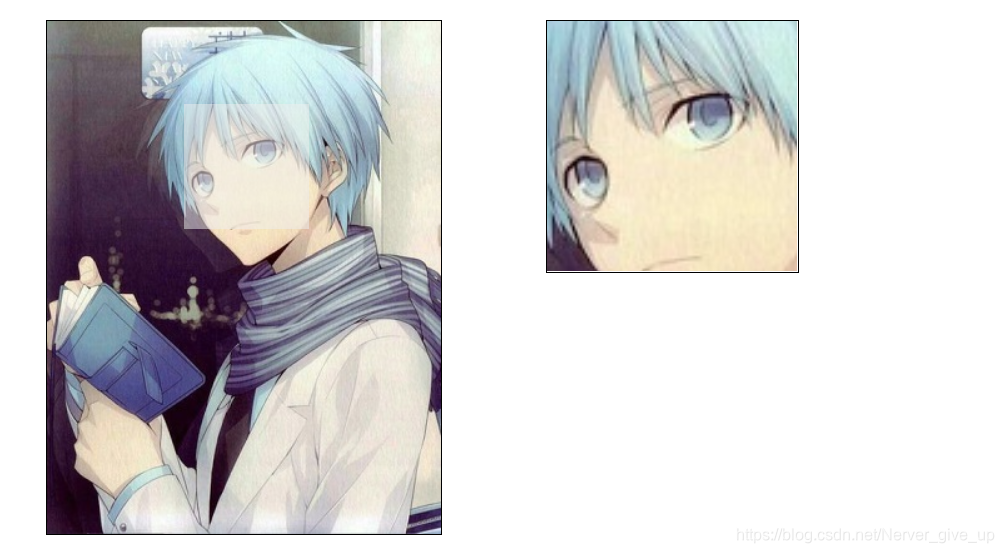
原生JS实现放大镜效果
效果如下:
<!DOCTYPE html>
<html lang="en">
<head>
    <meta charset="UTF-8">
    <meta name="viewport" content="width=device-width, initial-scale=1.0">
    <title>Document</title>
    <style>
        *{
            margin: 0;padding: 0;
        }
        #small{
            width: 315px;
            height: 410px;
            border: solid 1px black;
            margin: 100px;
            position: relative;
        }
        #small img{
            width: 100%;
            height: 100%;
        }
        #mark{
            width: 100px;
            height: 100px;
            background-color: #eee;
            opacity: 0.5;
            filter: alpha(opacity=50); /*兼容性*/
            position: absolute;
            top: 0;
            left: 0;
            display: none;
        }
        #big{
            display: none;
            width: 200px;
            height: 200px;
            position: absolute;
            left: 500px;
            top: 100px;
            border: solid 1px black;
            overflow: hidden;
        }
        #big img{
            width: 630px;
            height: 820px;
            position: absolute;
            left: 0;
            top: 0;
        }
    </style>
</head>
<body>
    <div id="small">
        <img src="../image/sc1.jpg" alt="">
        <div id="mark"></div>
    </div>
    <div id="big">
        <img src="../image/sc1.jpg" alt="" id="bigImg">
    </div>

    <script>
       //mark的行为
       var mark = document.getElementById('mark');
       var smallBox = document.getElementById('small');
       var bigBox = document.getElementById('big');
       var bigImg = document.getElementById('bigImg');
       smallBox.onmouseenter = function(){
         mark.style.display = "block";
         bigBox.style.display = "block";
       }
       smallBox.onmouseleave = function(){
        mark.style.display = "none";
        bigBox.style.display = "none";
       }
       smallBox.onmousemove = function(ev){
        var e = ev || window.event;
        //注意要减去当前父元素smallBox的间隔
        //-50为了将鼠标放在中间,
        var l = e.clientX - smallBox.offsetLeft - 50;
        var t = e.clientY - smallBox.offsetTop-50;
        //还需要进行限制不能出框
        if (l<=0) {
            l = 0;
        }
        if (l>=215) {
        //215 =  盒子的宽 - mark的宽
            l = 215;
        }
        if (t<=0) {
            t = 0;
        }
        if (t>=310) {
            t = 310;
        }
        mark.style.left = l+ "px";
        mark.style.top = t + "px";

        //左边遮罩层怎么移动,右边就向反方向移动
        bigImg.style.left = l*-2 + 'px';
        bigImg.style.top = t*-2 + 'px';
        }

    </script>
</body>
</html>


 515
515

 被折叠的 条评论
为什么被折叠?
被折叠的 条评论
为什么被折叠?
 到【灌水乐园】发言


