


 本文介绍如何使用Swift在iOS应用中实现相机拍照和相册选取图片功能。通过创建CameraView视图类,实现相机按钮和相册按钮的响应,并在ViewController中处理图片选择事件,展示所选图片。
界面类, CameraView.swift文件代码:
import UIKit
import Foundation

class CameraView: UIView {

    var cameraButton : UIButton!

    var photoButton : UIButton!

    var image : UIImageView!

    override init(frame : CGRect)

    {

        super.init(frame: frame)

        cameraButtonMethods()

        photoButtonMethods()

        imageMethods()

    }

    required init?(coder aDecoder: NSCoder) {

        fatalError("init(coder:) has not been implemented")

    }


    func cameraButtonMethods(){


        cameraButton = UIButton(type: .custom)

        cameraButton.frame = CGRect(x: 20, y: 400, width: 100, height: 40)

        cameraButton.setTitle("调用相册", for: .normal)

        cameraButton.backgroundColor = UIColor.blue

        self.addSubview(cameraButton)


    }


    func photoButtonMethods(){

        photoButton = UIButton(type: .custom)

        photoButton.frame = CGRect(x: 255, y: 400, width: 100, height: 40)

        photoButton.backgroundColor = UIColor.blue

        photoButton.setTitle("调用相机", for: .normal)

        self.addSubview(photoButton)

    }


    func imageMethods(){

        image = UIImageView()

        image.image = UIImage(named: "image")

        image.frame = CGRect(x: 20, y: 40, width: 335, height: 335)

        self.addSubview(image)

    }


}
控制类 ViewController.swift 代码内容:
import UIKit
import AVFoundation

import AssetsLibrary

import Photos

class ViewController: UIViewController,UIImagePickerControllerDelegate,UINavigationControllerDelegate {


    var cameraView = CameraView()

    override func viewDidLoad() {
        super.viewDidLoad()

        self.view.backgroundColor = UIColor.white

        cameraView = CameraView(frame: UIScreen.main.bounds)

        self.view.addSubview(cameraView)

        cameraView.cameraButton.addTarget(self, action: #selector(ViewController.cameraEvent), for: .touchUpInside)

        cameraView.photoButton.addTarget(self, action: #selector(ViewController.photoEvent), for: .touchUpInside)

        // Do any additional setup after loading the view, typically from a nib.
    }


    var picker: UIImagePickerController?

    //相册
    @objc func cameraEvent(){

        let pickerCamera = UIImagePickerController()

        pickerCamera.allowsEditing = true
        pickerCamera.sourceType =  .photoLibrary
        pickerCamera.delegate = self

        self.present(pickerCamera, animated: true, completion: nil)

    }


    //相机
    @objc func photoEvent(){


        var sourceType = UIImagePickerController().sourceType
        sourceType = .camera

        if !UIImagePickerController.isSourceTypeAvailable(UIImagePickerController.SourceType.camera){
            print("无法调用相机")
            sourceType = UIImagePickerController.SourceType.photoLibrary //改为调用相册
        }


        let pickerPhoto = UIImagePickerController()

        pickerPhoto.delegate = self

        pickerPhoto.allowsEditing = true//设置可编辑

        pickerPhoto.sourceType = sourceType

        self.present(pickerPhoto, animated: true, completion: nil)//进入照相界面

    }

    //MARK: - UIImagePickerControllerDelegate、UINavigationControllerDelegate
    func imagePickerController(_ picker: UIImagePickerController, didFinishPickingMediaWithInfo info: [UIImagePickerController.InfoKey : Any]) {

        //UIImagePickerControllerOriginalImage  原始图像
        //UIImagePickerControllerEditedImage    编辑后的图片(开启编辑该对象才存在)


        var imagePickerc = info[UIImagePickerController.InfoKey.originalImage] as? UIImage


        if picker.allowsEditing {
            imagePickerc = (info[UIImagePickerController.InfoKey.editedImage] as? UIImage)!
        }


        cameraView.image.image = imagePickerc

        self.dismiss(animated: true, completion: nil)


    }

    override func didReceiveMemoryWarning() {

        super.didReceiveMemoryWarning()

        // Dispose of any resources that can be recreated.

    }


//
//    //按取消按钮时候的功能
//    func imagePickerControllerDidCancel(_ picker: UIImagePickerController) {
//        //    返回
//        picker.dismiss(animated: true)
//    }


}
运行界面:
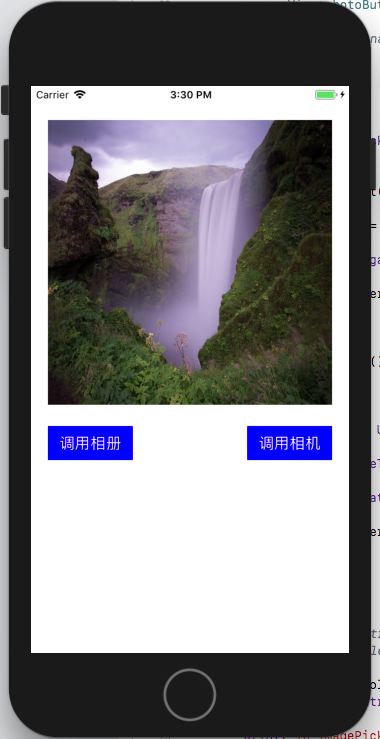
image.png


 被折叠的 条评论
为什么被折叠?
被折叠的 条评论
为什么被折叠?
 到【灌水乐园】发言


