


 本文档提供了一个关于如何快速搭建Spring Boot项目的教程,并演示了如何创建一个简单的控制器来响应HTTP请求。此外,还介绍了如何修改默认端口及设置启动Banner等实用技巧。
一、步骤
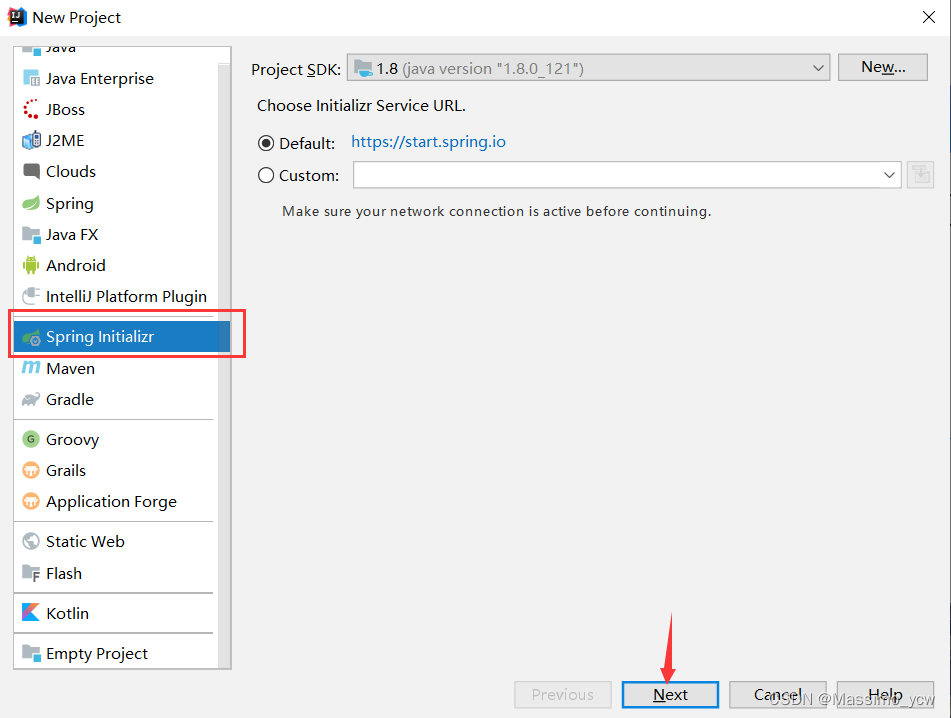
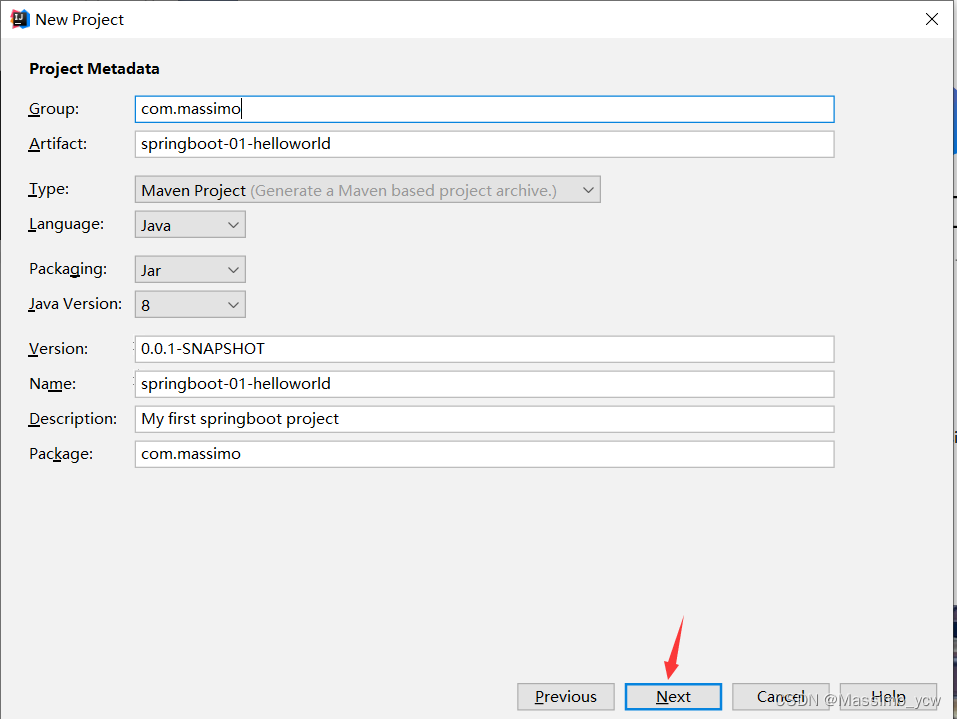
根据需求选择或填写相应的选项
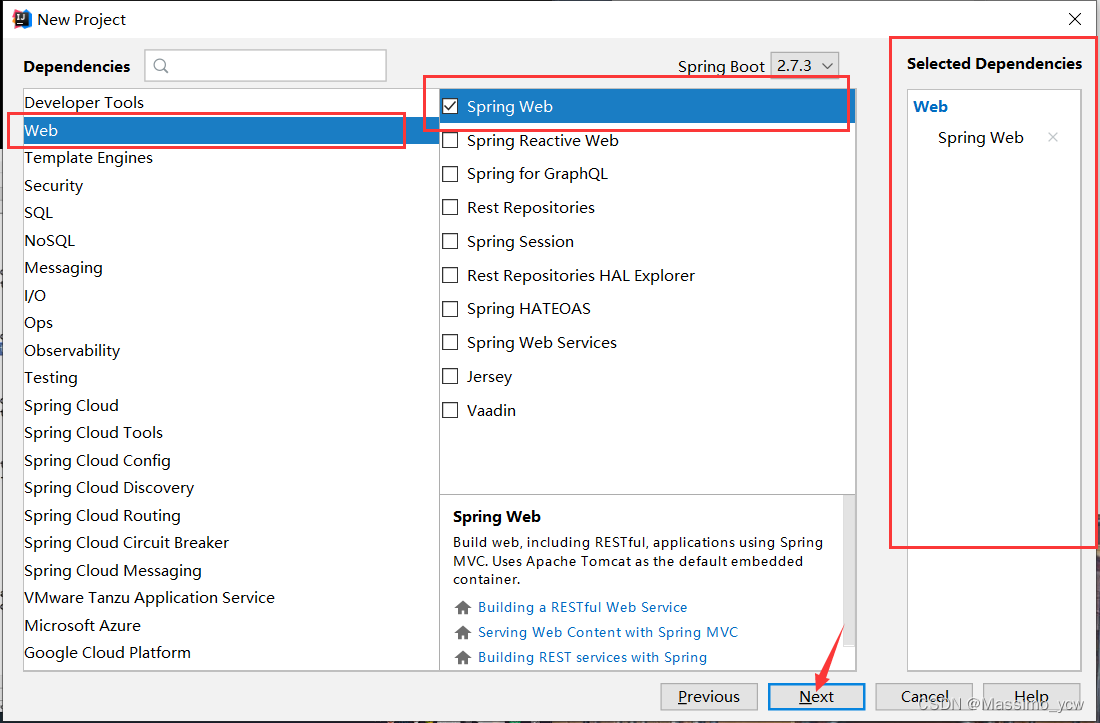
导入web依赖
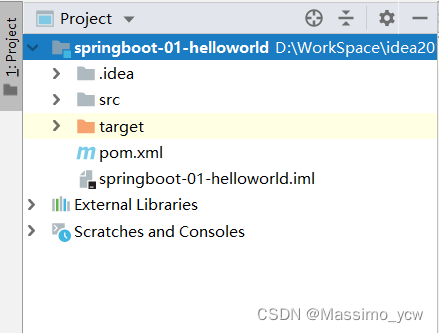
确认相关信息,finish

删除不必要的东西,得到一个干净的项目
二、简单测试
在…Application同级目录下新建controller包,然后在此包下创建类HelloController
package com.massimo.controller;
import org.springframework.stereotype.Controller;
import org.springframework.web.bind.annotation.GetMapping;
import org.springframework.web.bind.annotation.RequestMapping;
import org.springframework.web.bind.annotation.ResponseBody;
@Controller
@RequestMapping("/hello")
public class HelloController {
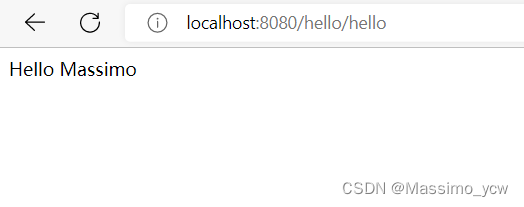
@GetMapping("/hello")
@ResponseBody
public String hello(){
return "Hello Massimo";
}
}
打开浏览器,输入http://localhost:8080/hello/hello,得到如下
三、扩展
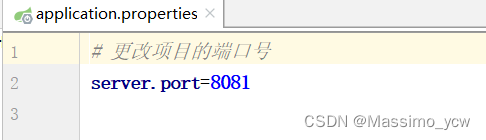
3.1、更改端口号
打开配置文件application.properties,添加如下:
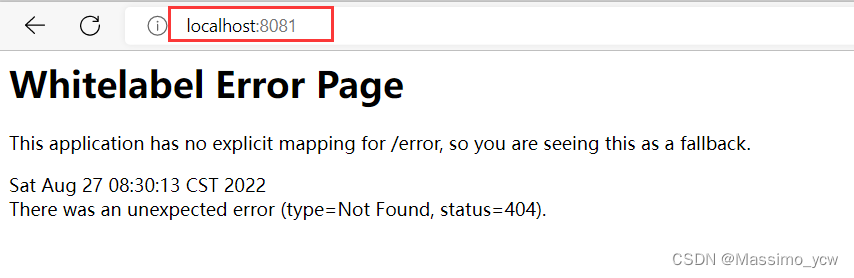
测试
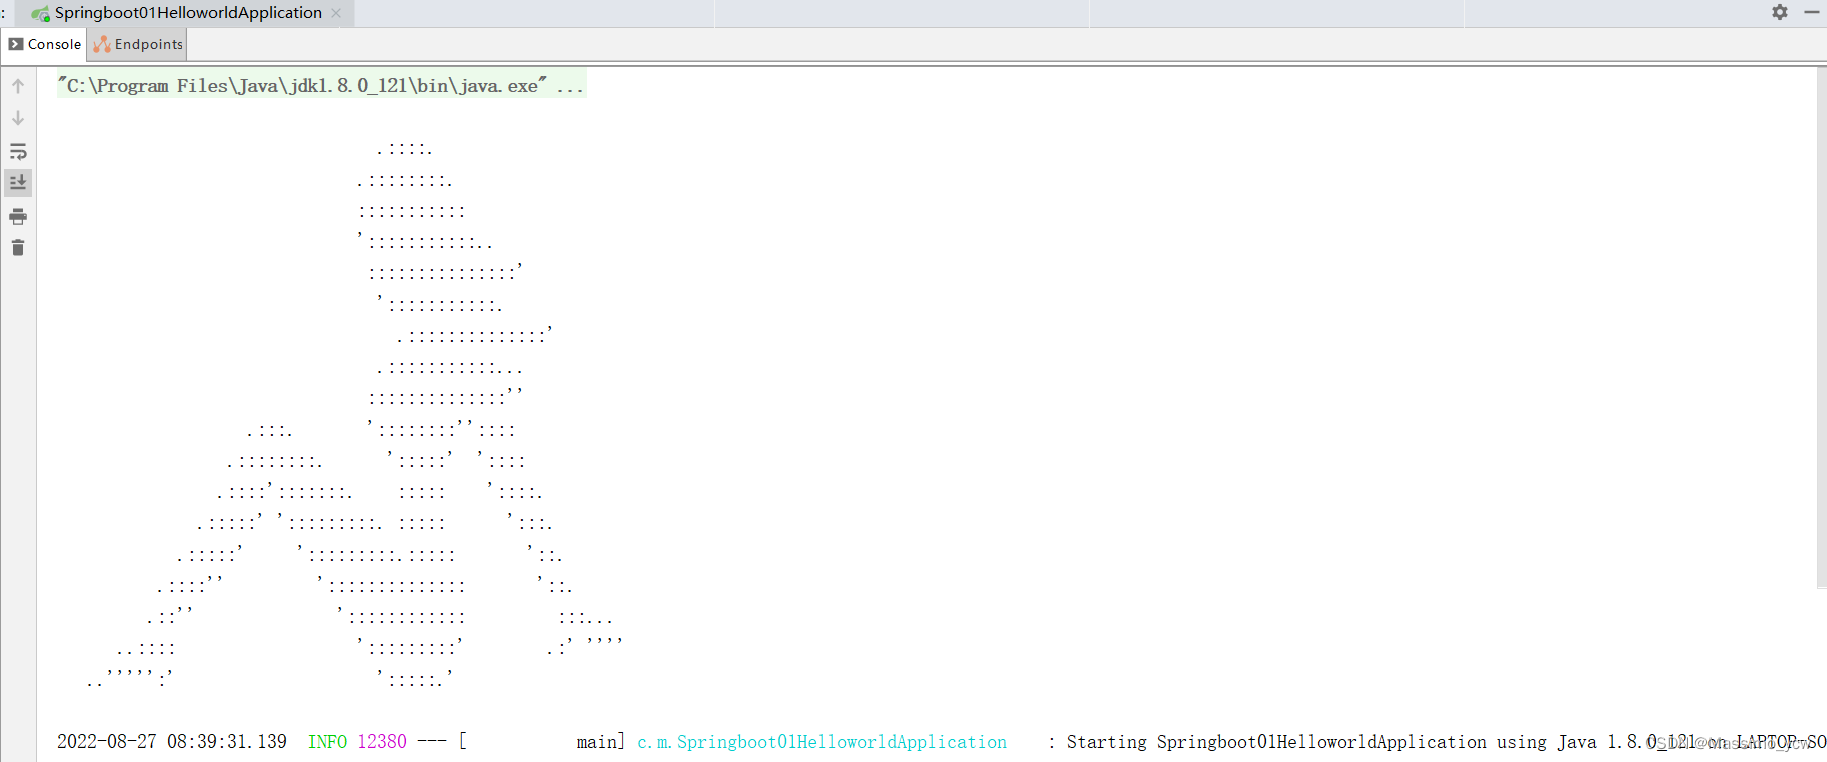
3.2、springboot banner
推荐网址
根据需求复制,在resource目录下新建banner.txt,将复制的粘贴进去

重启运行


 2万+
2万+

 被折叠的 条评论
为什么被折叠?
被折叠的 条评论
为什么被折叠?
 到【灌水乐园】发言


