


一、环境准备:Docker、Jenkins、GitLab 部署(国内镜像加速)
1.Docker 国内镜像源配置
确保 Docker 拉取镜像时走国内加速,编辑 /etc/docker/daemon.json:
[root@host1 ~]# vi /etc/docker/daemon.json
[root@host1 ~]# cat /etc/docker/daemon.json
{
  "registry-mirrors": [
    "https://9fbd5949cbc94e4a9581e33b9077c811.mirror.swr.myhuaweicloud.com",
    "https://jnh8ca4k.mirror.aliyuncs.com",
    "https://docker.mirrors.ustc.edu.cn",
    "https://docker.mirror.aliyuncs.com",
    "https://reg-mirror.qiniu.com",
    "https://f1361db2.m.daocloud.io",
    "https://hub-mirror.c.163.com"
  ],
  "insecure-registries": ["192.168.197.9:5001"],
  "live-restore": true
}

重启 Docker 使配置生效:
[root@host1 ~]# systemctl daemon-reload
[root@host1 ~]# systemctl restart docker
[root@host1 ~]#
2.启动 GitLab(国内镜像版,支持中文)
使用国内维护的 twang2218/gitlab-ce-zh 镜像(中文社区版,拉取更快),并映射端口 / 持久化数据:
# 创建数据持久化目录
[root@host1 ~]# mkdir -p /srv/gitlab/{config,logs,data}

# 启动 GitLab 容器(HTTP 用 8081 端口,避免与 Jenkins 冲突)
[root@host1 ~]# docker run -d \
  --name gitlab \
  -p 8443:443 -p 8081:80 -p 2222:22 \
  -v /srv/gitlab/config:/etc/gitlab \
  -v /srv/gitlab/logs:/var/log/gitlab \
  -v /srv/gitlab/data:/var/opt/gitlab \
  twang2218/gitlab-ce-zh:latest
Unable to find image 'twang2218/gitlab-ce-zh:latest' locally
latest: Pulling from twang2218/gitlab-ce-zh
8ee29e426c26: Pull complete
6e83b260b73b: Pull complete
e26b65fd1143: Pull complete
40dca07f8222: Pull complete
b420ae9e10b3: Pull complete
a218309dd589: Pull complete
5c60fd7ba0ce: Pull complete
659c2144b5a3: Pull complete
8289bbac0d0e: Pull complete
31bbd150e8a7: Pull complete
9114e78243fa: Pull complete
e242e5cd1314: Pull complete
0a079dc3f92c: Pull complete
f0e195b09fd2: Pull complete
6e23346e2f58: Pull complete
91f00659be69: Pull complete
a1031bcc5b2c: Pull complete
e3074327c7b1: Pull complete
a917618dbe42: Pull complete
Digest: sha256:62686b74c6fca5ece8ed582d03a126c5988423dd8a19ce70e9a22357ffcaf1c8
Status: Downloaded newer image for twang2218/gitlab-ce-zh:latest
31cf4cf2bc3f76978e0ced18465a3c7197de6e5f74c852ddf5d76d7549dbe5af
3.启动 Jenkins(国内加速拉取官方镜像)
使用 jenkins/jenkins:lts(长期支持版),通过国内镜像源加速拉取:
# 创建 Jenkins 数据持久化目录
[root@host1 ~]# mkdir -p /srv/jenkins_home
[root@host1 ~]# chown -R 1000:1000 /srv/jenkins_home    # Jenkins 容器内用户为 uid=1000

# 启动 Jenkins 容器(映射 8080 端口)
[root@host1 ~]# docker run -d \
  --name jenkins \
  -p 8080:8080 -p 50000:50000 \
  -v /srv/jenkins_home:/var/jenkins_home \
  jenkins/jenkins:lts
Unable to find image 'jenkins/jenkins:lts' locally
lts: Pulling from jenkins/jenkins
8fb375ec14f3: Pull complete
c7acc196d9db: Pull complete
c9a178fb1e40: Pull complete
59c3eb56f065: Pull complete
5ad06dc8d2bc: Pull complete
5fe83599b627: Pull complete
1d17e189ff23: Pull complete
18238f4d9e48: Pull complete
7c1a19381ac9: Pull complete
195624e01063: Pull complete
e4441ae29535: Pull complete
4f19f207bd6e: Pull complete
Digest: sha256:ace160331258aeff24581038e63ec5b5e8e969cebc9582a5ac7f0ed9fd20043b
Status: Downloaded newer image for jenkins/jenkins:lts
6ab5e11b7982d6a476dd4b3ce8ccb9c8bf2cbeeb5fcddfe15ccfded8e07fc81f
二、Jenkins 配置:项目、触发器、插件
1.初始化 Jenkins
(详细过程请查看 部署 Jenkins 服务器-优快云博客)
-
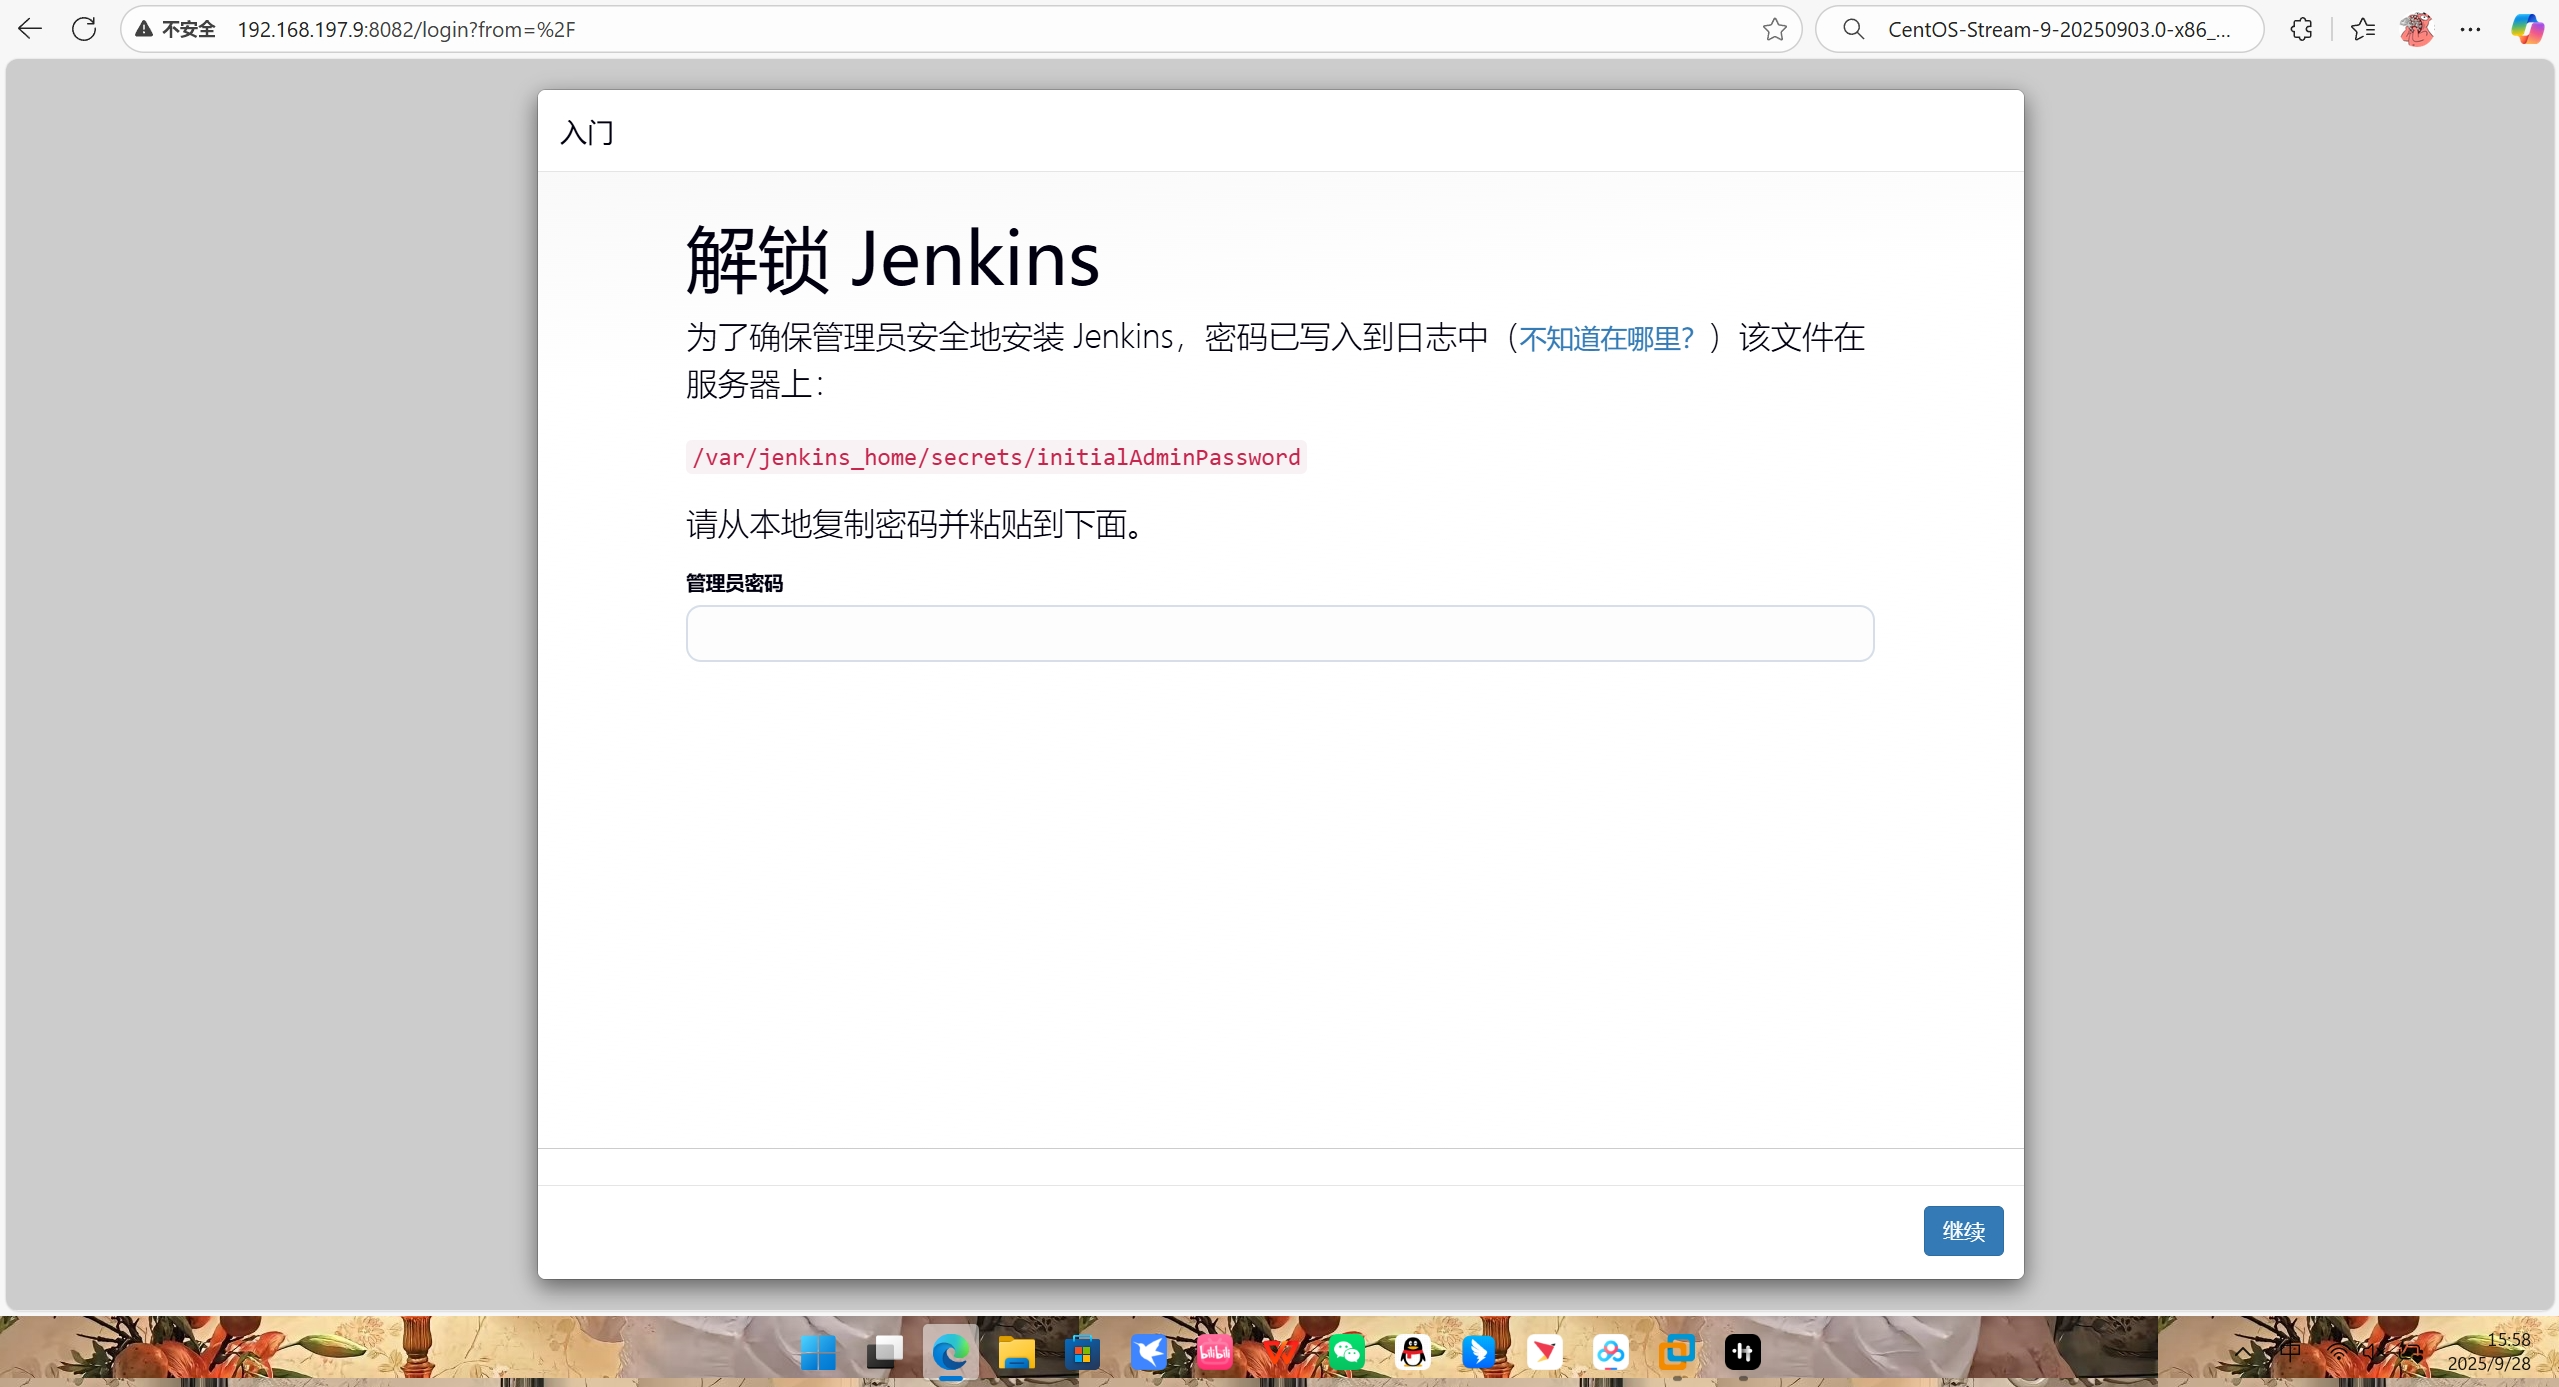
访问
http://<宿主机IP>:8080(如http://192.168.197.9:8082)。 -
-
首次启动需获取初始密码:
[root@host1 ~]# docker exec jenkins cat /var/jenkins_home/secrets/initialAdminPassword
312dd6142d0b4e2ab0fb590782a85af9- 输入密码后,选择「安装推荐插件」,等待插件安装完成,创建管理员用户。
2.安装必要插件
进入「系统管理」→「插件管理」→「可选插件」,搜索并安装:
Git Plugin(Git 源码管理支持)GitLab Plugin(GitLab 触发与认证支持)Pipeline Plugin(流水线支持,可选,若用 Pipeline 语法)
3.配置 GitLab 凭据
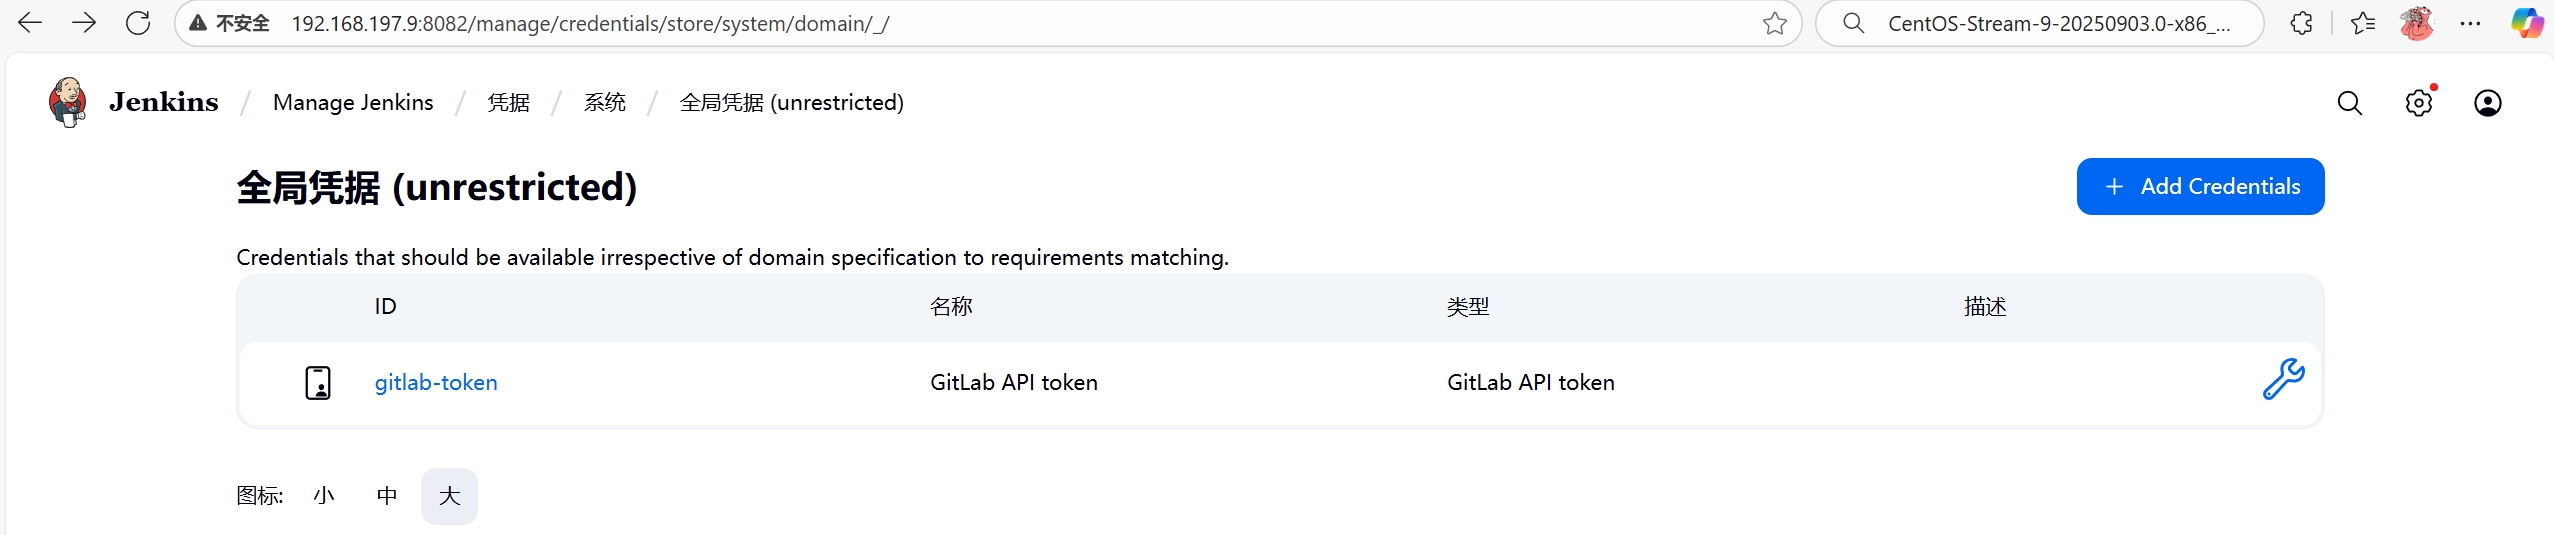
进入「凭据」→「系统」→「全局凭据」→「添加凭据」:
- 类型选「GitLab API 令牌」。
- 前往 GitLab(
http://<宿主机IP>:8081),点击「个人头像」→「设置」→「访问令牌」,创建令牌(勾选api权限),复制令牌内容。 - 在 Jenkins 凭据中,「API 令牌」填写刚复制的内容,「ID」自定义(如
gitlab-token),保存。
4.创建 Jenkins 项目(以 Maven 项目为例)
- 点击「新建 Item」→ 选择「构建一个 Maven 项目」→ 输入项目名(如


 2098


 扫一扫


 被折叠的 条评论
为什么被折叠?
 到【灌水乐园】发言


