 配置Linux命令行与MobaXterm的终极指南


 本文详细介绍了如何在Linux环境中安装和配置Oh My Zsh,包括安装P10K主题,设置脚本和安装Zsh插件如 Autosuggestions 和 zsh-syntax-highlighting。此外,还讲解了在Windows的MobaXterm客户端中安装Nerd Fonts字体,调整Terminal Type以正确显示P10K的主题,并展示了最终效果。
1.linux 命令行
原来的镜像就带ohmyzsh
没有的话下载:(需要出海)
sh -c "$(wget https://raw.github.com/ohmyzsh/ohmyzsh/master/tools/install.sh -O -)"切换zsh
chsh -s /bin/zsh==必须重启==
sudo reboot1.1设置脚本
安装p10k
sudo git clone https://gitee.com/romkatv/powerlevel10k.git $ZSH_CUSTOM/themes/powerlevel10k
sudo git clone https://github.com/romkatv/powerlevel10k.git $ZSH_CUSTOM/themes/powerlevel10k
设置p10k主题
vim ~/.zshrc
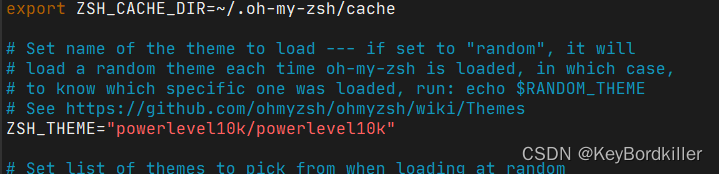
同时设置好需要的脚本
必须按照这个顺序放在最后
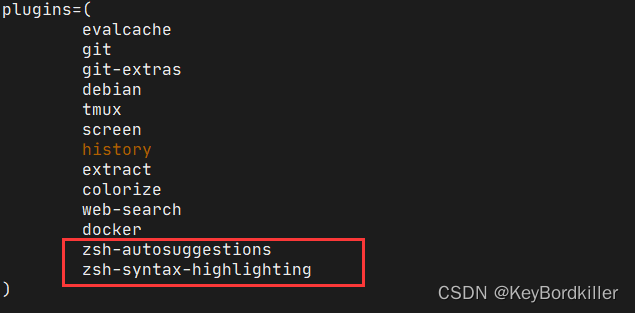
1.2安装需要的脚本:
1.Autosuggestions
sudo git clone https://gitee.com/zsh-users/zsh-autosuggestions ${ZSH_CUSTOM:-~/.oh-my-zsh/custom}/plugins/zsh-autosuggestions
sudo git clone https://github.com/zsh-users/zsh-autosuggestions ${ZSH_CUSTOM:-~/.oh-my-zsh/custom}/plugins/zsh-autosuggestions
2. zsh-syntax-highlighting
sudo git clone https://gitee.com/zsh-users/zsh-syntax-highlighting.git $ZSH_CUSTOM/plugins/zsh-syntax-highlighting
sudo git clone https://github.com/zsh-users/zsh-syntax-highlighting.git $ZSH_CUSTOM/plugins/zsh-syntax-highlighting
1.3让脚本生效
source ~/.zshrc
2.MobaXTerm端(显示ohmyzsh设置的关键)
2.1安装支持各种icon的字体(windows为例)
下载需要的字体,需要自己尝试,本文推荐jetbrian
 https://www.nerdfonts.com/font-downloads
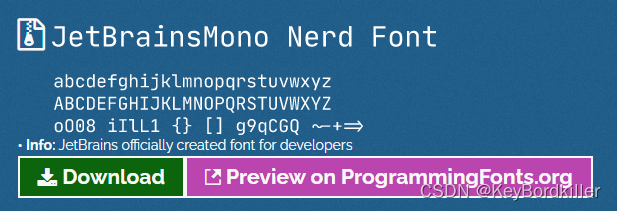
https://github.com/ryanoasis/nerd-fonts/releases/download/v2.1.0/JetBrainsMono.zip为所有用户安装
2.2在MobaXterm客户端设置字体,设置关键的Terminal Type
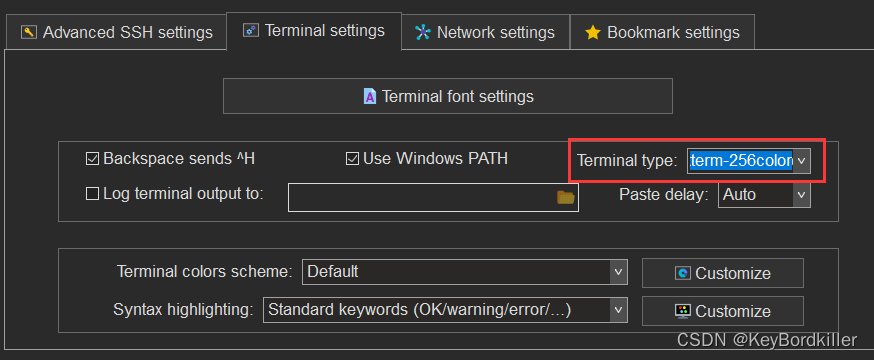
首先要先设置好Terminal type 为256 这样才能保证p10k 能够显示 字体背景颜色,
然后在Terminal font setting 中设置安装好的nerd font 字体如图所示

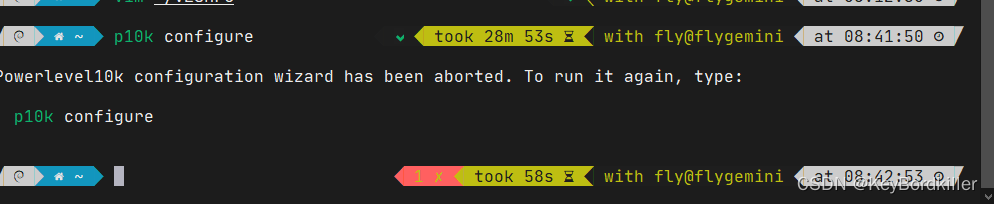
可以通过p10k configure 就可以看到
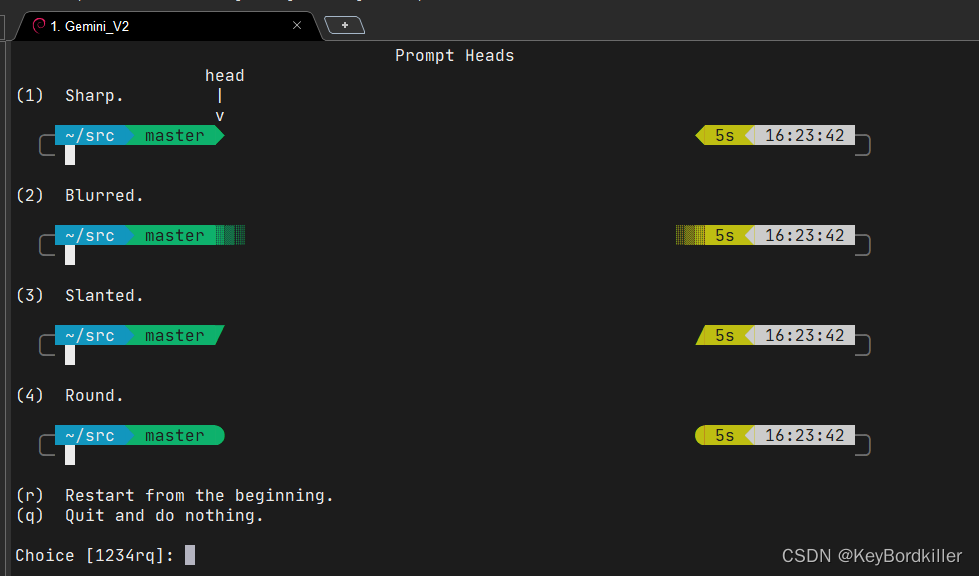
具体效果:


 5099
5099

 被折叠的 条评论
为什么被折叠?
被折叠的 条评论
为什么被折叠?
 到【灌水乐园】发言


