


 本文详细介绍如何在SpringBoot项目中配置并实现定时任务。首先,在主类上添加@EnableScheduling注解启用定时任务功能。其次,创建定时任务业务类,如TestJob,并使用@Scheduled注解设置定时执行策略,例如每5秒执行一次。最后,运行项目验证定时任务的执行效果。
1.在主类上添加EnableScheduling注解
package com.laoxu.gamedog;

import org.springframework.boot.SpringApplication;
import org.springframework.boot.autoconfigure.SpringBootApplication;
import org.springframework.scheduling.annotation.EnableScheduling;

@EnableScheduling
@SpringBootApplication
public class Application {

    public static void main(String[] args) {
        SpringApplication.run(Application.class, args);
    }
}
2.新建定时任务业务类
此处假设为:TestJob
package com.laoxu.gamedog.job;

import org.springframework.scheduling.annotation.Scheduled;
import org.springframework.stereotype.Component;

/**
 * 测试定时任务
 *
 * @author xusucheng
 * @create 2018-12-03
 **/
@Component
public class TestJob {
    /**
     * 每5秒钟执行一次
     */
    @Scheduled(cron = "0/5 * * * * ?")
    public void sayHello(){
        System.out.println("Hello World at "+System.currentTimeMillis());
    }
}
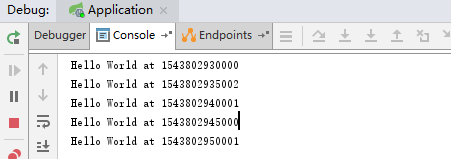
3.运行项目,查看效果


 2251
2251

 被折叠的 条评论
为什么被折叠?
被折叠的 条评论
为什么被折叠?
 到【灌水乐园】发言


