


操作系统:win10
准备工作:

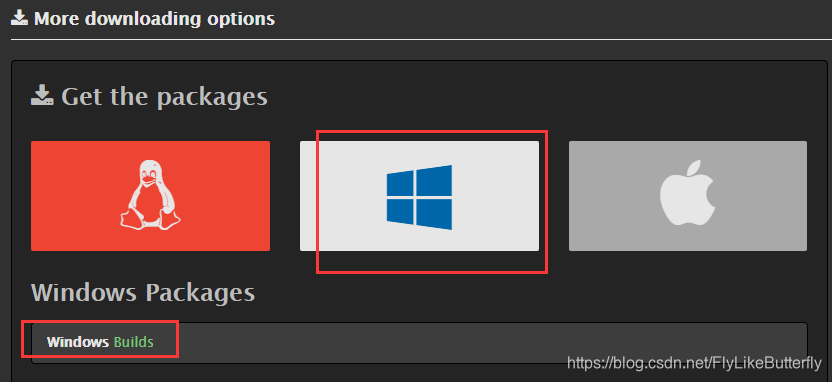
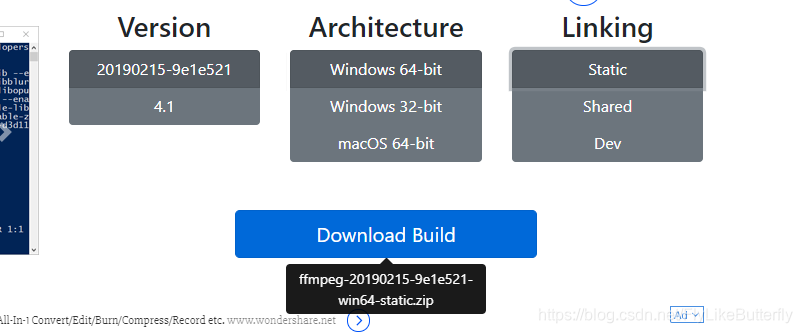
1.下载ffmpeg
官网http://ffmpeg.org/download.html下载,我的是win10,所以下载的windows版本
2.下载nginx和rtmp插件
nginx地址:http://nginx-win.ecsds.eu/download/nginx 1.7.11.3 Gryphon.zip
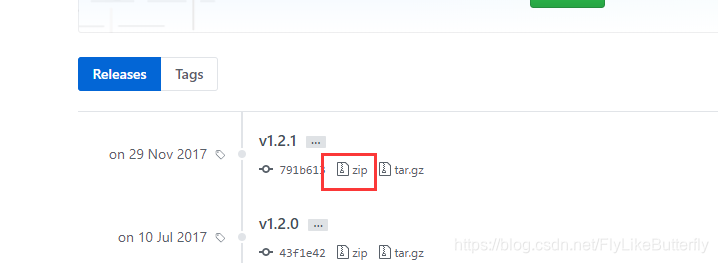
rtmp插件地址:https://github.com/arut/nginx-rtmp-module/releases
开始搭建:
1.解压nginx 1.7.11.3 Gryphon.zip到nginx 1.7.11.3 Gryphon文件夹。
2.解压nginx-rtmp-module-1.2.1.zip到nginx-rtmp-module-1.2.1文件夹,并移动到nginx 1.7.11.3 Gryphon文件夹里。
3.在nginx 1.7.11.3 Gryphon\conf文件夹里新建配置文件nginx-win-rtmp.conf
#user  nobody;
# multiple workers works !
worker_processes  5;

#error_log  logs/error.log;
#error_log  logs/error.log  notice;
#error_log  logs/error.log  info;

#pid        logs/nginx.pid;

events {
    worker_connections  8192;
    # max value 32768, nginx recycling connections+registry optimization =
    #   this.value * 20 = max concurrent connections currently tested with one worker
    #   C1000K should be possible depending there is enough ram/cpu power
    # multi_accept on;
}

rtmp {
    server {
        listen 1935;
        chunk_size 1024;
        application live {
             live on;
        }
		application hls{
			live on;
			hls on;
			hls_path temp/hls;
			hls_fragment 8s;
		}
    }
}

http {
    #include      /nginx/conf/naxsi_core.rules;
    include       mime.types;

    server {
        listen       8080;
        server_name  localhost;

        location / {
            root html;
			index index.html;
        }

		error_page 500 502  503  504  /50x.html;
		location = /50x.html{
			root html;
		}
	}
}
4.启动nginx
.\nginx.exe -c .\conf\nginx-win-rtmp.conf
测试nginx启动情况,访问http://localhost:8080/
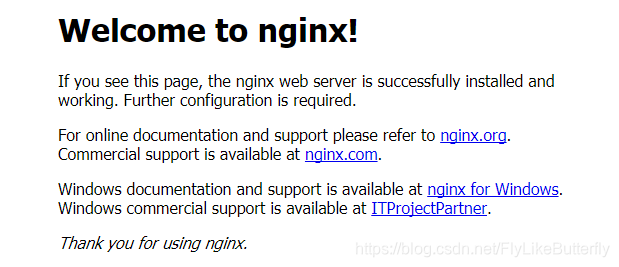
表示nginx启动成功。
5.解压ffmpeg-20190215-9e1e521-win64-static.zip,ffmpeg.exe命令在ffmpeg-20190215-9e1e521-win64-static\bin文件夹下(可以配置到环境变量里)。
6.使用ffmpeg将rtsp转成rtmp
.\ffmpeg.exe -i "rtsp://184.72.239.149/vod/mp4://BigBuckBunny_175k.mov" -c:v copy -c:a copy -f flv "rtmp://localhost:1935/live/test"
7.使用ffplay或者vlc可以播放rtmp的地址,我用的vlc。

参考:
https://www.cnblogs.com/gaoji/p/6872365.html
https://blog.youkuaiyun.com/qq_39759656/article/details/82691469


 1万+
1万+

 被折叠的 条评论
为什么被折叠?
被折叠的 条评论
为什么被折叠?
 到【灌水乐园】发言


