


 本文详细介绍了在Windows系统中如何配置MySQL8.0的免安装版本,包括从官网下载文件、解压、配置my.ini文件、初始化MySQL、创建服务以及修改默认密码等步骤,帮助用户成功安装并启动MySQL服务。
windows下MySQL免安装版 配置方法
第一步:从mysql官网下载此版本的mysql文件
官网地址
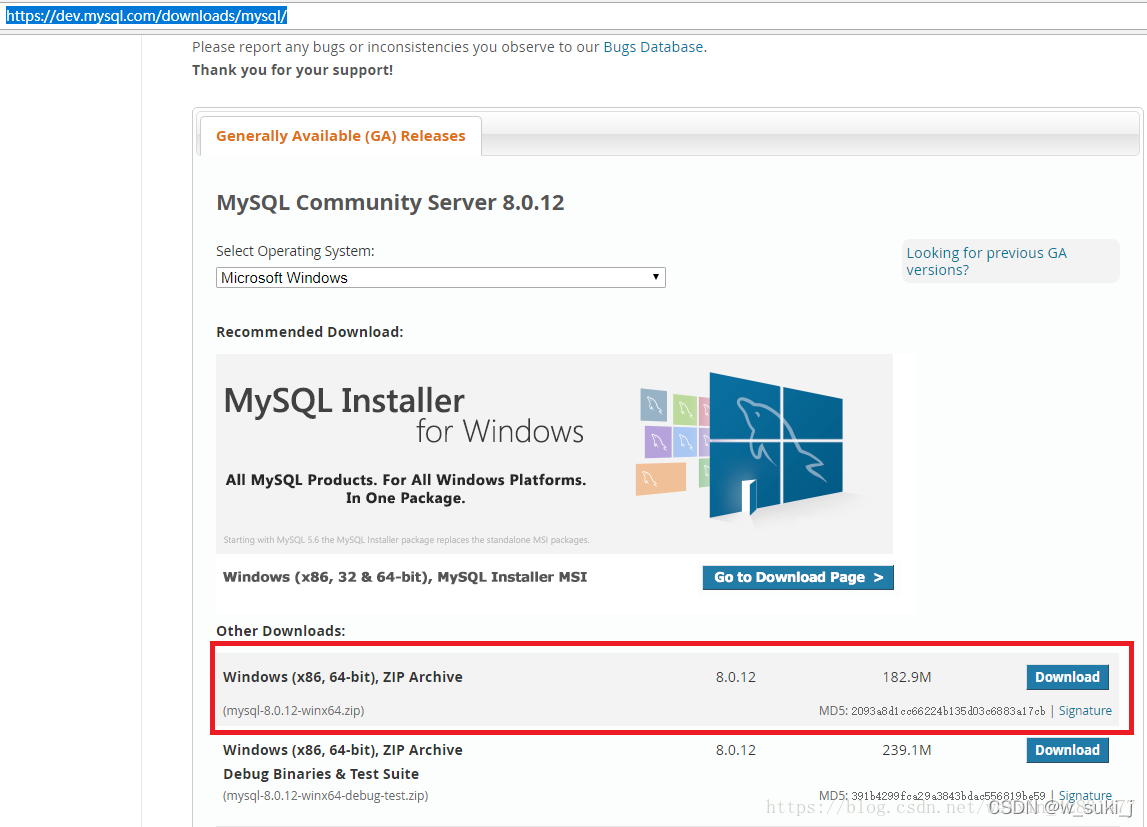
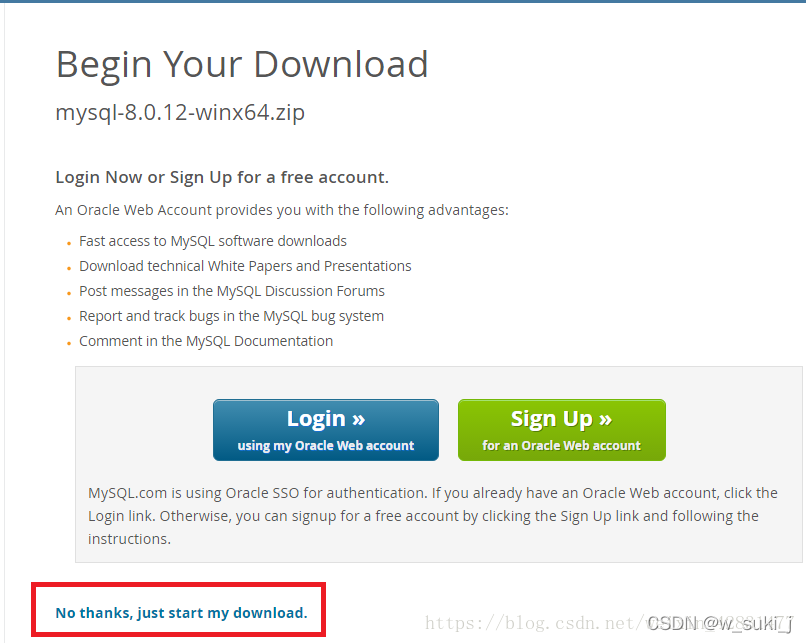
在这里我们选直接下载
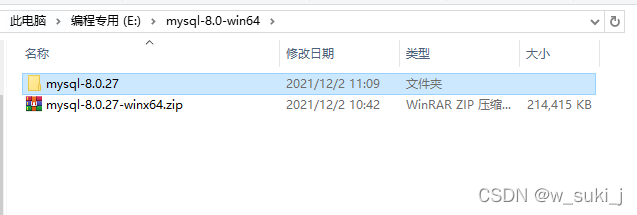
第二步,解压文件
第三步,分析文件结构
mysql8.0版本的文件结构和5.7是一样的,没有提供初始化好的data文件夹,和没有提供默认的my.ini文件,这些都需要我们自己搞定了。
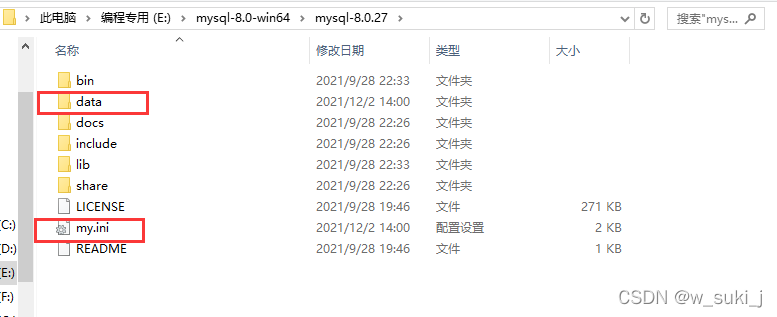
第四步,配置
在mysql根目录新建data文件夹
创建my.ini文件
# For advice on how to change settings please see
# http://dev.mysql.com/doc/refman/5.7/en/server-configuration-defaults.html
# *** DO NOT EDIT THIS FILE. It's a template which will be copied to the
# *** default location during install, and will be replaced if you
# *** upgrade to a newer version of MySQL.
[mysqld]
#skip-grant-tables
# Remove leading # and set to the amount of RAM for the most important data
# cache in MySQL. Start at 70% of total RAM for dedicated server, else 10%.
innodb_buffer_pool_size = 128M
# Remove leading # to turn on a very important data integrity option: logging
# changes to the binary log between backups.
# log_bin
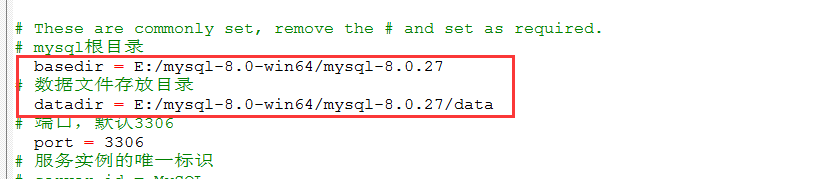
# These are commonly set, remove the # and set as required.
# mysql根目录
basedir = E:/mysql-8.0-win64/mysql-8.0.27
# 数据文件存放目录
datadir = E:/mysql-8.0-win64/mysql-8.0.27/data
# 端口,默认3306
port = 3306
# 服务实例的唯一标识
# server_id = MySQL
# 允许最大连接数
max_connections=200
# 允许连接失败的次数。这是为了防止有人从该主机试图攻击数据库系统
max_connect_errors=10
# 服务端使用的字符集默认为utf8mb4
character_set_server=utf8mb4
# 创建新表时将使用的默认存储引擎
default-storage-engine=INNODB
# 默认使用“mysql_native_password”插件认证
default_authentication_plugin=mysql_native_password
# Remove leading # to set options mainly useful for reporting servers.
# The server defaults are faster for transactions and fast SELECTs.
# Adjust sizes as needed, experiment to find the optimal values.
join_buffer_size = 128M
sort_buffer_size = 2M
read_rnd_buffer_size = 2M
sql_mode=NO_ENGINE_SUBSTITUTION,STRICT_TRANS_TABLES
[mysql]
# 设置mysql客户端默认字符集
default-character-set=utf8mb4
[client]
# 设置mysql客户端连接服务端时默认使用的端口
port=3306
default-character-set=utf8mb4
#默认使用“mysql_native_password”插件认证
#default_authentication_plugin=mysql_native_password
**注意:配置文件中的地址,位置是反斜杠`
##继续初始化MySQL
管理员运行cmd,并切换到mysql的bin目录
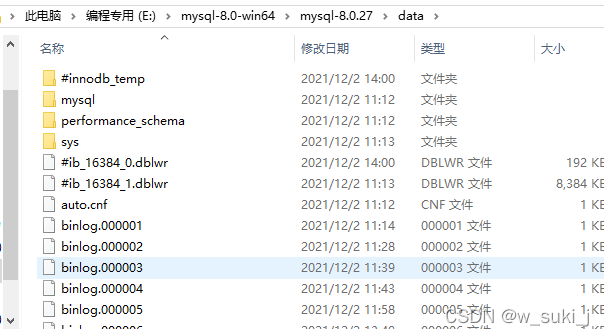
D:\mysql8.0\bin>mysqld --initialize
如果初始化成功,data目录下会生成很多文件
注册windows服务 mysqld --install MySQL58 #注册服务,MySQL58是服务名,根据自己的实际情况命名即可
mysqld --remove MySQL58 #移除服务 net start MySQL58 #启动服务,也可以通过服务管理界面进行操作
net stop MySQL58 #停止服务,也可以通过服务管理界面进行操作

也可以通过services.msc对服务进行操作
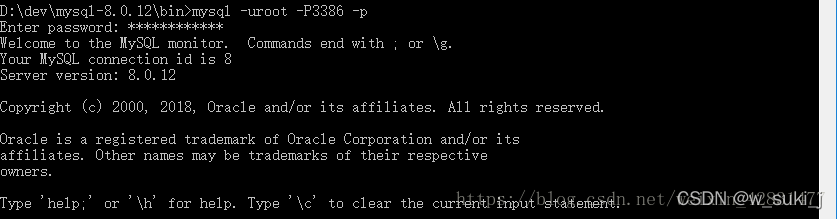
登陆MySQL
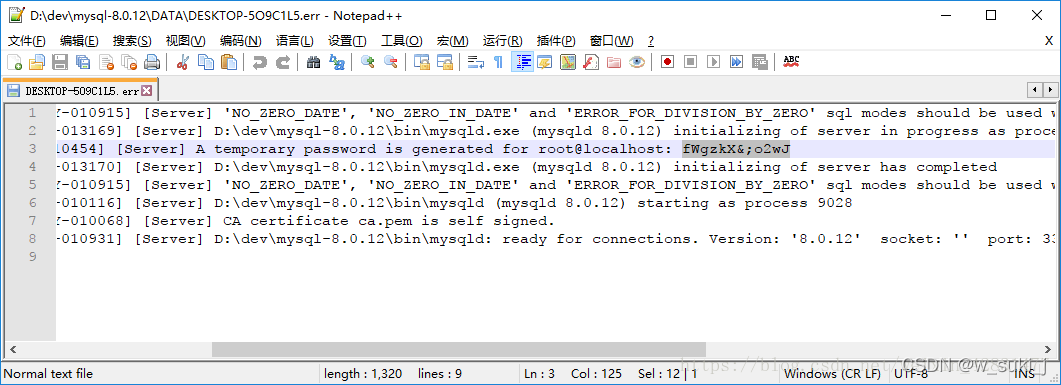
因为我们不是使用的默认端口号,所以要使用-P指定端口号 临时密码在data目录下,以.err结尾的文件中。
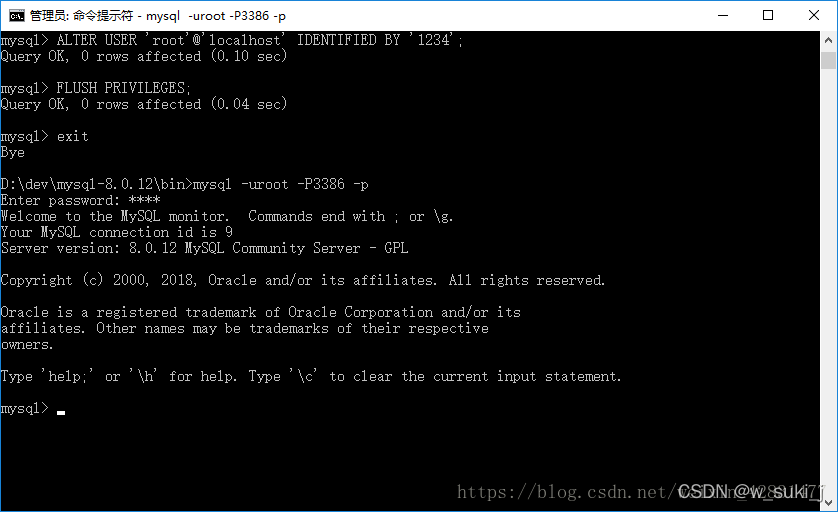
mysql -uroot -P3386 -p
在这里找到密码,备用
登录成功
修改默认密码
ALTER USER ‘root’@‘localhost’ IDENTIFIED WITH mysql_native_password BY ‘123456’;
PRIVILEGES; 这样操作之后,就可以用新密码进行登录了
注意:若mysql已启动成功,但navicat连接不上,需查询以下几点
- 查看防火墙是否关闭,是否允许连接
- 连接时的端口号 ,用ini配置文件中的是否对应
- 查询服务中,mysql是否启动
原文转载:链接


 1985
1985

 被折叠的 条评论
为什么被折叠?
被折叠的 条评论
为什么被折叠?
 到【灌水乐园】发言


