


 该博客主要介绍了在Linux/Mac环境下安装和编译Tars框架的详细步骤,包括检查依赖环境、下载TarsFrame和TarsWeb源码、编译源码等。同时,还列举了安装编译过程中可能遇到的问题,如git克隆失败、cmake版本低等,并给出了解决办法。
目录
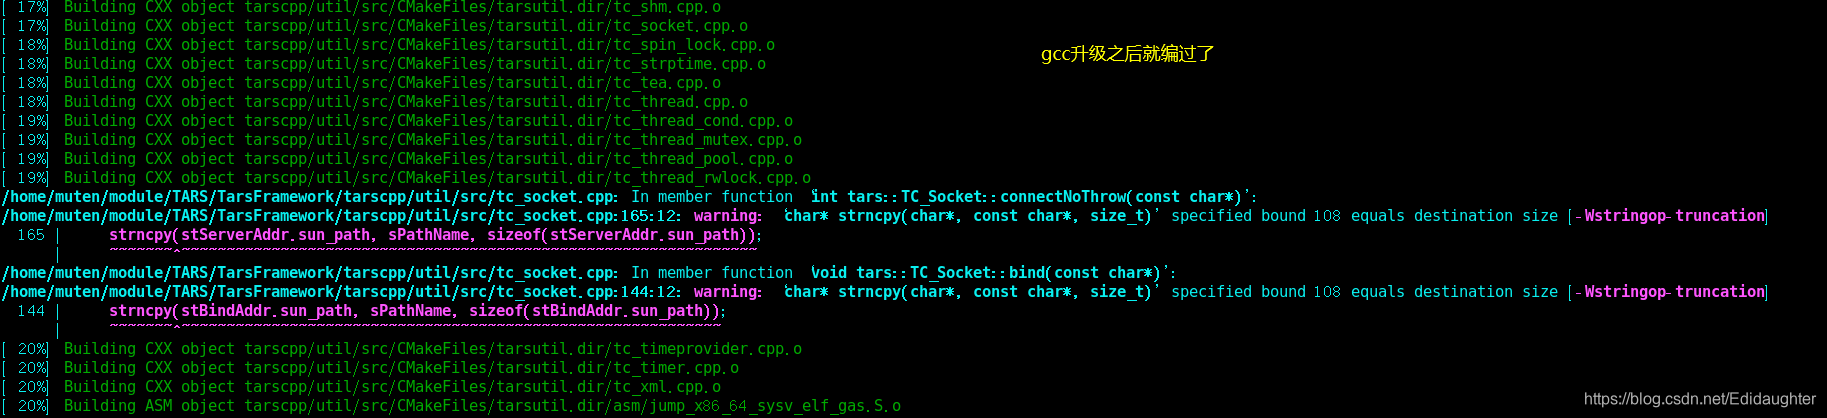
4.5 gcc/g++版本过低导致编译g++的时候无法成功编译,升级版本
1. 检查linux/mac的依赖环境
centos7 devtoolset 升级gcc版本到7或9的大版本
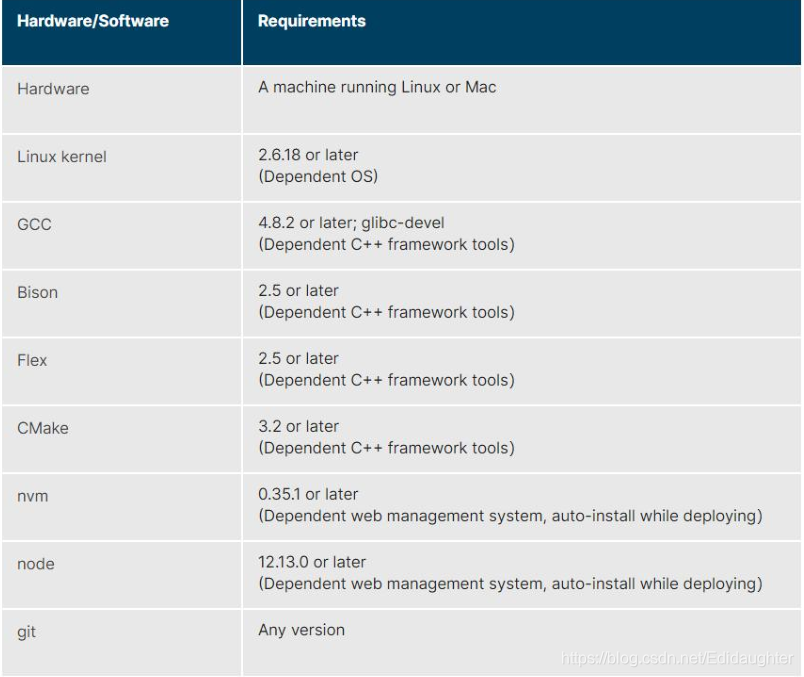
在你编译源码之前,你必须保证你的机器上有以下工具:gcc, glibc-devel, bison, flex, cmake, which, psmisc, ncurses-devel和zlib-devel.
这些是框架正常运行必备的依赖库,你可以按照下面的提示对它们进行安装:

这里给出 CentOS, Ubuntu和 macOS的例子.
CentOS运行:
yum install glibc-devel gcc bison flex cmake which psmisc ncurses-devel zlib-devel

Ubuntu运行:
sudo apt-get install build-essential bison flex cmake psmisc libncurses5-dev zlib1g-dev

对于macOS:
先安装brew,然后执行brew install bison flex cmake nvm node,有一些包没有被列入是因为MAC默认已经将它们安装上了(比如说gcc).

要注意的是linux的发行版本上一些工具的包名字可能不太一样,比如说zlib-devel vs zlib1g-dev,但大部分是一样的.
2. 下载TarsFrame源码
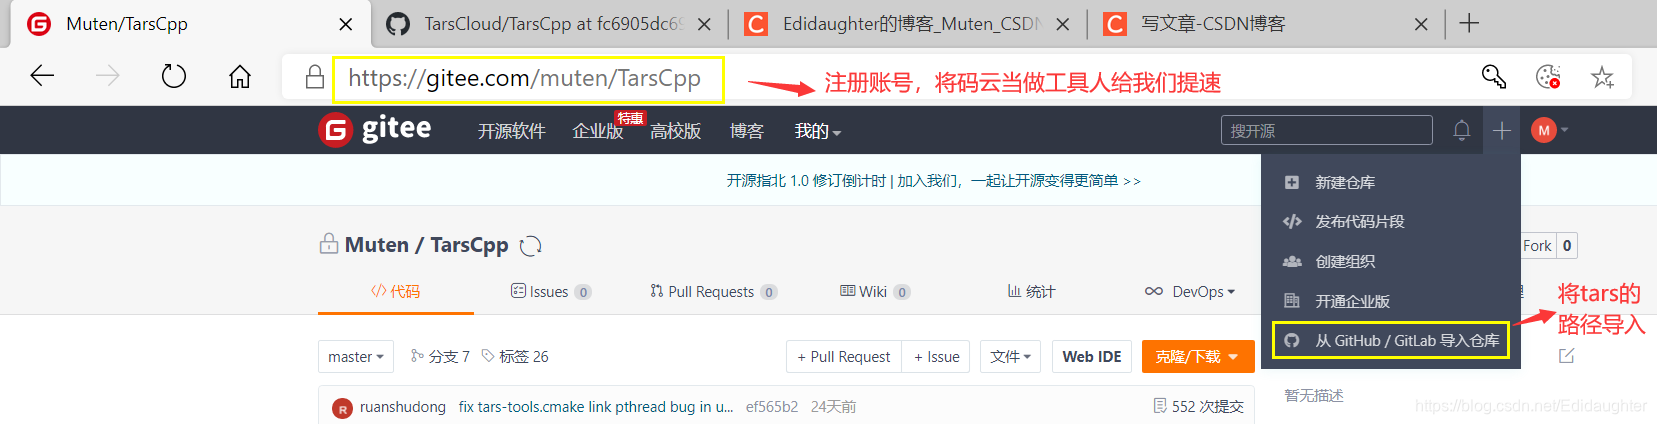
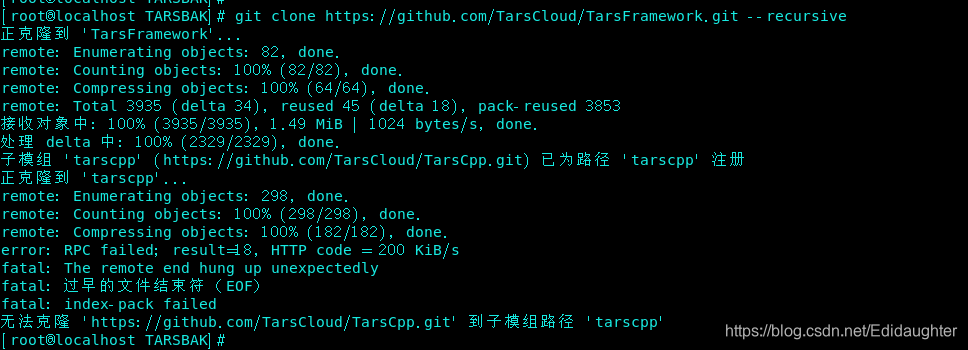
我在下载源码的时候tarscpp目录总是下载失败,用了转接码云的方法:
如果能直接从git上下载,那么用这个命令:
cd ${source_folder}
git clone https://github.com/TarsCloud/TarsFramework.git --recursive
cd TarsFramework
git submodule update --remote --recursive


我自己的环境上git失败了一部分,所以我用码云转接了,而且我转接的时候tarscpp还丢失了,
于是我采用了:
git clone https://github.com/TarsCloud/TarsFramework.git --recursive----巨慢
然后将https://github.com/TarsCloud/TarsFramework.git转到码云上,
git clone https://gitee.com/muten/TarsFramework.git
https://github.com/TarsCloud/TarsCpp.git---也是巨慢,然后将其转到码云上,
git clone https://gitee.com/muten/TarsCpp.git


cd /home/muten/module/TARS/TarsFramework/tarscpp/servant/protocol
git clone https://gitee.com/muten/TarsProtocol.git
cd TarsProtocol/tup/
mv * /home/muten/module/TARS/TarsFramework/tarscpp/servant/protocol/
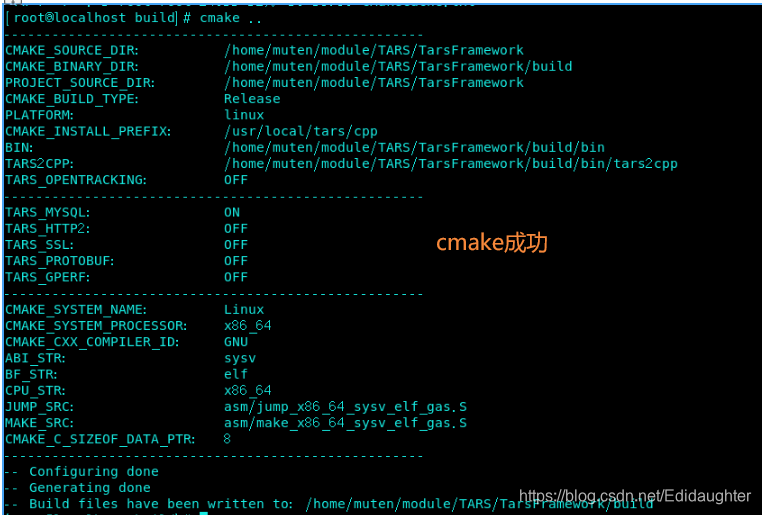
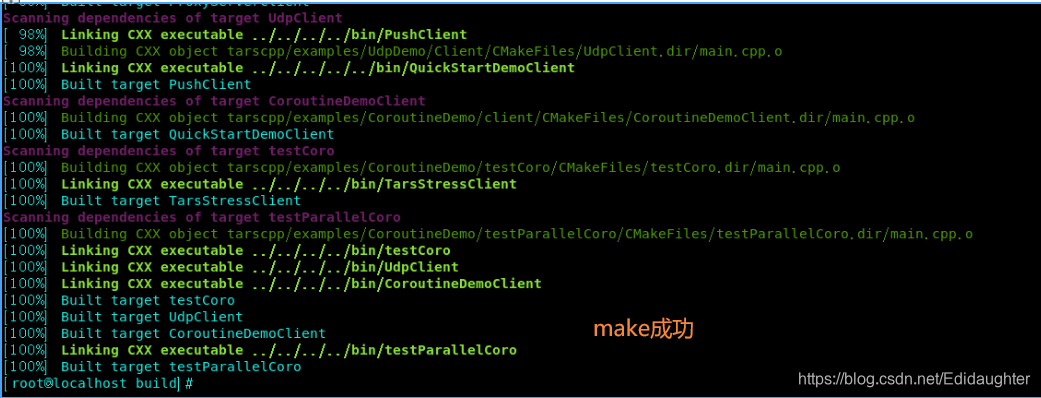
3 编译源码
1. cd /home/muten/module/TARS/TarsFramework/build
2. cmake ..
3. make -j4(如果重新全量编译,先make clean一下)
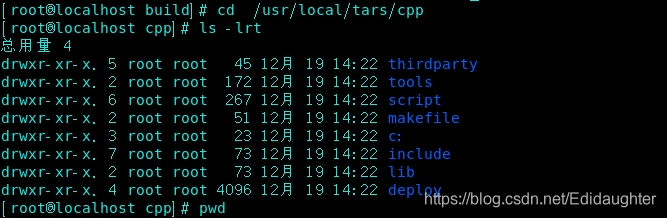
4.cd /usr/local
sudo mkdir tars
sudo mkdir app
5.cd /home/muten/module/TARS/TarsFramework/build
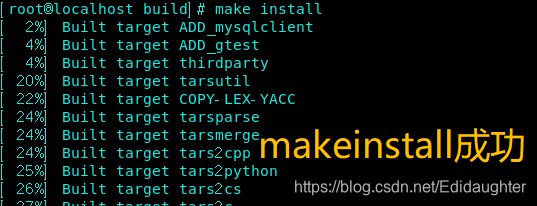
6.make installWhat is cmake? --Thank 原作者.
4 你可能遇到的情况
4.1 无法从git上成功克隆
git clone的时候失败的加速方法, 感谢羊哥哈:加速你的git clone,防止失败
4.2 centos7上的cmake版本较低(若无跳过)

下面是centos7下升级cmake版本的步骤:
获取高版本cmake安装包:
wget https://cmake.org/files/v3.17/cmake-3.17.0.tar.gz

解压:
tar -zxvf cmake-3.17.0.tar.gz
cd cmake-3.17.0

编译:
./bootstrap
gmake
sudo make install
4.3 cmake中没有创建gcc和g++的链接
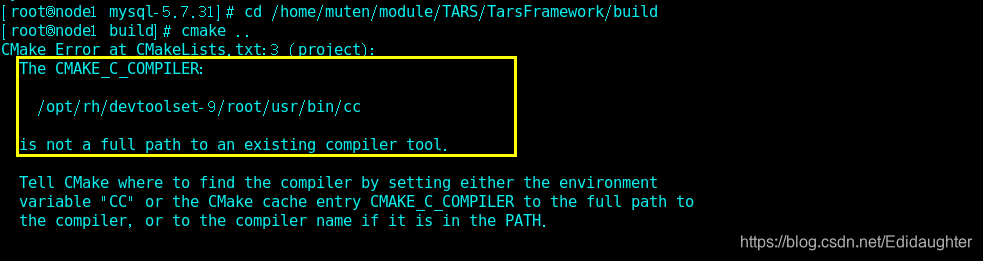

[root@node1 mysql-5.7.31]# cd /home/muten/module/TARS/TarsFramework/build
[root@node1 build]# cmake ..
CMake Error at CMakeLists.txt:3 (project):
  The CMAKE_C_COMPILER:

    /opt/rh/devtoolset-9/root/usr/bin/cc

  is not a full path to an existing compiler tool.

  Tell CMake where to find the compiler by setting either the environment
  variable "CC" or the CMake cache entry CMAKE_C_COMPILER to the full path to
  the compiler, or to the compiler name if it is in the PATH.


CMake Error at CMakeLists.txt:3 (project):
  The CMAKE_CXX_COMPILER:

    /opt/rh/devtoolset-9/root/usr/bin/c++

  is not a full path to an existing compiler tool.

  Tell CMake where to find the compiler by setting either the environment
  variable "CXX" or the CMake cache entry CMAKE_CXX_COMPILER to the full path
  to the compiler, or to the compiler name if it is in the PATH.


-- Configuring incomplete, errors occurred!
See also "/home/muten/module/TARS/TarsFramework/build/CMakeFiles/CMakeOutput.log".
[root@node1 build]# ls -lrt /opt/rh/devtoolset-9/root/usr/bin/cc
ls: 无法访问/opt/rh/devtoolset-9/root/usr/bin/cc: 没有那个文件或目录
[root@node1 build]# ln -s /usr/bin/gcc /opt/rh/devtoolset-9/root/usr/bin/cc
ln: 无法创建符号链接"/opt/rh/devtoolset-9/root/usr/bin/cc": 没有那个文件或目录
[root@node1 build]# mkdir -p /opt/rh/devtoolset-9/root/usr/bin/
[root@node1 build]# ln -s /usr/bin/gcc /opt/rh/devtoolset-9/root/usr/bin/cc
[root@node1 build]# ln -s /usr/bin/g++ /opt/rh/devtoolset-9/root/usr/bin/c++
4.4 protocol文件夹下面没有内容
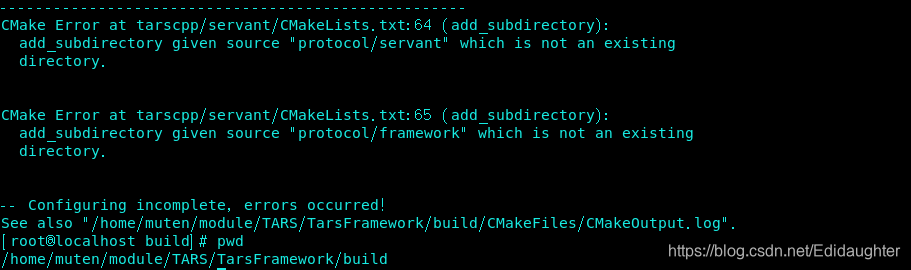
做了修改,单独下载protocol文件夹:
cd /home/muten/module/TARS/TarsFramework/tarscpp/servant/protocol
git clone https://gitee.com/muten/TarsProtocol.git
cd TarsProtocol/tup/
mv * /home/muten/module/TARS/TarsFramework/tarscpp/servant/protocol/
4.5 gcc/g++版本过低导致编译g++的时候无法成功编译,升级版本
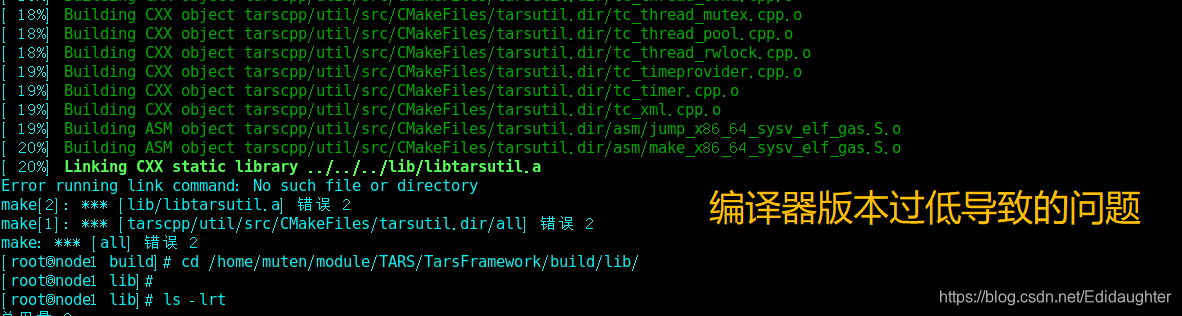
(1)安装 centos-release-scl
yum install centos-release-scl

(2)安装 devtoolset
//安装gcc 9 的版本
yum -y install devtoolset-9-gcc*
//安装gcc 7 的版本
yum -y install devtoolset-7-gcc*

(3)激活
//激活gcc 9
scl enable devtoolset-9 bash
//激活gcc 7
scl enable devtoolset-7 bash

(4)永久激活

scl命令启用只是临时的,退出shell或重启就会恢复原系统gcc版本,如果要长期使用的话执行:
echo "source /opt/rh/devtoolset-7/enable" >>/etc/profile 。
gcc版本9 执行:echo "source /opt/rh/devtoolset-9/enable" >>/etc/profile
4.6 可以提前安装npm和pm2

4.7 我的环境中make install生成框架程序的路径和脚本中的不一致
利用一下语句手工将文件拷入对应目录:
cp -p /usr/local/tars/cpp/deploy/framework/servers/tarsAdminRegistry/bin/tarsAdminRegistry /usr/local/app/tars/tarsAdminRegistry/bin/tarsAdminRegistry
cp -p /usr/local/tars/cpp/deploy/framework/servers/tarsconfig/bin/tarsconfig /usr/local/app/tars/tarsconfig/bin/tarsconfig
cp -p /usr/local/tars/cpp/deploy/framework/servers/tarsregistry/bin/tarsregistry /usr/local/app/tars/tarsregistry/bin/tarsregistry
cp -p /usr/local/tars/cpp/deploy/framework/servers/tarsnode/bin/tarsnode  /usr/local/app/tars/tarsnode/bin/tarsnode
cp -p /usr/local/tars/cpp/deploy/framework/servers/tarsnotify/bin/tarsnotify /usr/local/app/tars/tarsnotify/bin/tarsnotify
cp -p /usr/local/tars/cpp/deploy/framework/servers/tarsproperty/bin/tarsproperty  /usr/local/app/tars/tarsproperty/bin/tarsproperty
cp -p /usr/local/tars/cpp/deploy/framework/servers/tarsqueryproperty/bin/tarsqueryproperty  /usr/local/app/tars/tarsqueryproperty/bin/tarsqueryproperty
cp -p /usr/local/tars/cpp/deploy/framework/servers/tarsquerystat/bin/tarsquerystat /usr/local/app/tars/tarsquerystat/bin/tarsquerystat
cp -p /usr/local/tars/cpp/deploy/framework/servers/tarsstat/bin/tarsstat  /usr/local/app/tars/tarsstat/bin/tarsstat
cp -p /usr/local/tars/cpp/deploy/framework/servers/tarslog/bin/tarslog /usr/local/app/tars/tarslog/bin/tarslog
cp -p /usr/local/tars/cpp/deploy/framework/servers/tarspatch/bin/tarspatch  /usr/local/app/tars/tarspatch/bin/tarspatch
5. 下载TarsWeb源码
git clone https://github.com/TarsCloud/TarsWeb.git---慢
我的方法:
git clone https://gitee.com/muten/TarsWeb.git
cp -rp /home/muten/module/TARS/TarsWeb /usr/local/tars/cpp/deploy/web
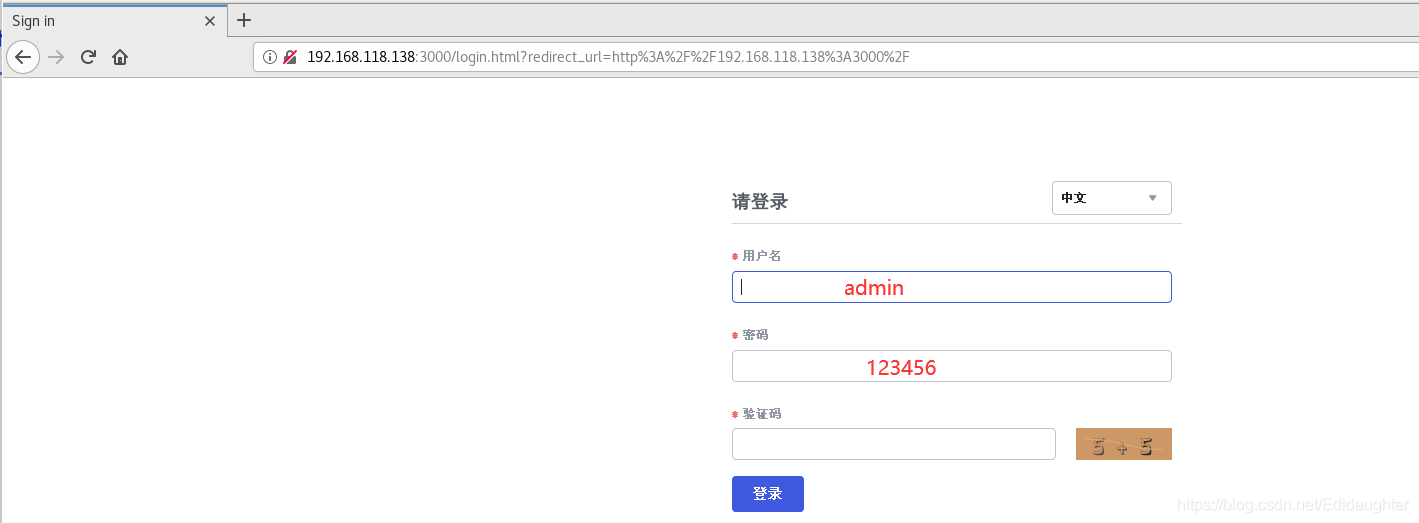
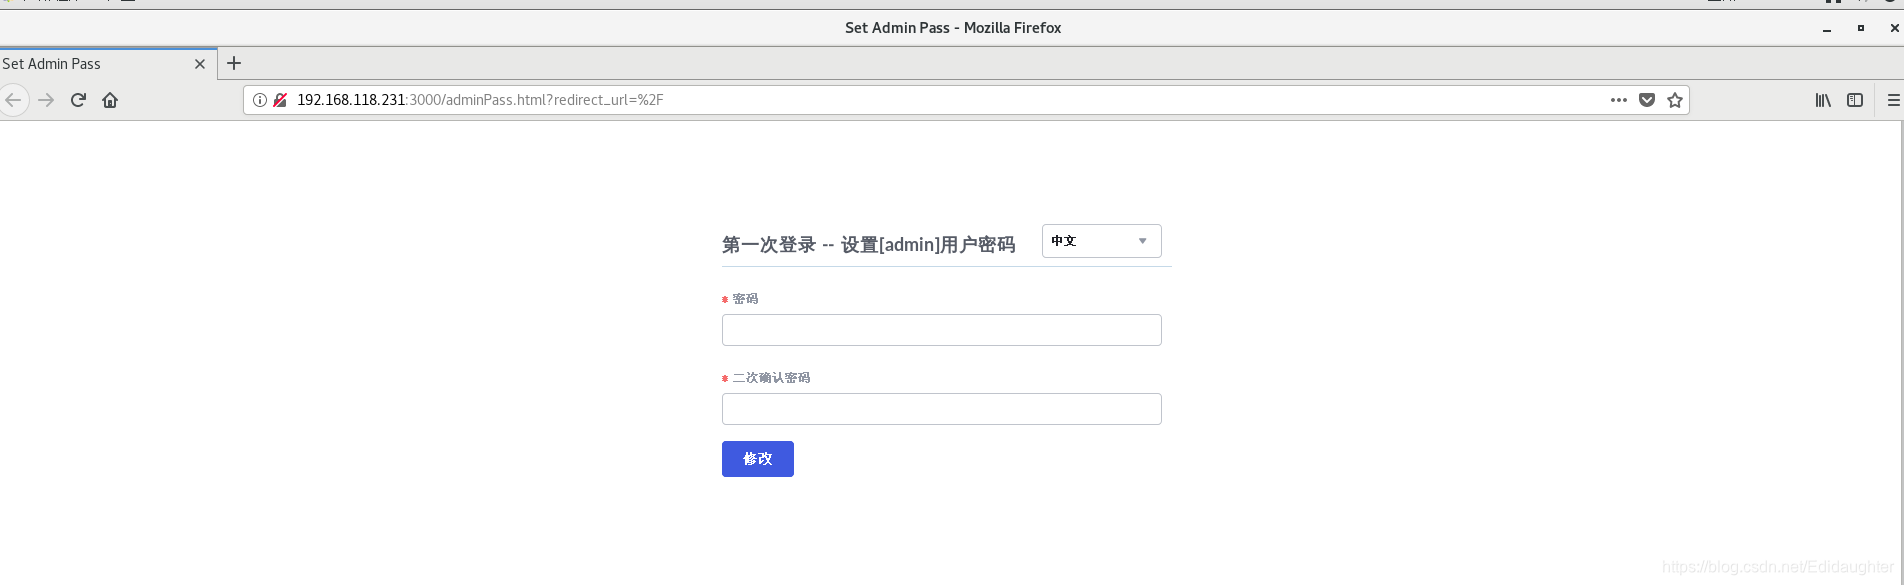
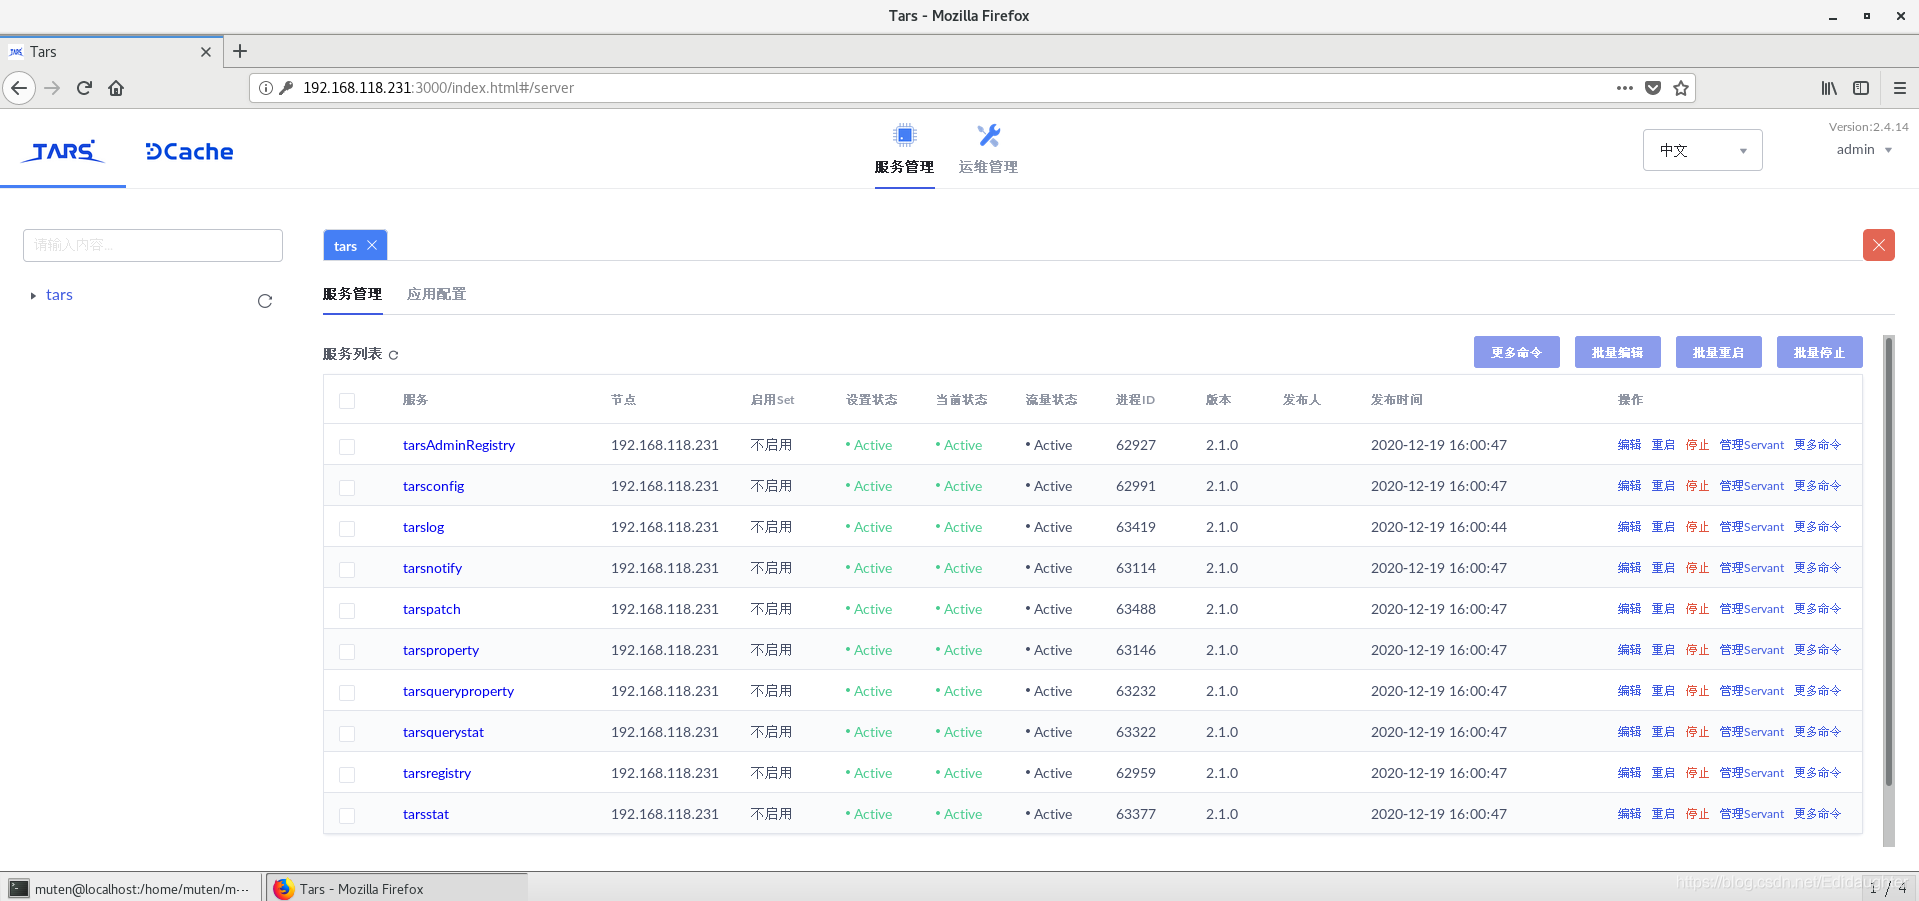
cp -rp /home/muten/module/TARS/TarsWeb /home/muten/module/TARS/TarsFramework/deploy/web6.启动服务并登陆验证
cd /home/muten/module/TARS/TarsFramework/deploy
./linux-install.sh 【数据库IP地址】 【password】 【网卡名】 false false 【root--填写数据库用户名字】 【数据库端口号-mysql默认是3306】

如:
./linux-install.sh 192.168.118.138 123456 ens160 false false root 3306
./linux-install.sh 192.168.118.180 123456 ens33 false false root 3306

登录界面的时候试试用amdin/123456
我的IP改了,需要重新install.
现在我的muten-1的mysql的root密码是123456,不要再忘了.--20210124

7.启停脚本
cd /home/muten/module/TARS/TarsFramework/deploy
./linux-install.sh 192.168.118.138 123456 ens160 false false root 3306


总控启动:/usr/local/app/tars/tars-start.sh
总控停止:/usr/local/app/tars/tars-stop.sh
11个服务的检查脚本:/usr/local/app/tars/Muten-check.sh


单个脚本启停:
- /usr/local/app/tars/xxxx/util/start.sh
- /usr/local/app/tars/xxxx/util/stop.sh
*xxxx: fill in the directory where you locate your servers.


Note:
In the core servers of the framework, TarsNode must be alive as it will monitor other servers. If a server
crashes, it will be automatically rebooted.
Pm2 monitors TarsWeb.
After the machine that has deployed the framework restarts, it can
execute /usr/local/app/tars/tars-start.sh to restart all servers.
TarsNode monitoring can be performed regularly
in crontab: /usr/local/app/tars/tarsnode/util/check.sh
The application node with TarsNode deployed needs to monitor only the TarsNode.
8.查看编译选项
cd /home/muten/module/TARS/TarsFramework/build
cmake .. -LH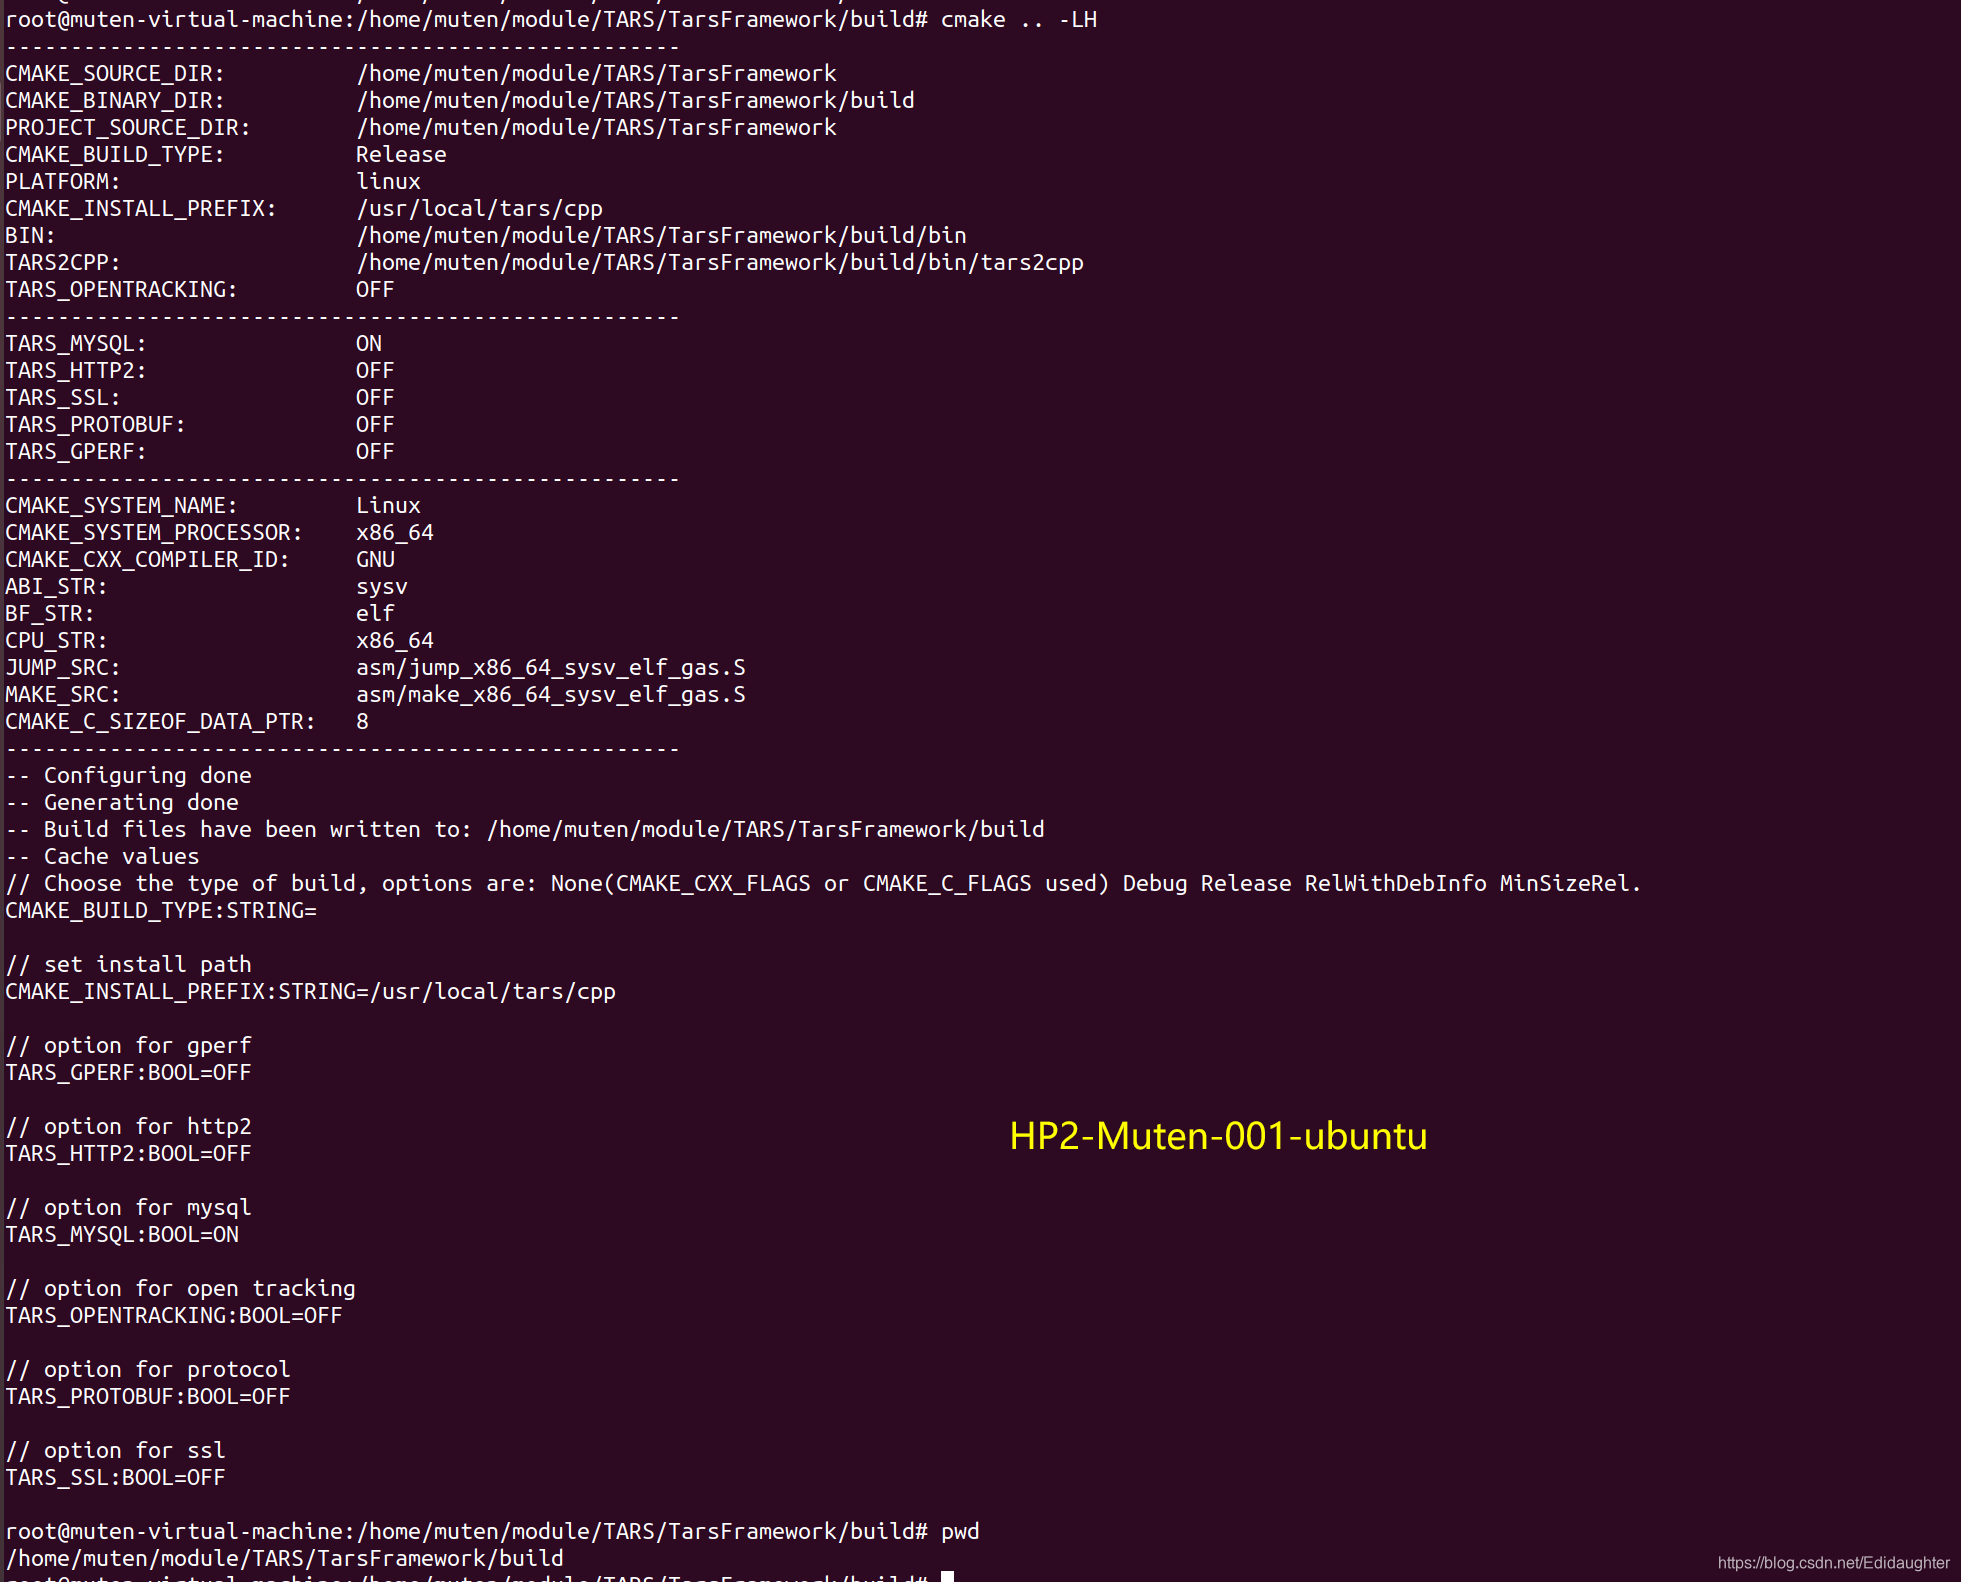


 445
445


 到【灌水乐园】发言


