


 本文详细介绍了Spring框架中的Bean配置,包括如何注入其他Bean、Spring的自动装配机制、SpEL注入、Bean的作用域(如singleton和prototype)以及Bean的生命周期管理。还讨论了如何在初始化和销毁阶段执行自定义操作。
二、Bean的配置
3、注入其他Bean
TextEditor依赖SpellChecker类,在Spring 中可以看作一个Bean中包含另外的Bean。
public class TextEditor {
    private SpellChecker spellChecker;
    public void setSpellChecker(SpellChecker spellChecker){
        System.out.println("Inside setSpellChecker.");
        this.spellChecker = spellChecker;
    }
}
<bean id="textEditor" class="com.tutorialspoint.TextEditor">
    <property name="spellChecker" ref="spellChecker"/>
</bean>
<bean id="spellChecker" class="com.tutorialspoint.SpellChecker">
</bean>
假设SpellChecker 只被TextEditor依赖,单独创建SpellChecker这个Bean就显得有点多余。
Spring 提供内部 Bean的定义,即可以在bean定义的内部对其他bean进行定义。比如:
<bean id="textEditor" class="com.tutorialspoint.TextEditor">
    <property name="spellChecker">
        <bean id="spellChecker" class="com.tutorialspoint.SpellChecker"/>
    </property>
</bean>
对于只包含少量Bean的应用来说,在XML中指定Bean之间的依赖已经足够满足我们的需求了。但随着应用的不断发展,容器中包含的Bean 会越来越多,Bean和Bean之间的依赖关系也越来越复杂,这就使得我们所编写的XML配置也越来越复杂,越来越繁琐,维护起来也更加复杂。
Spring在Bean 与Bean之间建立依赖关系的行为称为装配。Spring框架提供自动装配功能。
Spring 的自动装配功能可以让Spring容器依据某种规则,为指定的Bean从应用的上下文中查找它所依赖的Bean,并自动建立Bean之间的依赖关系。而这一过程是在完全不使用任何<constructor-arg>和<property>元素的ref属性的情况下进行的。
Spring框架是默认不支持自动装配的,要想使用自动装配,则需要对SpringXML配置文件z中<bean>元素的autowire属性进行设置。
autowire属性为一个Bean指定自动装配模式,以下展示了各种模式的描述:
byName:由属性名自动装配。Spring容器将bean的属性与在配置文件中被定义为相同名称的 bean进行连接。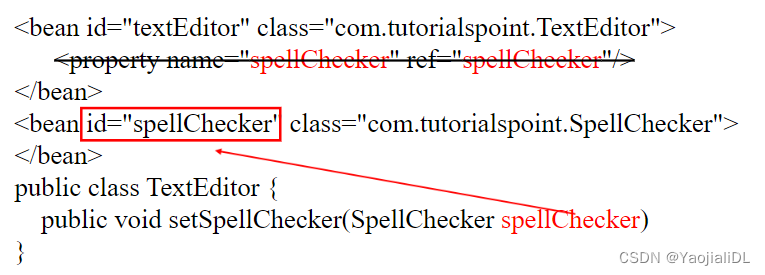
byType:由属性数据类型自动装配。如果bean的类型匹配配置文件中的一个确切的bean名称,Spring将尝试匹配和连接属性的类型。如果存在不止一个这样的bean,则会抛出异常。
根据参数具体类型寻找匹配的Bean: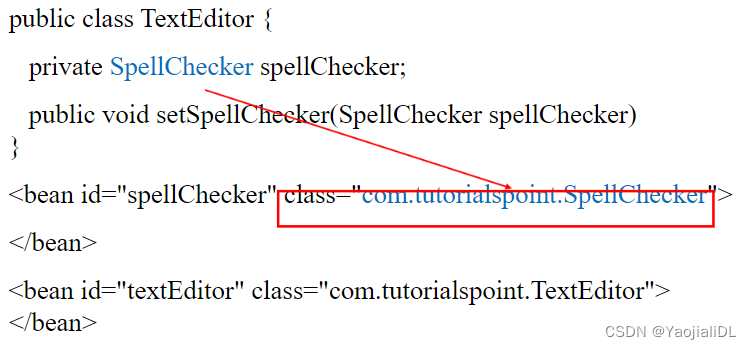
当出现同一类型的Bean,byType类型的自动装配会报错,则应进行如下处理: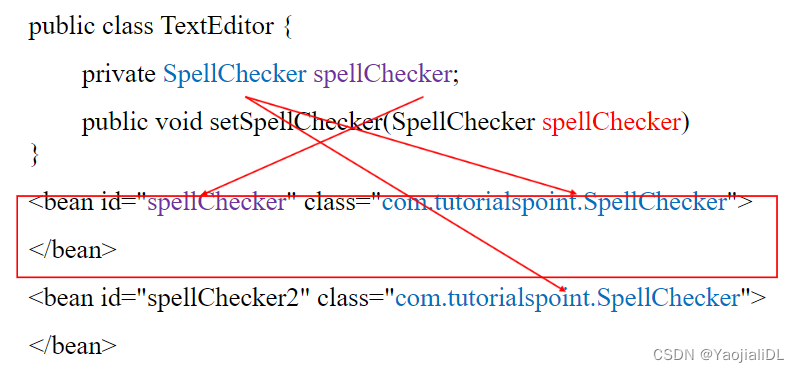
constructor:类似于byType,但该类型适用于基于构造函数注入。如果在容器中找不到构造函数的参数类型的bean,则会抛出异常。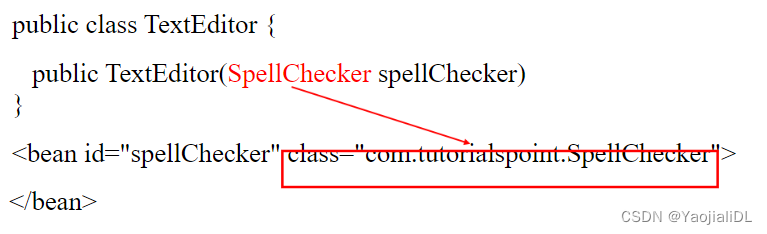
TextEditor存在两个属性:SpellChecker类对象spellChecker 以及字符串name,以下分别使用byName,byType和constructor类型进行自动装配。
public class TextEditor {
    private SpellChecker spellChecker;
    private String name;
}
<bean id="textEditor" class="com.tutorialspoint.TextEditor" autowire="byName">
    <property name="name" value="Generic Text Editor">
</bean>
<bean id="spellChecker" class="com.tutorialspoint.SpellChecker">
</bean>
在byName模式下Spring 会自动根据TextEditor的属性和XML中定义的Bean名进行匹配,在本例中,匹配到spellChecker,所以Spring 会自动将spellChecker注入textEditor。
<bean id="textEditor" class="com.tutorialspoint.TextEditor" autowire="byType">
    <property name="name" value="Generic Text Editor">
</bean>
<bean id="spell" class="com.tutorialspoint.SpellChecker">
</bean>
注意我们定义的SpellChecker类的实例名为spell,其不是TextEditor的属性名,但是如果使用byType自动装配,则Spring 会根据TextEditor 属性spellChecker的类型为SpellChecker 而自动与定义的spell进行匹配。
<bean id="textEditor" class="com.tutorialspoint.TextEditor" autowire="constructor">
    <constructor-arg name="name" value="Generic Text Editor">
</bean>
<bean id="spell" class="com.tutorialspoint.SpellChecker">
</bean>
注意基于构造函数的方式仍然是利用类型去匹配而不是名字。
自动装配虽然会帮助显著减少XML中属性的手动装配,但自动装配精确度低,需要重写依赖关系时,修改起来更加困难,因为你无法知道是否其他类存在依赖,此外,自动装配无法装配简单的数据类型包括基本类型,字符串。
如果Person类有许多变量,则需要使用<property>逐个注入依赖。
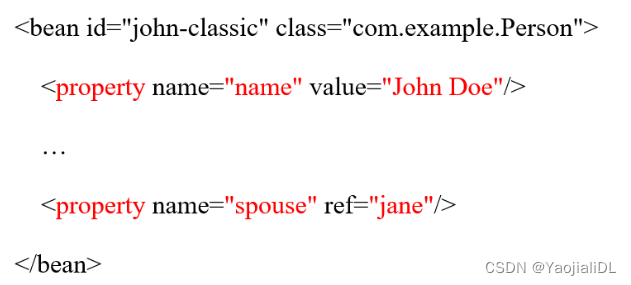
上述XML配置文件可以使用p-namespace 以一种更简洁的方式重写,如下所示:
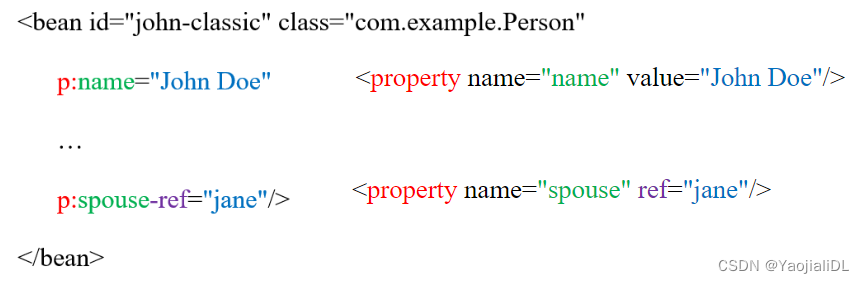
p-namespace将原先的<property>子元素的设置改成<bean>元素属性的设置。
使用p-namespace必须在根标签beans 中加入以下样例,否则 Spring 无法识别p属性:
<beans xmlns="http://www.springframework.org/schema/beans" xmIns:p="http://www.springframework.org/schema/p">
4、使用SpEL注入
SpEL是Spring Expression Language (Spring表达式语言)的缩写,它是一种支持查询和操作运行时对象导航图功能的表达式语言,可以简化开发,能够减少代码逻辑和配置信息的编写。
SpEL并不与Spring 直接相关,可以被独立使用。SpEL的语法以#{...}为定界符,能够为Bean的属性进行动态赋值,它可以通过Bean的id引用Bean,调用对象的方法或引用对象的属性、计算表达式的值、匹配正则表达式等。
Employee类与Person类的id和name必须保持一致。
class Employee {
    private int id;
    private String name;
    private String department;
}
class Person {
    private int id;
    private String name;
}
<bean id="person" class="cn.edu.hnit.example.Person">
    <property name ="id" value="#{employee.id}" />
    <property name ="name" value="#{employee.name}"/>
</bean>
<bean id="employee" class="cn.edu.hnit.example.Employee">
    <property name ="id" value="1"/>
    <property name ="name" value="ZhangSan"/>
    <property name ="department" value="IT"/>
</bean>
注意使用SpEL注入时,Bean创建的顺序不再严格按照XML中定义的顺序。
5、Bean的作用域
Spring支持以下五个作用域:
singleton:单例模式,在Spring ToC容器仅存在一个Bean实例,Bean 以单例方式存在,默认值。
//默认情况下,StudentDaoImpl的bean会在IOC容器启动后创建
StudentDaolmpl studentDaoImpl = contextApplication.getBean("studentDaolmpl");
StudentDaoImpl studentDaolmpl1 =contextApplication.getBean("studentDaoImpl");
//studentDaoImpl 与studentDaoImpl1指向同一对象
prototype:原型模式,每次从容器中调用Bean时,都返回一个新的实例,即每次调用getBean()时,相当于执行newXxxBean()。
StudentDaoImpl studentDaoImpl =contextApplication.getBean("studentDaoImpl");
StudentDaoImpl studentDaolmpl1 = contextApplication.getBean("studentDaoImpl1");
// studentDaoImpl和studentDaoImpl1指向不同对象
request:每次HTTP请求都会创建一个新的Bean,该作用域仅适用于WebApplicationContext环境。
session:同一个HTTP Session共享一个Bean,不同Session使用不同的Bean,仅适用于WebApplicationContext环境。
global-session:一般用于Portlet应用环境,该作用域仅适用于WebApplicationContext 环境。
6、 Bean的生命周期
Bean的生命周期可以表示为:
Bean的定义->Bean的初始化-> Bean的使用-> Bean的销毁
当Bean的作用域是singleton时,Spring 容器只为该Bean创建一个实例,并且该实例可以被重复使用。Spring容器管理着该作用域下Bean的生命周期,可以控制Bean的创建、初始化、销毁。由于创建和销毁Bean实例会带来一定的系统开销,因此,singleton 作用域的Bean避免了反复创建和销毁实例造成的资源消耗。
当Bean的作用域是prototype时,每次调用Bean时 Spring容器都会返回一个新的不同的实例,此时,Spring容器只负责创建Bean 实例而不再跟踪其生命周期。最终对象的销毁和资源回收由垃圾回收负责。
在Bean的生命周期中,有两个时间节点尤为重要,这两个时间节点分别是Bean 实例初始化以后和Bean 实例销毁之前,实际开发中,有时需要在这两个时间节点完成一些指定操作,例如,在 Bean 实例初始化之后申请某些资源、在Bean 实例销毁之前回收某些资源等。
为了便于监控Bean生命周期中的特殊节点,Spring提供了相关的API,当需要在Bean 实例初始化后执行指定行为时,可以通过使用init-method属性或实现initializingBean接口的方式;当需要在Bean 实例销毁前执行指定行为时,可以通过使用destroy-method 属性或实现DisposableBean接口的方式。
对于需要指定初始化操作的 Bean,需要继承initializingBean接口,并实现afterPropertiesSet()方法用于编写初始化操作代码。实例代码如下:
public class ExampleBean implements InitializingBean {
    public void afterPropertiesSet() {
        // do some initialization work
    }
}
在基于XML的配置元数据的情况下,可以使用init-method属性来指定带有无参数无返回值的方法名称。比如:
<bean id="exampleBean" class="examples.ExampleBean" init-method="init"/>
public class ExampleBean {
    public void init() {
        // do some initialization work
    }
}
类似的,销毁回调方法也有对应的两种方法,第一种是重写DisposableBean的destroy方法。注意,只有singleton才能由Spring容器销毁,实例代码如下:
public class ExampleBean implements DisposableBean {
    public void destroy() {
        // do some destruction work
    }
}
第二种是在XML中使用destroy-method 属性来指定无返回值无参数的方法。例如:
<bean id="exampleBean" class="examples.ExampleBean" destroy-method="destroy"/>
public class ExampleBean {
    public void destroy() {
        // do some destruction work
    }
}
如果你定义的大多数Bean使用的同名的初始化和创建方法,那么可以在<beans>中使用default-init-method和default-destroy-method方法配置。实例如下:
<beans xmlns="http://www.springframework.org/schema/beans"
    xmlns:xsi="http://www.w3.org/2001/XMLSchema-instance"
    xsi:schemaLocation="http://www.springframework.org/schema/beans http://www.springframework.org/schema/beans/spring-beans-3.0.xsd"
    default-init-method="init"
    default-destroy-method="destroy">
当Bean不提供匹配的定义的名称,则什么也不会发生。


 794
794


 被折叠的 条评论
为什么被折叠?
被折叠的 条评论
为什么被折叠?
 到【灌水乐园】发言


