


 本文详细介绍了RESTful风格开发的基本概念及其在SpringMVC框架中的实现过程,包括配置、依赖添加、请求处理等方面,并演示了如何通过前端ajax请求与后端交互。
一、RESTful开发风格
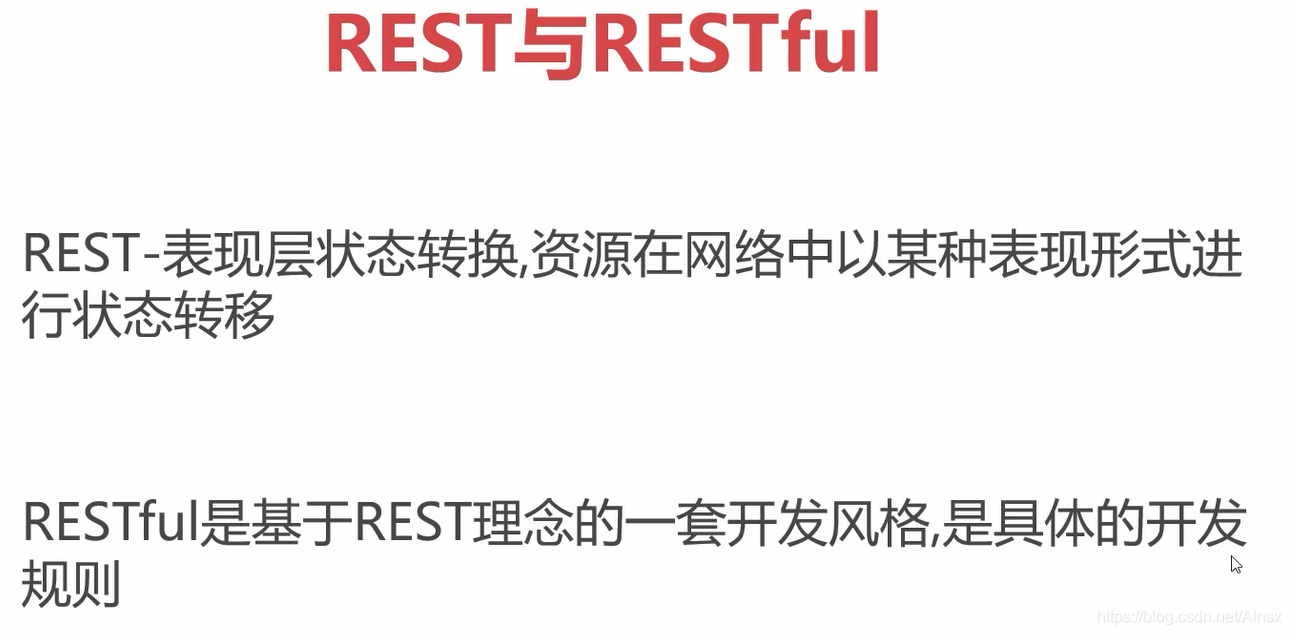
1.R EST与RESTful
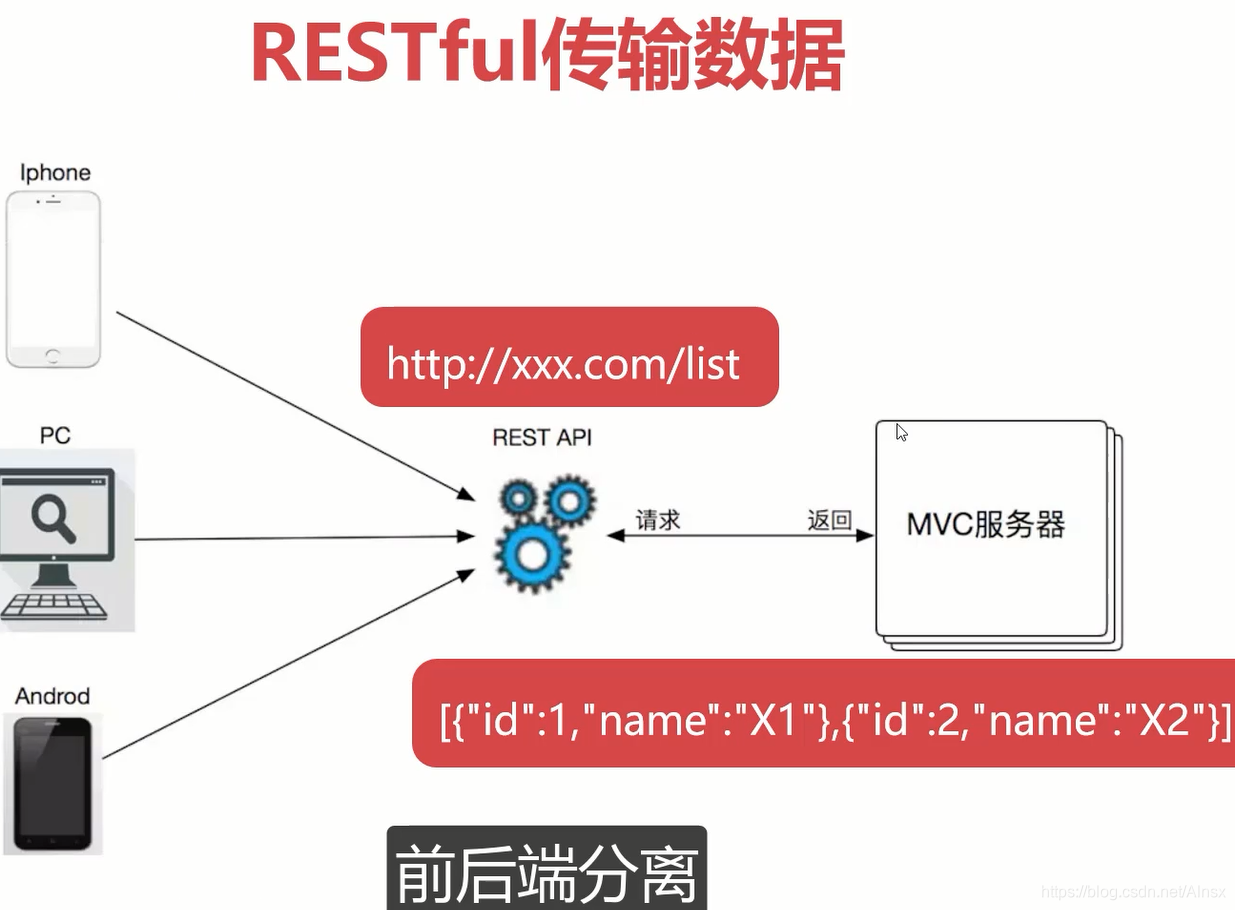
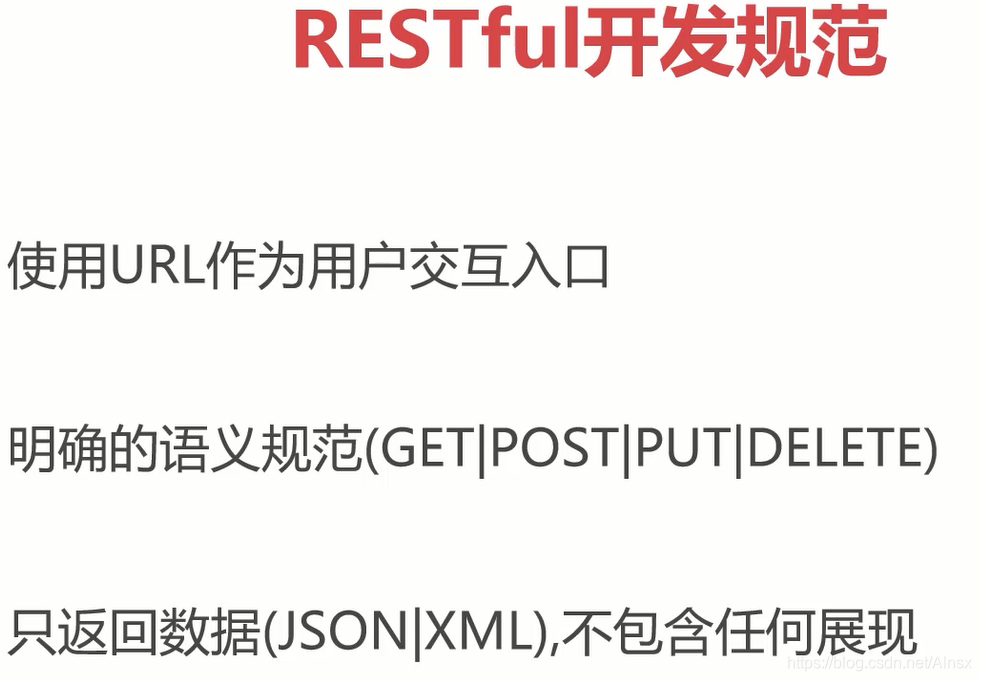
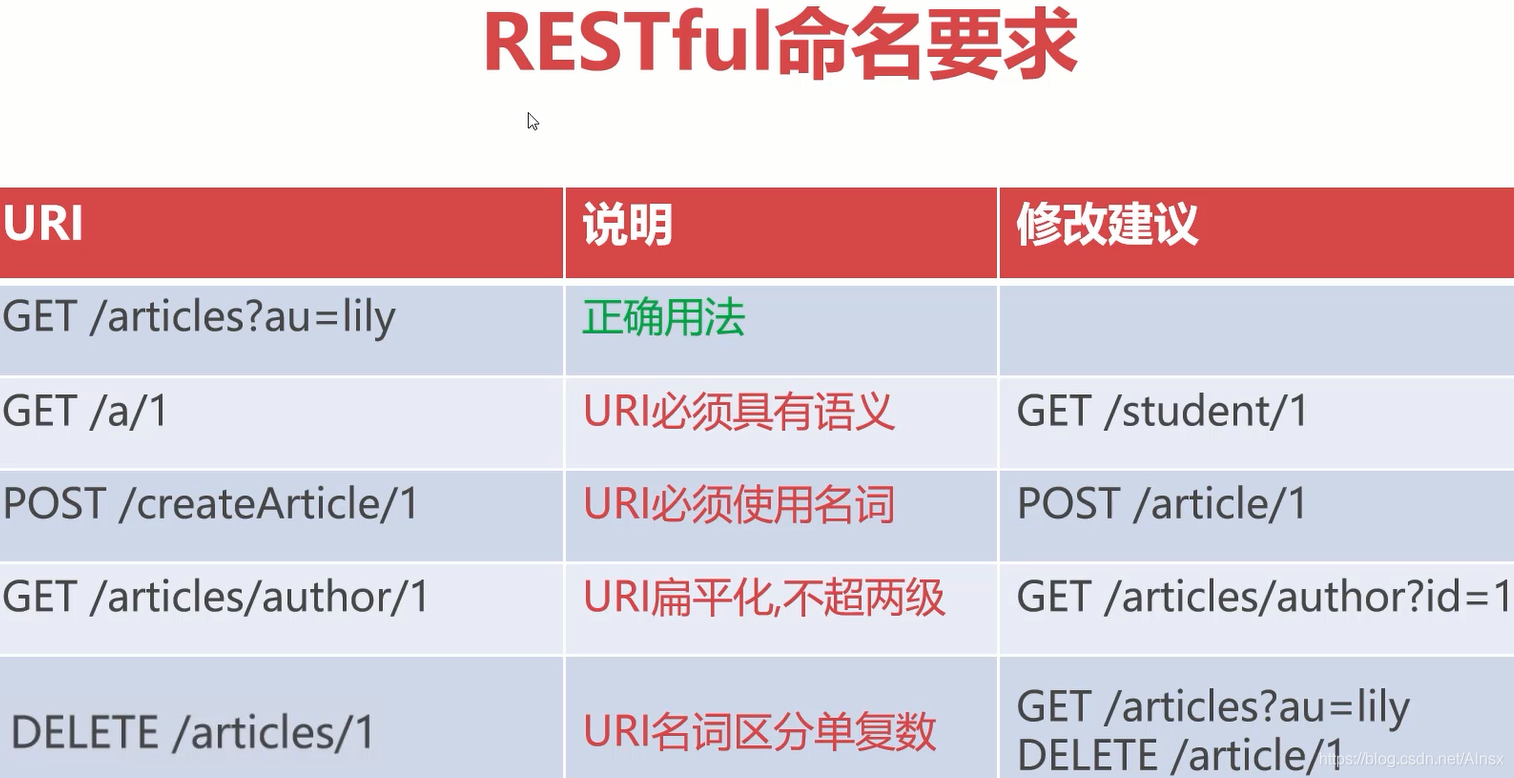
2.开发一个简单的RESTful应用
1.添加依赖pom.xml
    <dependencies>
        <dependency>
            <groupId>org.springframework</groupId>
            <artifactId>spring-webmvc</artifactId>
            <version>5.1.9.RELEASE</version>
        </dependency>
    </dependencies>
2.配置SpringMVC,applicationContext.xml,将后台请求的数据和JSON格式的数据都转换为UTF-8进行响应
<?xml version="1.0" encoding="UTF-8"?>
<beans xmlns="http://www.springframework.org/schema/beans"
       xmlns:xsi="http://www.w3.org/2001/XMLSchema-instance"
       xmlns:context="http://www.springframework.org/schema/context"
       xmlns:mvc="http://www.springframework.org/schema/mvc"
       xsi:schemaLocation="http://www.springframework.org/schema/beans
        https://www.springframework.org/schema/beans/spring-beans.xsd
        http://www.springframework.org/schema/context
        https://www.springframework.org/schema/context/spring-context.xsd
        http://www.springframework.org/schema/mvc
        http://www.springframework.org/schema/mvc/spring-mvc.xsd">
    <context:component-scan base-package="com.springmvc.restful"></context:component-scan>
<!--    开启注解模式-->
    <mvc:annotation-driven>
<!--    开启静态转换器-->
        <mvc:message-converters>
            <bean class="org.springframework.http.converter.StringHttpMessageConverter">
                <property name="supportedMediaTypes">
                    <list>
                        <value>text/html;charset=utf-8</value>
                        <value>application/json;charset=utf-8</value>
                    </list>
                </property>
            </bean>
        </mvc:message-converters>
    </mvc:annotation-driven>
<!--静态资源拦截器-->
    <mvc:default-servlet-handler></mvc:default-servlet-handler>
3.添加过滤器,将所有请求转换为UTF-8字符集web.xml
<?xml version="1.0" encoding="UTF-8"?>
<web-app xmlns="http://xmlns.jcp.org/xml/ns/javaee"
         xmlns:xsi="http://www.w3.org/2001/XMLSchema-instance"
         xsi:schemaLocation="http://xmlns.jcp.org/xml/ns/javaee http://xmlns.jcp.org/xml/ns/javaee/web-app_3_1.xsd"
         version="3.1">
    <!--    DispatcherServlct-->
    <servlet>
        <servlet-name>springmvc</servlet-name>
        <!--        DispatcherServlet是SpringMVC最核心对象
                    DispatcherServlet用于拦截Http请求
                     并根据请求的URL调用与之对应的Controller方法,来完成Http请求的处理-->
        <servlet-class>org.springframework.web.servlet.DispatcherServlet</servlet-class>
        <!--        applicationContext.xml-->
        <init-param>
            <param-name>contextConfigLocation</param-name>
            <param-value>classpath:applicationContext.xml</param-value>
        </init-param>
        <!--        Web应用启动时自动创建Spring IOC容器
                    并初始化DispatcherServlet-->
        <load-on-startup>0</load-on-startup>
    </servlet>
    <servlet-mapping>
        <servlet-name>springmvc</servlet-name>
        <!--        /代表拦截所有请求-->
        <url-pattern>/</url-pattern>
    </servlet-mapping>
    <!--对所有的请求进行过滤并将中文字符转为UTF-8编码-->
    <filter>
        <filter-name>characterFilter</filter-name>
        <filter-class>org.springframework.web.filter.CharacterEncodingFilter</filter-class>
        <init-param>
            <param-name>encoding</param-name>
            <param-value>UTF-8</param-value>
        </init-param>
    </filter>
    <filter-mapping>
        <filter-name>characterFilter</filter-name>
        <url-pattern>/*</url-pattern>
    </filter-mapping>
    <filter>
<!--    使用非简单请求时需要添加该过滤器才能使PUT和DELETE请求支持数据传输-->
        <filter-name>formContentFilter</filter-name>
        <filter-class>org.springframework.web.filter.FormContentFilter</filter-class>
    </filter>
    <filter-mapping>
        <filter-name>formContentFilter</filter-name>
        <url-pattern>/*</url-pattern>
    </filter-mapping>
</web-app>
3.新建client.html页面使用ajax请求
<!DOCTYPE html>
<html lang="en">
<head>
    <meta charset="UTF-8">
    <title>RESTful实验室</title>
    <script src="jquery-3.5.1.min.js"></script>
    <script>
        $(function(){
            $("#btnPost").click(function () {
                console.log("单机");
                $.ajax({
                    url : "/restful/request/100",
                    type : "post",
                    data : "name=lily&age=23",
                    dataType : "json",
                    success : function (json) {
                        $("#message").text(json.message+":"+json.id);
                    }
                })
            })
        })
  </script>
</head>
<body>
<input type="button" id="btnGet" value="发送get请求">
<input type="button" id="btnPost" value="发送Post请求">
<input type="button" id="btnPut" value="发送Put请求">
<input type="button" id="btnDelete" value="发送Delete请求">
<h1 id="message"></h1>

</body>
</html>
4.新建处理的Controller类
package com.springmvc.restful;

import com.springmvc.restful.entity.Person;
import org.springframework.stereotype.Controller;
import org.springframework.web.bind.annotation.*;
@RestController
@RequestMapping("/restful")
public class RestfulController {
    @GetMapping("/request")
//    @ResponseBody
    public  String doGetRequest(){
        return "{\"message\":\"返回查询结果\"}";
    }

//   POST /article/1
//    POST /restful/request/100
    @PostMapping("/request/{rid}")
    public String doPostRequest(@PathVariable("rid") Integer rid, Person person){
        System.out.println(person.getName()+":"+person.getAge());
        return "{\"message\":\"数据新建成功\",\"id\":"+rid+"}";
    }
    @PutMapping("/request")
//    @ResponseBody
    public String doPutRequest(Person person){
        System.out.println(person.getName()+":"+person.getAge());
        return "{\"message\":\"数据更新成功\"}";
    }
    @DeleteMapping("/request")
//    @ResponseBody
    public String doDeleteRequest(){
        return "{\"message\":\"数据删除成功\"}";
    }
}
需要注意的是@RestController注解相较于Controller能让我们无需在每个需要使用@ResponseBody的方法上使用该注解。简化开发。
使用put和delete请求进行前端数据请求时需要新增相应的过滤器web.xml有


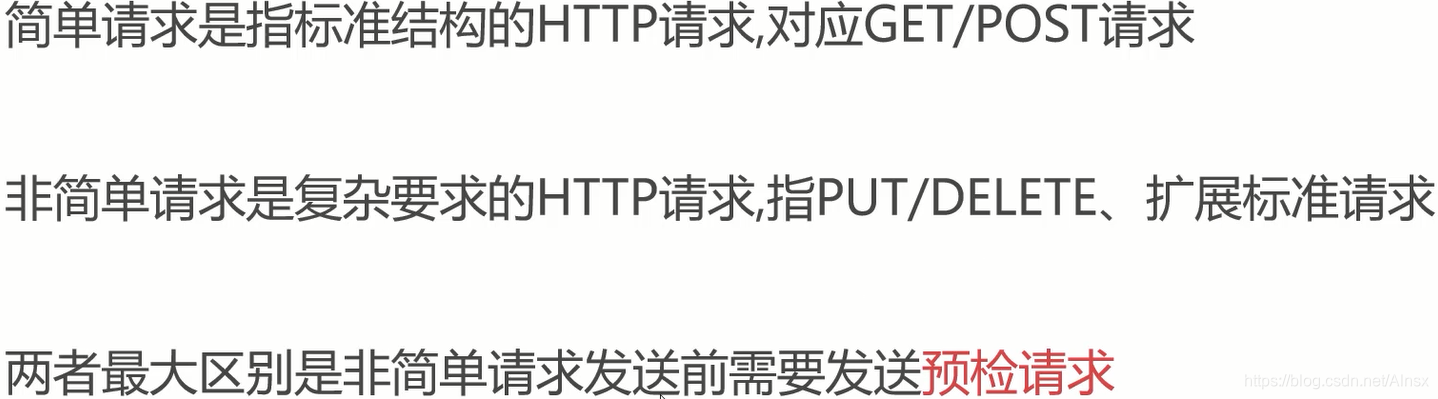
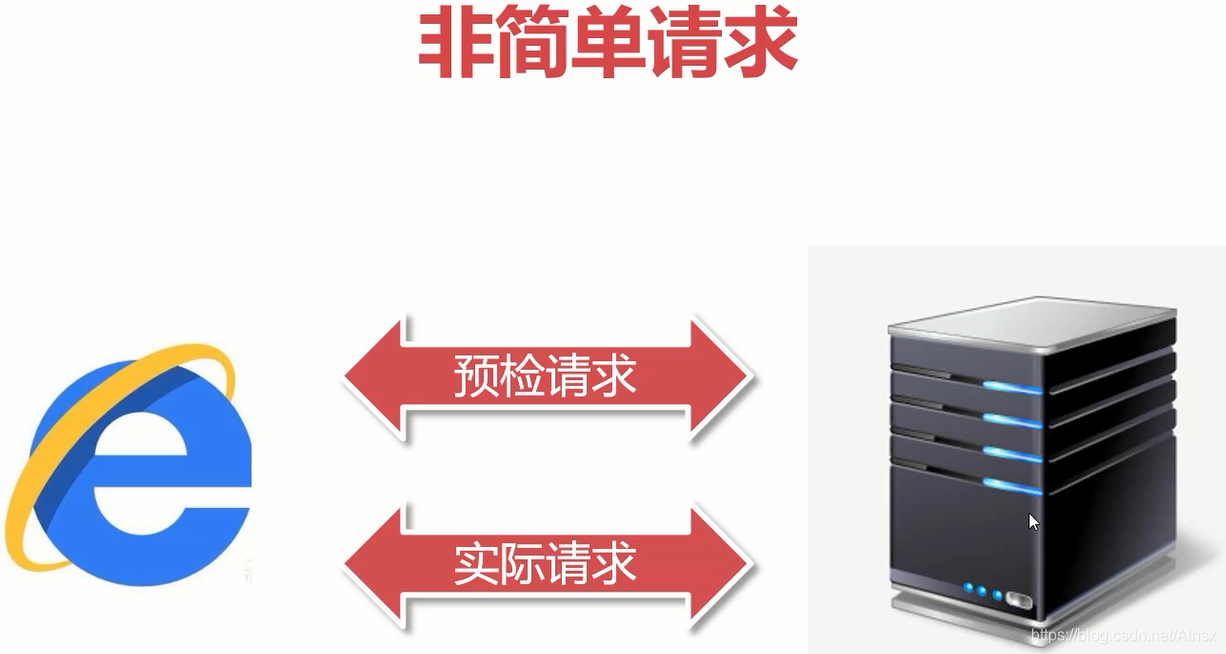
3.简单请求与非简单请求
4.JSON序列化
1.添加依赖
<!--        添加jackson-core依赖-->
        <dependency>
            <groupId>com.fasterxml.jackson.core</groupId>
            <artifactId>jackson-core</artifactId>
            <version>2.9.9</version>
        </dependency>
        <dependency>
            <groupId>com.fasterxml.jackson.core</groupId>
            <artifactId>jackson-databind</artifactId>
            <version>2.9.9</version>
        </dependency>
        <dependency>
            <groupId>com.fasterxml.jackson.core</groupId>
            <artifactId>jackson-annotations</artifactId>
            <version>2.9.9</version>
        </dependency>
2.新增controller方法
//    在新增了jackson-core的注解和ResopnseBody注解后返回的对象会被jackson自动进行序列化输出
//    无需手动拼接json输出
    @GetMapping("/person")
    public Person findByPersonId(Integer id){
            Person person = new Person();
            if (id==1){
                person.setName("lily");
                person.setAge(23);
            }else if(id==2){
                person.setName("Andy");
                person.setAge(33);
            }
            return person;
    }
3.访问结果

4.如果返回是多个实体则需要将方法属性改为List<person>
    @GetMapping("/persons")
    public List<Person> findByPersons(){
        List list = new ArrayList();
        Person p1 =new Person();
        p1.setName("lily");
        p1.setAge(13);
        p1.setBirthday(new Date());
        Person p2 =new Person();
        p2.setName("andy");
        p2.setAge(23);
        p2.setBirthday(new Date());
        list.add(p1);
        list.add(p2);
        return list;
    }
修改HTML文件进行展示
        $(function(){
            $("#btnPersons").click(function(){
                $.ajax({
                    url : "/restful/persons",
                    type : "get",
                    dataType :"json",
                    success : function (json) {
                        console.log(json)
                        for(var i=0;i<json.length;i++){
                            var p =json[i];
                            $("#divPersons").append("<h2>"+p.name+"-"+p.age+"-"+p.birthday+"</h2>")
                        }
                    }
                })
            })
        })
有日期货币等属性时需要通过注解@JSONFormat进行格式化
    private  String name;
    private  Integer age;
    @JsonFormat(pattern = "yyyy-MM-dd HH:mm:ss",timezone = "GMT+8")
    private Date birthday;
后面为getter和setter
结果:
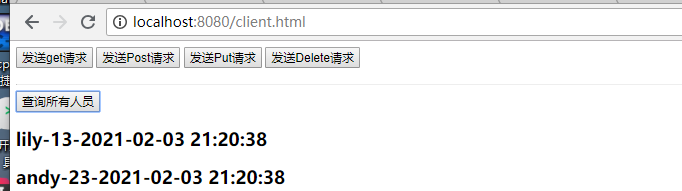
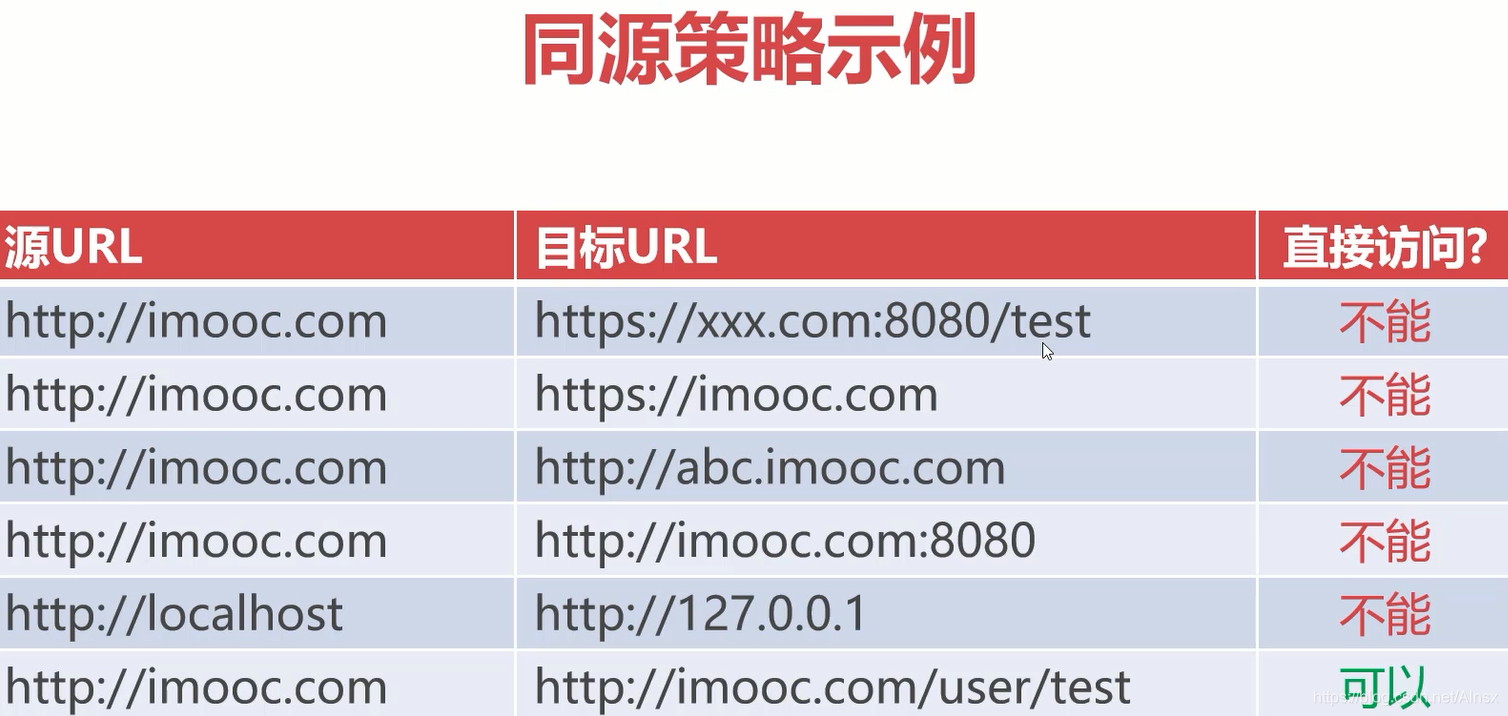
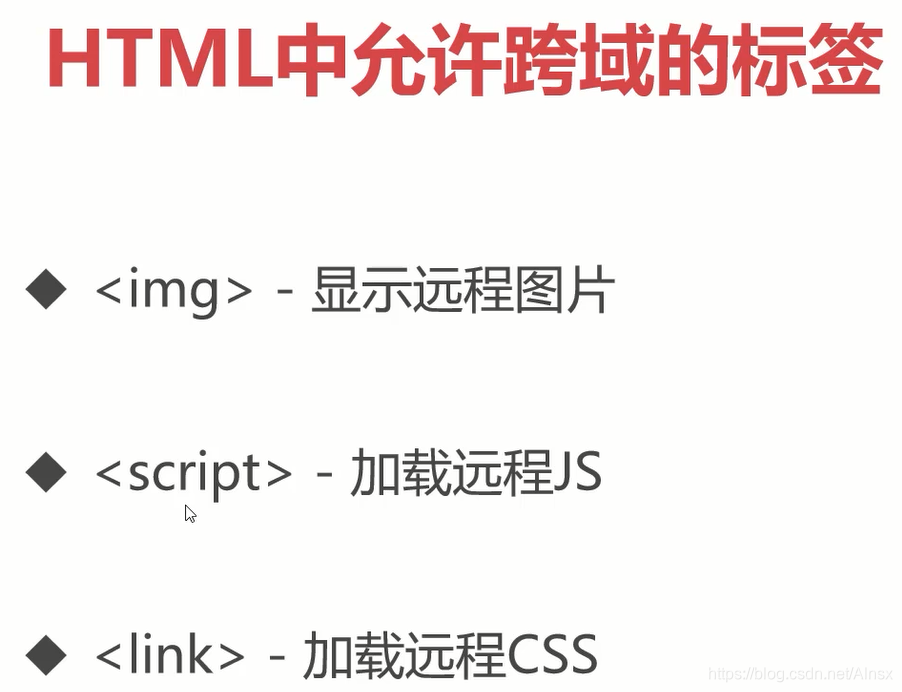
4.浏览器的同源策略
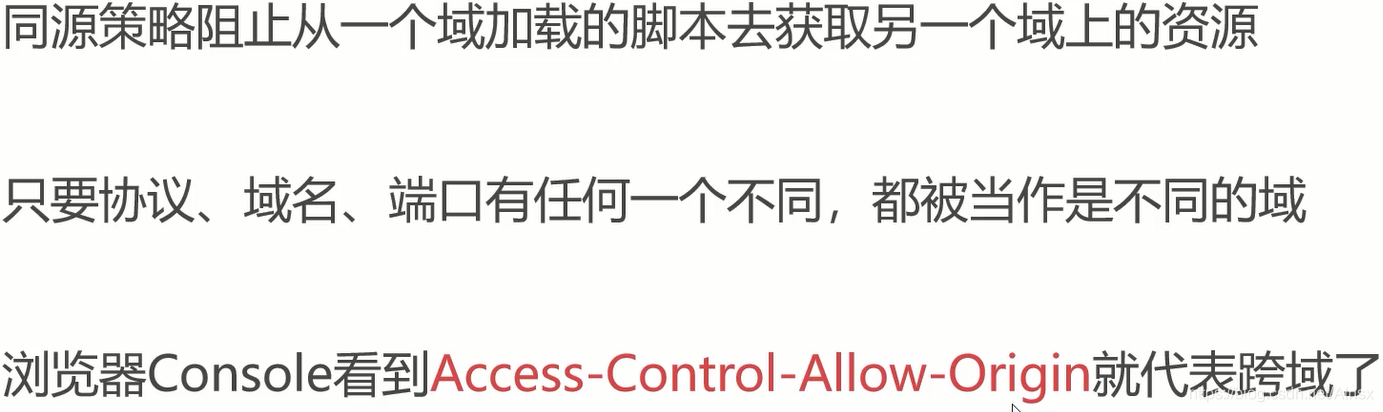
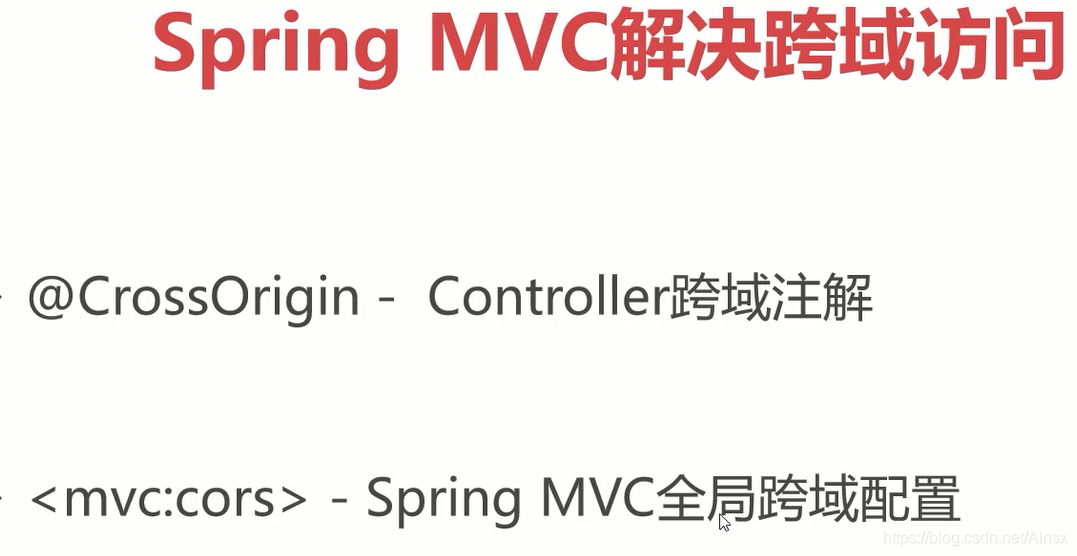
5.通过SpringMVC解决跨域访问问题


 614
614

 被折叠的 条评论
为什么被折叠?
被折叠的 条评论
为什么被折叠?
 到【灌水乐园】发言


