


Navigation天然支持多设备开发能力,在竖屏设备上使用单栏开发,在宽屏设备上使用分栏开发,使得宽屏设备上有更好的导航体验。
1、Navigation分栏简述
Navigation本身作为一个容器组件,其内部可以添加自定义的内容。这一部分内容被称为导航栏(NavBar)。通过NavPathStack操作向Navigation里面添加的各个NavDestination页面称为子页(NavDestination)。
Navigation分栏模式适用于宽屏设备,一般情况下,将应用导航栏显示在左侧(可自定义配置),子页显示在右侧。见本文档1.4章节的“Navigation导航架构图”。
2、分栏相关接口介绍
Navigation分栏相关的接口如下:
- mode
用来控制Navigation的显示模式,有三种模式:单栏,分栏,自适应.
单栏(NavigationMode.Stack)

分栏(NavigationMode.Split)
自适应(NavigationMode.Auto)

- navBarPosition
用来控制导航栏显示的位置。
另外,用navBarPosition控制导航栏显示位置时,同样会被系统语言所以影响。比如,在以汉语、英语为代表的LTR语言体系下,NavBarPosition.Start指代的是导航栏出现在左侧,而在以阿拉伯语为代表的RTL语言体系下,NavBarPosition.Start则指代导航栏出现在右侧。类似的效果也出现在NavBarPosition.End上。
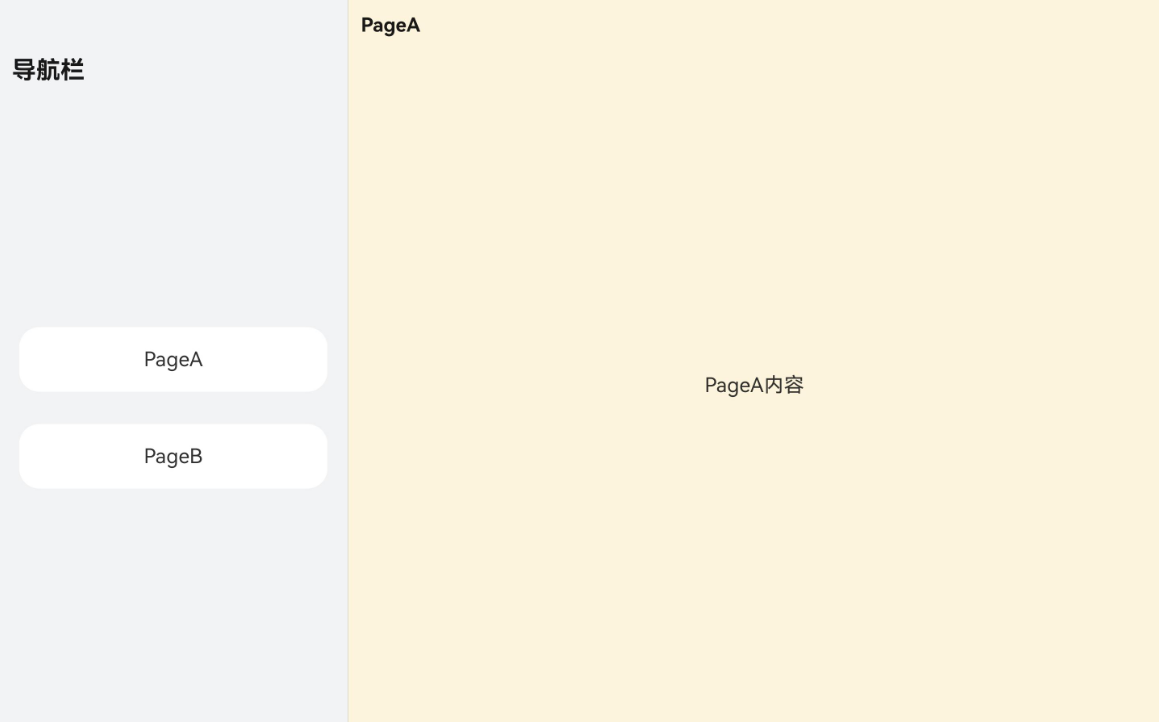
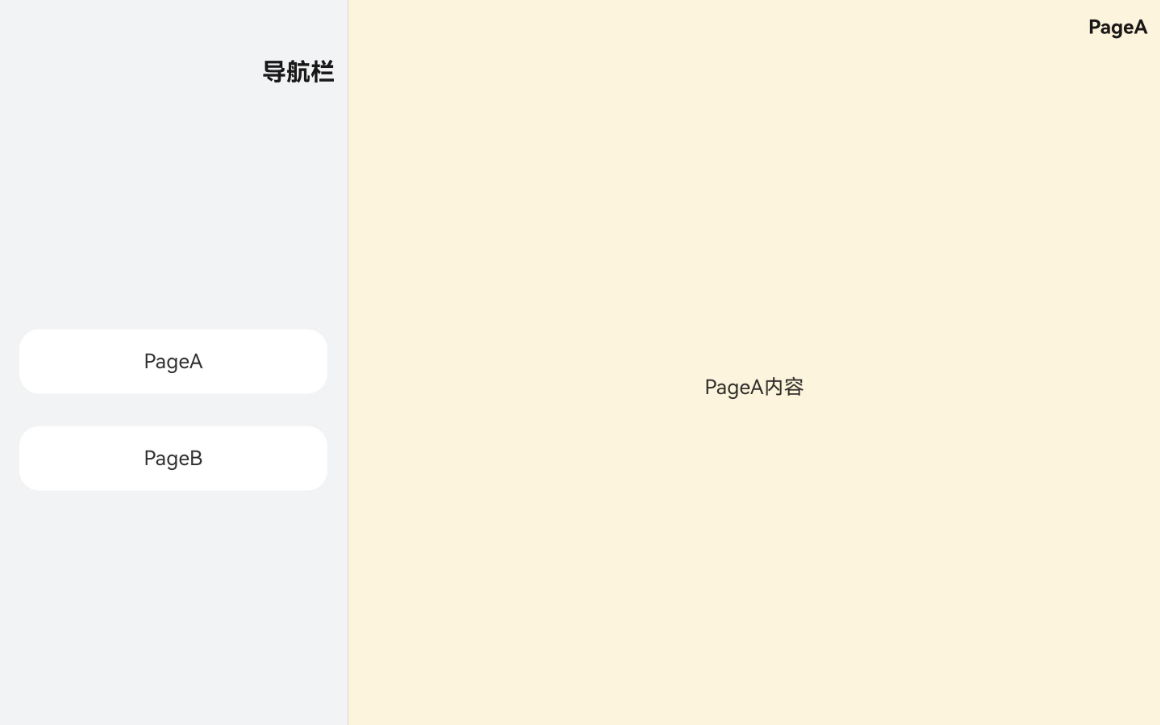
NavBarPosition.Start
1)系统语言为LTR时
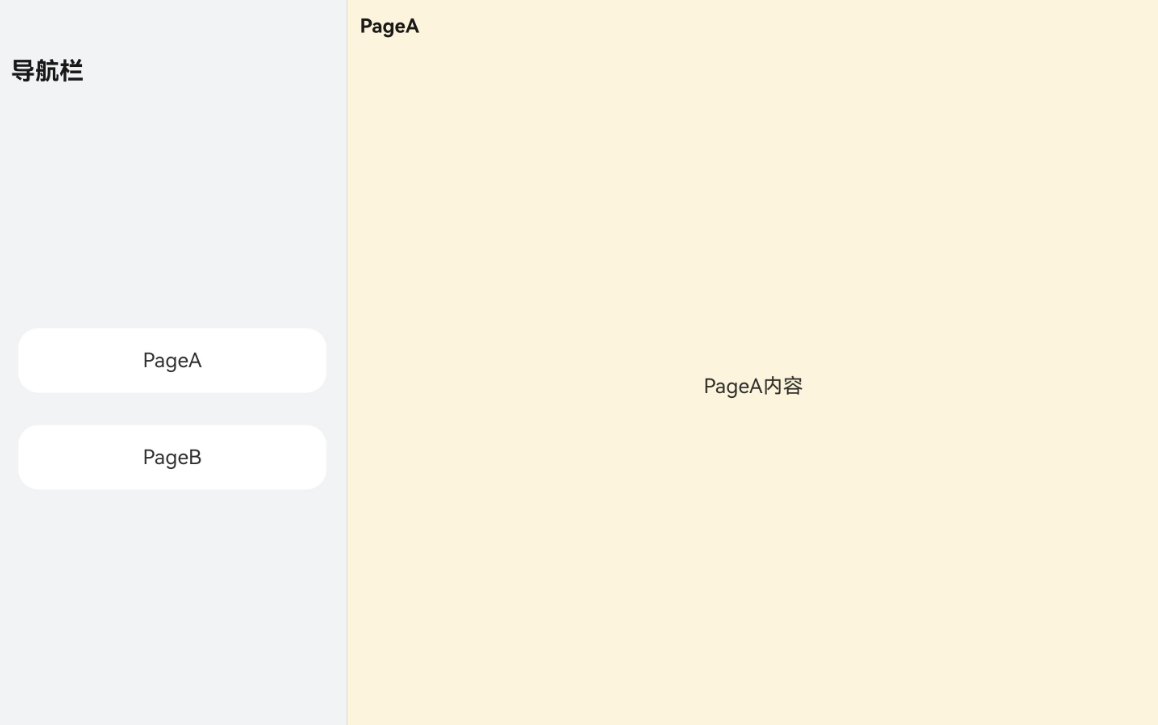
2)系统语言为RTL时
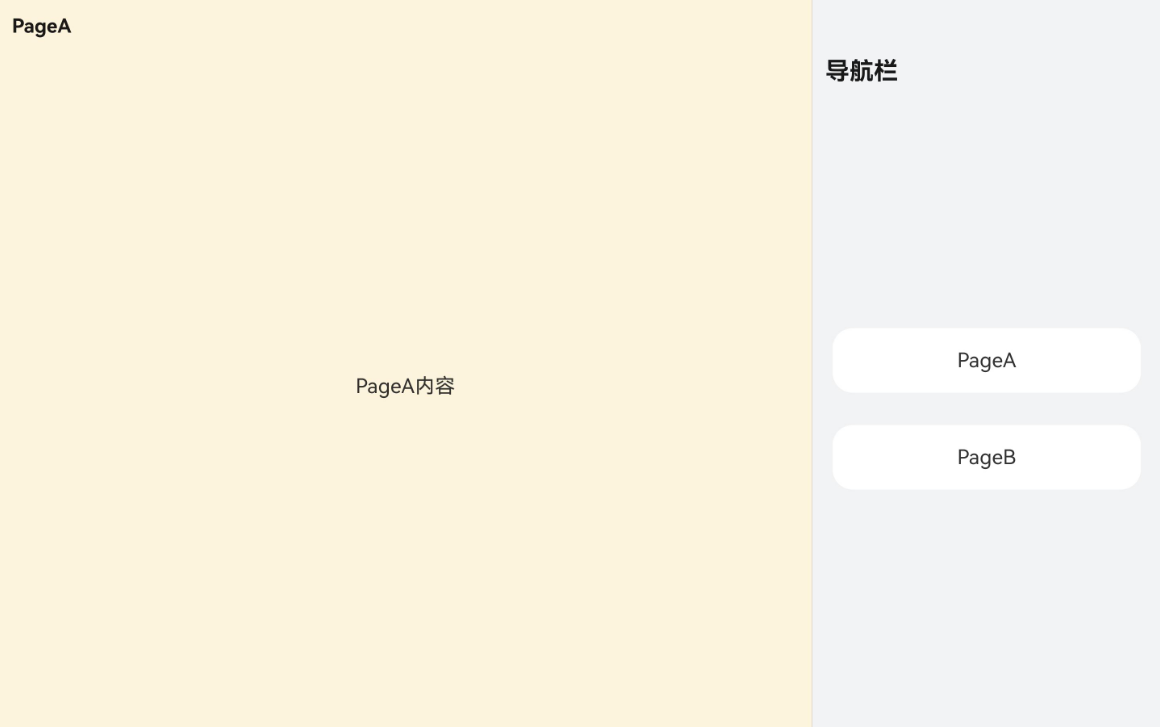
NavBarPosition.End
1)系统语言为LTR时
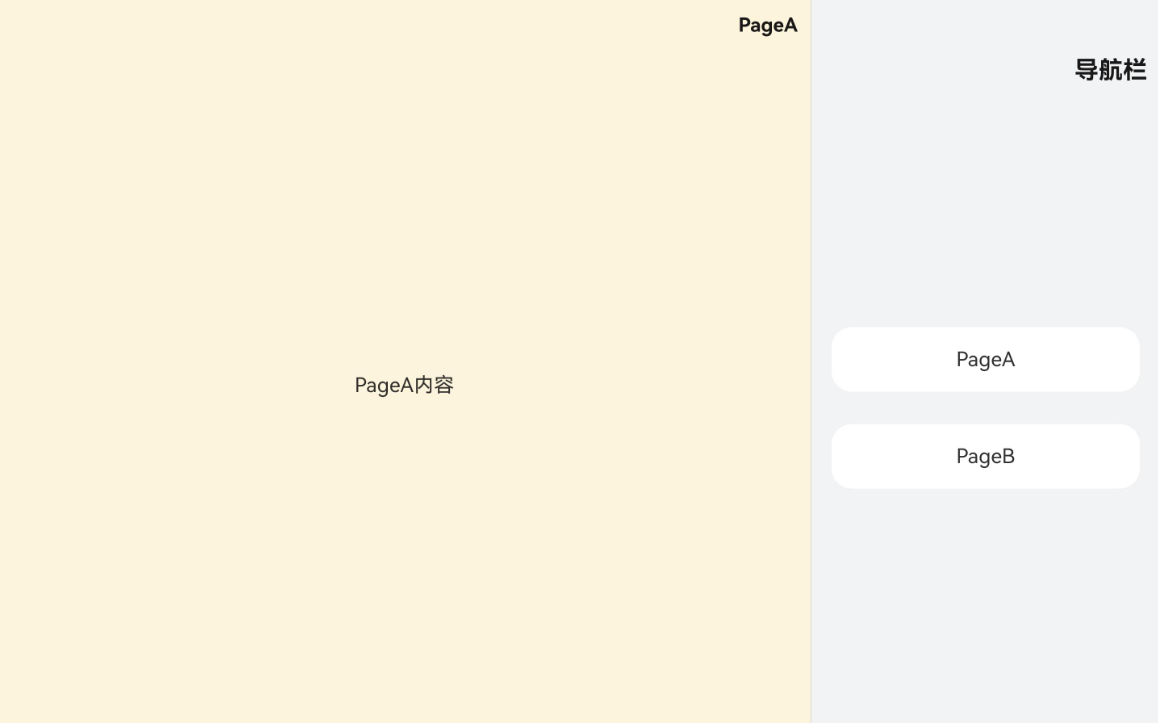
2)系统语言为RTL时
- navBarWidth
用来控制导航栏的宽度;
- navBarWidthRange
用来设置导航栏宽度可调整的范围;
- minContentWidth
用来控制分栏子页的最小宽度;分栏模式导航栏和子页中间会有一个分割线,在可调范围内,用户可以通过拖动分割线来调整导航栏和子页的显示大小。
- hideNavBar
用来控制是否隐藏导航栏;hideNavBar默认值为false,如果同时配置了mode为NavigationMode.Spltit,hideNavBar为true,则实际效果会变成了单栏显示。
- enableDragBar
用来控制是否显示分栏的拖动按钮。
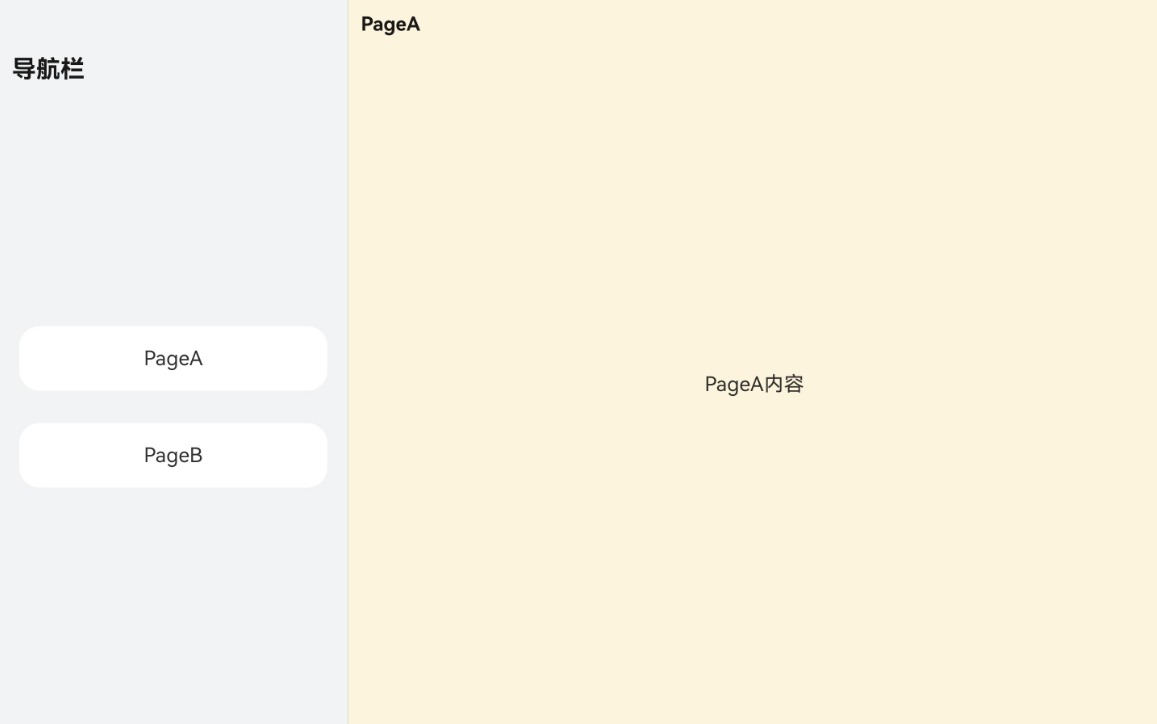
enableDragBar为false
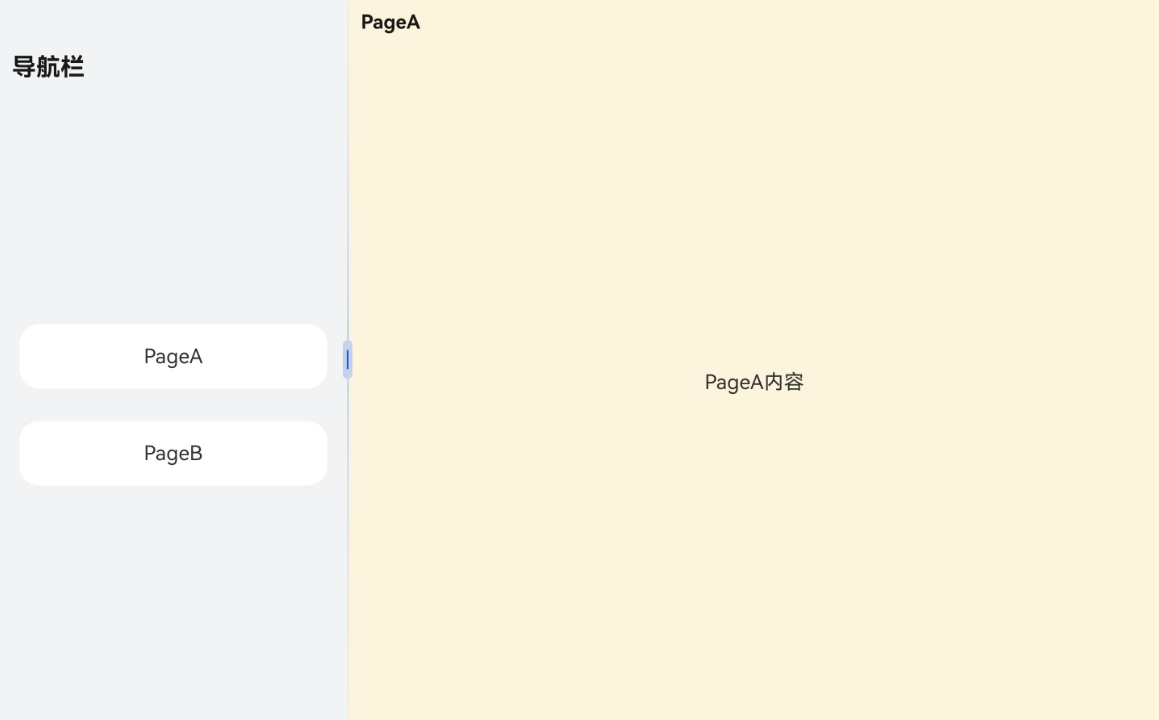
enableDragBar为true
- enableModeChangeAnimation
是否开启单双栏切换的动画,默认开启。
3、案例分享
下面以开发一个新闻app的demo来演示如何使用navigation分栏相关接口。
1.首先新闻主页内容会放到左侧NavBar中,其中内容是一个新闻列表,用户点击每一条新闻标题时,右边会push一个详情页,用来展示新闻的信息。
2.其次需要给左侧NavBar设置一个宽度范围,右侧子页区域也设置一个最小宽度。
3.最后通过滑动slider控制navigation的宽度,当宽度>=600vp时,切换至分栏显示,<600vp时,切换至单栏显示。
配置的路由表:
{
  "routerMap": [
    {
      "name": "NewsDetail",
      "pageSourceFile": "src/main/ets/pages/Index.ets",
      "buildFunction": "NewsDetailPageBuilder",
      "data": {
        "description": "this is DetailPageA"
      }
    }
  ]
}
子页代码:
// file: src/main/ets/pages/Index.ets
// 自定义的参数类型,用于在push页面时给子页传递参数
class NewsItem {
  title: string;
  overview: string;
  content: string;

  constructor(title: string, overview: string, content: string) {
    this.title = title;
    this.overview = overview;
    this.content = content;
  }
}

@Builder
export function NewsDetailPageBuilder() {
  NewsDetail()
}

@Component
struct NewsDetail {
  @State title: string = "";
  @State content: string = "";

  build() {
    NavDestination() {
      Column() {
        Text(this.content)
      }
    }.title(this.title)
    .backgroundColor('# fff6e3c8')
    .onReady((ctx: NavDestinationContext) => {
      // 在onReady生命周期拿到传来的页面参数
      let param = ctx.pathInfo.param as NewsItem;
      this.title = param?.title;
      this.content = param?.content;
    })
  }
}
主页代码:
// src/main/ets/pages/Index.ets
@Component
struct NewsHome {
  private newsItemArray: Array<NewsItem> = new Array<NewsItem>();
  private stack: NavPathStack | undefined = undefined;

  aboutToAppear(): void {
    // 这里省略了从网络获取新闻信息的过程
    for (let i = 0; i < 50; i++) {
      this.newsItemArray.push(new NewsItem(`新闻标题${i + 1}`, `新闻概述${i + 1}`, `新闻详情${i + 1}`))
    }
    let info = this.queryNavigationInfo();
    this.stack = info?.pathStack;
  }

  build() {
    List() {
      ForEach(this.newsItemArray, (item: NewsItem, index: number) => {
        ListItem() {
          Column() {
            Text(`${item.title}`).margin(15).fontSize(25).fontColor(Color.Black)
            Text(`${item.overview}`).fontSize(13).fontColor(Color.Gray)
          }.margin({bottom: 15}).backgroundColor('# eeeeee').width('100%')
          .borderRadius(15).height(120).onClick(() => {
            // 用户点击某一个新闻标签时,就在右侧子页区域push一个NavDestination页面,用来展示新闻详情
            this.stack?.pushPath({name: "NewsDetail", param: item})
          })
        }.width('100%')
      }, (item: NewsItem, index: number) => {
        return item.title;
      })
    }.width('100%').height('100%').padding(15)
  }
}

@Entry
@Component
struct Index {
  private stack: NavPathStack = new NavPathStack();
  @State navWidth: number = 100;

  aboutToAppear(): void {
    this.stack.pushPath({name: "DetailPageA"})
  }

  build() {
    RelativeContainer() {
      Navigation(this.stack) {
        NewsHome().width('100%').height('100%')
      }
      .mode(NavigationMode.Auto)
      .enableDragBar(true)
      .hideNavBar(false)
      .navBarWidthRange([450, 700]) // 指定NavBar区域的宽度范围
      .minContentWidth(500) // 指定子页区域的最小宽度
      .hideTitleBar(true)
      .hideToolBar(true)
      .height('100%')
      .width(`${this.navWidth}%`)
      .alignRules({
        top: { anchor: "__container__", align: VerticalAlign.Top },
        left: { anchor: "__container__", align: HorizontalAlign.Start }
      })
      // 下面的子组件只是为了模拟页面宽度动态调整的逻辑,和分栏开发并无关系,开发者无需关注。
      Column() {
        Text(`width: ${this.navWidth}%`)
        Slider({ value: this.navWidth, min: 40, max: 100 }).onChange((value: number) => {
          this.navWidth = value;
        })
      }.width('50%').alignRules({
        bottom: { anchor: "__container__", align: VerticalAlign.Bottom },
        right: { anchor: "__container__", align: HorizontalAlign.End }
      })
      .margin({ right: 30 })
    }
  }
}
运行效果
4、附件
上述案例完整示例代码如下:
(代码链接待补充)


 被折叠的 条评论
为什么被折叠?
被折叠的 条评论
为什么被折叠?
 到【灌水乐园】发言


