


第三步:生成Main文件夹下的.txt文件——在主目录下运行以下代码既可生成test.txt、train.txt、val.txt、trainval.txt四个文件,请注意每一个path地址是否正确(其实这四个txt文件在后续并没有什么用处)
# -\*- coding:utf-8 -\*-
# -\*- author:zzZ\_CMing 优快云 address:https://blog.youkuaiyun.com/zzZ\_CMing
# -\*- 2018/07/18; 15:19
# -\*- python3.5
import os
import random

trainval_percent = 0.7
train_percent = 0.8
xmlfilepath = 'Annotations/'
txtsavepath = 'ImageSets/Main'
total_xml = os.listdir(xmlfilepath)

num = len(total_xml)
list = range(num)
tv = int(num\*trainval_percent)
tr = int(tv\*train_percent)
trainval = random.sample(list,tv)
train = random.sample(trainval,tr)

ftrainval = open(txtsavepath+'/trainval.txt', 'w')
ftest = open(txtsavepath+'/test.txt', 'w')
ftrain = open(txtsavepath+'/train.txt', 'w')
fval = open(txtsavepath+'/val.txt', 'w')

for i in list:
    name = total_xml[i][:-4]+'\n'
    if i in trainval:
        ftrainval.write(name)
        if i in train:
            ftrain.write(name)
        else:
            fval.write(name)
    else:
        ftest.write(name)

ftrainval.close()
ftrain.close()
fval.close()
ftest .close()
print('Well Done!!!')
运行完成,得到如下文件:可以打开看一看,内容就是各个图片的索引,意味着哪些图片用做训练,哪些用做测试。

3、用.xml标签,生成.tfrecord文件
说明:SSD框架所用到的标签文件并不直接是.xml格式文件,而是.tfrecord文件,因为这一部分比较重要,代码先贴上——只为想研究如何生成.tfrecord文件的同学准备,想要了解 SSD目标检测(3):使用自己的数据集做识别(详细说明附源码),请继续点击,详细过程讲解+源码即刻奉上
# -\*- coding:utf-8 -\*-
# -\*- author:zzZ\_CMing 优快云 address:https://blog.youkuaiyun.com/zzZ\_CMing
# -\*- 2018/07/17; 13:18
# -\*- python3.5
"""
特别注意: 17行VOC\_LABELS标签要修改,189行的path地址要正确
"""
import os
import sys
import random
import numpy as np
import tensorflow as tf
import xml.etree.ElementTree as ET
# 我的标签定义只有手表这一类,所以下面的VOC\_LABELS要根据自己的图片标签而定,第一组'none': (0, 'Background')是不能删除的;
VOC_LABELS = {
'none': (0, 'Background'),
'watch': (1, 'watch')
}
# 图片和标签存放的文件夹.
DIRECTORY_ANNOTATIONS = 'Annotations/'
DIRECTORY_IMAGES = 'JPEGImages/'
# 随机种子.
RANDOM_SEED = 4242
SAMPLES_PER_FILES = 3 # 每个.tfrecords文件包含几个.xml样本
def int64\_feature(value):
"""
生成整数型,浮点型和字符串型的属性
"""
if not isinstance(value, list):
value = [value]
return tf.train.Feature(int64_list=tf.train.Int64List(value=value))
def float\_feature(value):
if not isinstance(value, list):
value = [value]
return tf.train.Feature(float_list=tf.train.FloatList(value=value))
def bytes\_feature(value):
if not isinstance(value, list):
value = [value]
return tf.train.Feature(bytes_list=tf.train.BytesList(value=value))
def \_process\_image(directory, name):
"""
图片处理
"""
# Read the image file.
filename = directory + DIRECTORY_IMAGES + name + '.jpg'
image_data = tf.gfile.FastGFile(filename, 'rb').read()
# Read the XML annotation file.
filename = os.path.join(directory, DIRECTORY_ANNOTATIONS, name + '.xml')
tree = ET.parse(filename)
root = tree.getroot()
# Image shape.
size = root.find('size')
shape = [int(size.find('height').text),
int(size.find('width').text),
int(size.find('depth').text)]
# Find annotations.
bboxes = []
labels = []
labels_text = []
difficult = []
truncated = []
for obj in root.findall('object'):
label = obj.find('name').text
labels.append(int(VOC_LABELS[label][0]))
labels_text.append(label.encode('ascii')) # 变为ascii格式
if obj.find('difficult'):
difficult.append(int(obj.find('difficult').text))
else:
difficult.append(0)
if obj.find('truncated'):
truncated.append(int(obj.find('truncated').text))
else:
truncated.append(0)
bbox = obj.find('bndbox')
a = float(bbox.find('ymin').text) / shape[0]
b = float(bbox.find('xmin').text) / shape[1]
a1 = float(bbox.find('ymax').text) / shape[0]
b1 = float(bbox.find('xmax').text) / shape[1]
a_e = a1 - a
b_e = b1 - b
if abs(a_e) < 1 and abs(b_e) < 1:
bboxes.append((a, b, a1, b1))
return image_data, shape, bboxes, labels, labels_text, difficult, truncated
def \_convert\_to\_example(image_data, labels, labels_text, bboxes, shape,difficult, truncated):
"""
转化样例
"""
xmin = []
ymin = []
xmax = []
ymax = []
for b in bboxes:
assert len(b) == 4
# pylint: disable=expression-not-assigned
[l.append(point) for l, point in zip([ymin, xmin, ymax, xmax], b)]
# pylint: enable=expression-not-assigned
image_format = b'JPEG'
example = tf.train.Example(features=tf.train.Features(feature={
'image/height': int64_feature(shape[0]),
'image/width': int64_feature(shape[1]),
'image/channels': int64_feature(shape[2]),
'image/shape': int64_feature(shape),
'image/object/bbox/xmin': float_feature(xmin),
'image/object/bbox/xmax': float_feature(xmax),
'image/object/bbox/ymin': float_feature(ymin),
'image/object/bbox/ymax': float_feature(ymax),
'image/object/bbox/label': int64_feature(labels),
'image/object/bbox/label\_text': bytes_feature(labels_text),
'image/object/bbox/difficult': int64_feature(difficult),
'image/object/bbox/truncated': int64_feature(truncated),
'image/format': bytes_feature(image_format),
'image/encoded': bytes_feature(image_data)}))
return example
def \_add\_to\_tfrecord(dataset_dir, name, tfrecord_writer):
"""
增加到tfrecord
**自我介绍一下,小编13年上海交大毕业,曾经在小公司待过,也去过华为、OPPO等大厂,18年进入阿里一直到现在。**
**深知大多数Linux运维工程师,想要提升技能,往往是自己摸索成长或者是报班学习,但对于培训机构动则几千的学费,着实压力不小。自己不成体系的自学效果低效又漫长,而且极易碰到天花板技术停滞不前!**
**因此收集整理了一份《2024年Linux运维全套学习资料》,初衷也很简单,就是希望能够帮助到想自学提升又不知道该从何学起的朋友,同时减轻大家的负担。**
**既有适合小白学习的零基础资料,也有适合3年以上经验的小伙伴深入学习提升的进阶课程,基本涵盖了95%以上Linux运维知识点,真正体系化!**
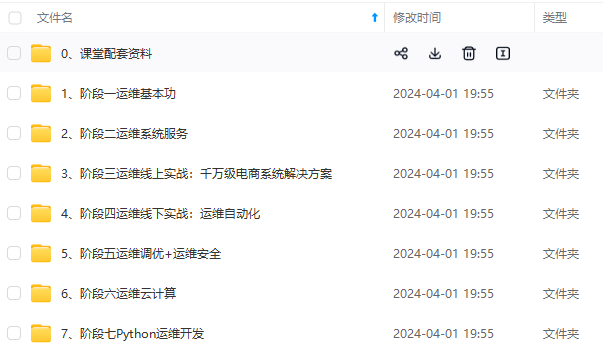
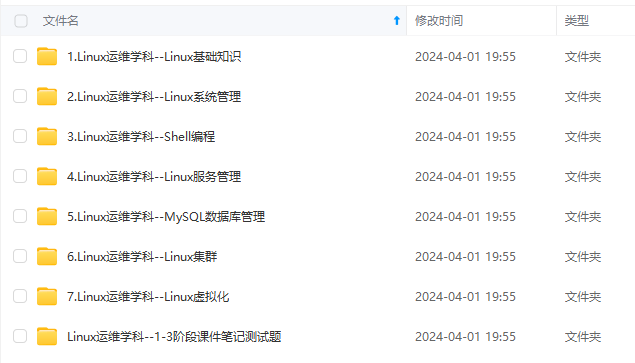
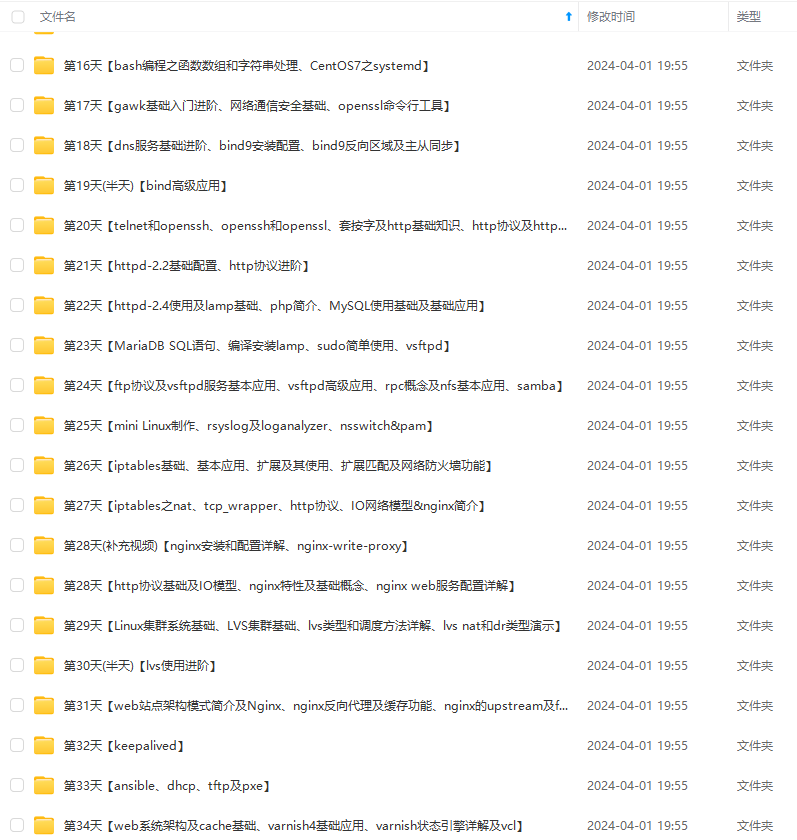
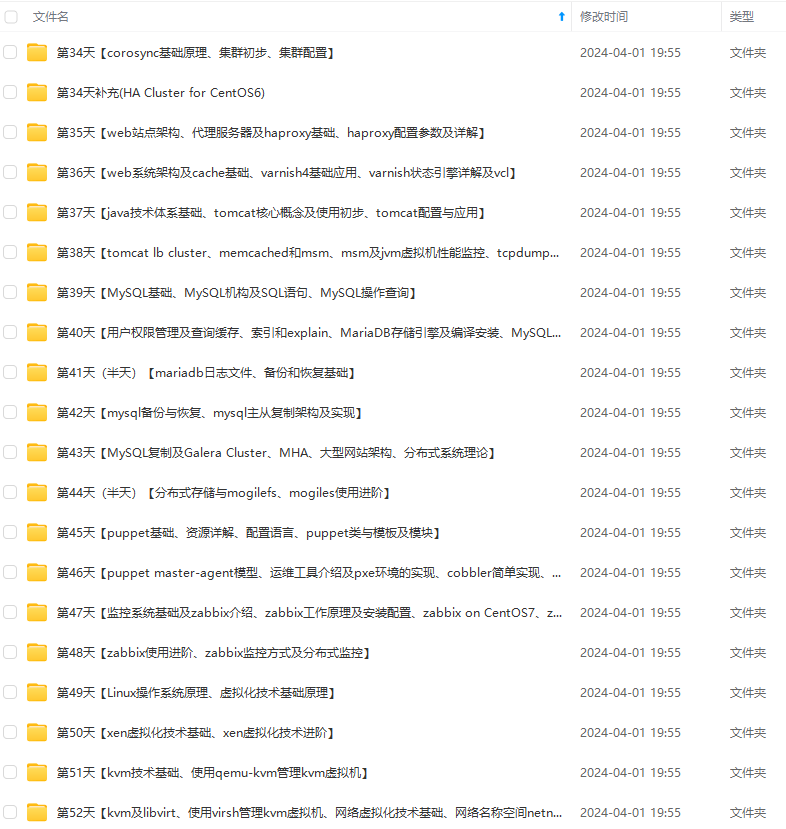
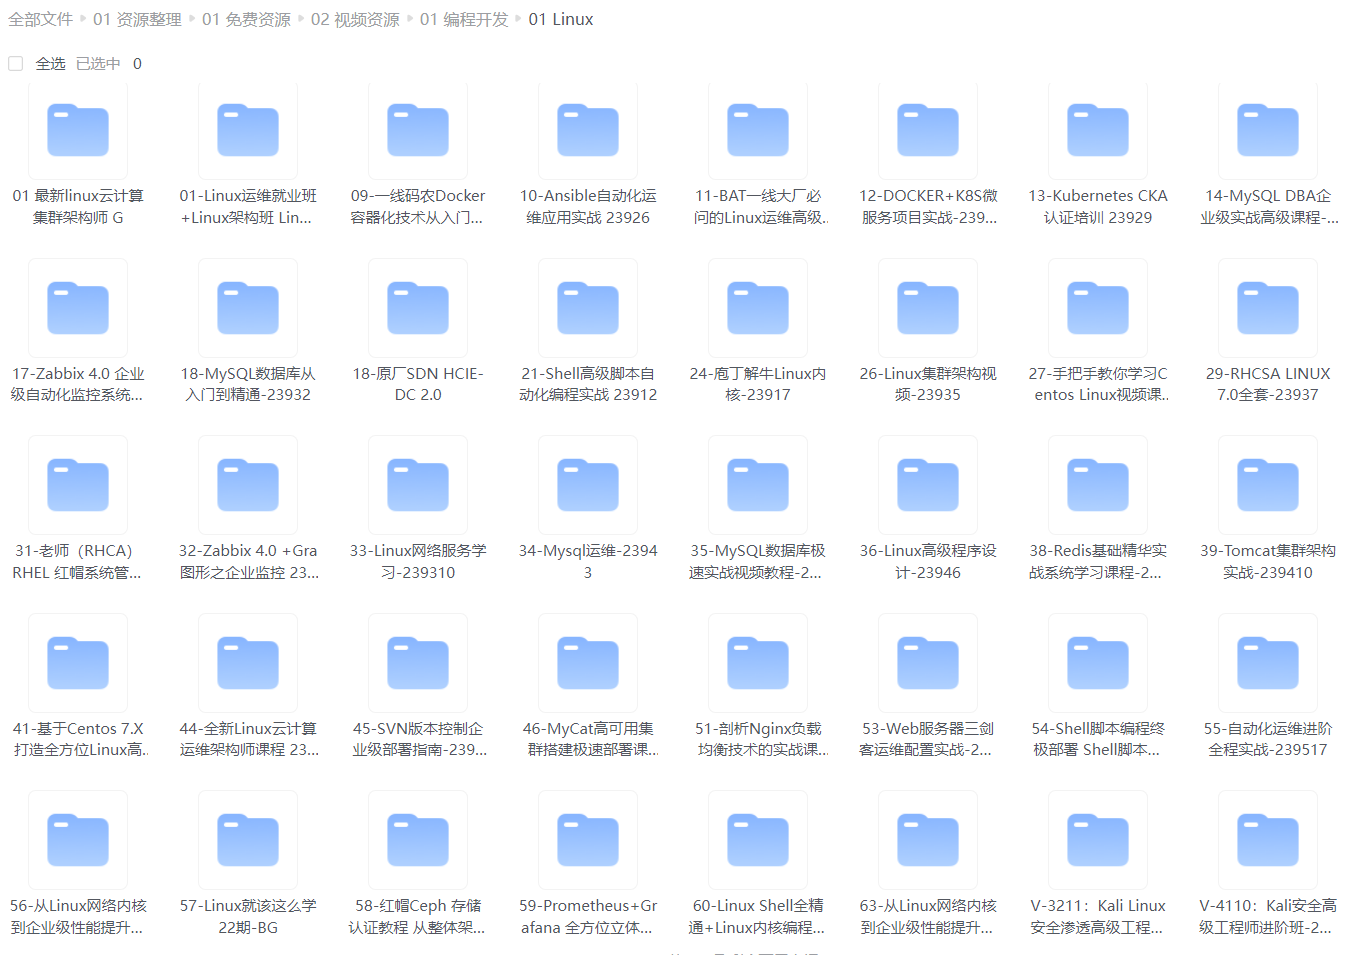
**由于文件比较大,这里只是将部分目录大纲截图出来,每个节点里面都包含大厂面经、学习笔记、源码讲义、实战项目、讲解视频,并且后续会持续更新**
**如果你觉得这些内容对你有帮助,可以添加VX:vip1024b (备注Linux运维获取)**

### 最后的话
最近很多小伙伴找我要Linux学习资料,于是我翻箱倒柜,整理了一些优质资源,涵盖视频、电子书、PPT等共享给大家!
### 资料预览
给大家整理的视频资料:
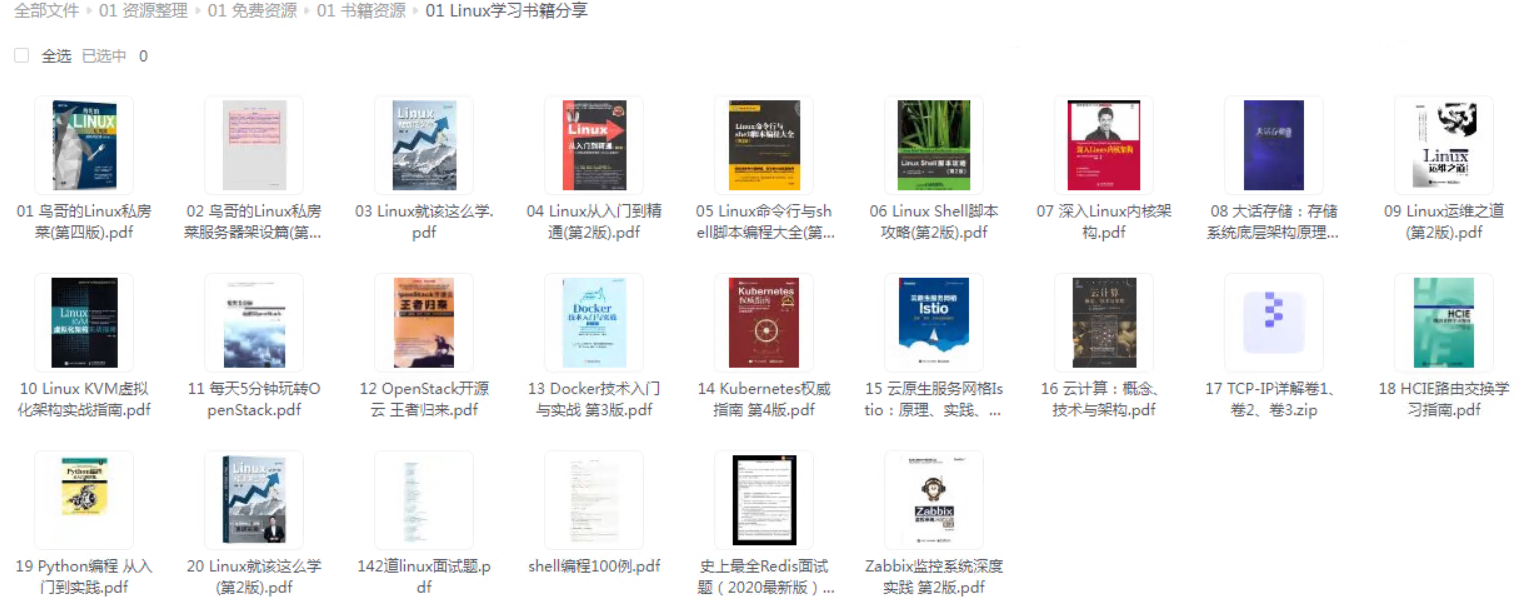
给大家整理的电子书资料:
**如果本文对你有帮助,欢迎点赞、收藏、转发给朋友,让我有持续创作的动力!**
**一个人可以走的很快,但一群人才能走的更远。不论你是正从事IT行业的老鸟或是对IT行业感兴趣的新人,都欢迎扫码加入我们的的圈子(技术交流、学习资源、职场吐槽、大厂内推、面试辅导),让我们一起学习成长!**

[外链图片转存中...(img-ScYGHds8-1713037944679)]
**如果本文对你有帮助,欢迎点赞、收藏、转发给朋友,让我有持续创作的动力!**
**一个人可以走的很快,但一群人才能走的更远。不论你是正从事IT行业的老鸟或是对IT行业感兴趣的新人,都欢迎扫码加入我们的的圈子(技术交流、学习资源、职场吐槽、大厂内推、面试辅导),让我们一起学习成长!**
[外链图片转存中...(img-PtLKTHMZ-1713037944679)]


 331
331

 被折叠的 条评论
为什么被折叠?
被折叠的 条评论
为什么被折叠?
 到【灌水乐园】发言


